Апсайклінг і переробка · деталь Nº 09 · 54 хв
Cut Down an Adult Shirt into a Child's Garment
Turn a worn but sound adult shirt into a smaller shirt or apron for a child by cutting the new pieces from the parts that wear least and sewing them by hand. You will lay out and cut on grain, baste and sew the seams with a running stitch, secure the thread so nothing pulls out, and finish the raw edges.
Шов · 9 кроків
Крок 1
КРОК 1/9Pick an adult shirt whose cloth is still sound. Plan to cut the child's pieces from the parts that wear least - the back and the wide body panels - and keep every piece clear of the worn tracks: old seam lines, old buttonhole slits, and the shine of a worn elbow or collar. If the outer side of the cloth has faded, plan to turn the pieces and use the fresher wrong side out.
Крок 2
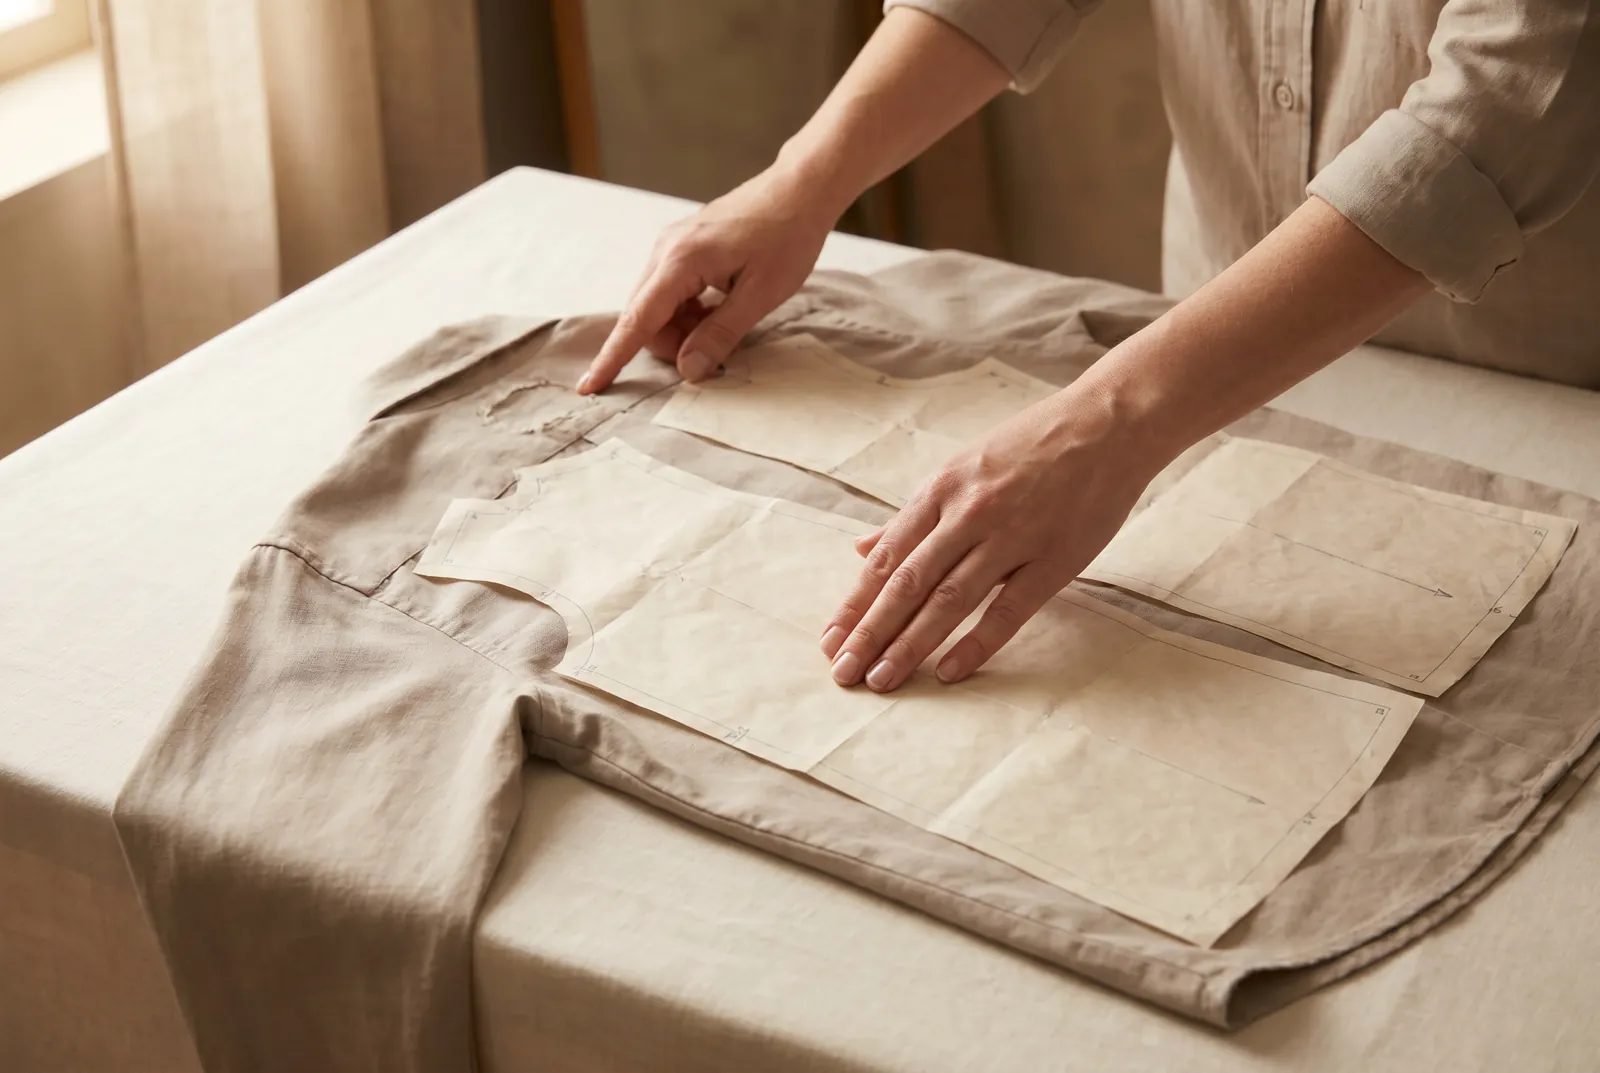
КРОК 2/9Straighten each cut edge before laying out: pick up one crosswise thread near the edge, draw it until it leaves a clear line across the cloth, and cut along that line. Keep the pattern's lengthwise line on the warp - the direction the old seams and weave run - so the finished garment will not sag or twist. Do not lay the selvage where it would fall inside a seam or along a hem edge.
Крок 3
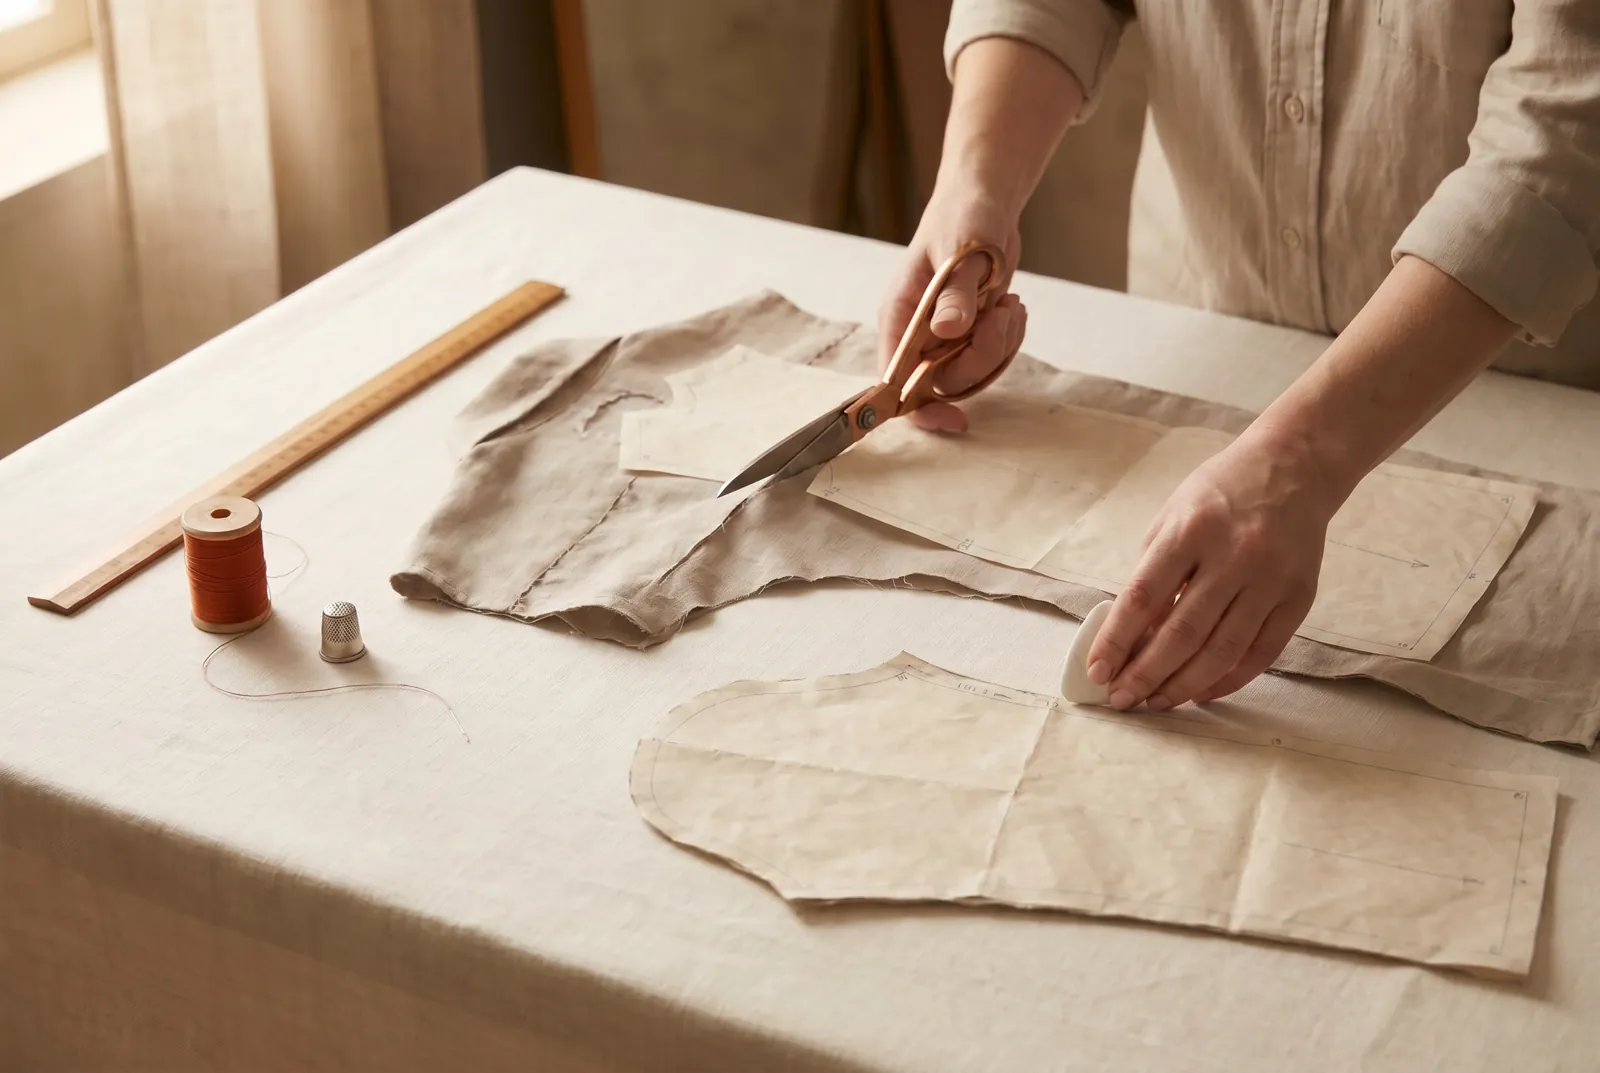
КРОК 3/9Lay the pattern on the soundest cloth and cut the largest pieces first - the back and body - then cut the smaller pieces, such as the collar and facings, from the sound parts that remain. Add a seam allowance of 1.3 cm (1/2 in) to every seam edge, which is enough to turn the raw edge under and stitch it. Mark the stitching line on each piece with chalk so you have a line to baste beside.
Крок 4
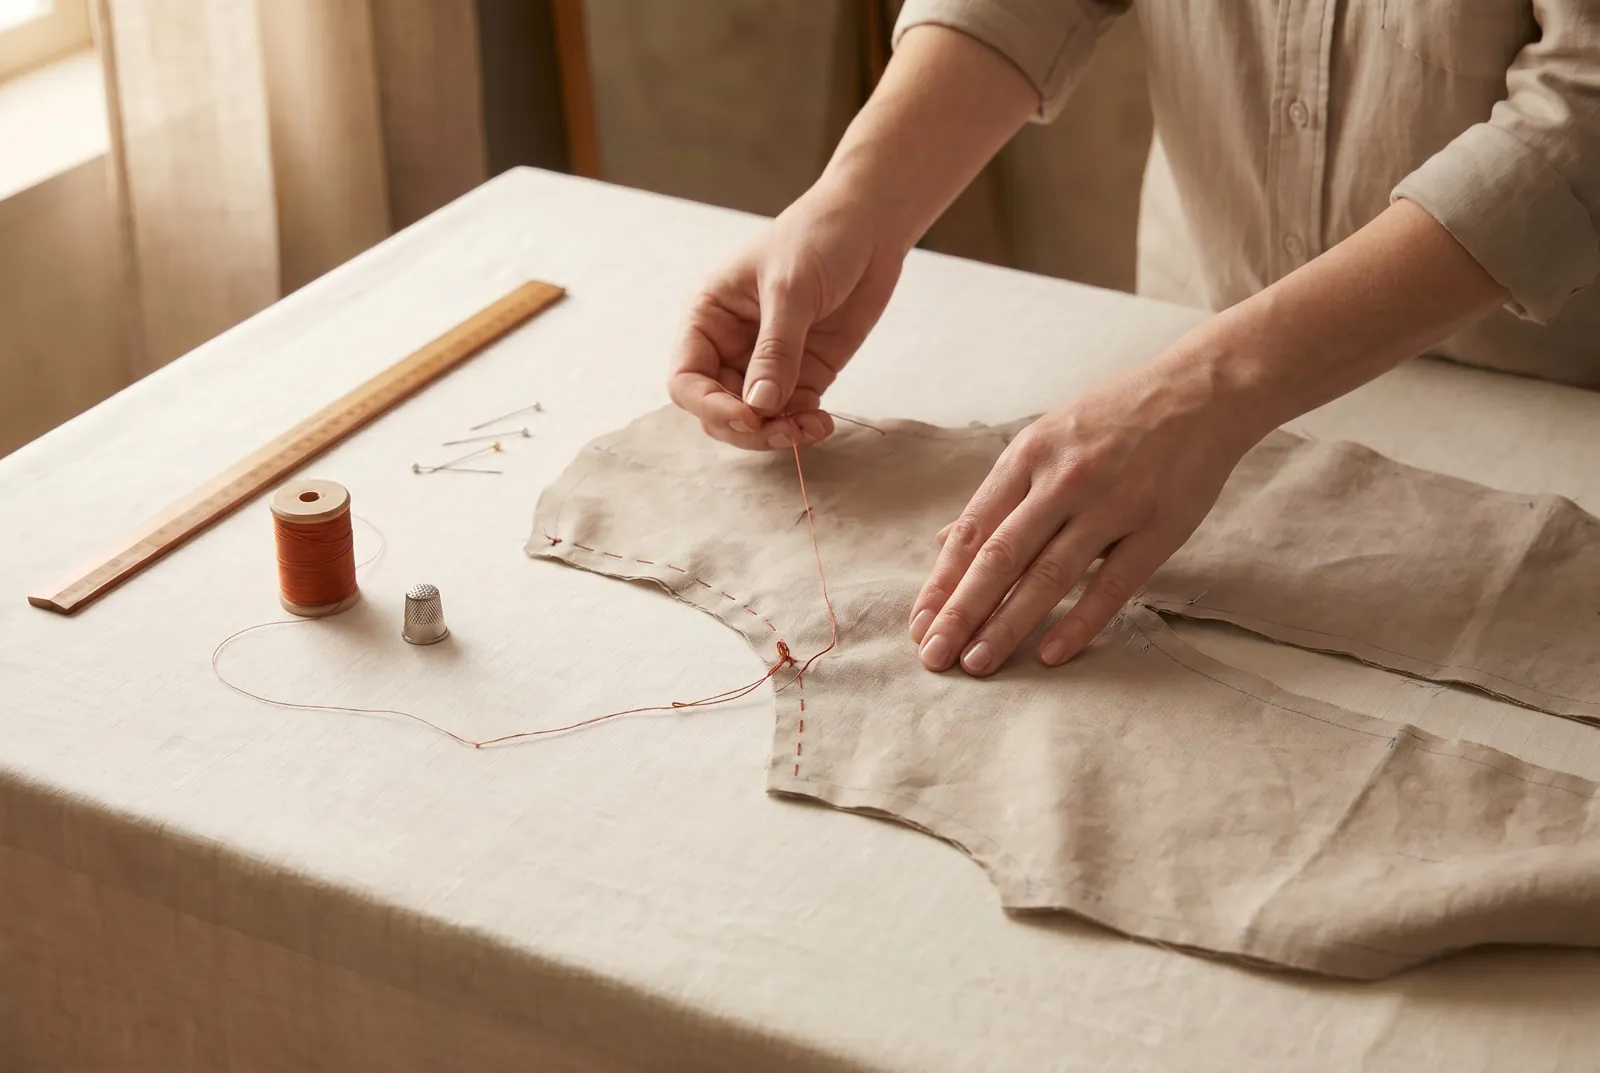
КРОК 4/9Pin the pieces right sides together, then baste them. Begin the basting with a knot and work even basting - stitches about 6 mm (1/4 in) long with equal spaces - a thread's width outside the marked stitching line. Baste this way wherever there is strain, such as a sleeve set into an armhole. Fasten the basting with two loose backstitches so it can be drawn out later without tearing the seam.
Крок 5
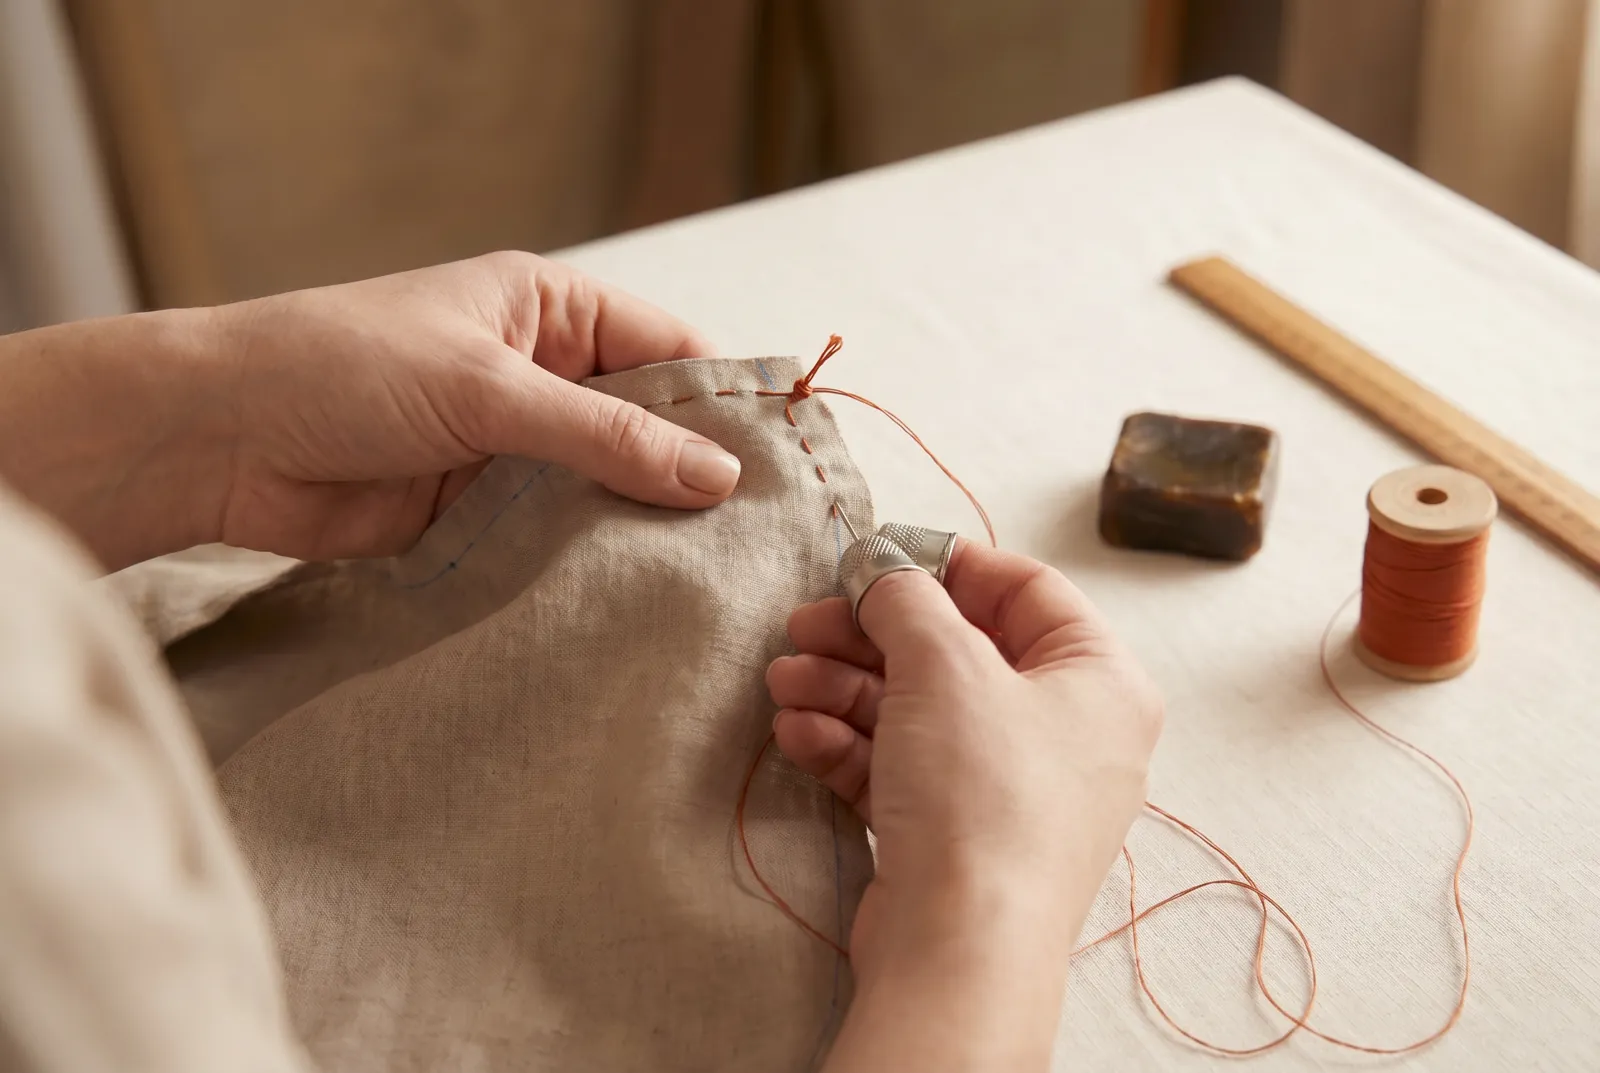
КРОК 5/9Thread a sharps needle (No. 5 to No. 10) with cotton thread (No. 40 to No. 70); waxing the thread with beeswax helps it bear strain. Sew each seam on the marked line with a running stitch: begin with a knot, then pass the needle over and under the cloth, taking up and skipping the same number of threads so the stitches look alike on both sides. Keep the stitches small and even, 1.5 to 3 mm (1/16 to 1/8 in) long, for a seam that holds. Fasten each end of the seam with a few backstitches so the running stitches cannot pull out in wear or in the wash.
Крок 6
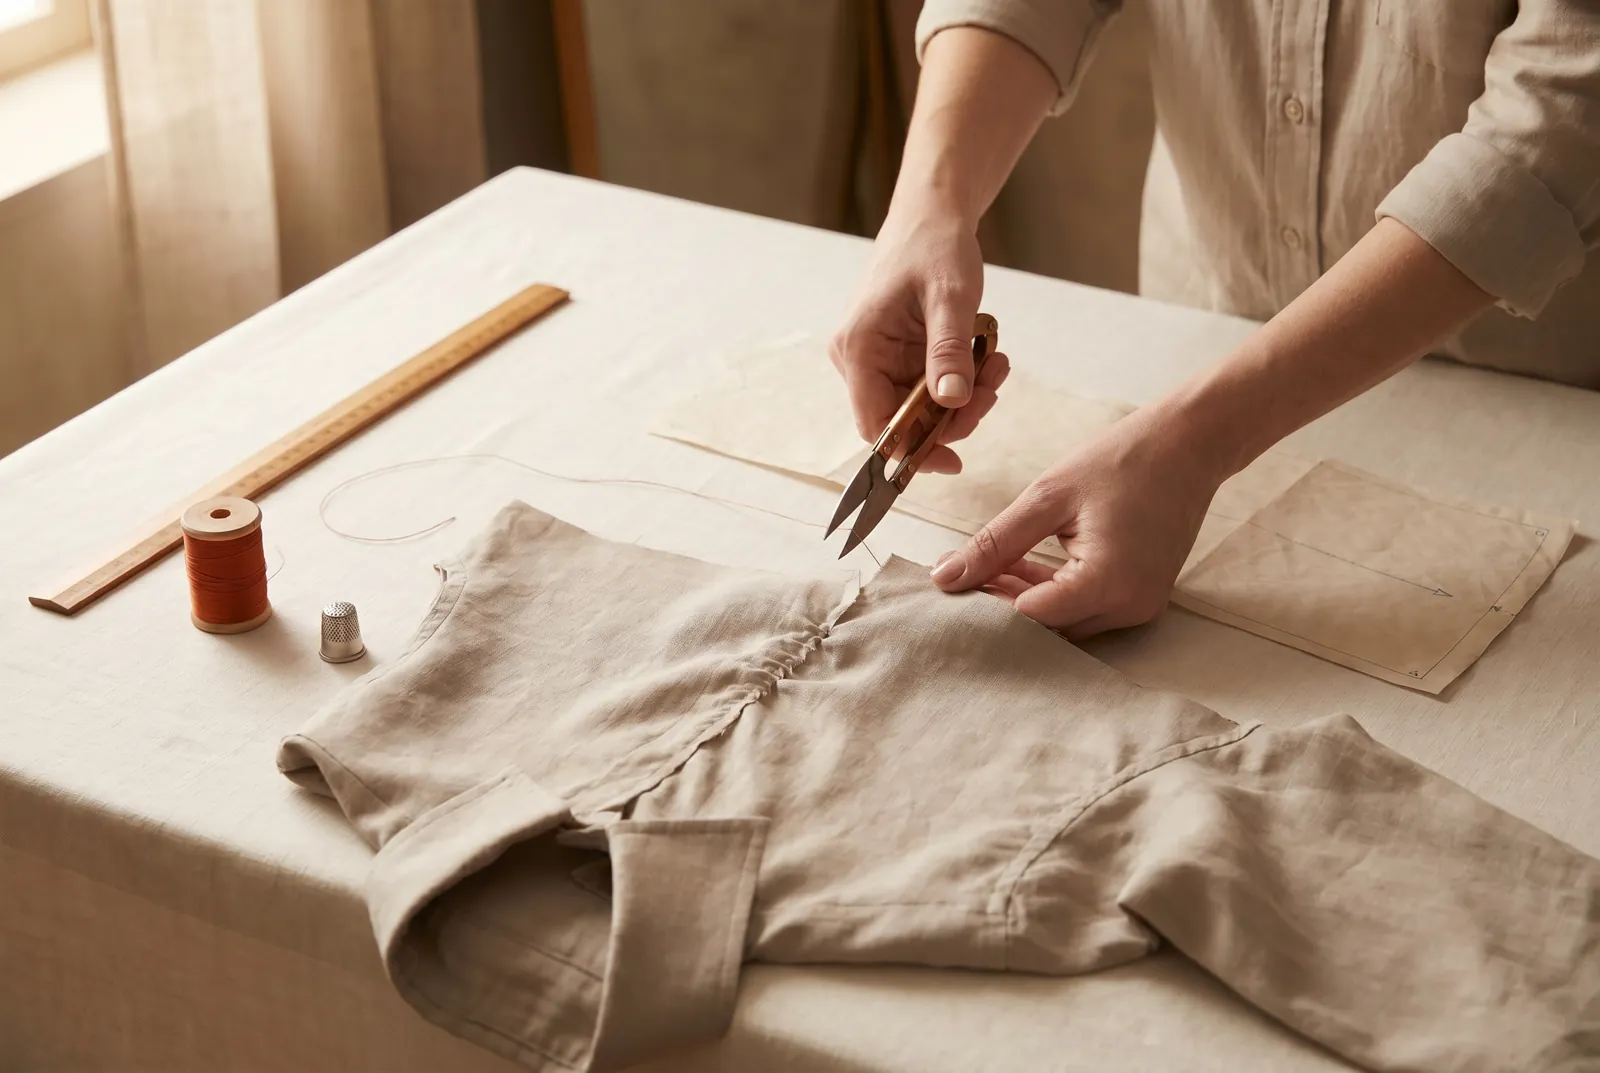
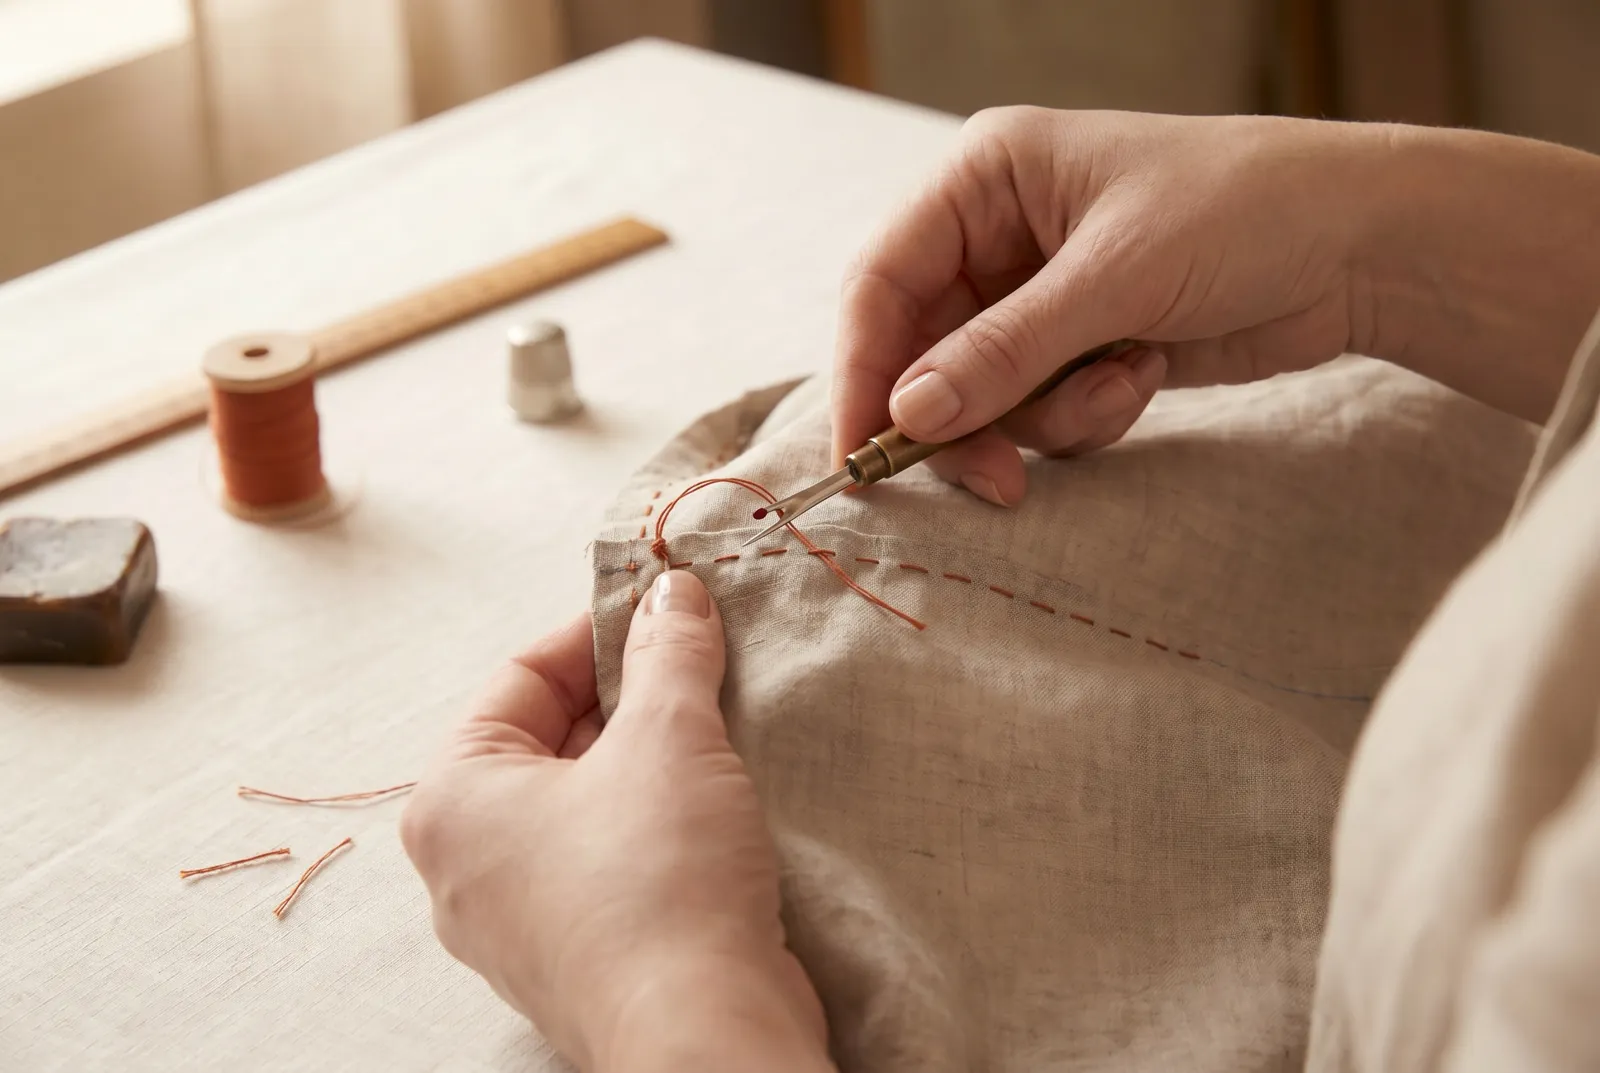
КРОК 6/9Once a seam is sewn, take out its basting: cut the basting thread at intervals of a few inches and draw out the short lengths. Do not pull one long thread from a single end - it puckers the work.
Крок 7
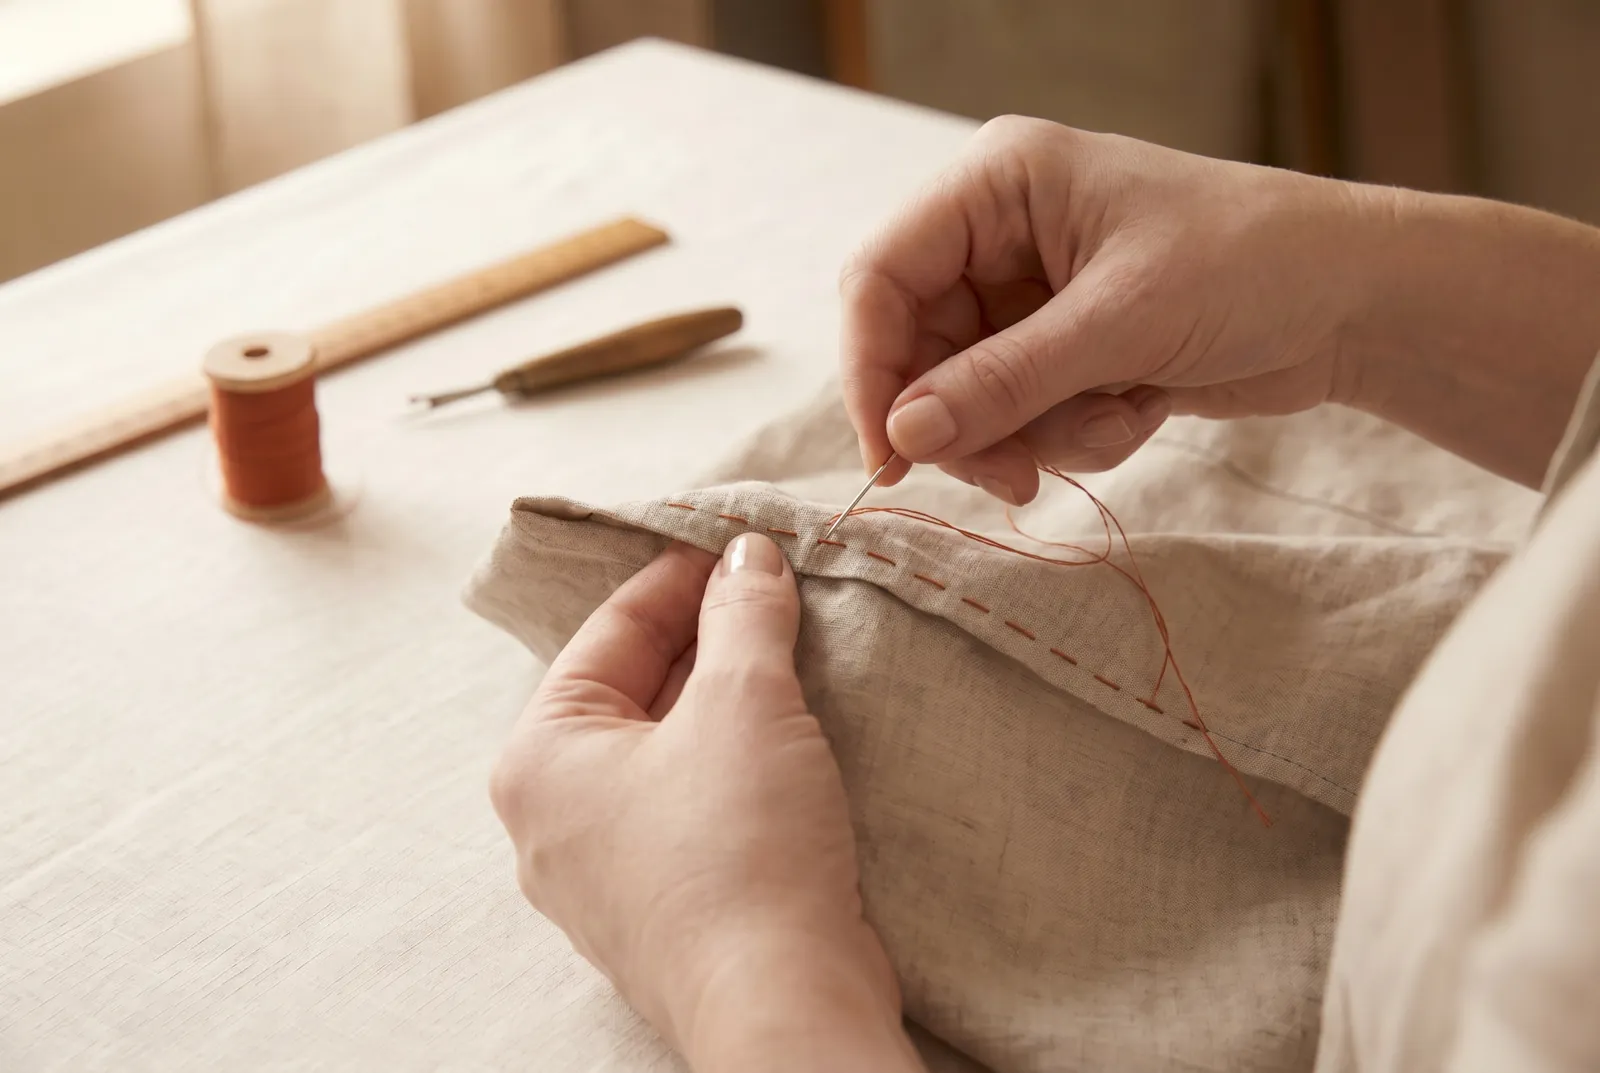
КРОК 7/9Cloth that frays needs its raw seam edges finished so the seams do not ravel. Turn each raw edge under about 3 mm (1/8 in) and stitch it down close to the fold - a finish called clean stitching, used in washable clothes. Press each finished seam flat.
Крок 8
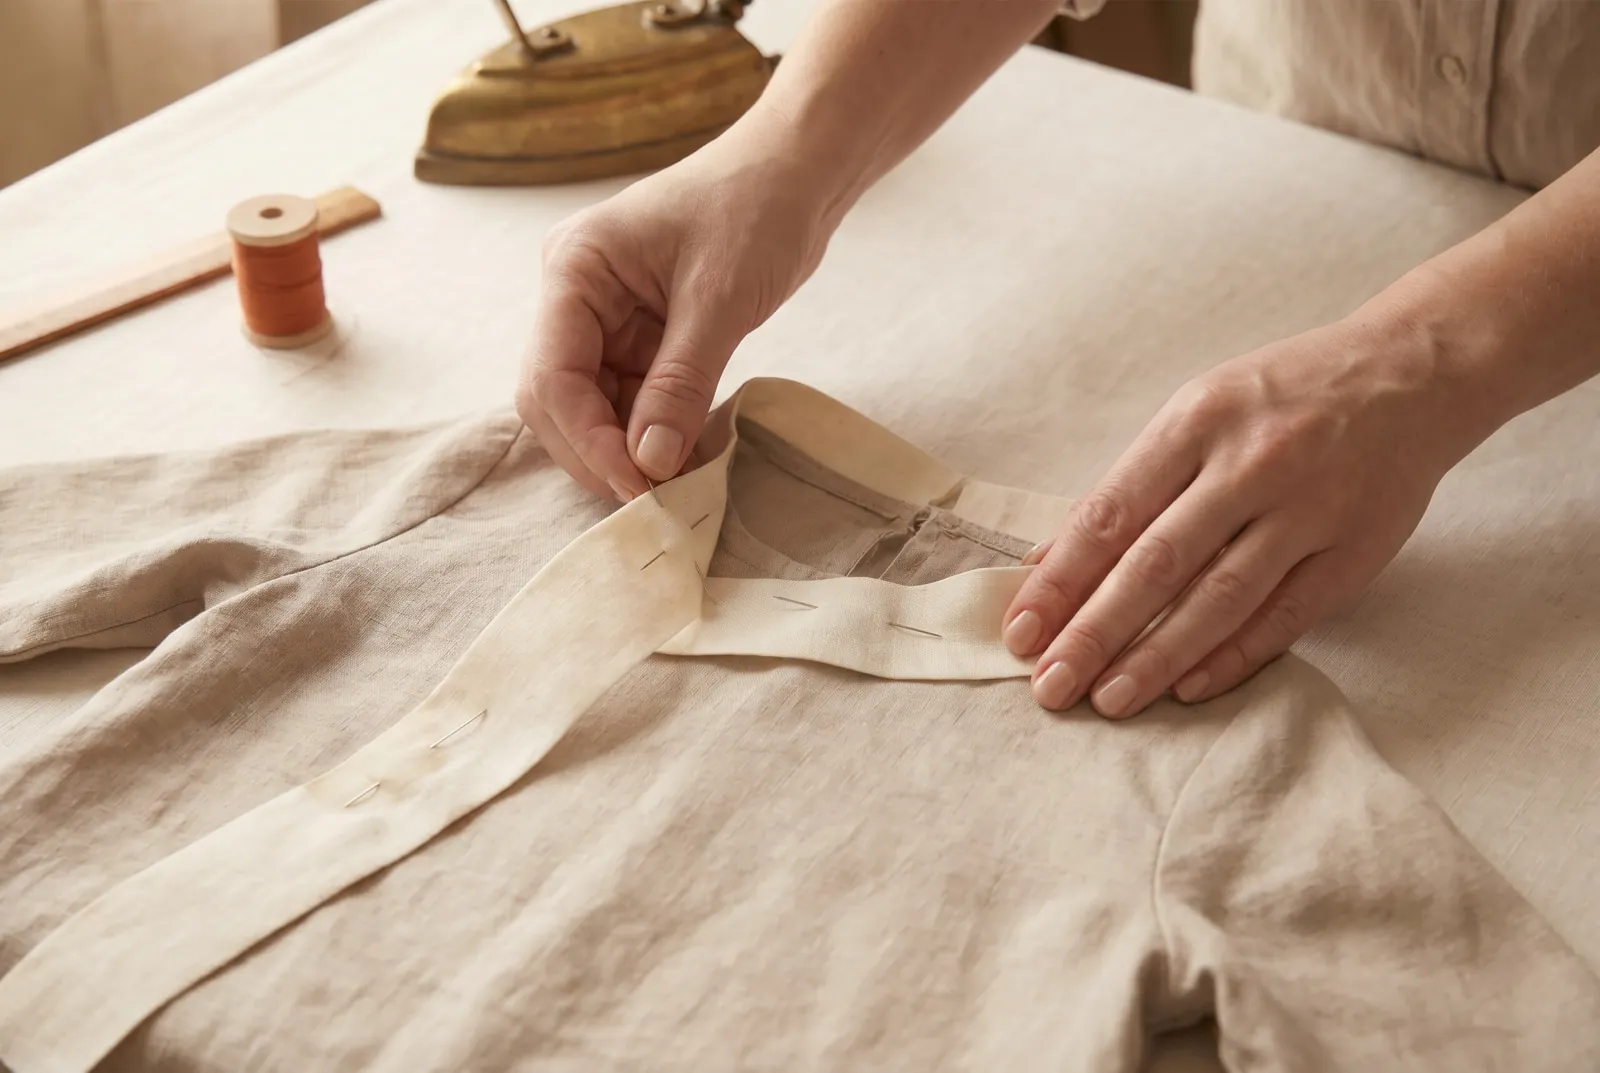
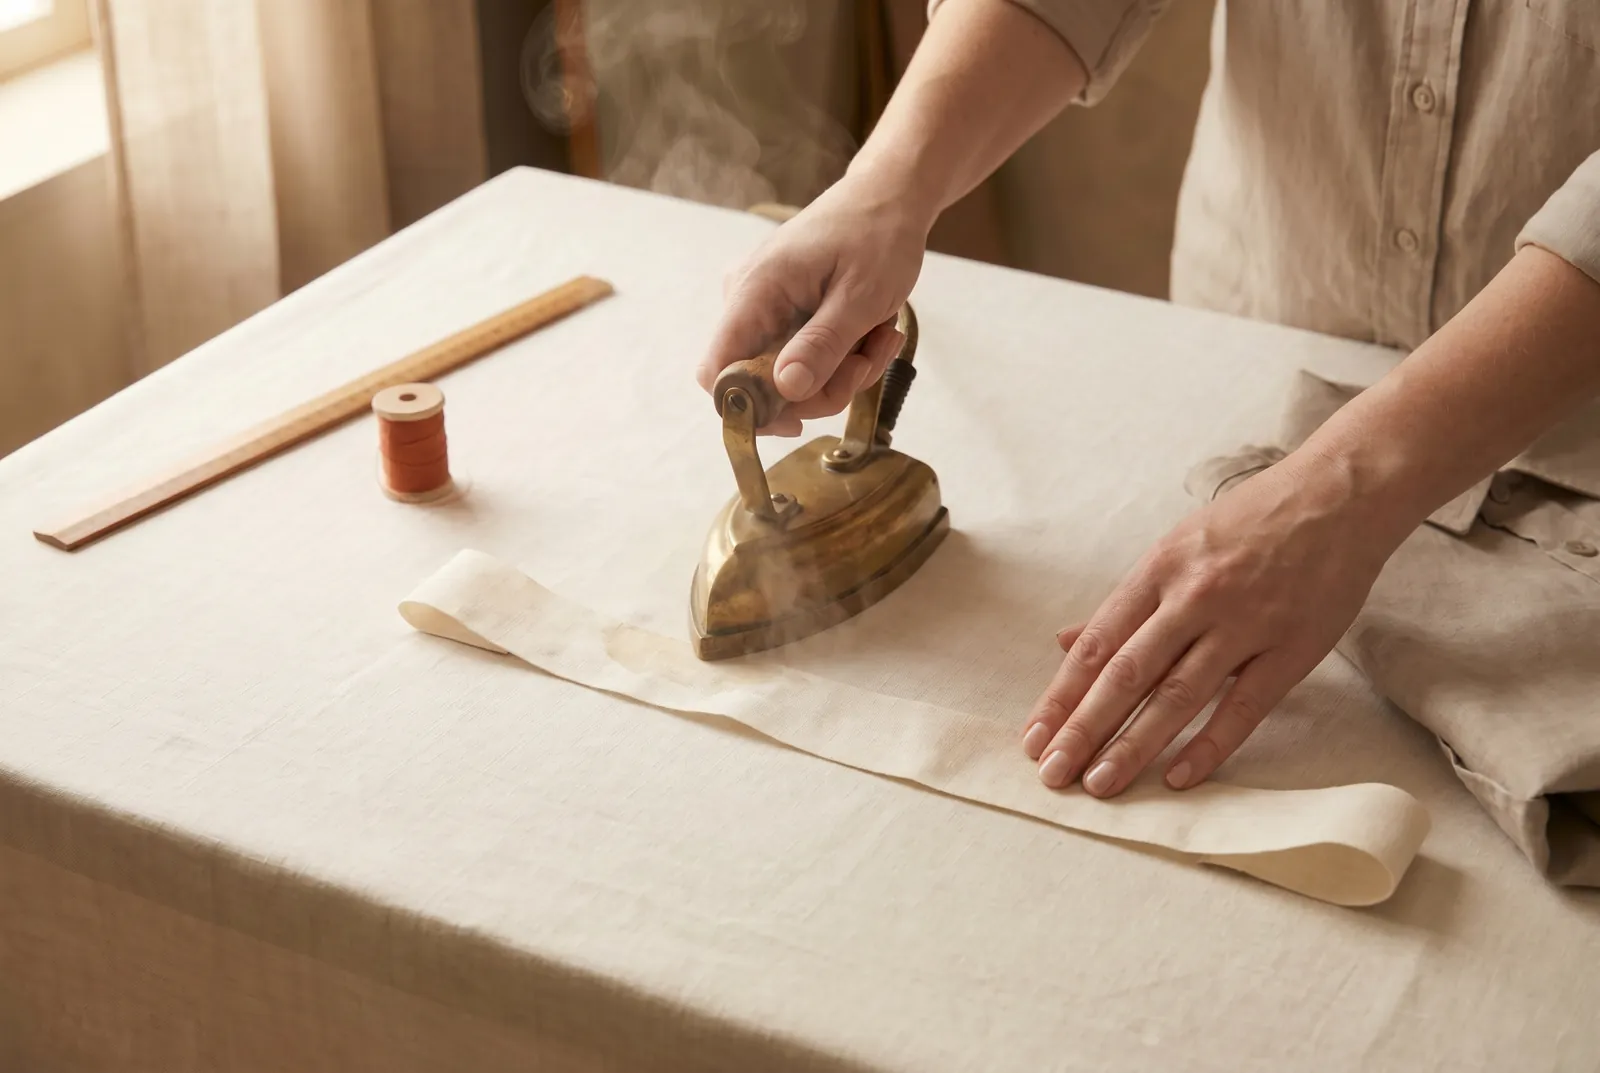
КРОК 8/9Before adding any tape or facing to this washable garment, shrink it with the same care you would give the shirt cloth. A raw tape sewn on flat will pucker the whole hem it was meant to strengthen.
Крок 9
КРОК 9/9For fresh cloth at the neck, add new goods for a yoke, collar, or band openly as trimming rather than hiding it. To renew a frayed cuff or collar without new cloth, reface it from the shirt's own tails, and the sound tails can also make a child's apron. Planned this way, the finished garment shows nothing of its history but its wear.