Апсайклінг і переробка · деталь Nº 48 · 66 хв
Taper Wide-Leg Trousers to a Straight Leg by Hand
Narrow a pair of wide-leg trousers you already own into a straight-leg cut by hand, reusing a garment instead of buying new. You will pin and test a new inseam line, sew and secure it, finish the seam allowance, and re-hem where the seam meets the bottom edge.
Шов · 11 кроків
Крок 1
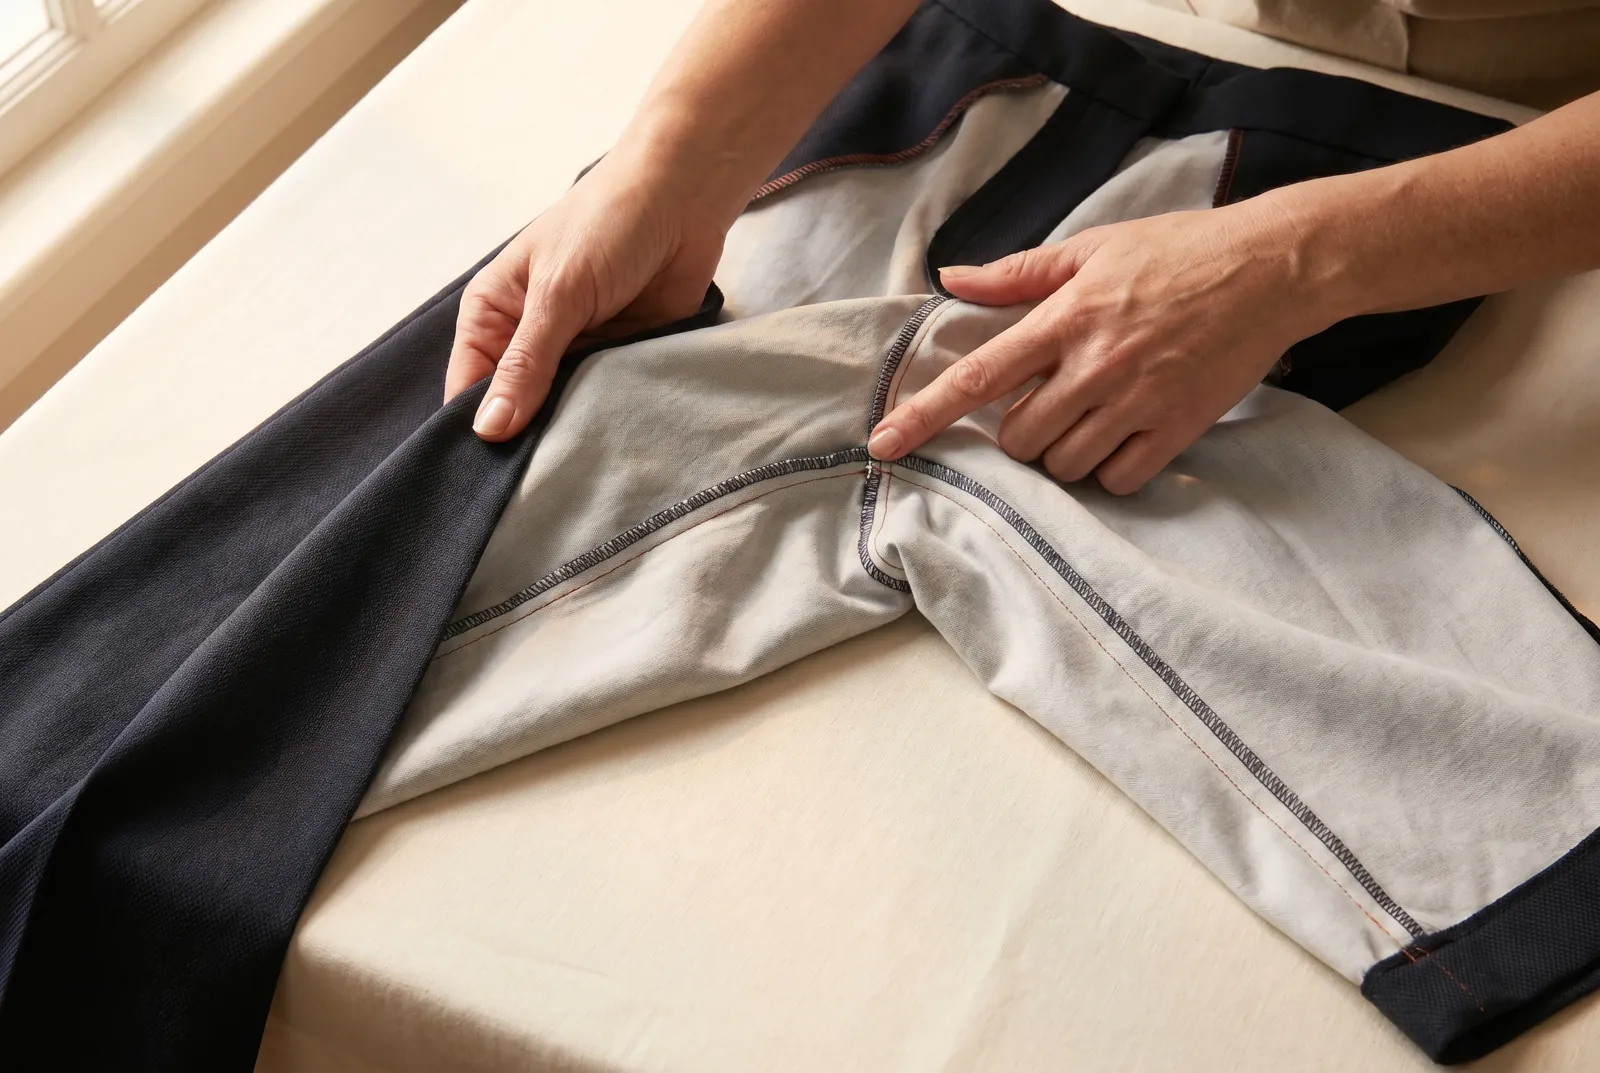
КРОК 1/11Turn the trousers inside out and find the inseam — the seam that runs down the inside of each leg from the crotch to the bottom edge. This is the seam you will move to narrow the leg; leave the outer side seam alone.
Крок 2
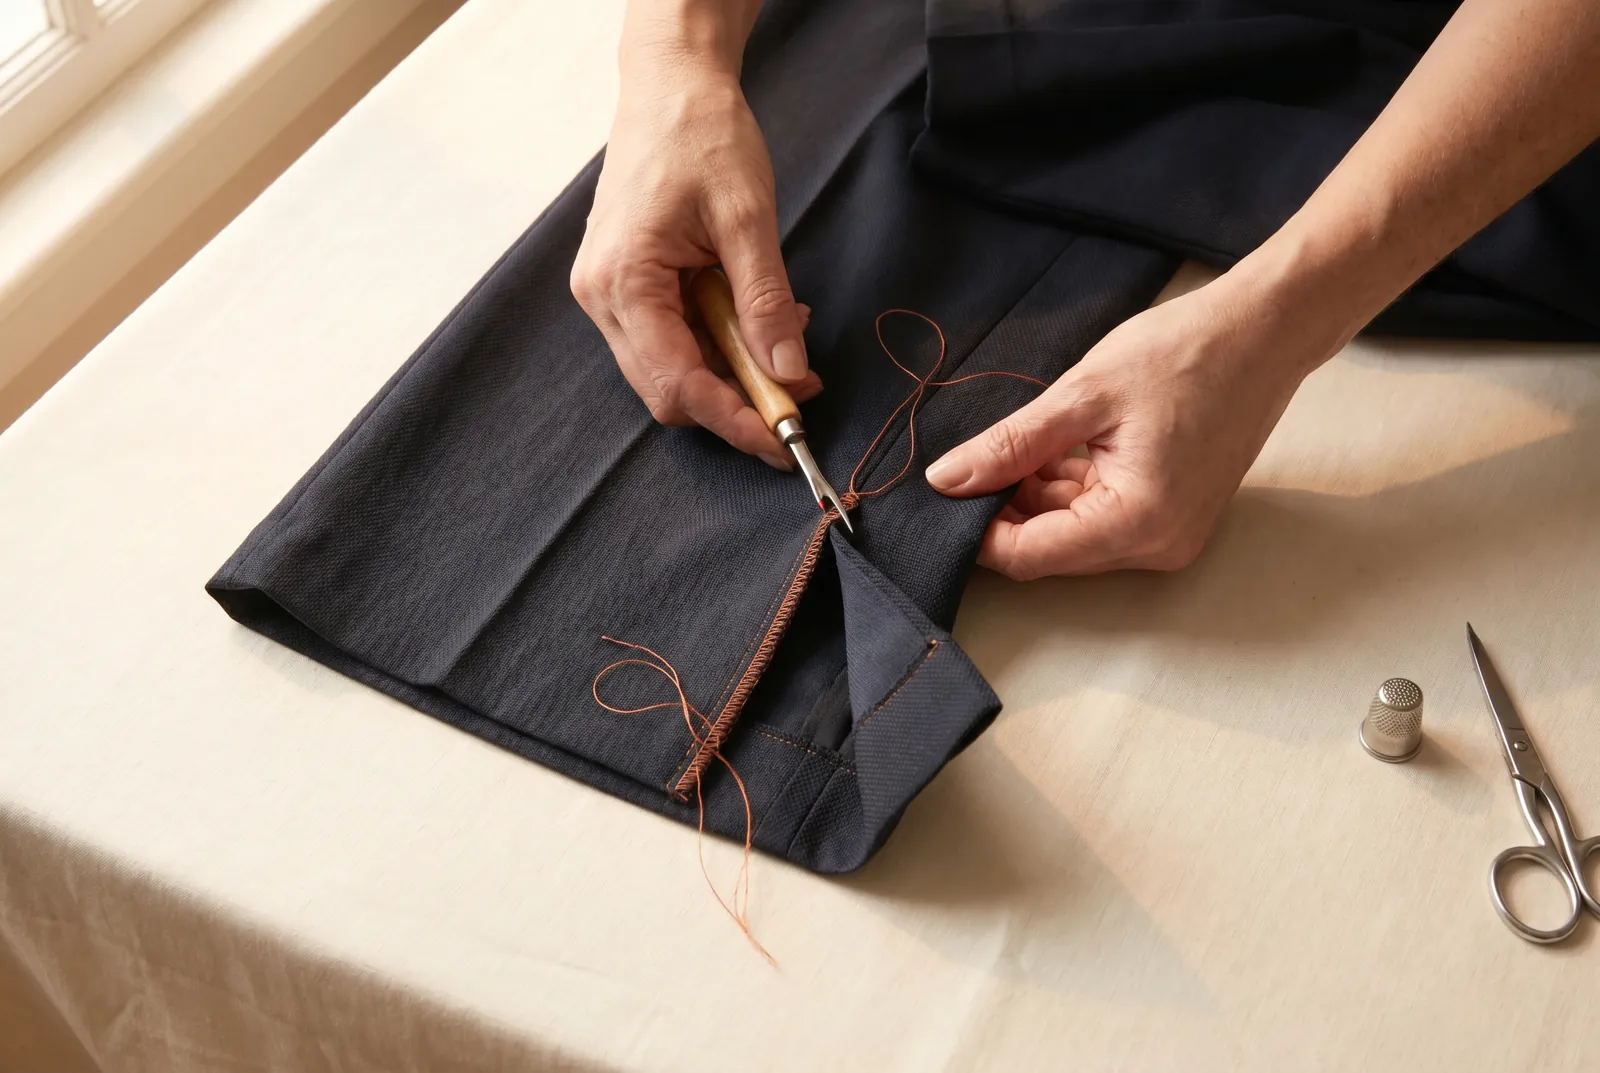
КРОК 2/11Unpick the hem for about 8 cm (3 in) on each side of the inseam so the new seam can run all the way to the bottom edge. Slide a seam ripper or blade against the thread, not against the cloth, and pick out the loose thread bits.
Крок 3
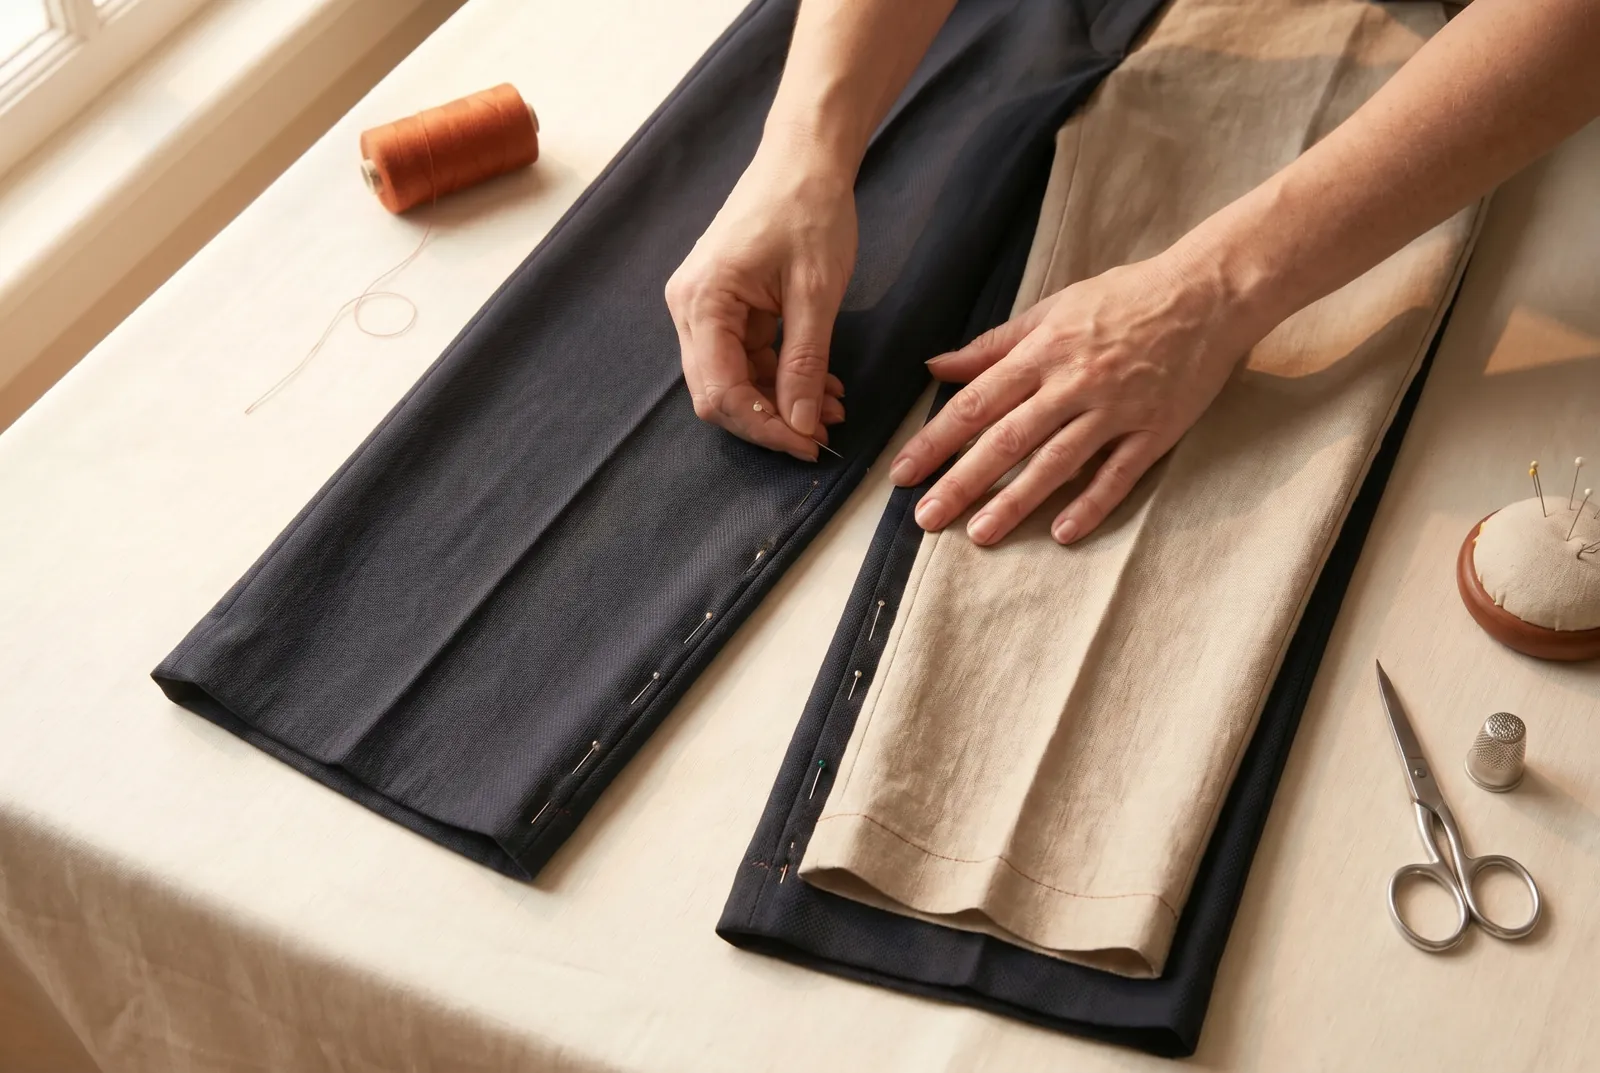
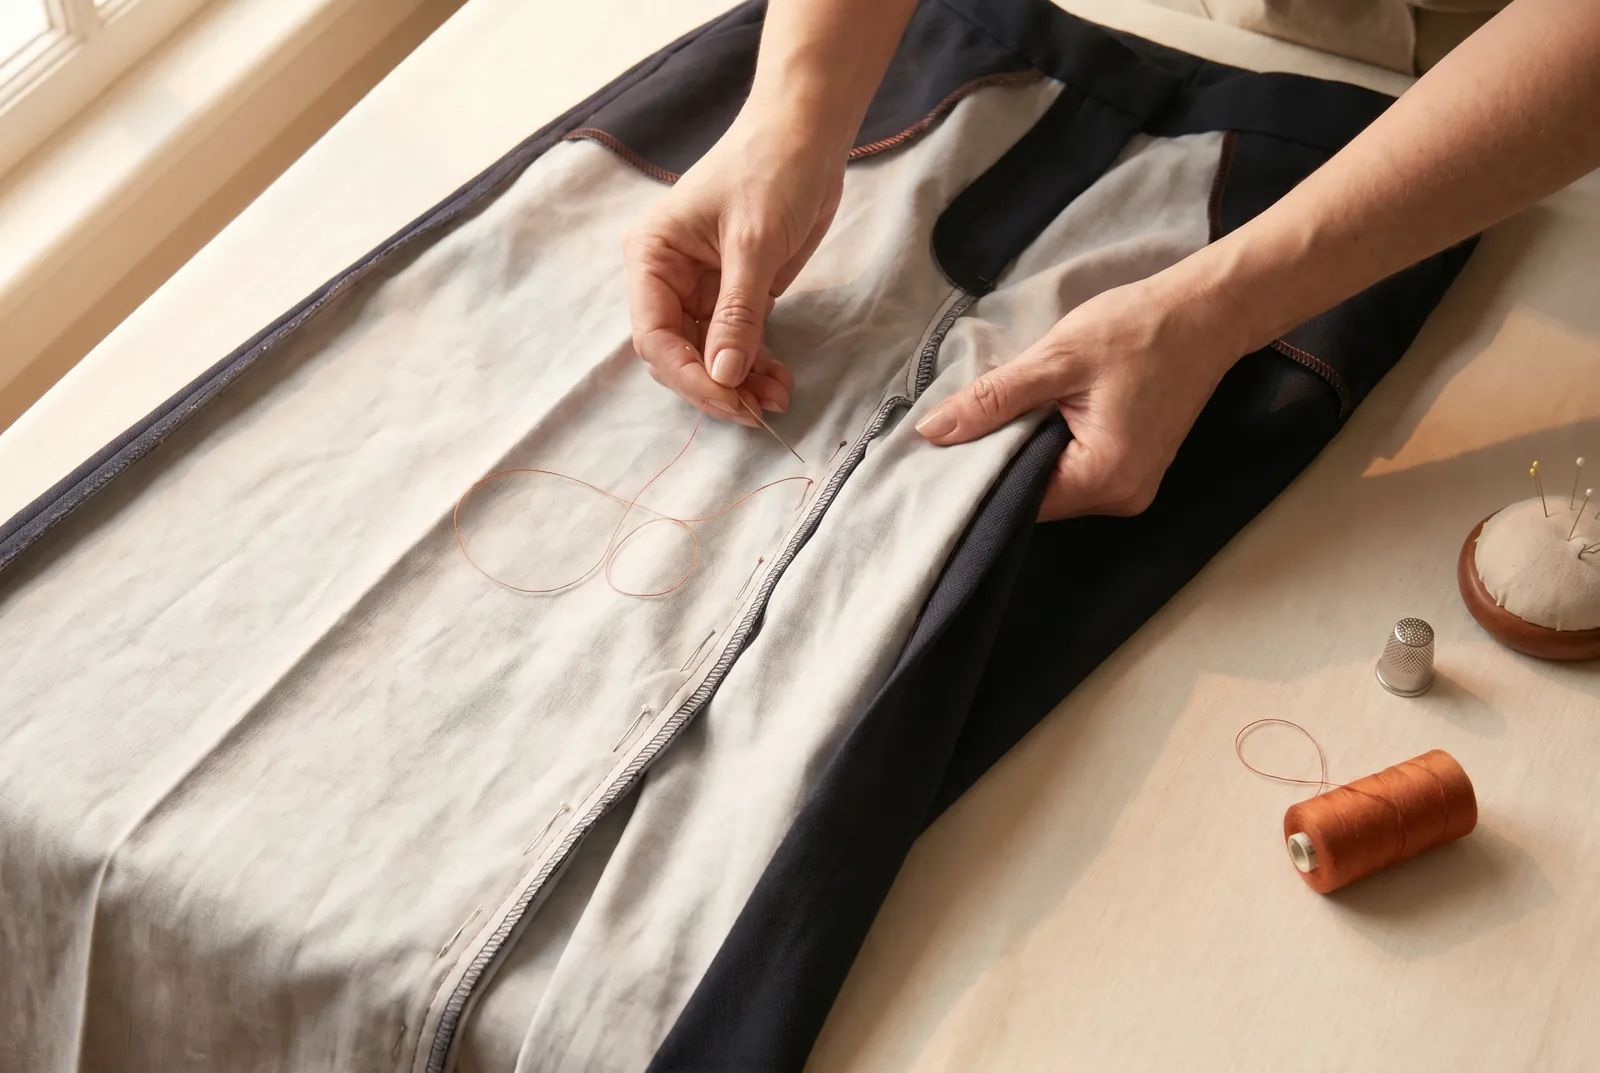
КРОК 3/11On both legs, pin a new, narrower seam line inside the old inseam. To choose how much to take in, lay a straight-leg pair you already wear on top and copy its width, or plan to remove about 2 to 5 cm (3/4 to 2 in) of total width per leg; pin a smooth line from the knee down to the bottom edge and mark both legs identically so they finish alike.
Крок 4
КРОК 4/11Baste along the new line so it holds while you fit and sew. Use even basting — stitches about 6 mm (1/4 in) long with equal spaces — begun with a knot, and set the basting a thread's width outside the pinned line so the permanent stitches will fall on the line itself. The inseam takes strain when you move, so even basting is what holds it, not the long uneven kind.
Крок 5
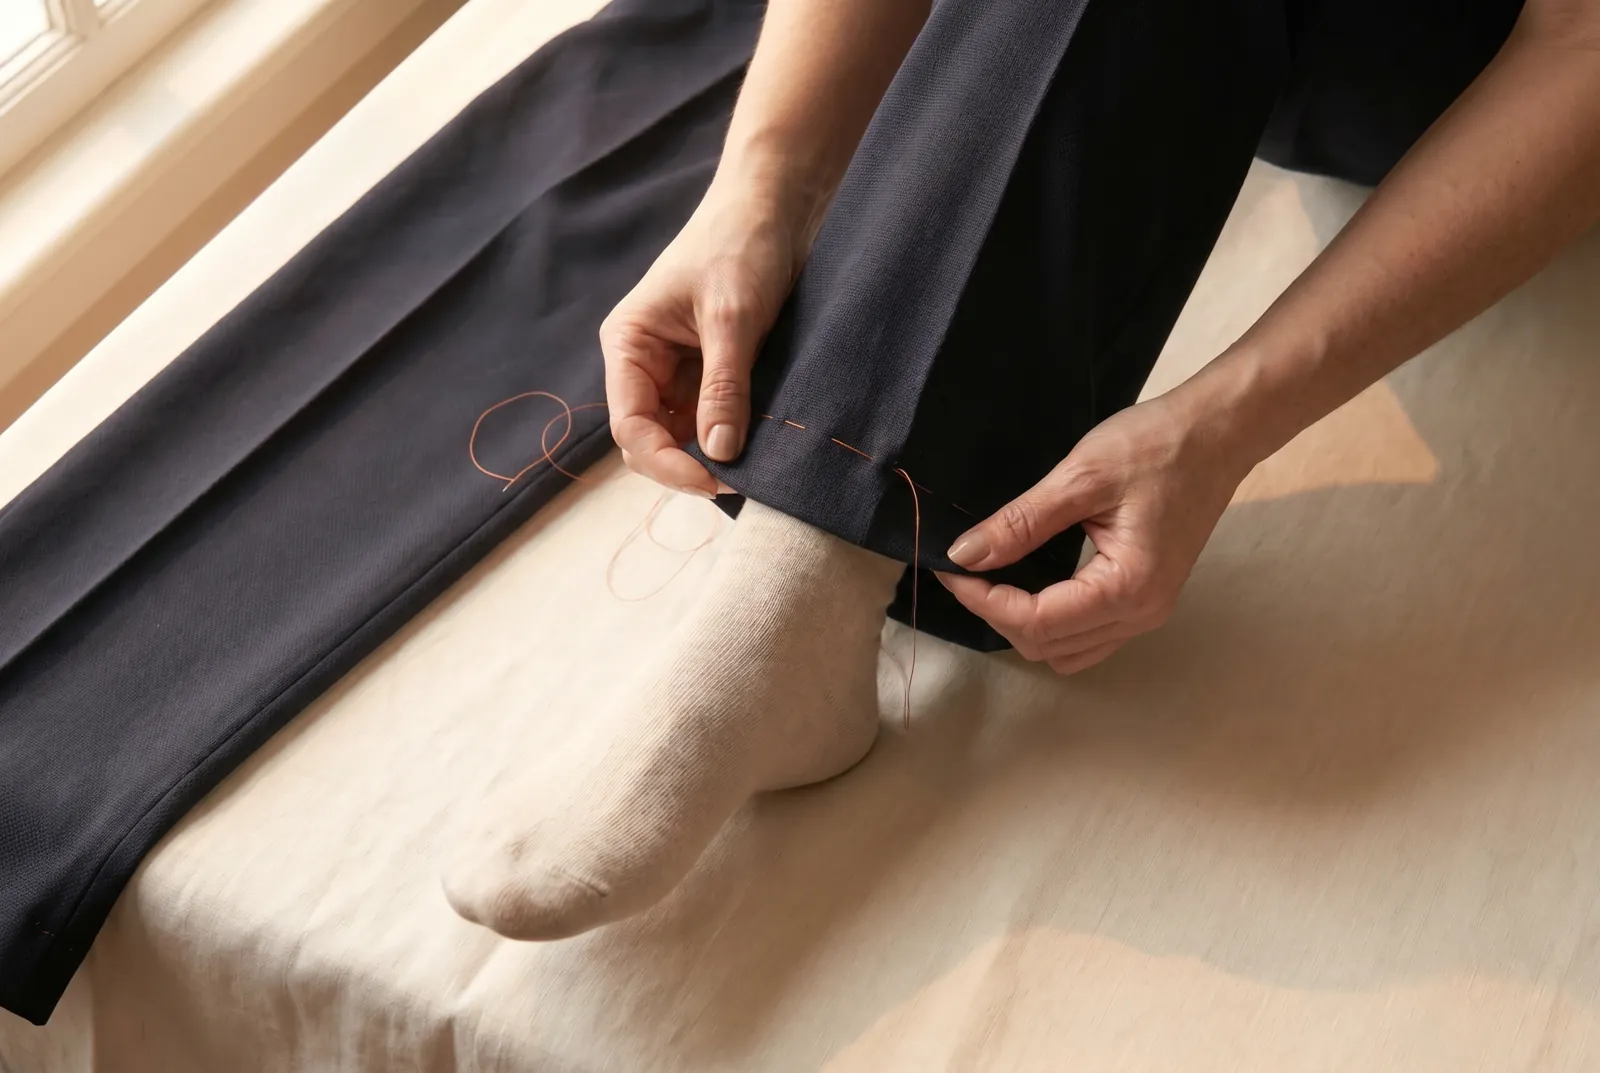
КРОК 5/11Turn the trousers right side out, try them on, and check the new width and that both legs match before you sew anything permanent. If a leg is too tight or too loose, move the basting and try again — the basting is meant to be adjusted.
Крок 6
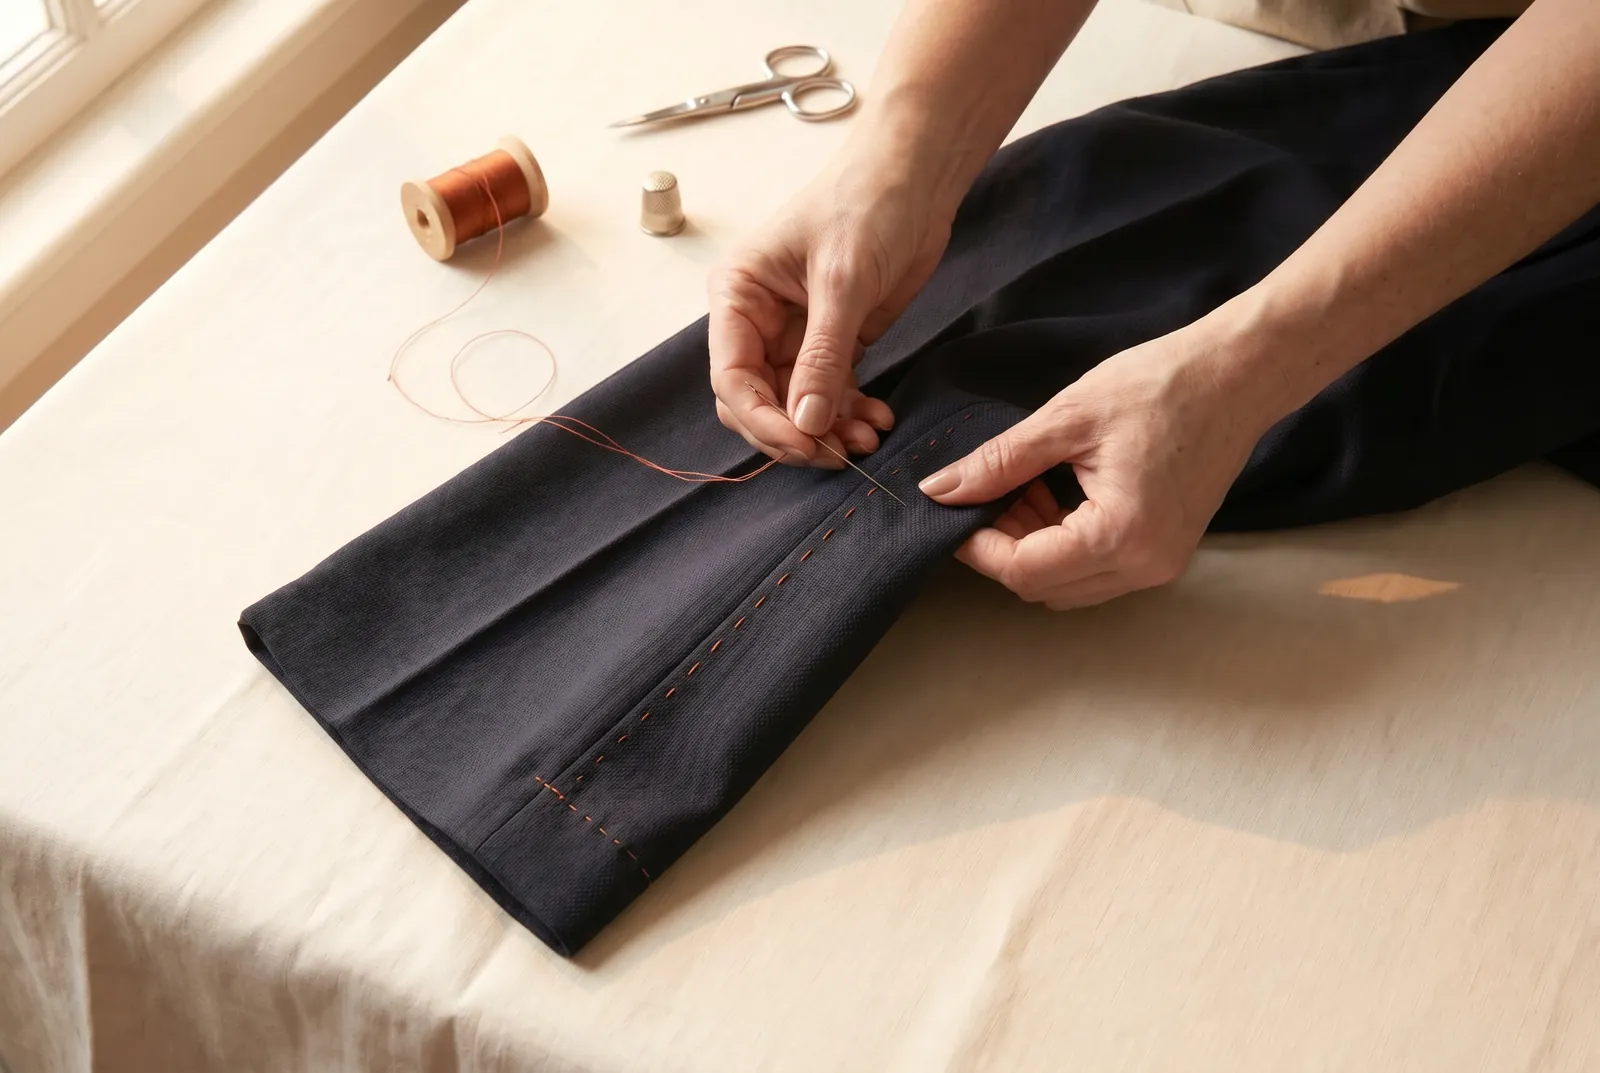
КРОК 6/11Sew the new seam on each leg along the basted line with a running stitch, taking small even stitches 1.5 to 3 mm (1/16 to 1/8 in) long. Where your new line meets the old inseam stitching at the upper end, angle into it gradually so the two blend — taper into the old stitching rather than ending in a sharp step.
Крок 7
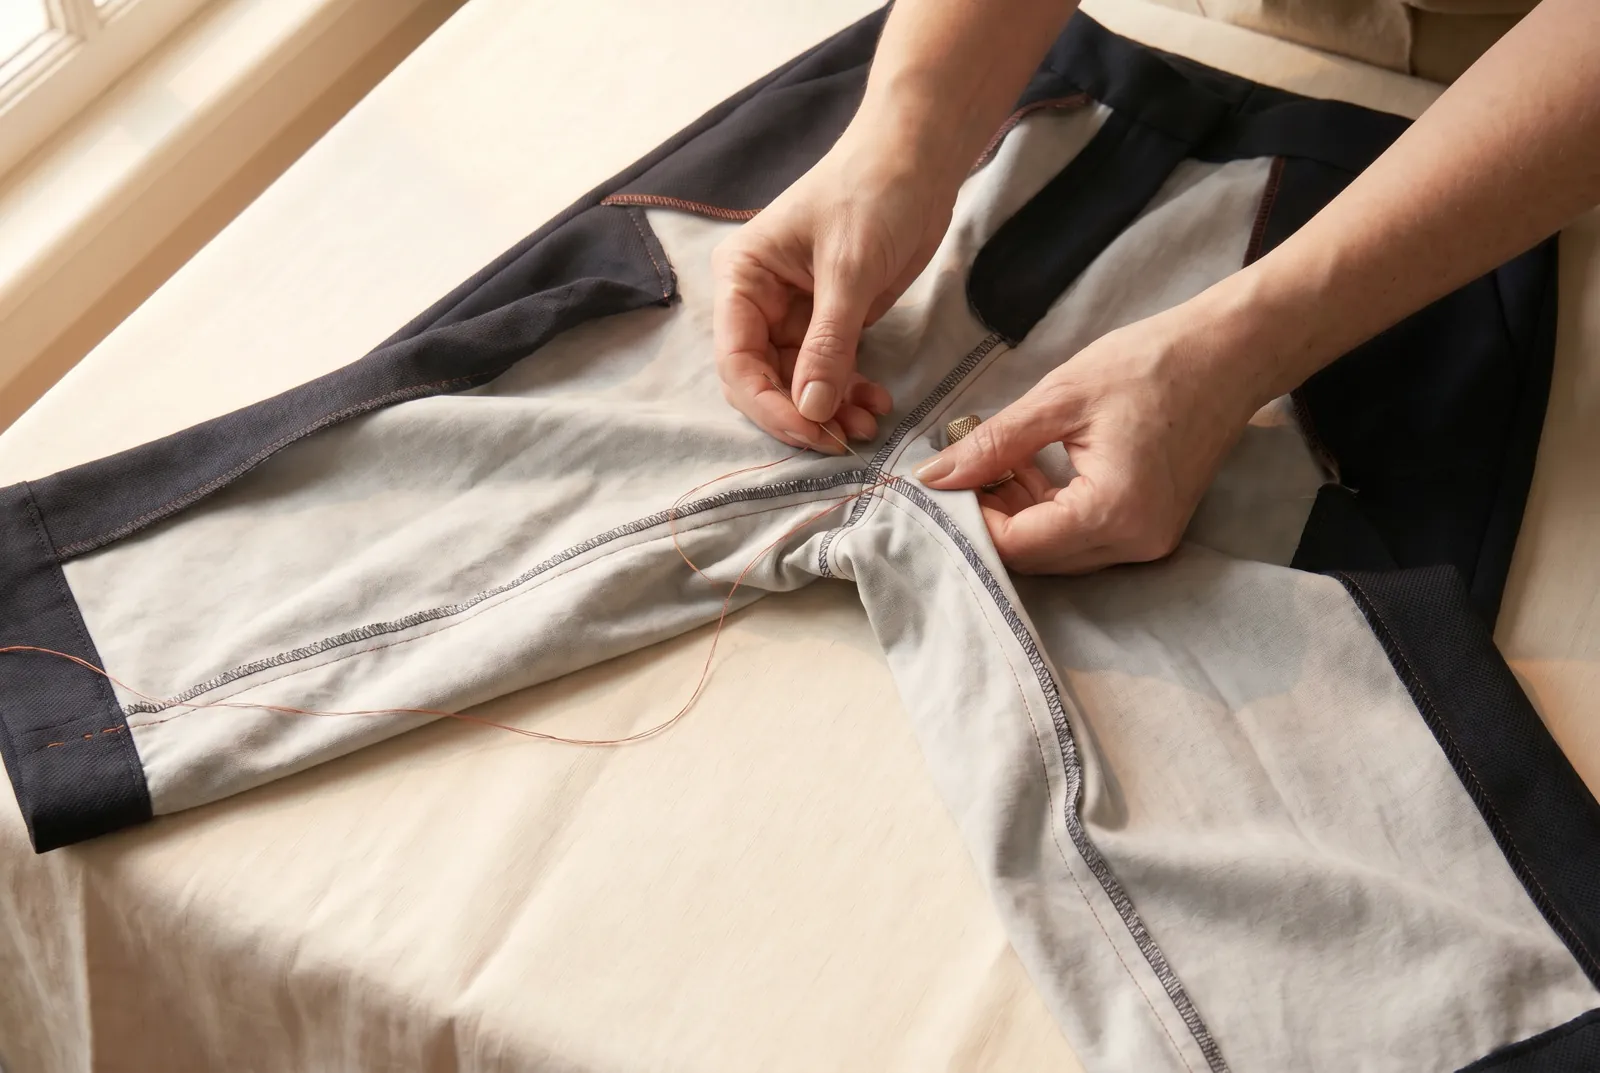
КРОК 7/11Fasten the thread so this strain seam cannot work loose. Begin and finish the seam with two or three backstitches worked over the last stitches, and each time a length of thread runs out, overlap the previous stitches with two backstitches before starting the next thread. A running stitch left unfastened pulls out under the load of walking and sitting.
Крок 8
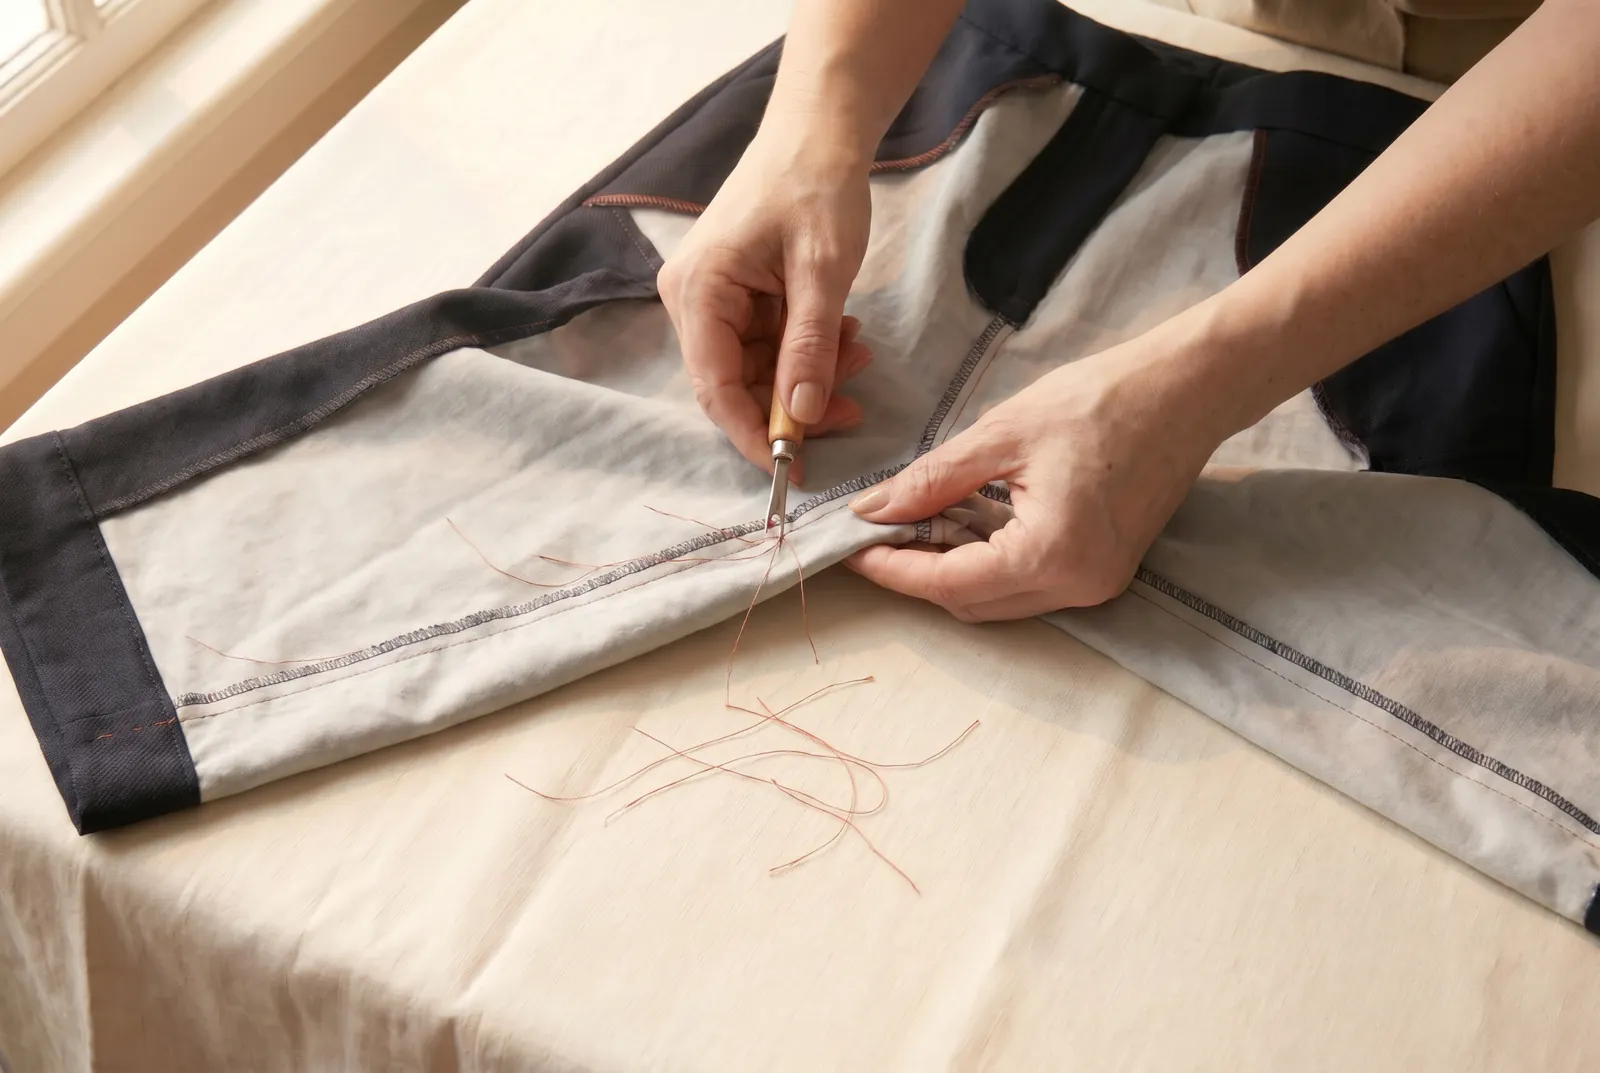
КРОК 8/11Take out the basting: cut its thread every few inches and draw out the short lengths. A long basting thread pulled from one end puckers the work, so remove it in pieces.
Крок 9
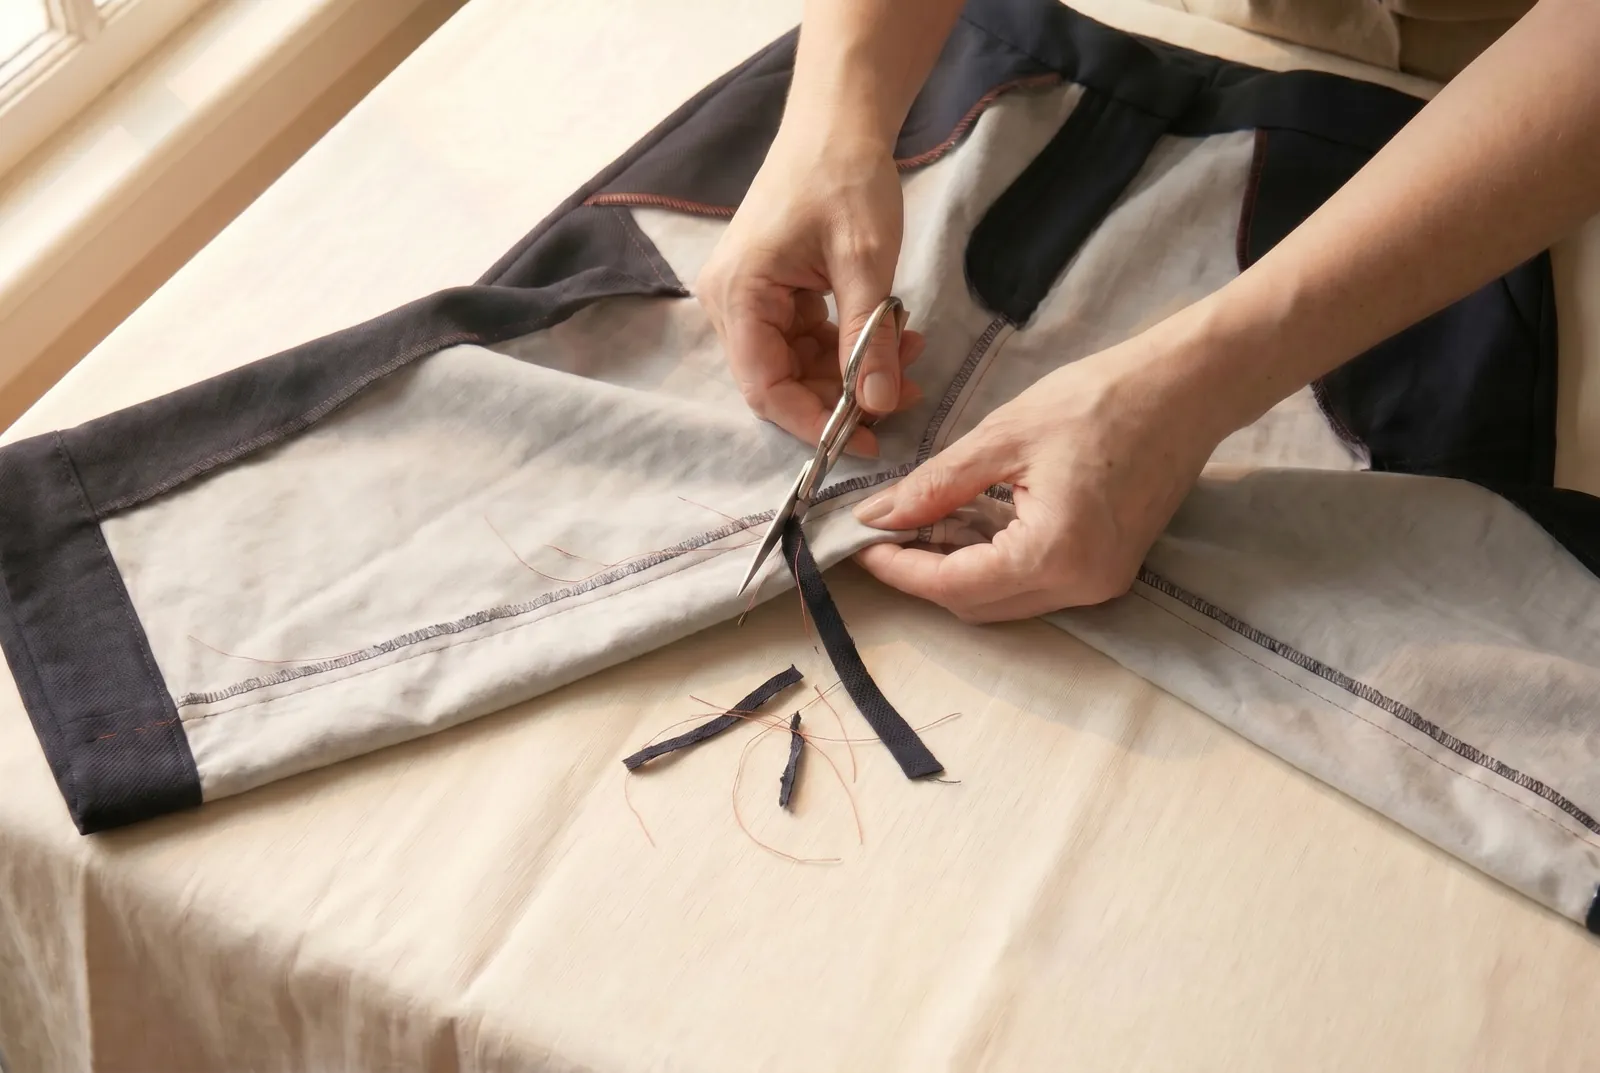
КРОК 9/11If you took in more than about 3 cm (1 1/4 in), trim the new seam allowance to an even width so the leg is not bulky. Keep the trim even along the whole seam — an uneven allowance shows as ridges through the cloth.
Крок 10
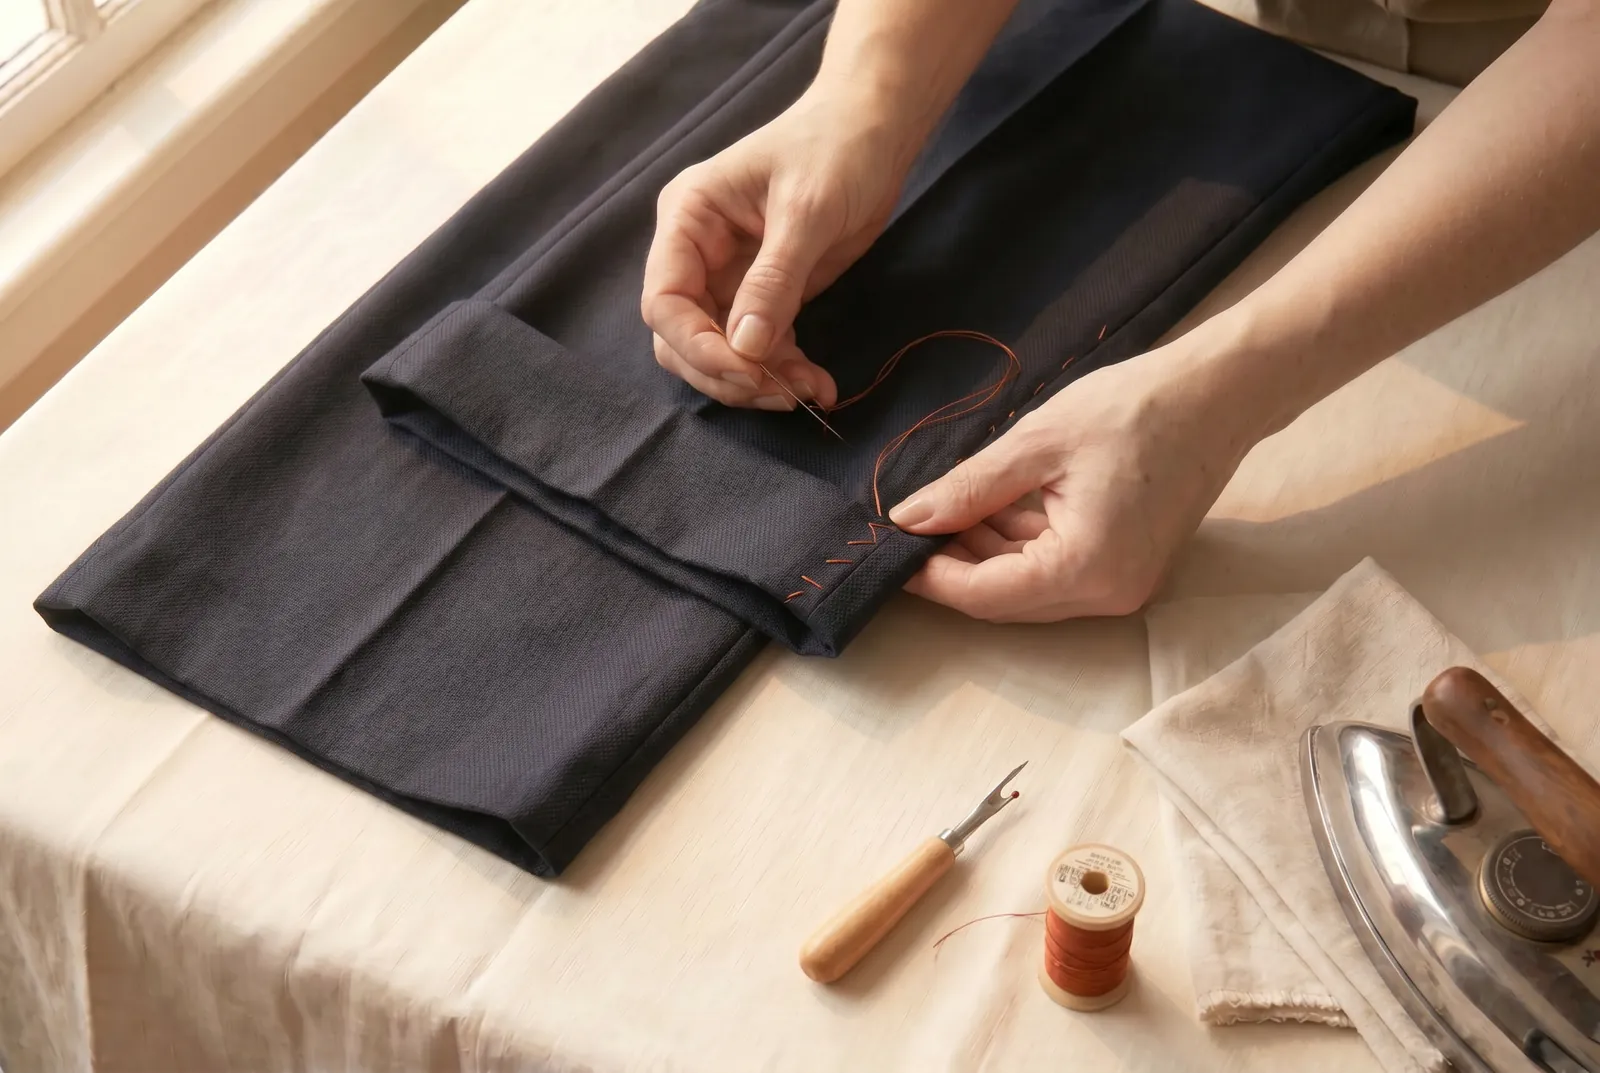
КРОК 10/11Finish each raw edge so the cut cloth cannot ravel: turn the edge under about 6 mm (1/4 in) and hem it flat with small slanting stitches worked right to left, catching one or two threads of the allowance. Then press the seam open with a damp cloth.
Крок 11
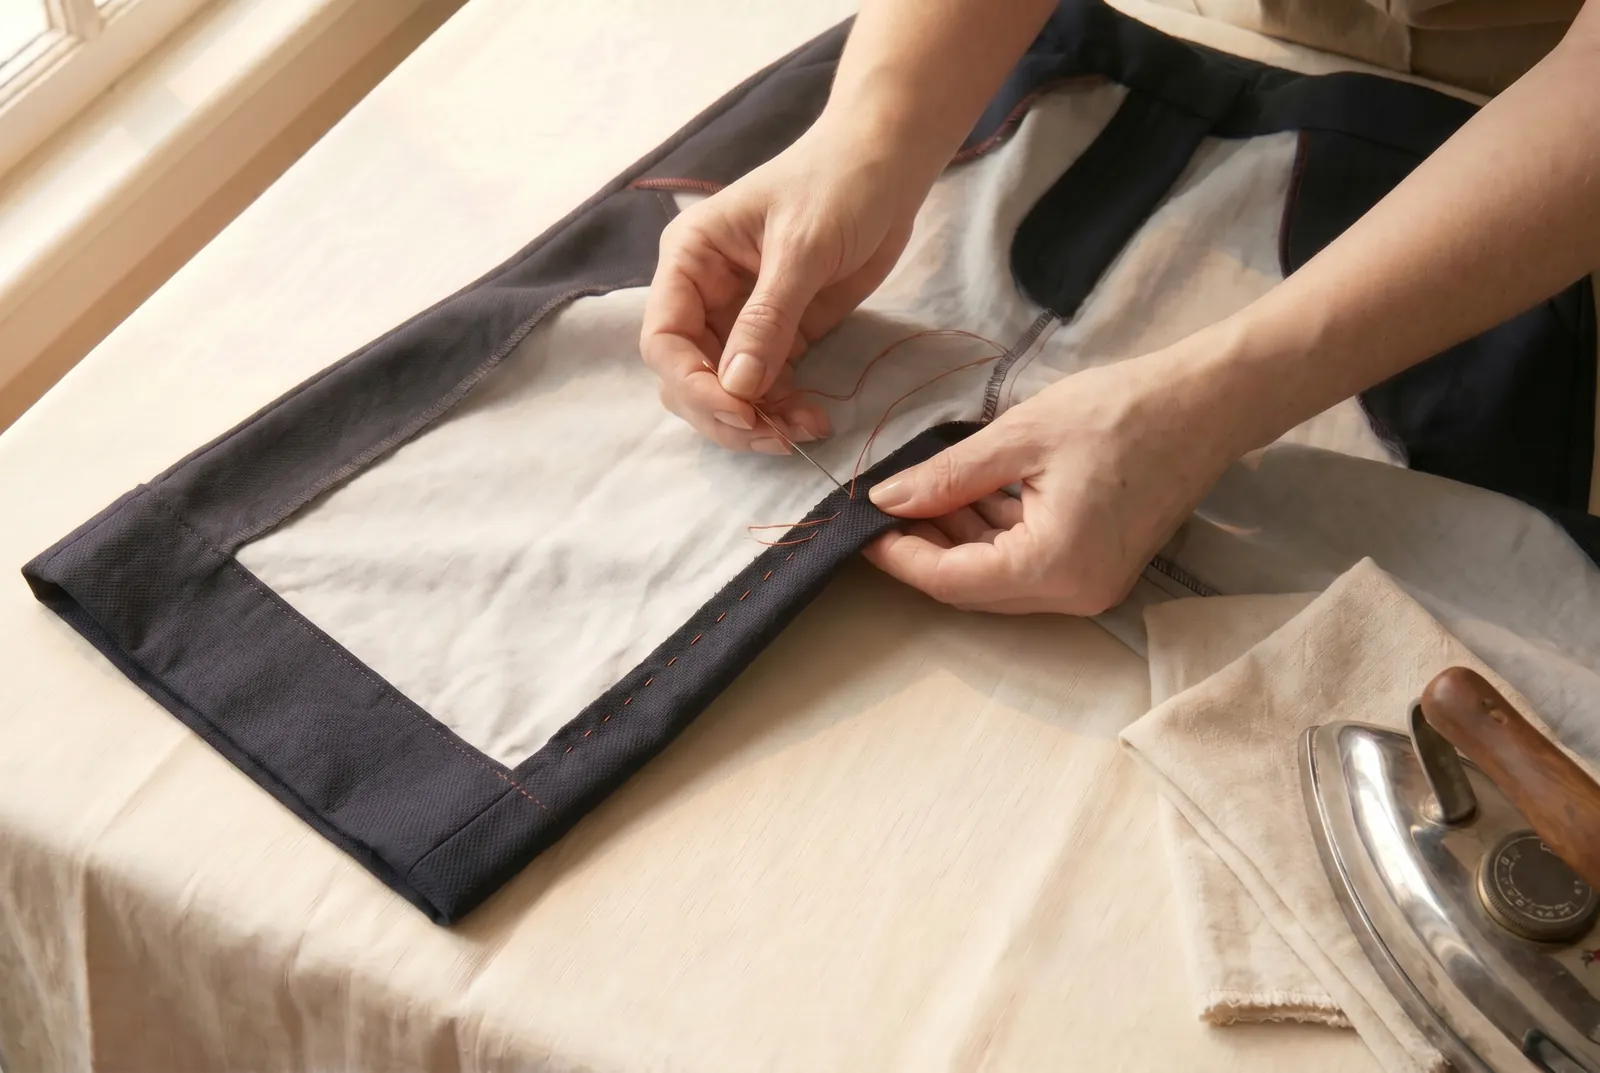
КРОК 11/11On each leg, re-fold the opened hem to its original depth — 4 to 5 cm (1 1/2 to 2 in) — enclosing the new seam end. Baste close to the folded edge, hem by hand with slanting stitches that barely show on the right side, fasten on and off within the fold rather than with an outside knot, then restore the crease with a damp cloth and a hot iron.