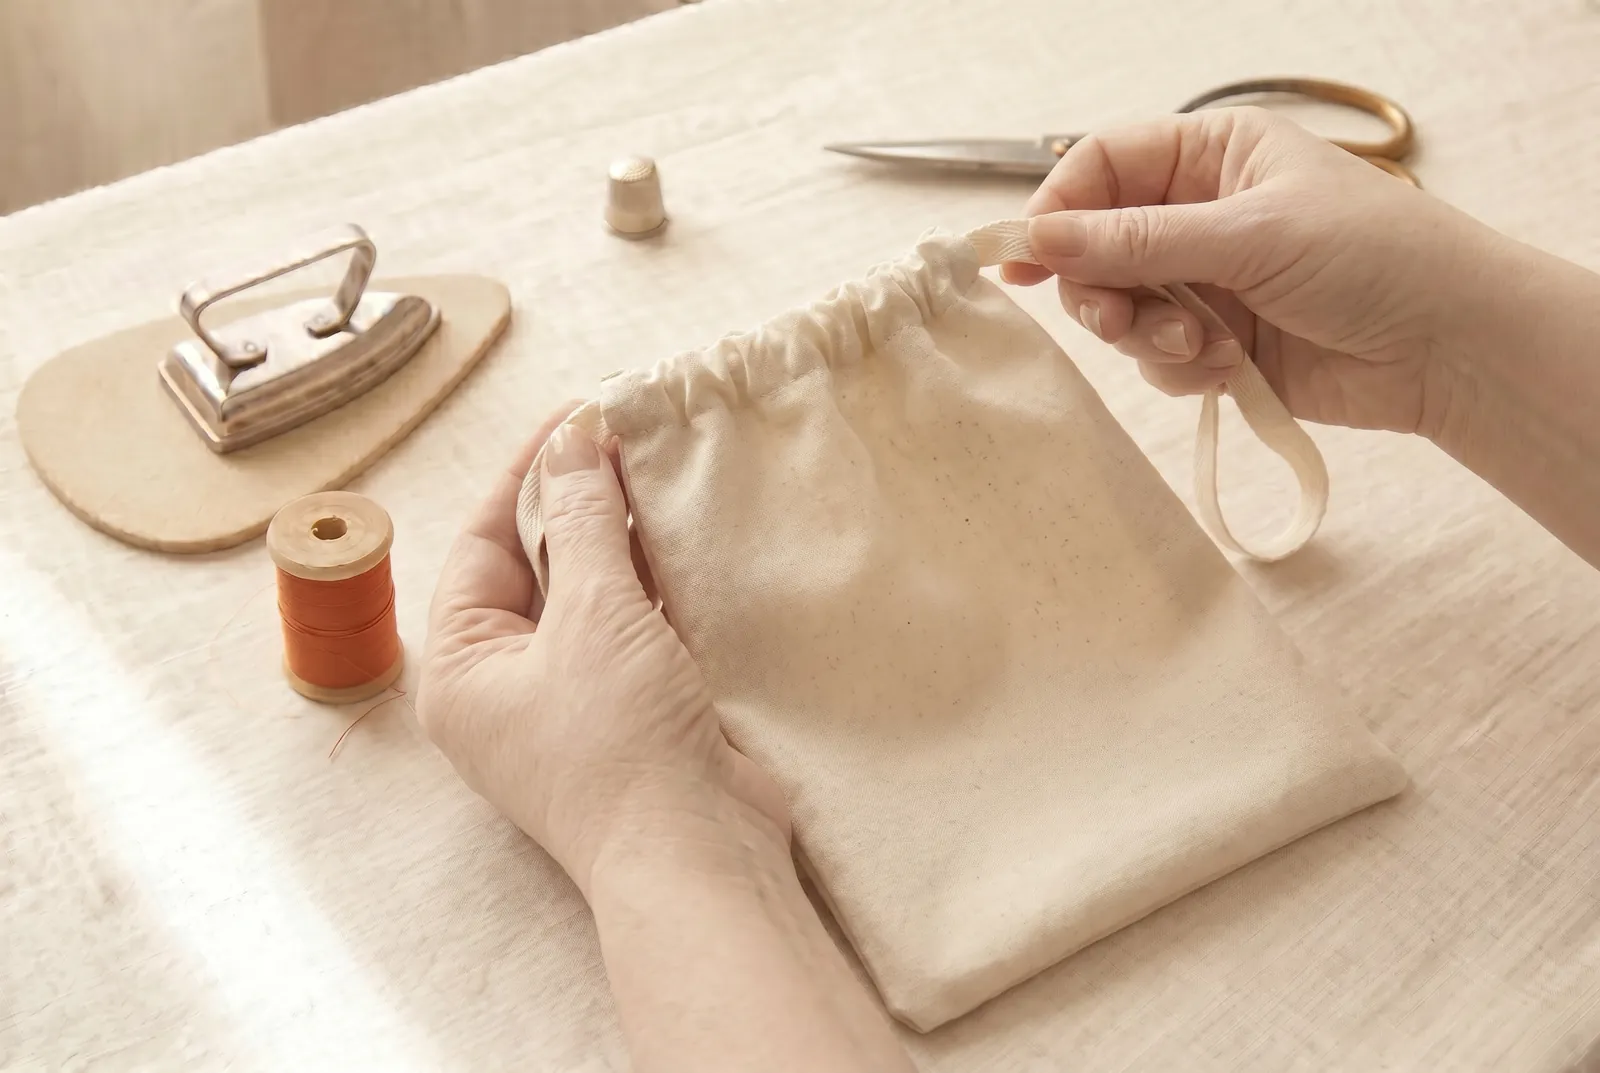
Сталі основи · деталь Nº 35 · 66 хв
Sew a simple drawstring everyday bag
Turn one rectangle of firm cotton or denim into a drawstring bag you can carry every day, using a French seam that wraps and hides its own raw edges and a two-row casing for the strings. The sources build this as a first project in hems, seams, and casings, so the same plan in other sizes also makes shoe bags, laundry bags, and school bags.
Шов · 11 кроків
Крок 1
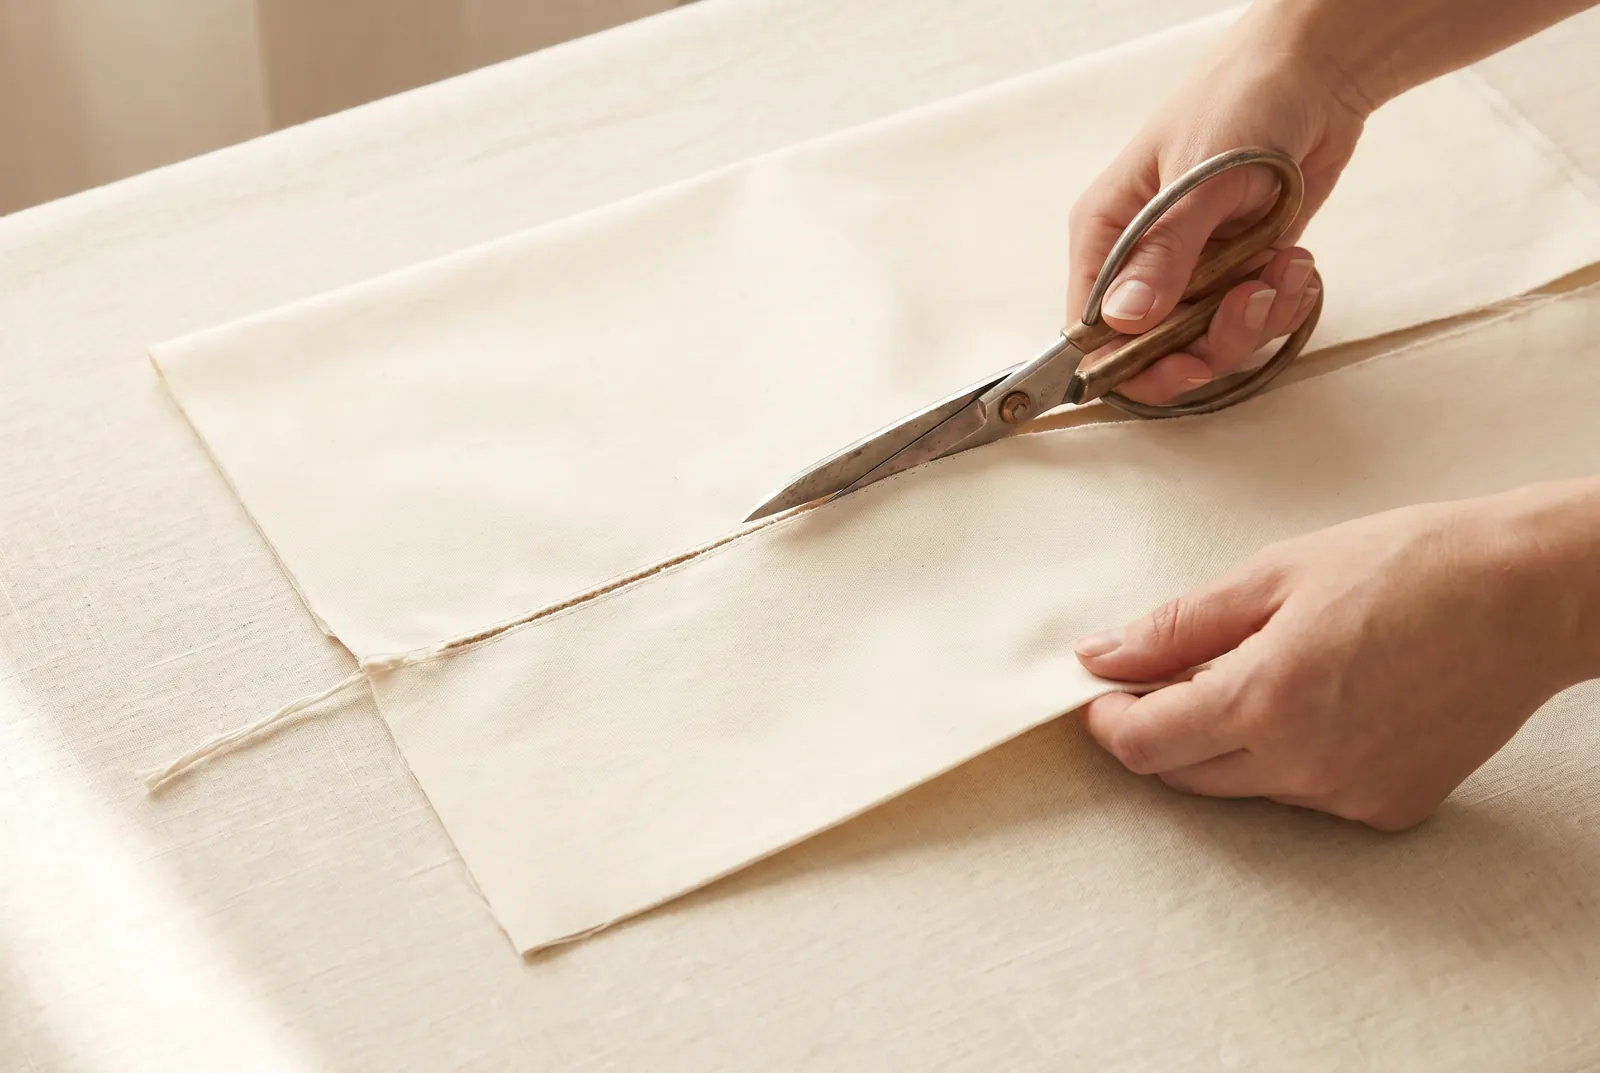
КРОК 1/11Cut one rectangle of firm cotton, denim, cretonne, or strong muslin, 30 by 76 cm (12 by 30 in). Straighten both short ends by pulling a single crosswise thread and cutting along the gap it leaves, so the bag hangs square rather than skewed.
Крок 2
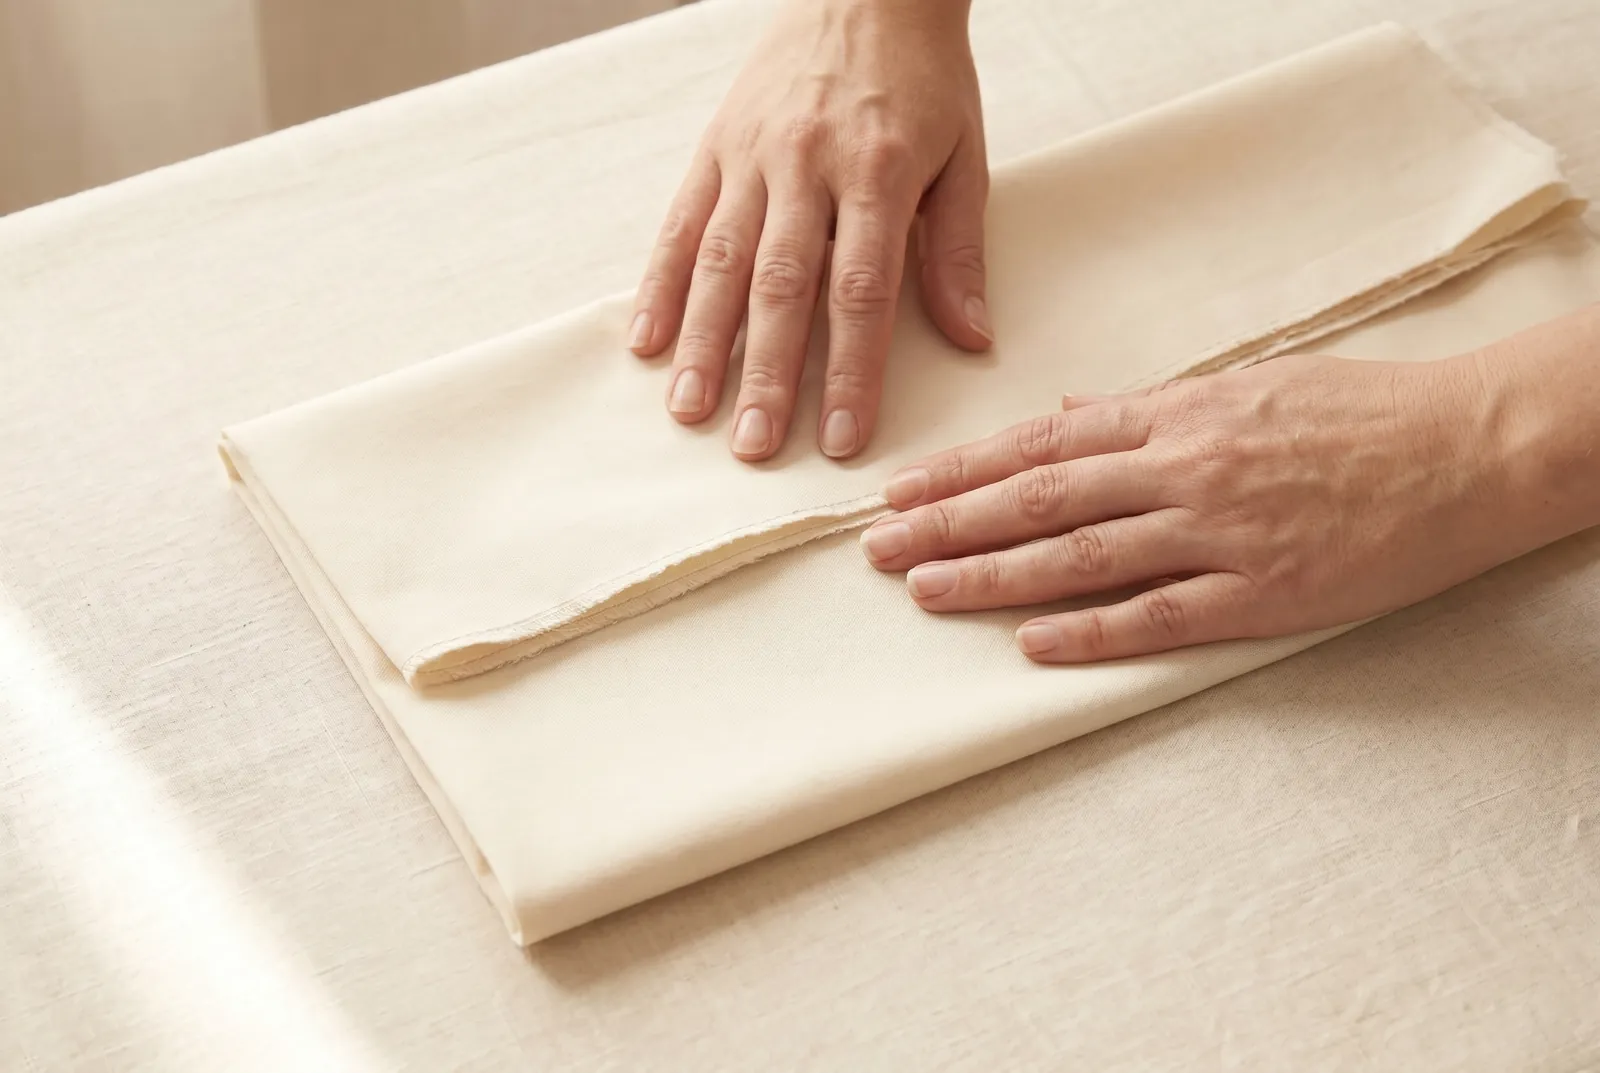
КРОК 2/11Fold the rectangle in half crosswise with the right sides facing OUT, not together. This looks backward, but it sets up a French seam that will wrap around and enclose its own raw edges once the bag is turned.
Крок 3
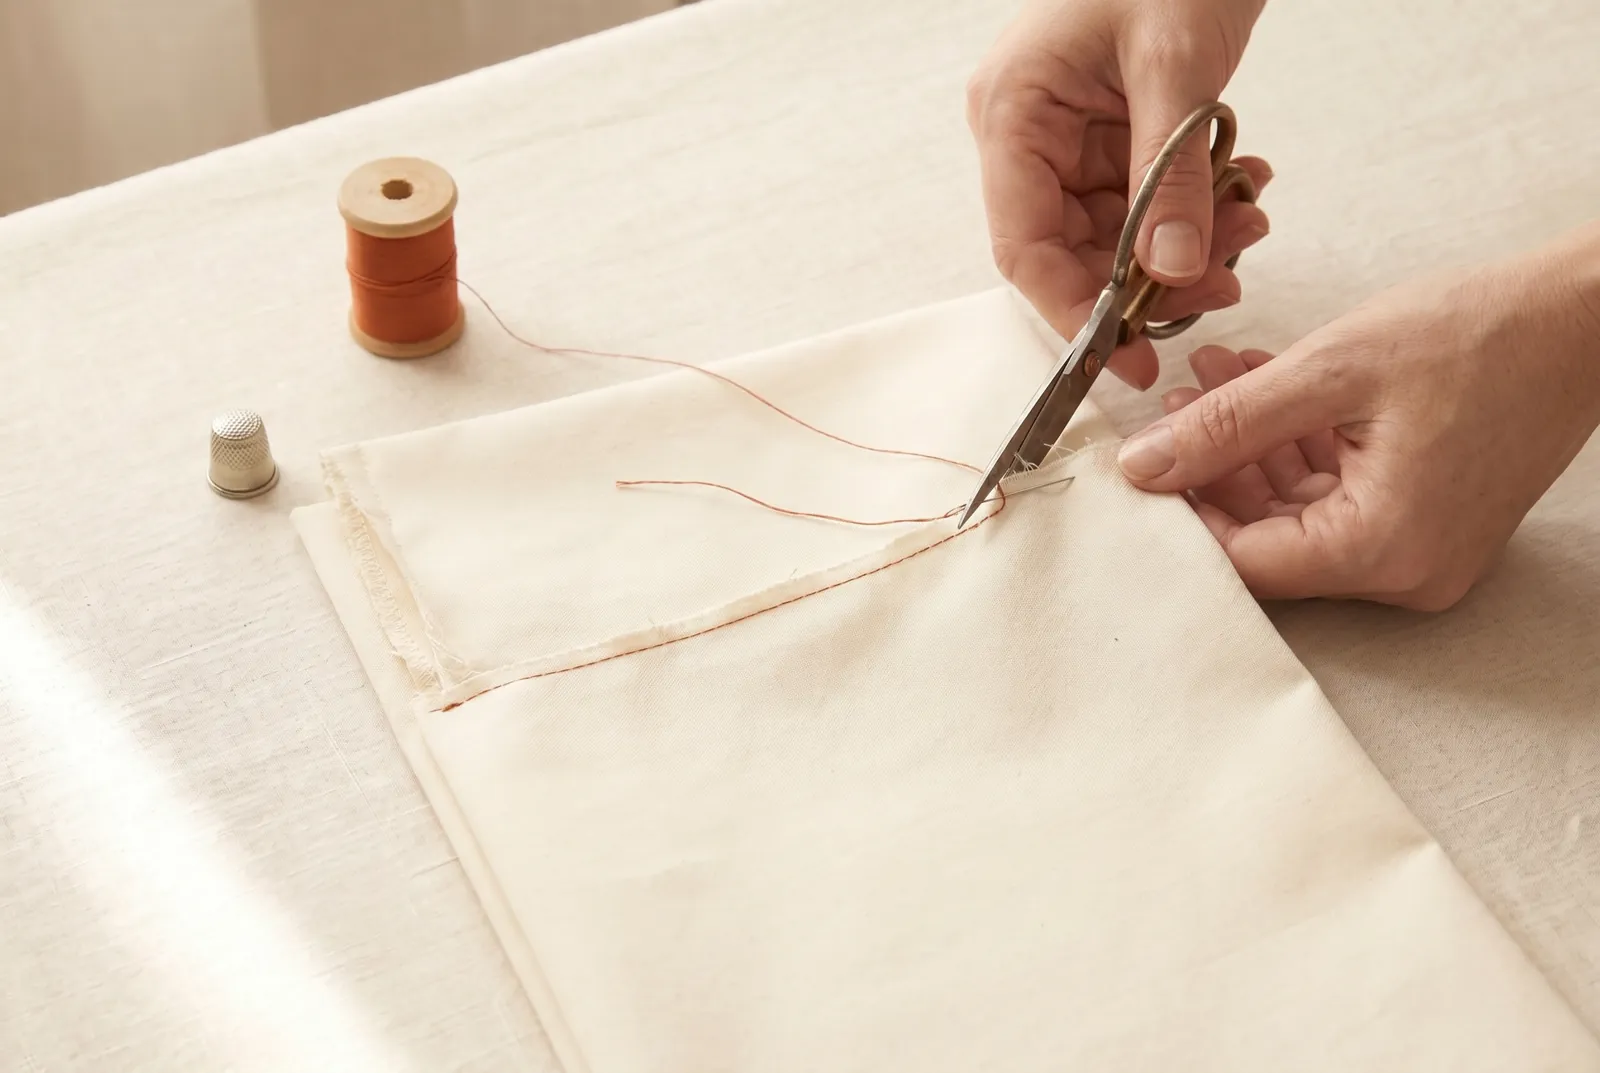
КРОК 3/11Sew a narrow seam 3 mm (1/8 in) from each raw side edge, through both layers, but stop 4 cm (1 1/2 in) short of the top on both sides. Trim off any ravelings close to the stitching so they cannot poke through the next seam.
Крок 4
КРОК 4/11Turn the bag wrong side out and crease each seam exactly on its stitching line. Sew a second seam 6 mm (1/4 in) from that fold, again stopping 4 cm (1 1/2 in) short of the top; this second row encloses the first raw edges inside a clean tube.
Крок 5
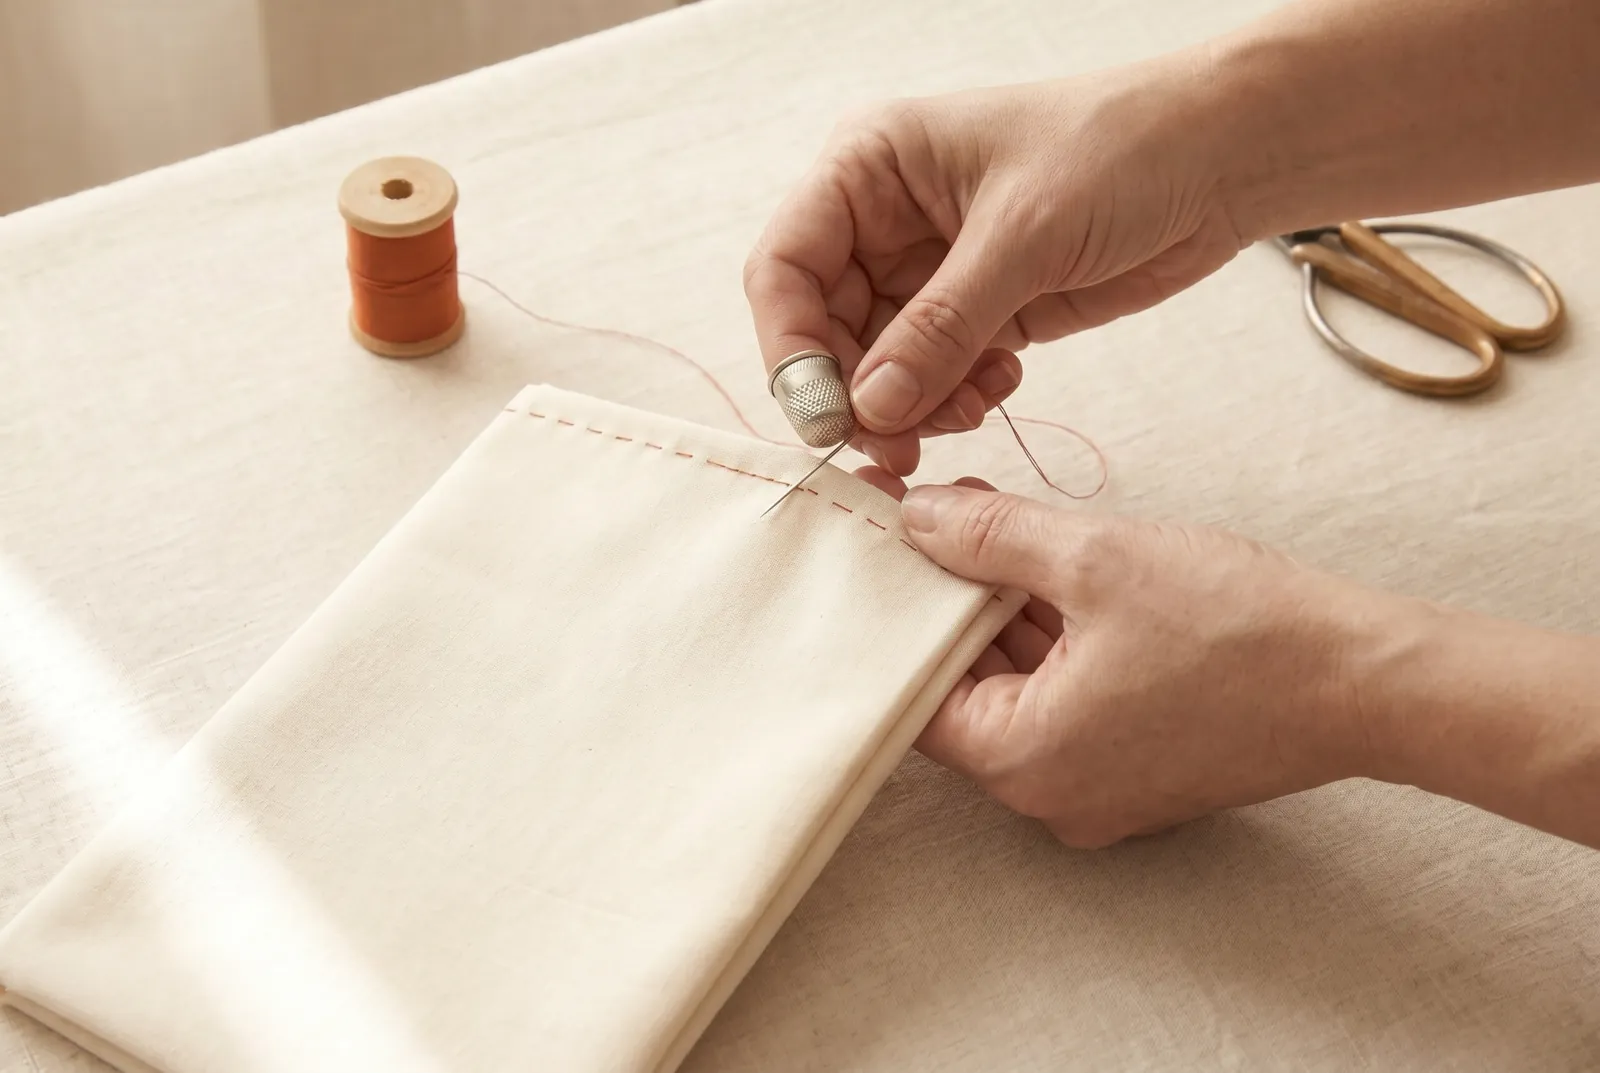
КРОК 5/11Finish the two 4 cm (1 1/2 in) gaps left open at the top of each seam by turning their raw edges under narrowly and hemming them flat. These openings have to sit in the band that will become the casing, or the drawstring has no way to enter.
Крок 6
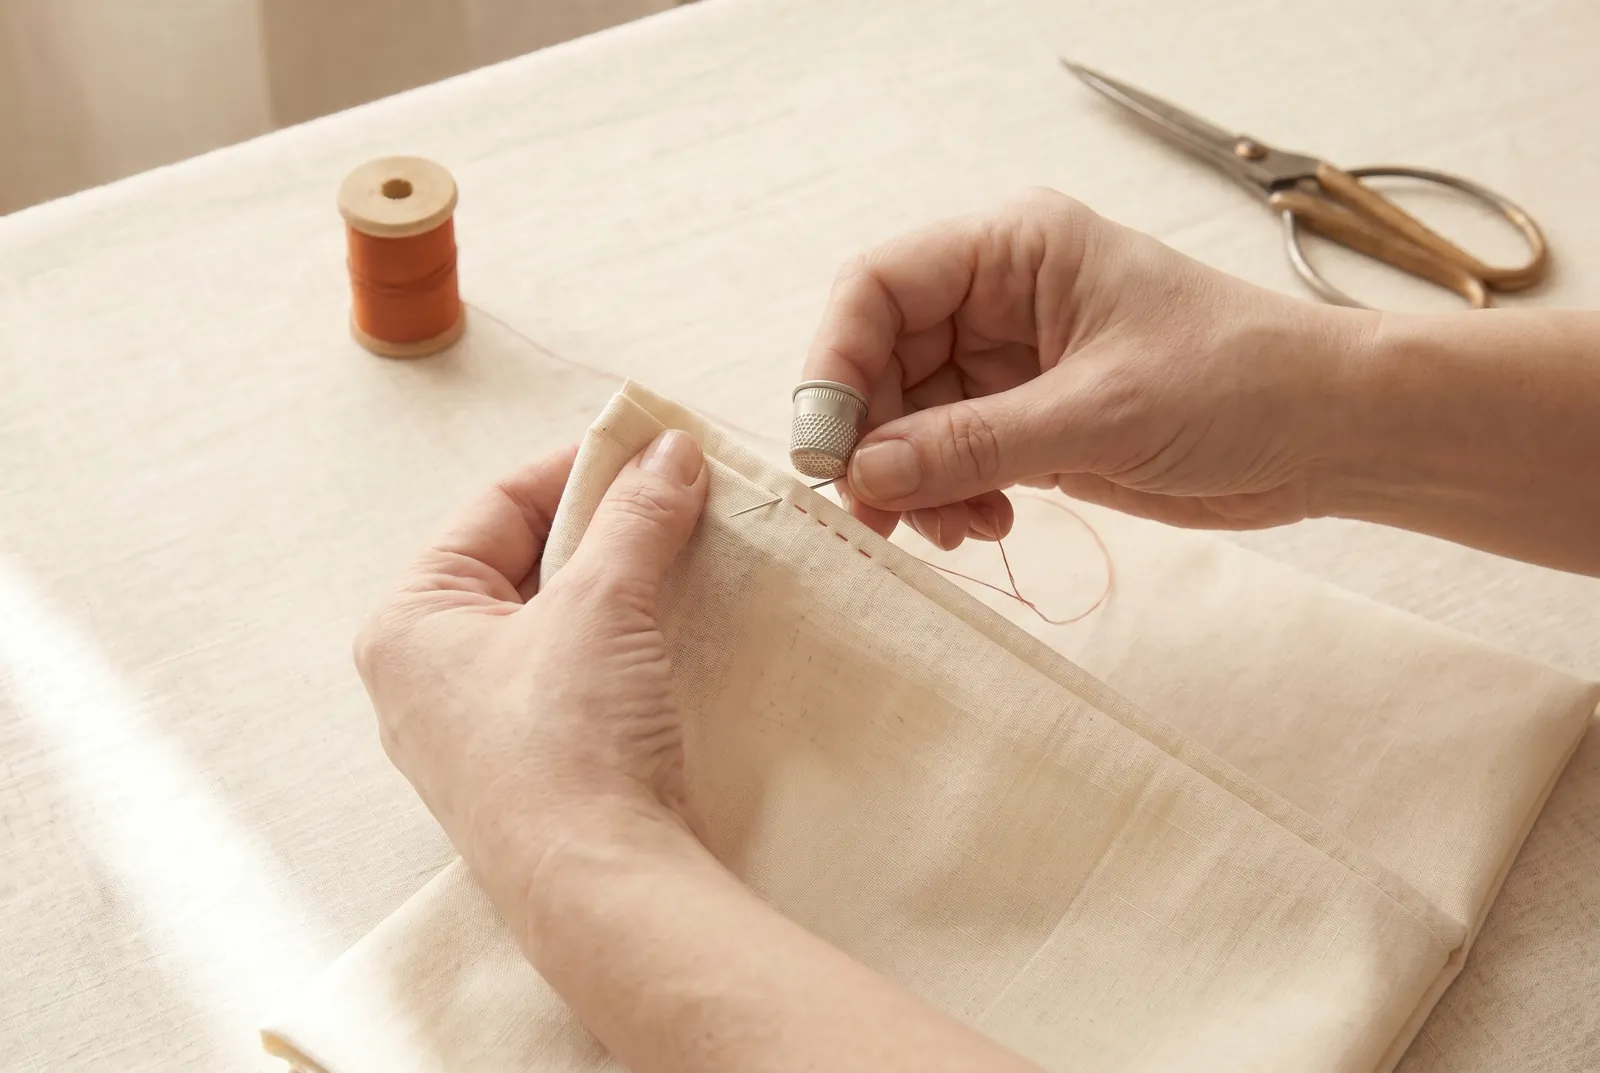
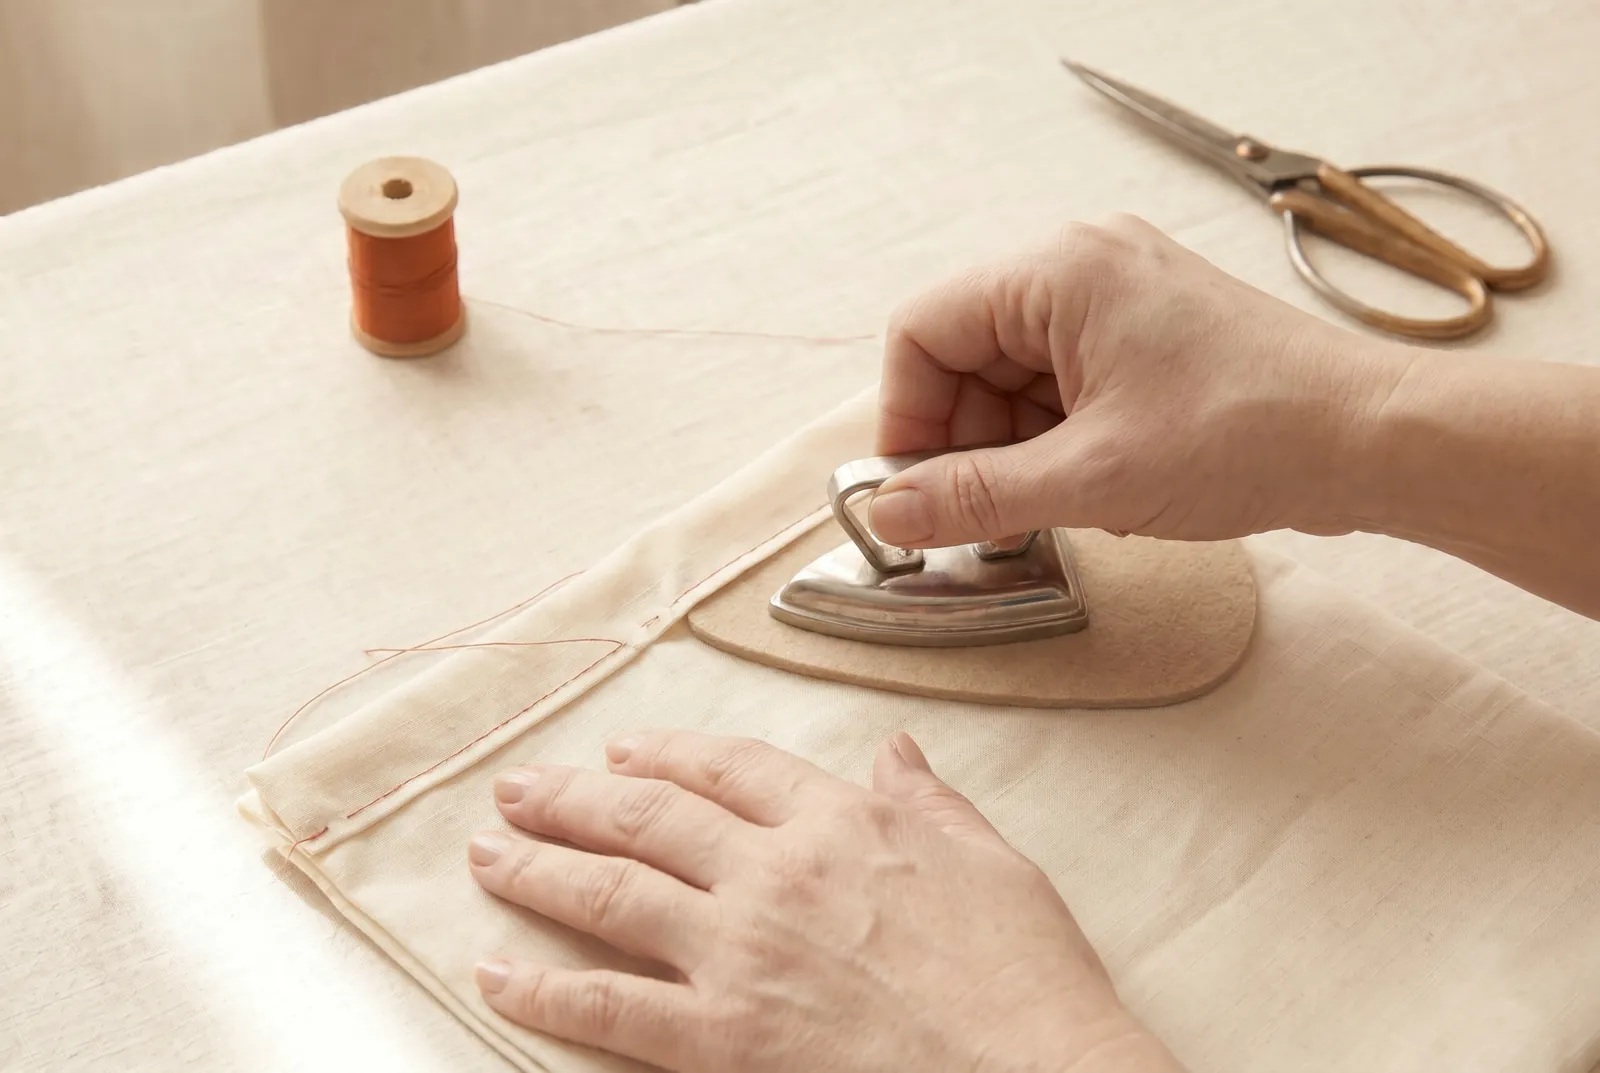
КРОК 6/11Turn the top edge to the wrong side 6 mm (1/4 in), then again 3 cm (1 1/4 in); baste the fold, then stitch it down along its lower edge. Press the hem on the wrong side before you pull out the basting, then press again; a straight hem lies flat on a straight edge like this one.
Крок 7
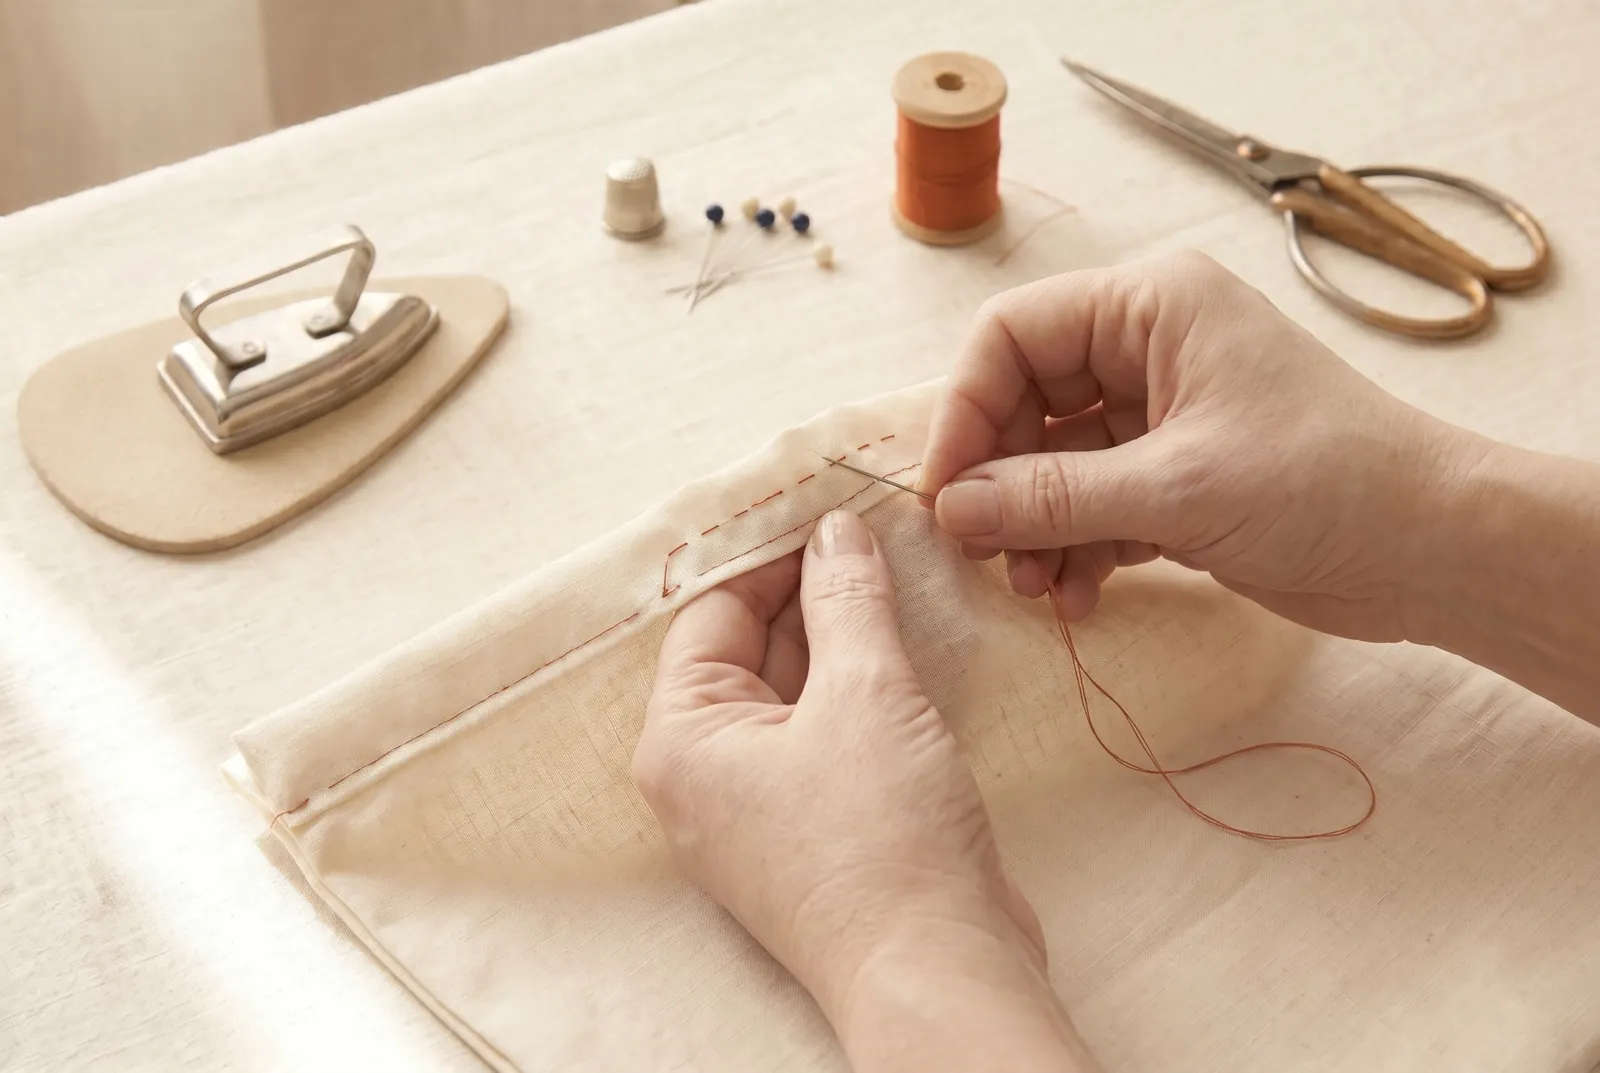
КРОК 7/11Stitch a second row all the way around the bag, 1.3 cm (1/2 in) above the first stitching line. The channel between the two rows is the casing; the strip of cloth standing above it will ruffle into a frill when the bag is drawn shut.
Крок 8
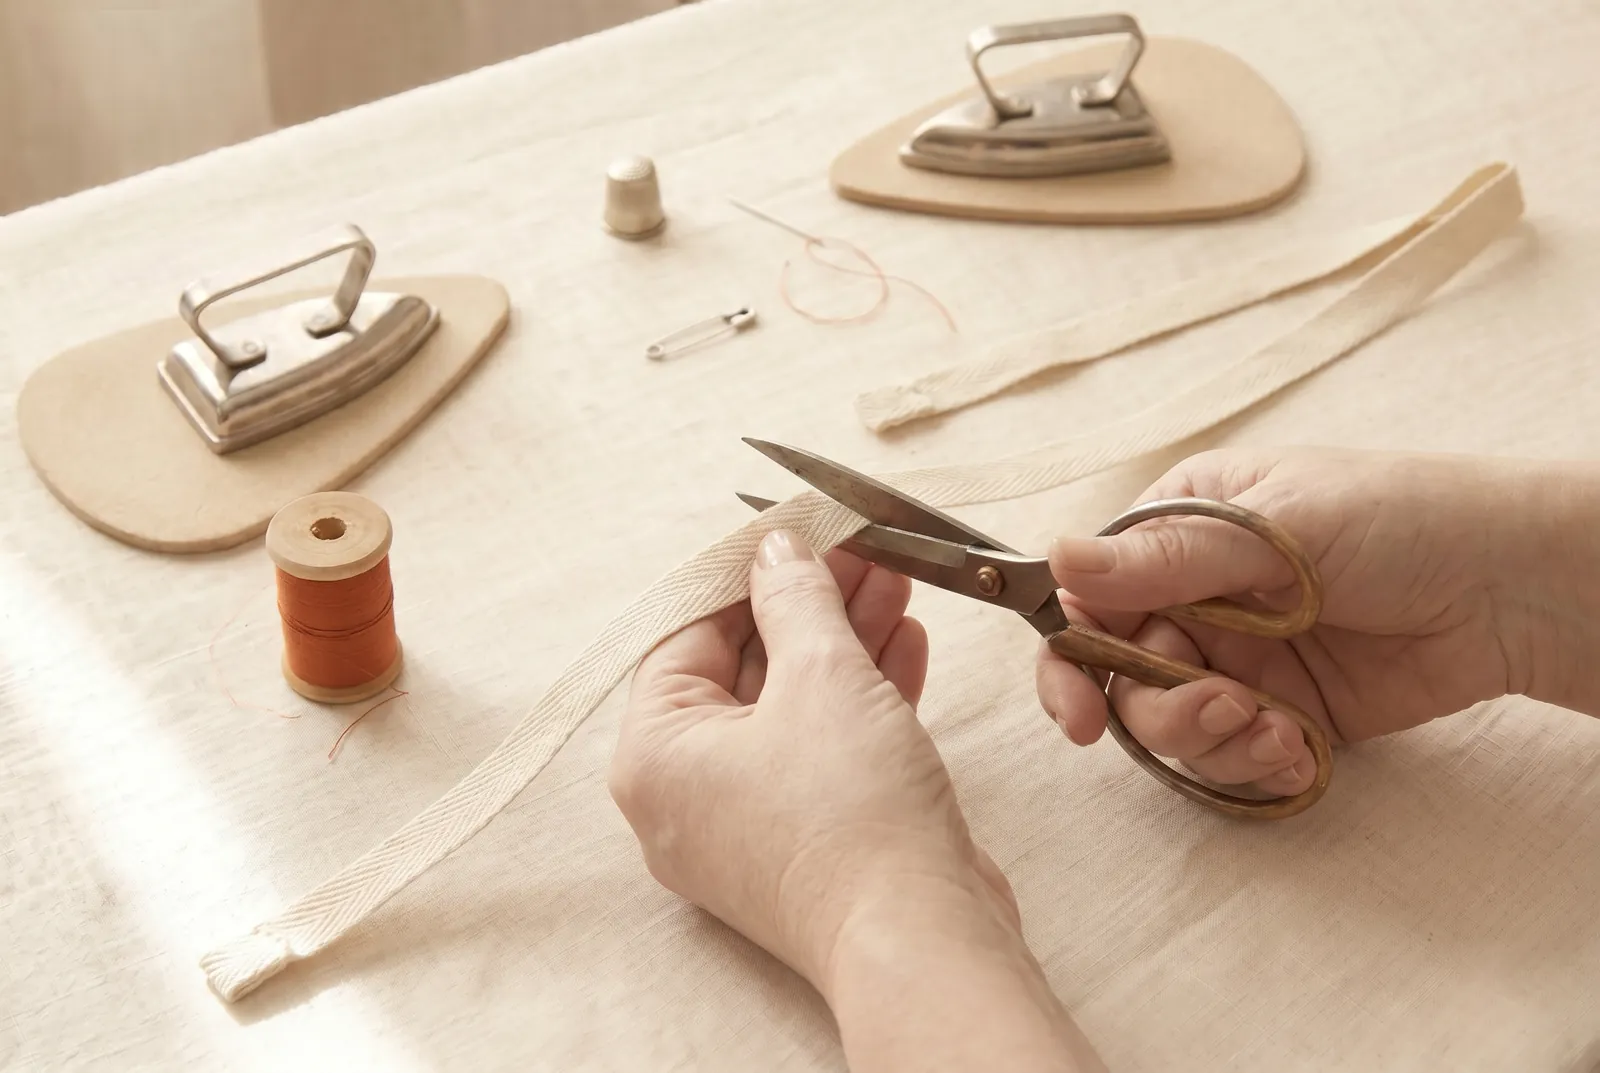
КРОК 8/11Cut two drawstrings from tape, braid, or cord, each about 60 cm (24 in) long.
Крок 9
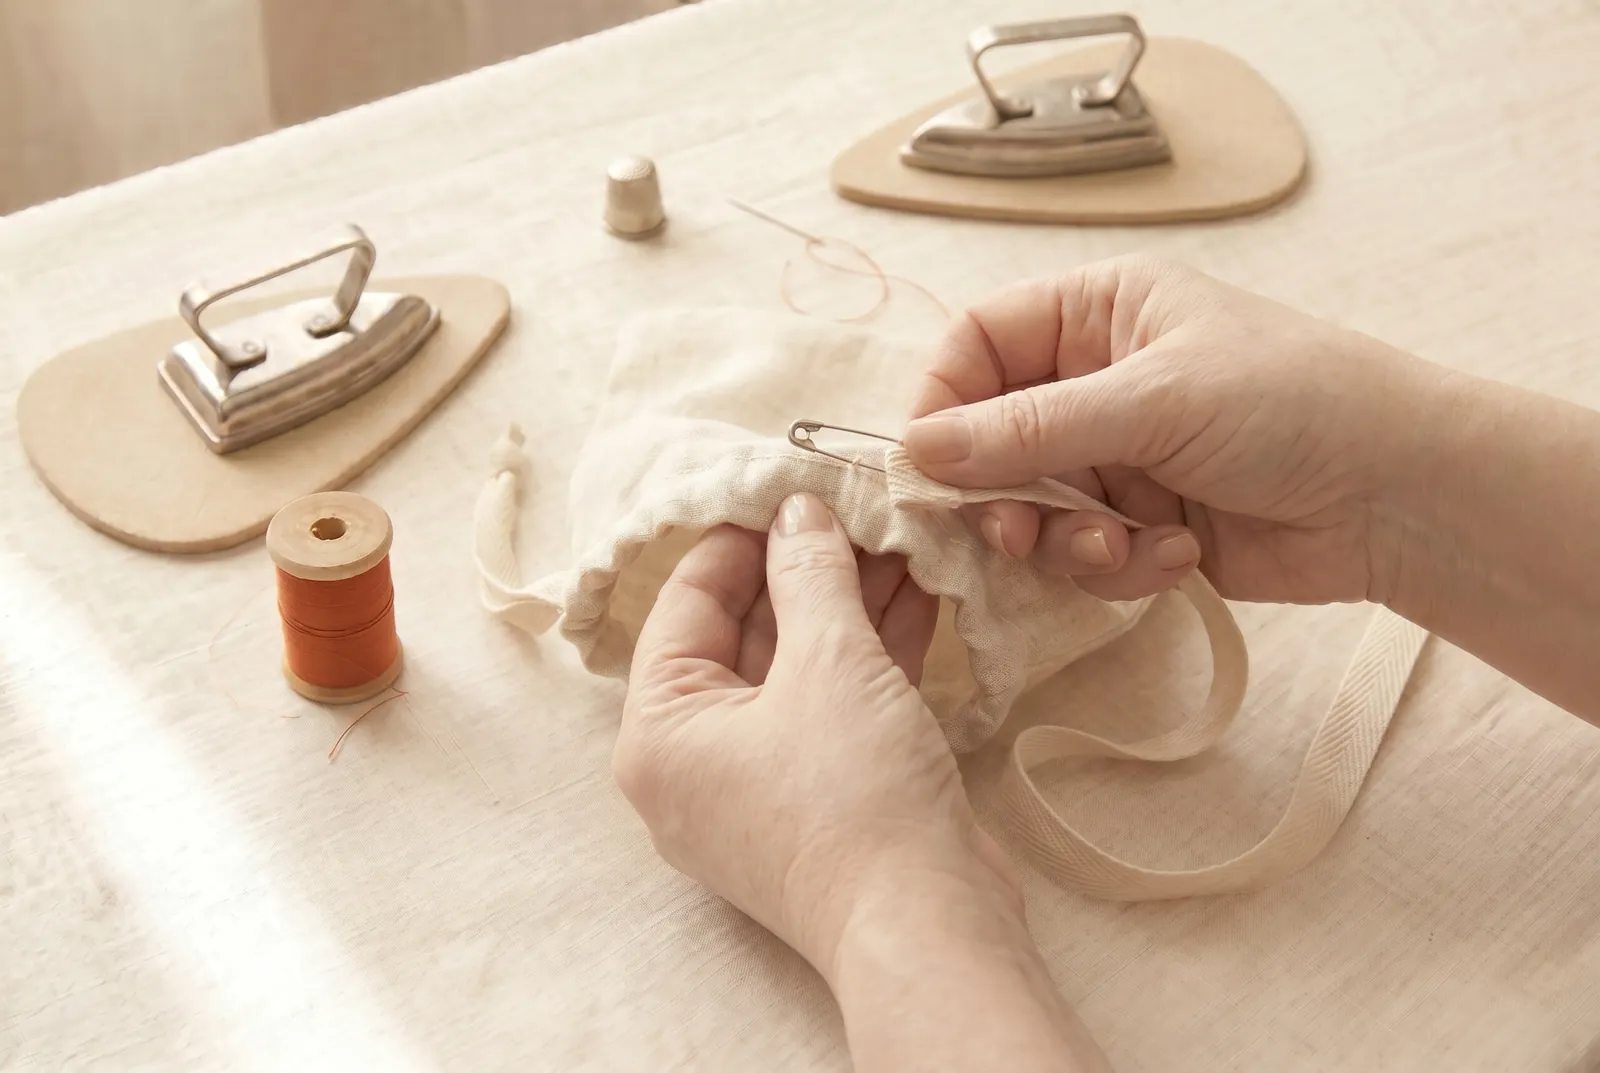
КРОК 9/11Pin a bodkin or small safety pin to one string, feed it into one side opening, run it all the way around the casing, and bring it back out the same opening it entered. Leave enough slack that the cord slides freely, then knot or stitch its two ends together.
Крок 10
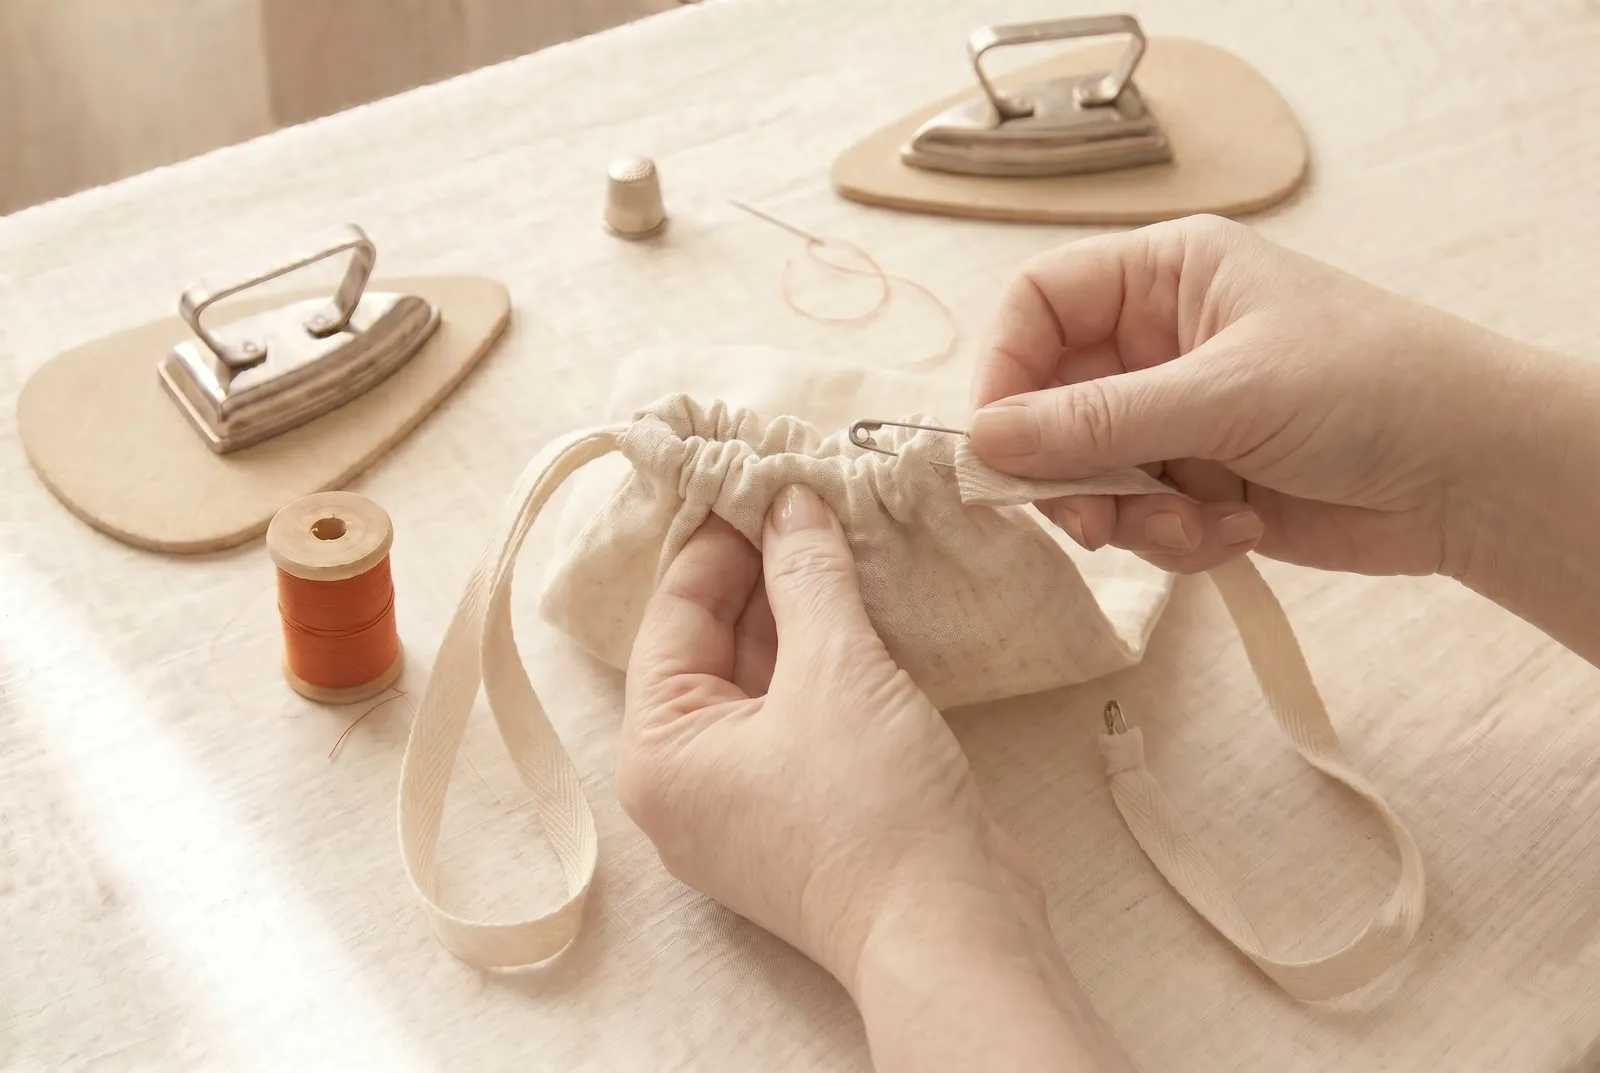
КРОК 10/11Thread the second string the same way, but start it from the opening on the opposite side, and join its ends. One loop now hangs at each side, and pulling the two loops apart draws the mouth of the bag closed from both sides at once, which a single string cannot do.
Крок 11
КРОК 11/11Turn the bag right side out and press it flat. Fill it, draw both loops, and check that the casing gathers evenly and the enclosed seams sit smooth on the inside.