Основи ручного шиття · деталь Nº 31 · 42 хв
Sew a flat-felled seam
A flat-felled seam encloses both raw edges inside a folded, twice-stitched join that presses flat and holds up to repeated washing — the seam you see on jeans and work shirts. You will allow and sew the first seam, press it, lay and press the fell, ease it around any curve, and add the second row of stitching that holds the fold down.
Шов · 7 кроків
Крок 1
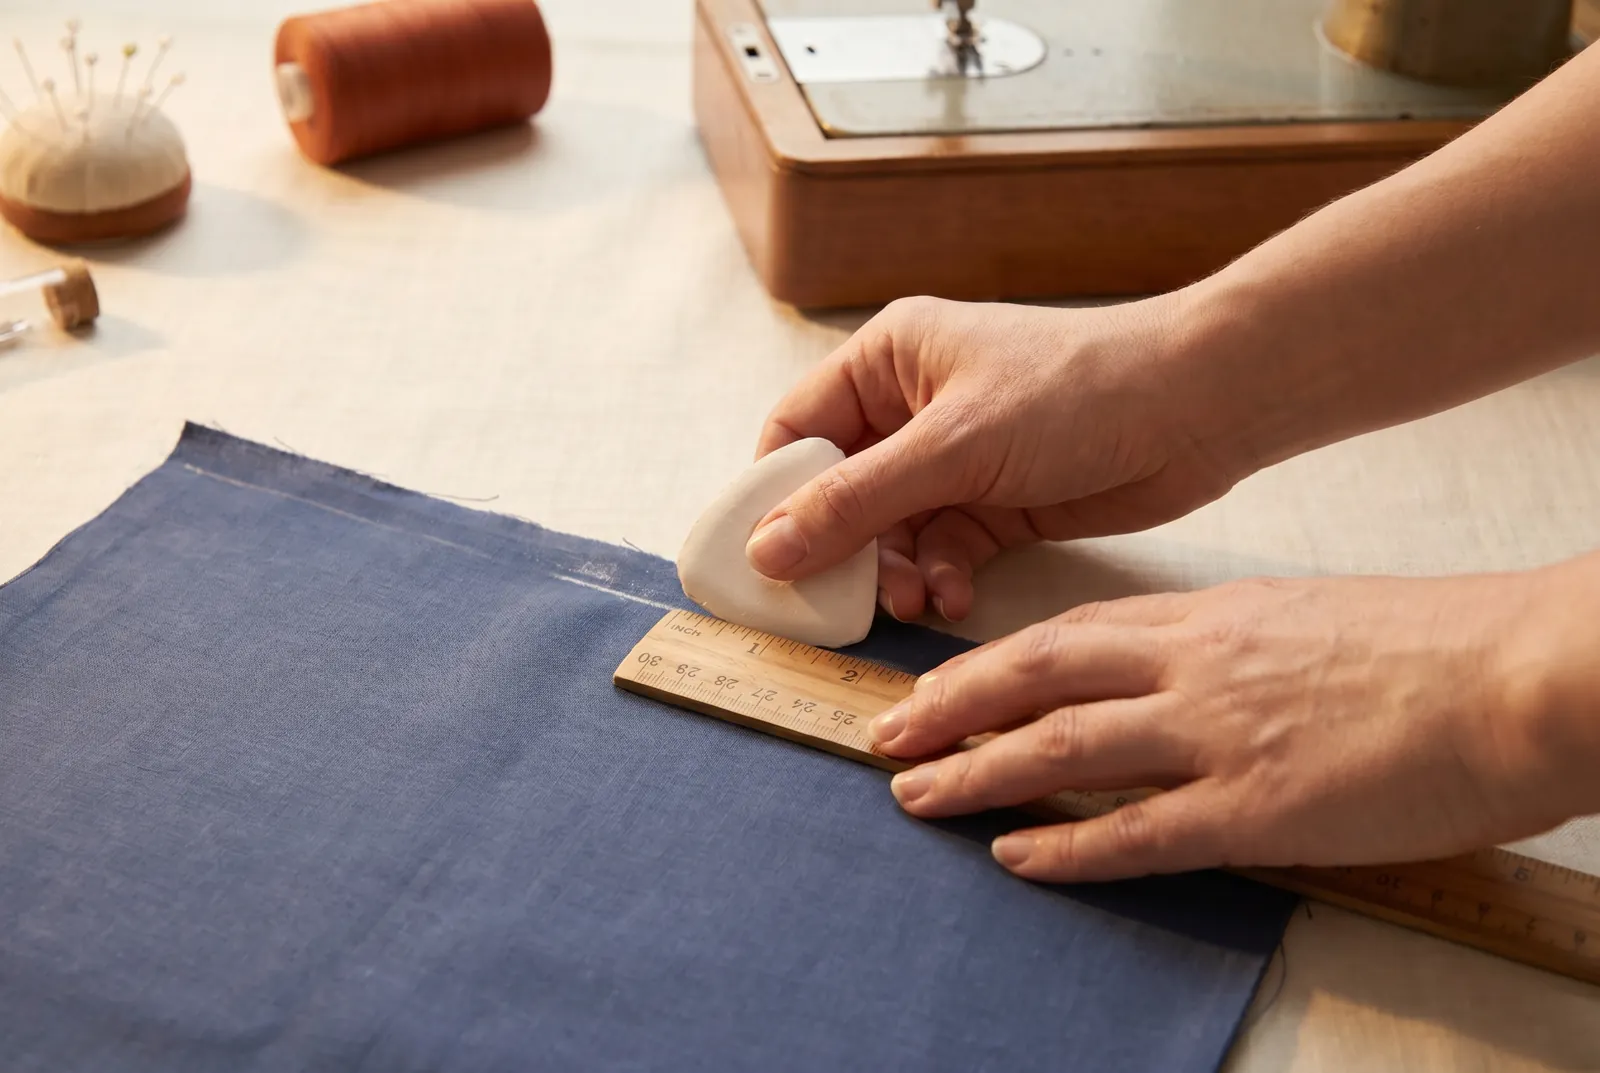
КРОК 1/7Decide how you will finish the seam before you cut, because the seam width has to allow for it. For a flat-felled seam, cut so each edge carries 5/8 in (1.6 cm) of seam allowance for the first stitching. Mark that 5/8 in (1.6 cm) line on the wrong side with chalk or a fabric marker so the first seam runs straight.
Крок 2
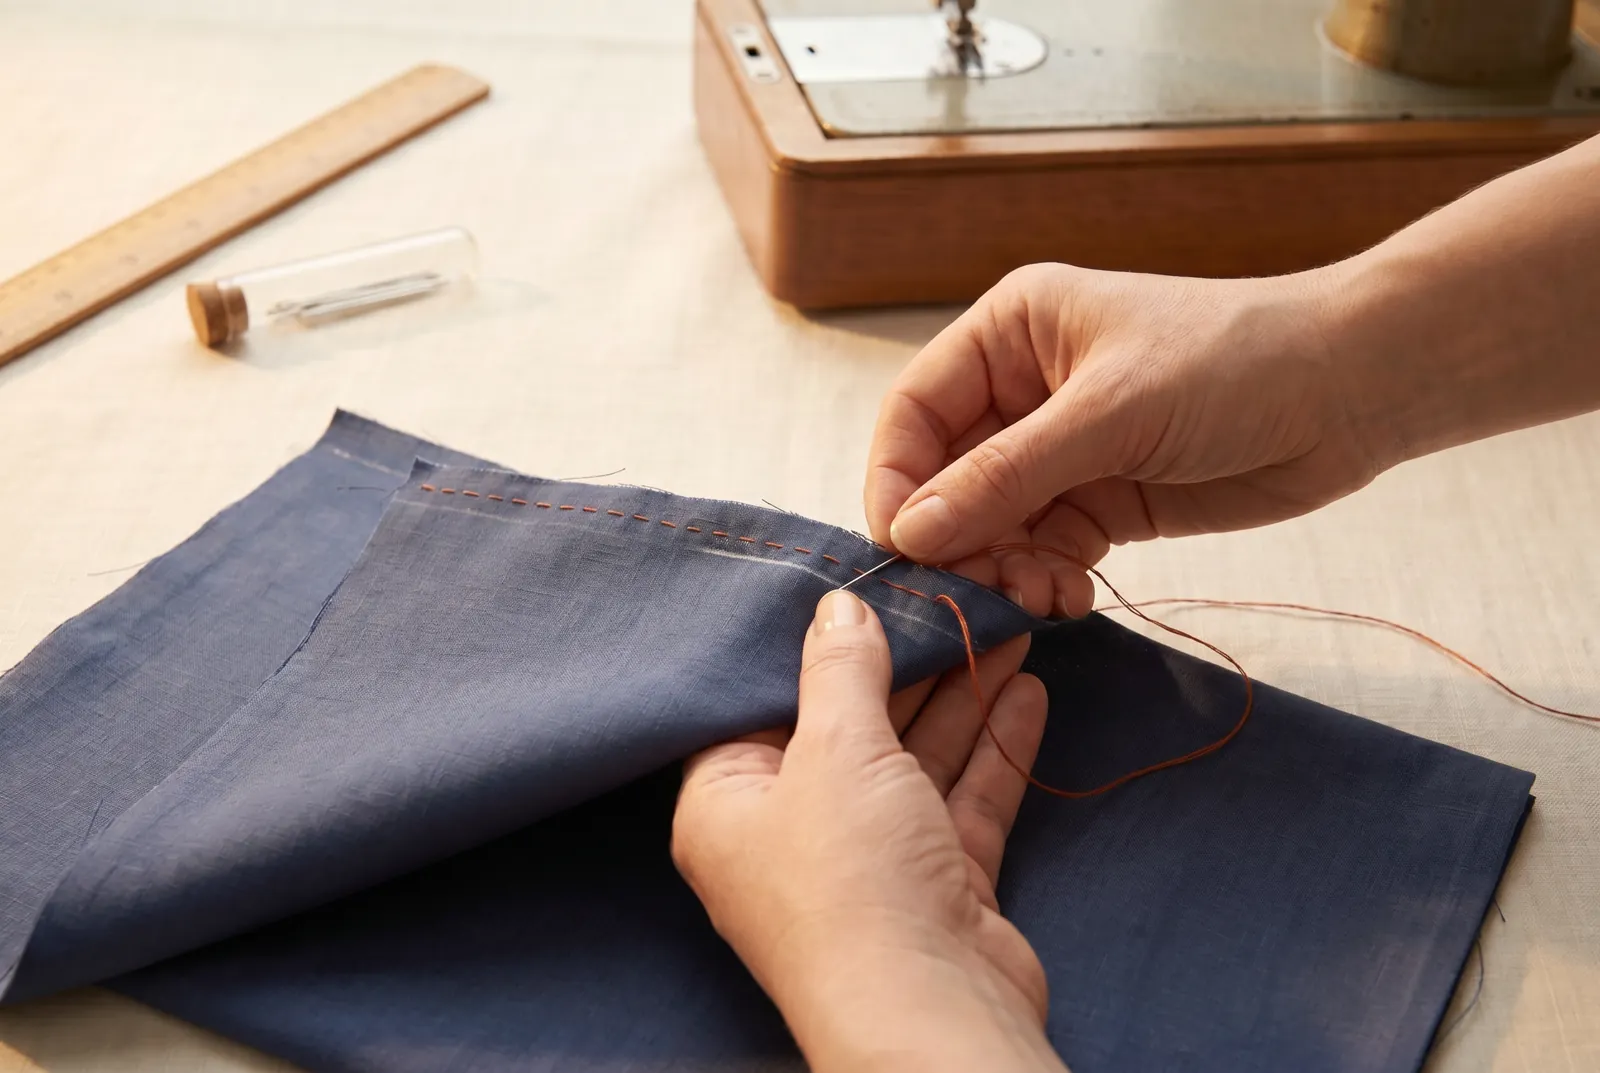
КРОК 2/7Place the two pieces together along the marked edges and sew the first seam straight along the 5/8 in (1.6 cm) line. Keep this row even, because the fell and the second row of stitching are both built on it.
Крок 3
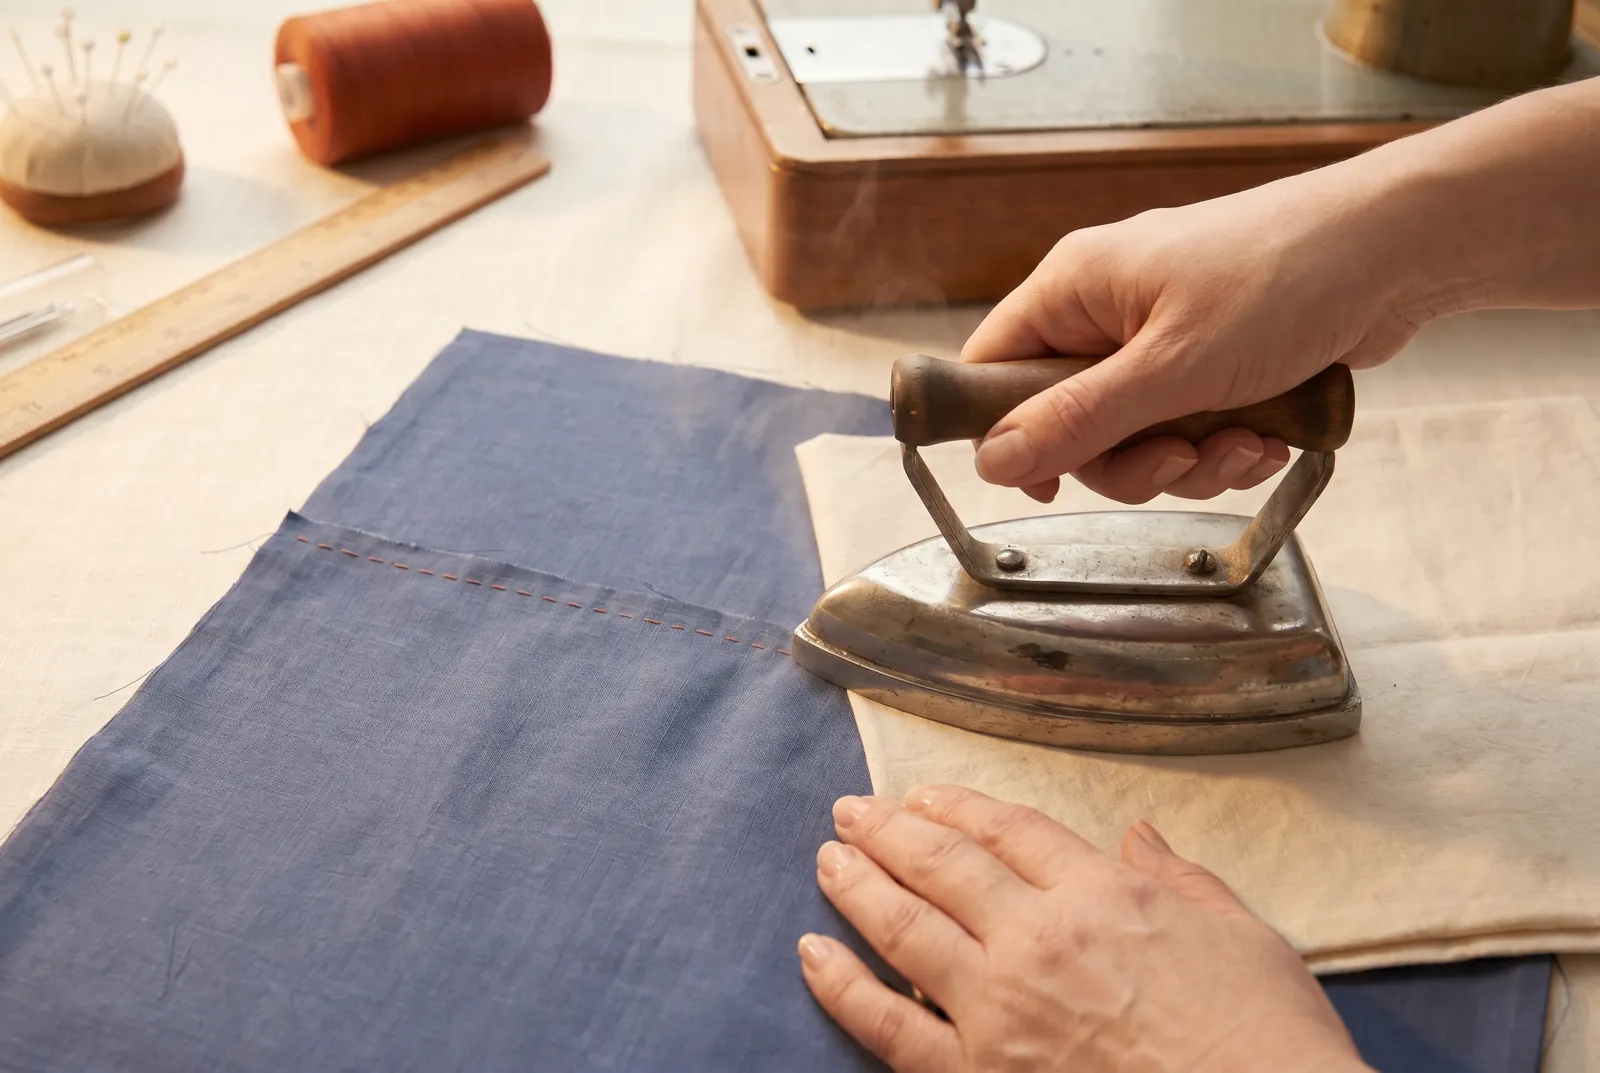
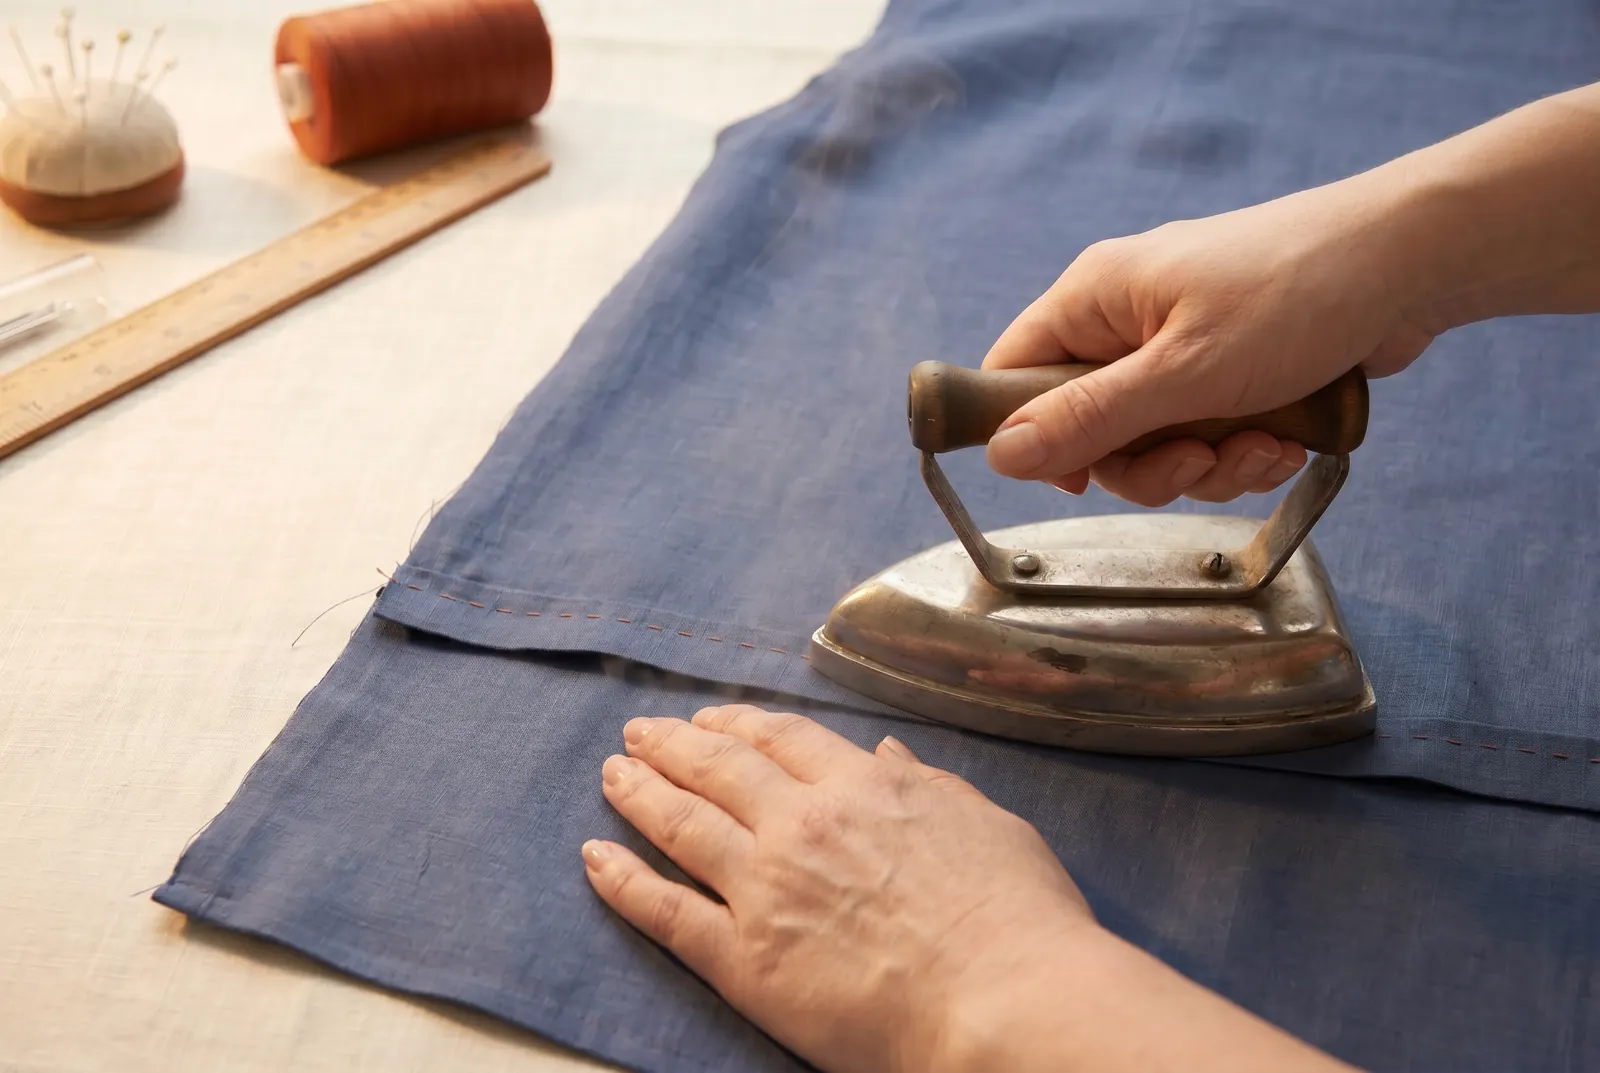
КРОК 3/7Press the first seam at once, before any other seam crosses it and while it still opens flat. Lay the work wrong side up, run the iron along the stitching, and press the seam as the garment requires — open or to one side. Match the iron to the cloth: cotton and linen take a hot iron, wool goes under a dampened press cloth so it will not shine, and silk is pressed dry under a dry cloth.
Крок 4
КРОК 4/7The join now has two parts: an under edge that lies beneath, and the fold laid over it — together they make the fell. Lay that fold down against the garment and press the whole fell flat before you add any more stitching. Press it while it is still loose, because the next row of stitching must ride on a pressed fold rather than push a slack one into a ridge.
Крок 5
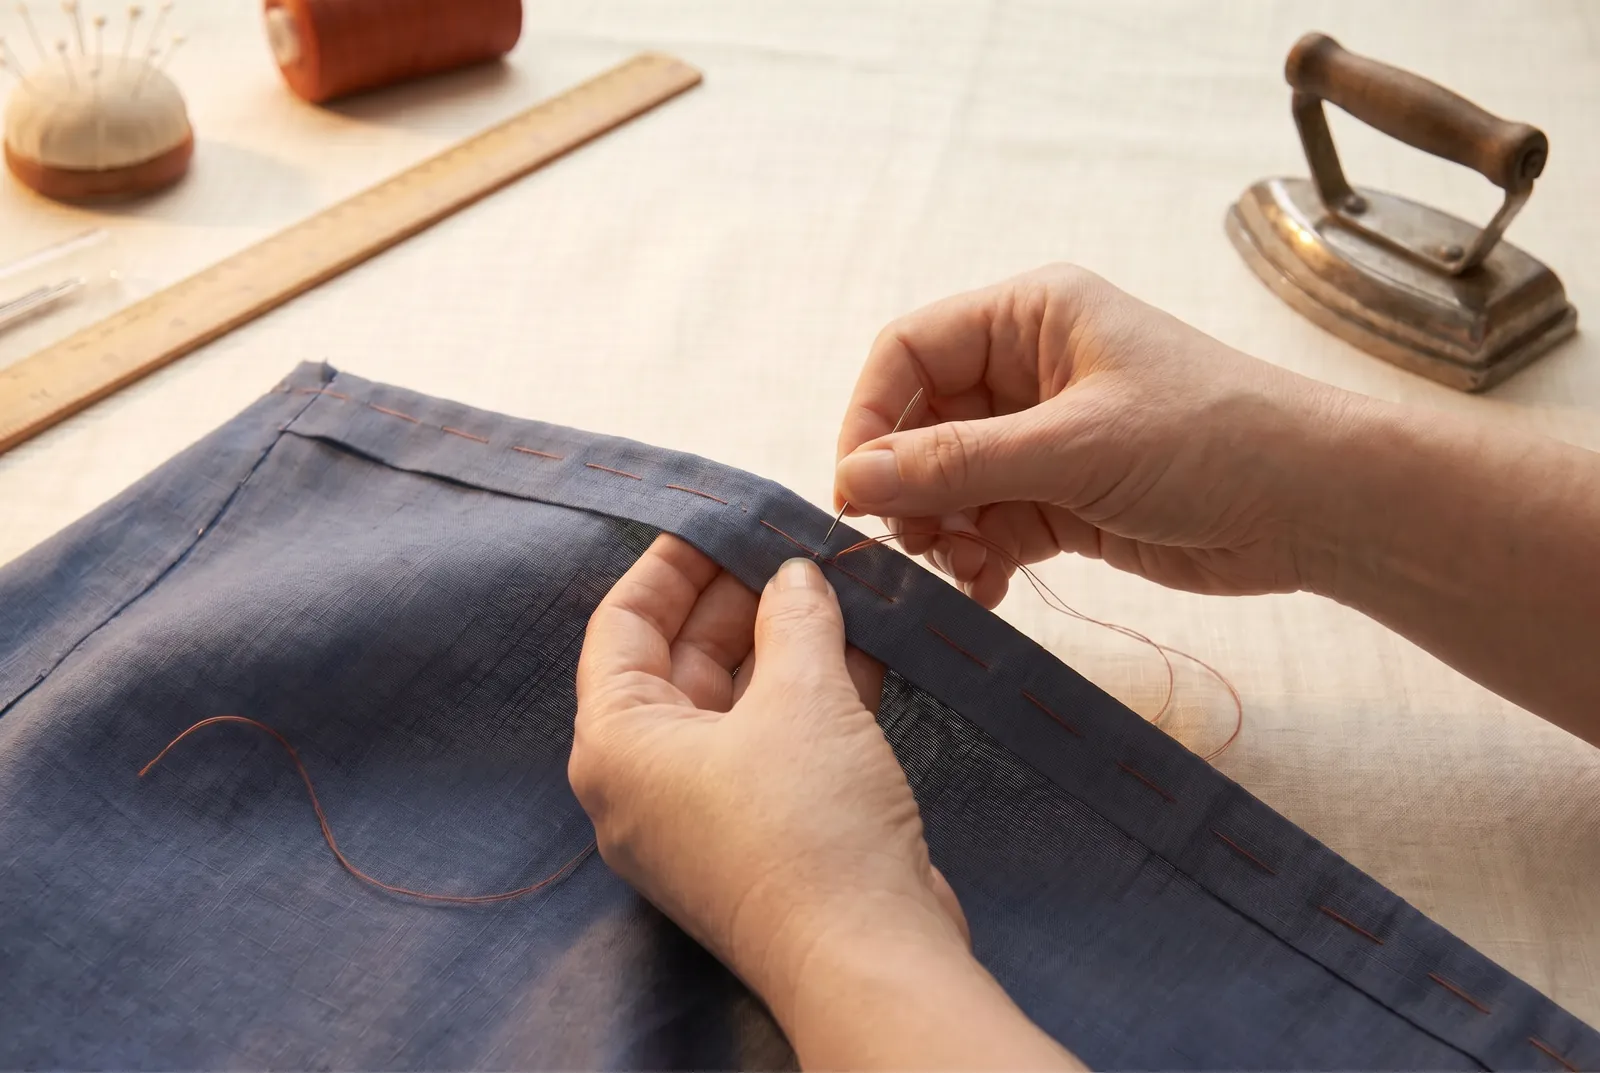
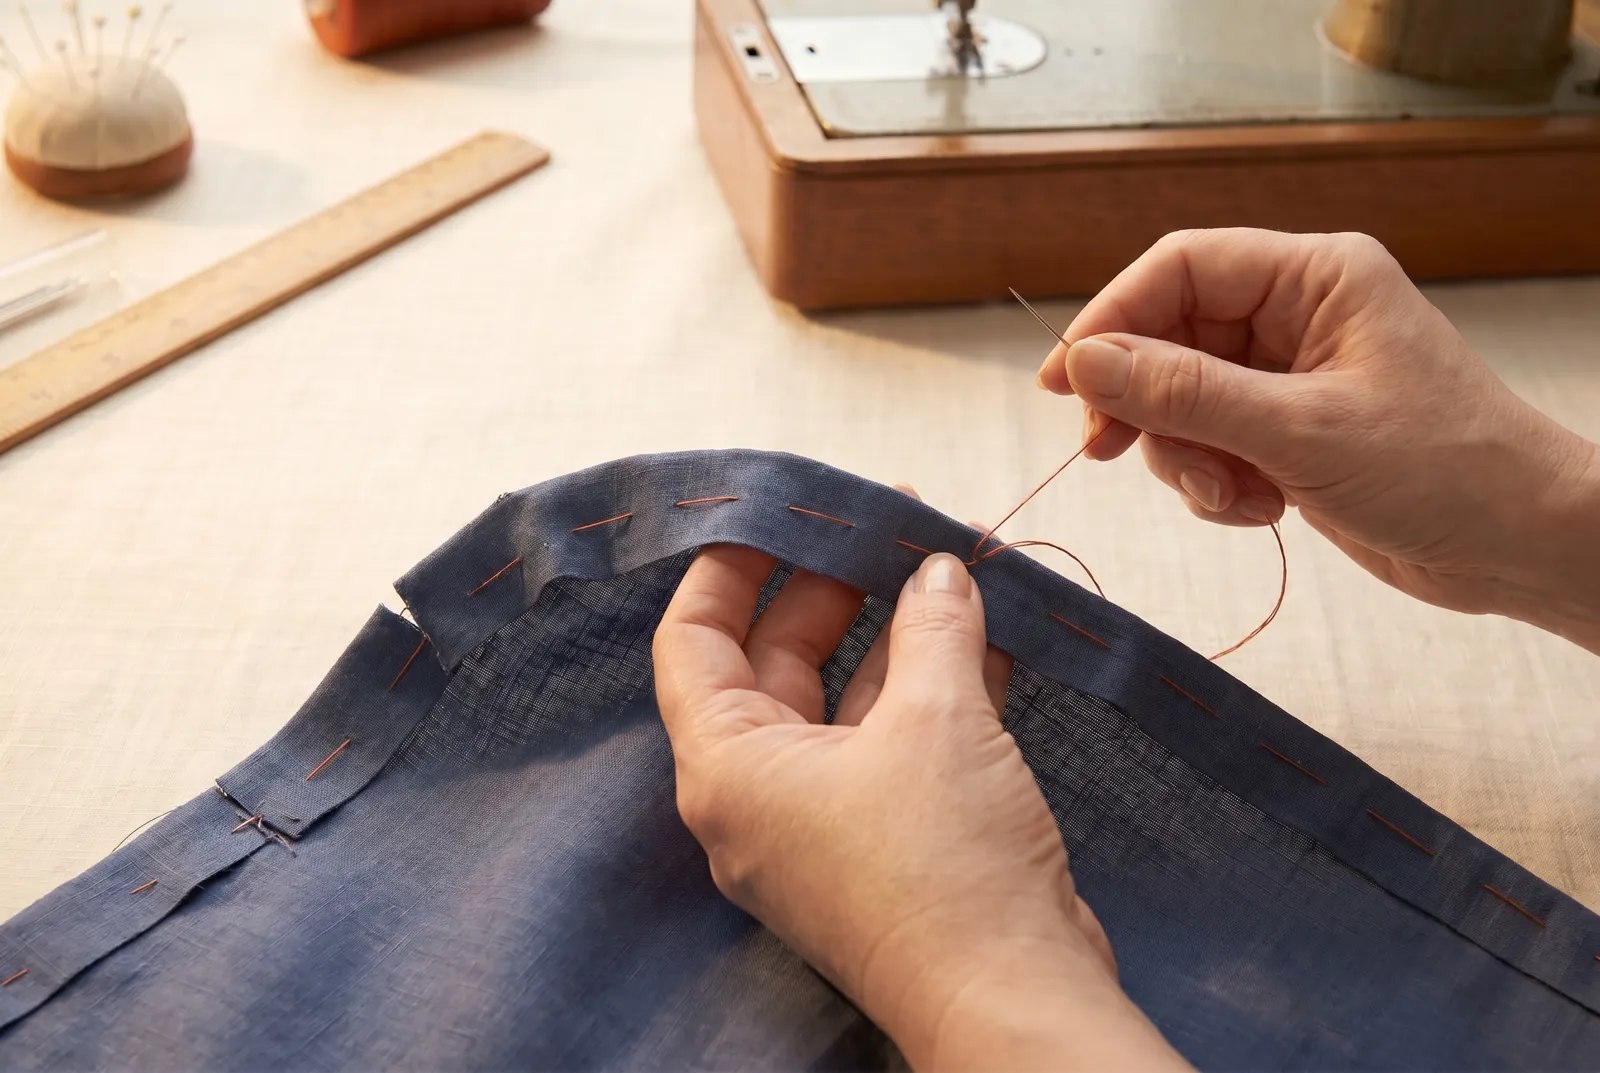
КРОК 5/7If your seam curves — for example where a sleeve is felled into a shirt — clip the under edge wherever it pulls and ease the fold to lie smooth around the curve. Baste the fell down before you stitch it, and baste as well if the cloth is slippery. A fell forced around a curve without easing draws the garment, so baste and check that it lies flat first.
Крок 6
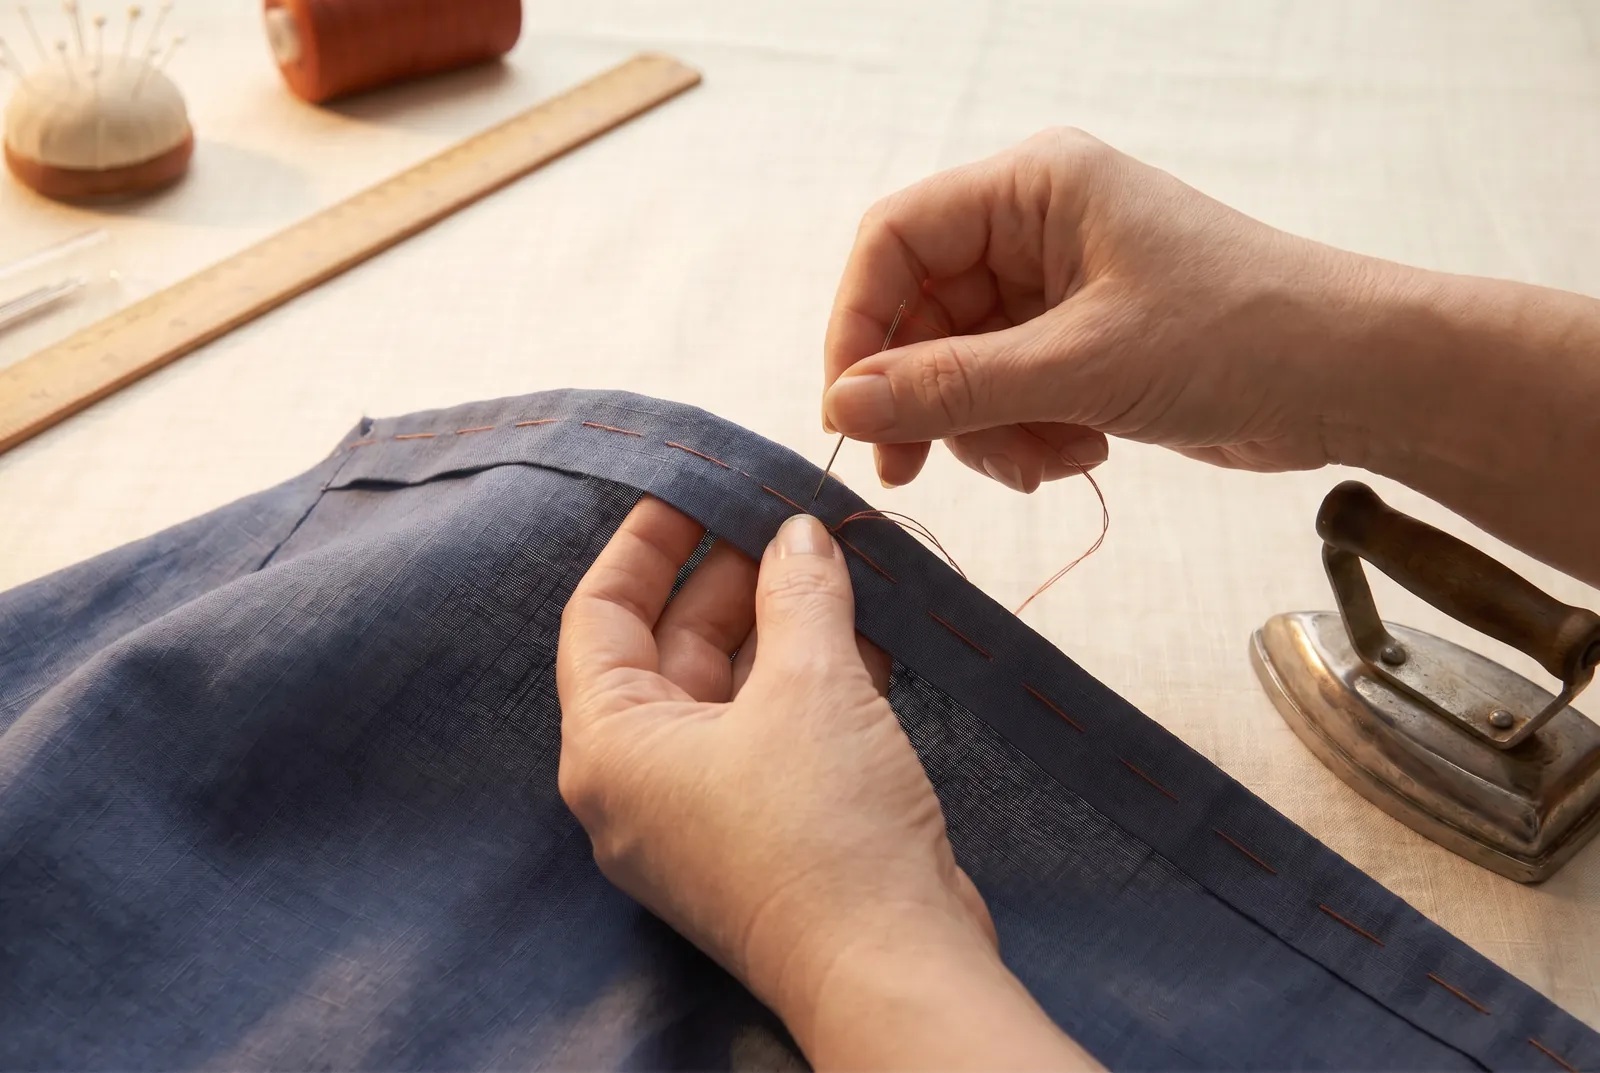
КРОК 6/7Sew the second row of stitching along the pressed fold so it catches the fold down flat against the garment. Press the finished fell flat once more — every fell is pressed flat before the second stitching and again after. Run a finger along it: it should lie flat, with no loose fold standing up.
Крок 7
КРОК 7/7Finish the thread ends without knots — on flat work a knot wears through, shows under the iron, and works loose in the wash. To fasten off, run the needle back under the last few stitches; to add thread, start the new length over the last two or three stitches of the old so the line has no weak place.