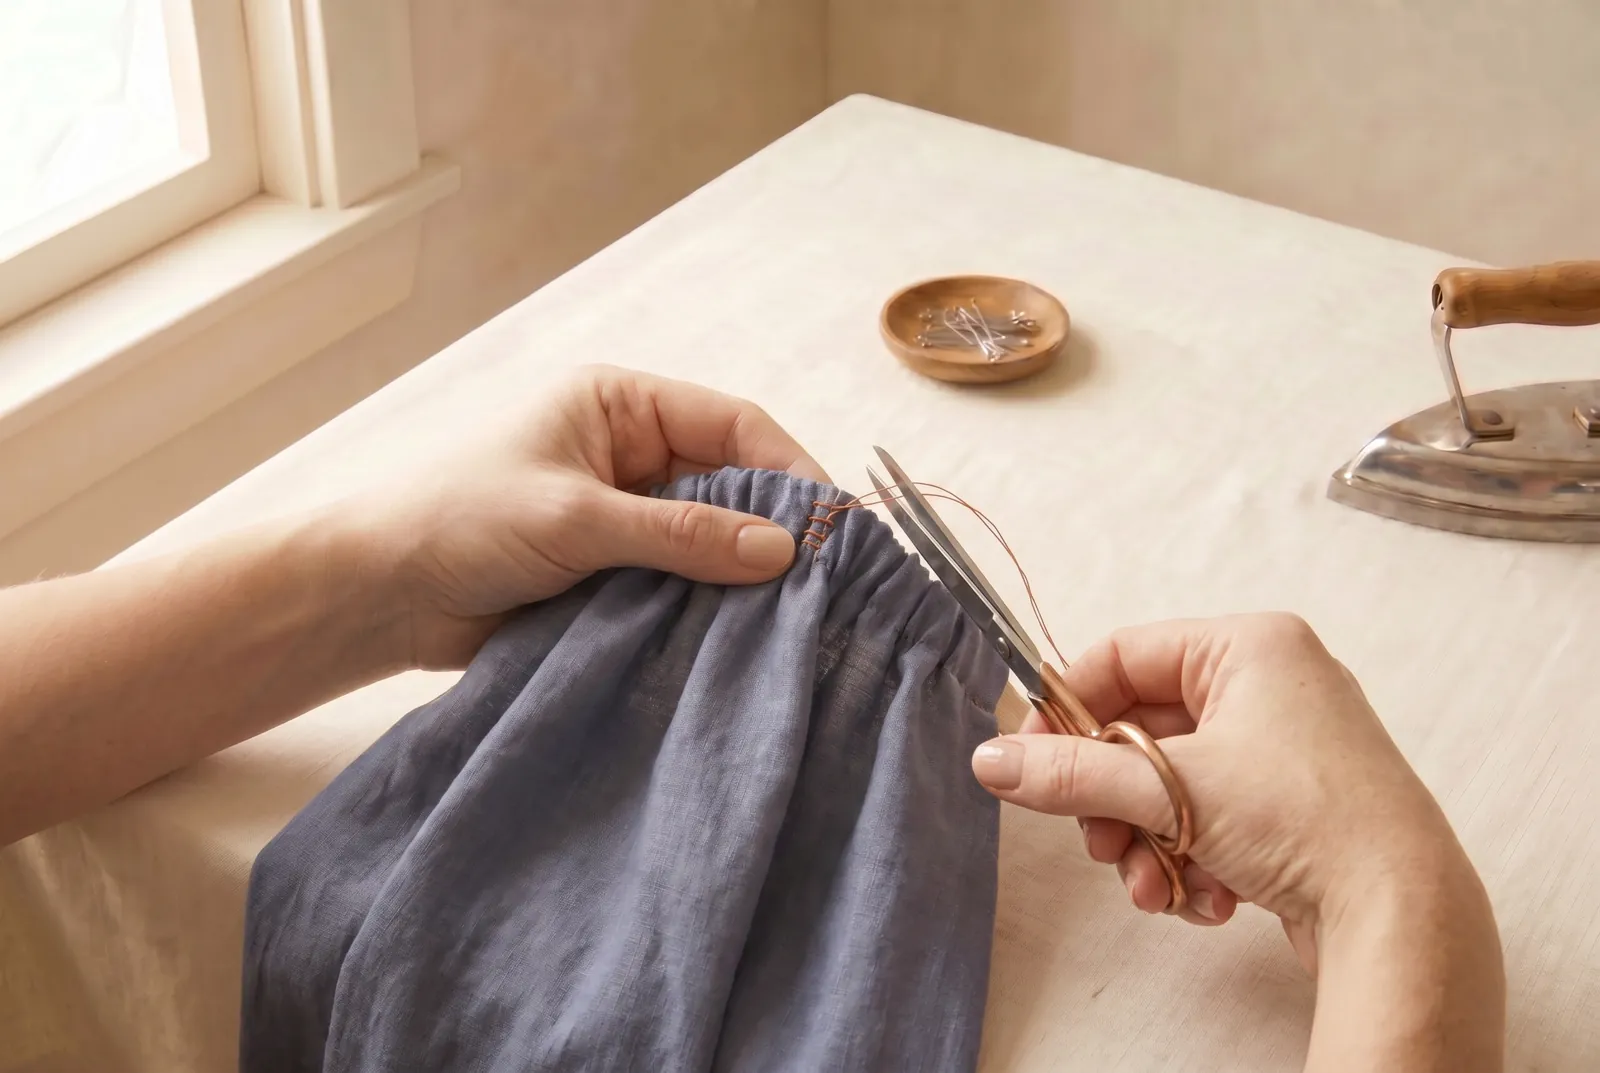
Сталі основи · деталь Nº 29 · 54 хв
Sew a casing and thread elastic through a loose edge
Turn a folded edge into a casing — a tunnel of cloth — and thread flat elastic through it to gather a too-loose waist, sleeve, or ankle to fit. This is the repair that rescues a thrifted garment that hangs open, and the join is left renewable so you can replace the elastic when it wears out without rebuilding the casing.
Шов · 9 кроків
Крок 1
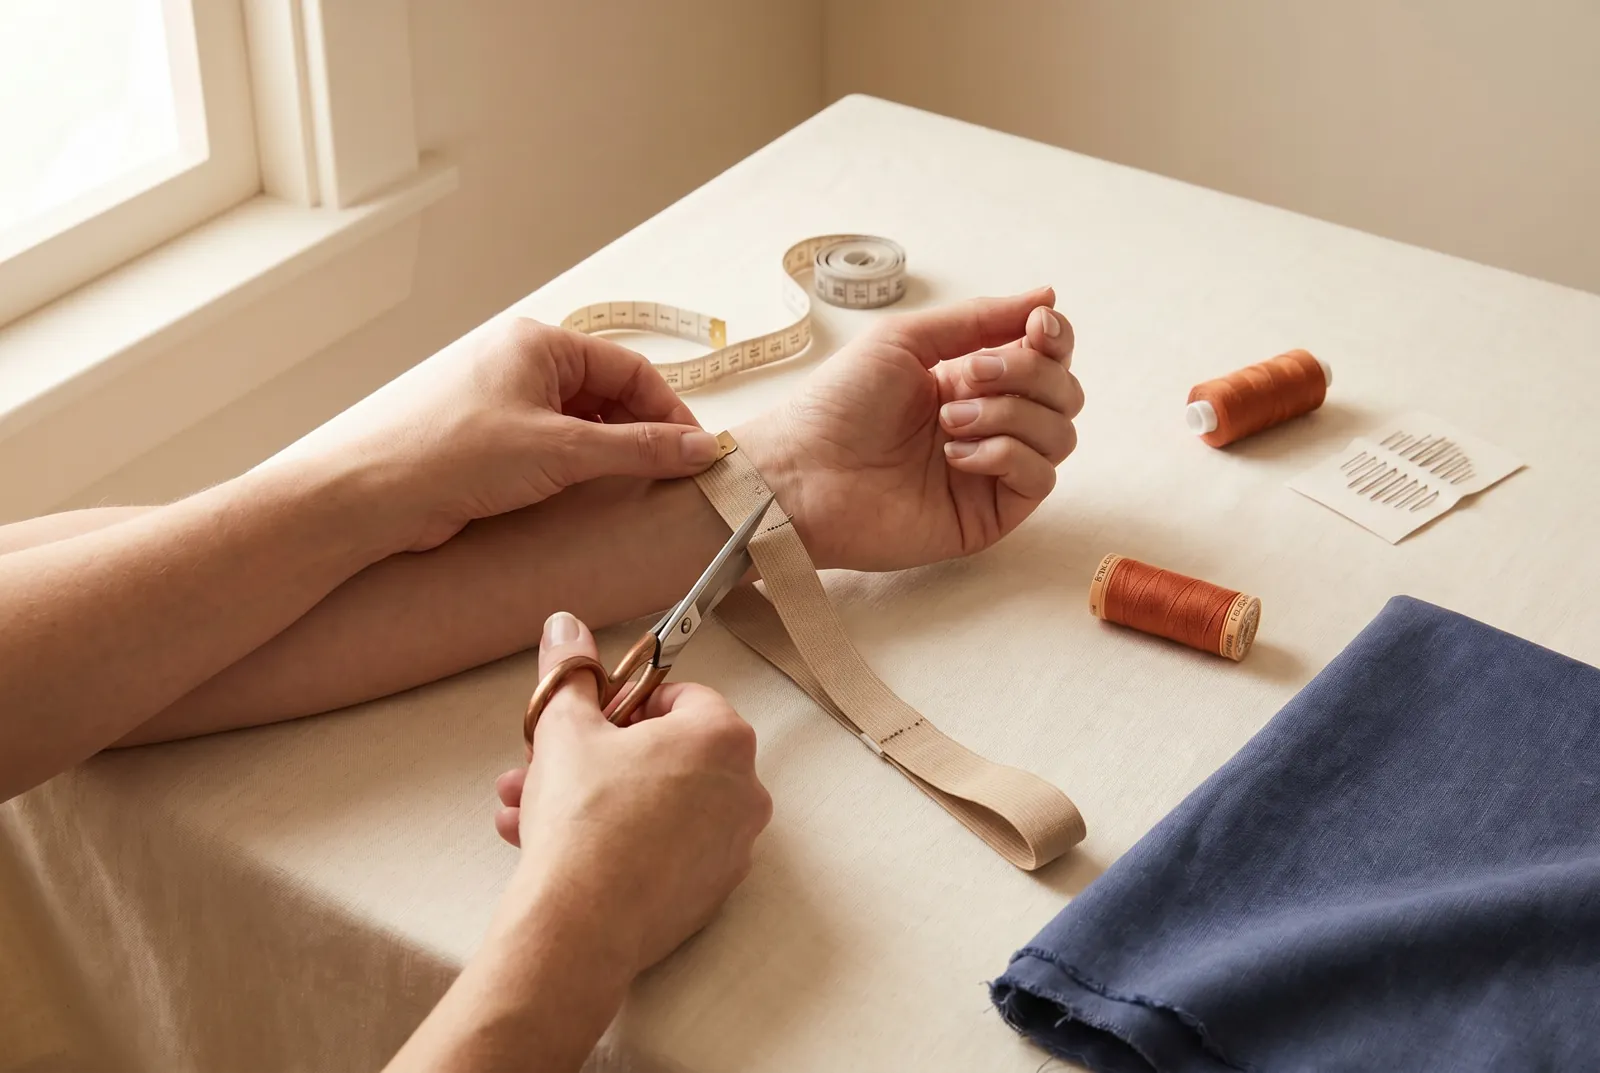
КРОК 1/9Measure the elastic against the body part it must fit — the waist, wrist, or ankle — and cut it to sit snugly without digging in, then add 1.3 cm (1/2 in) for lapping the ends together later. Set the cut elastic aside; you thread it once the casing is stitched.
Крок 2
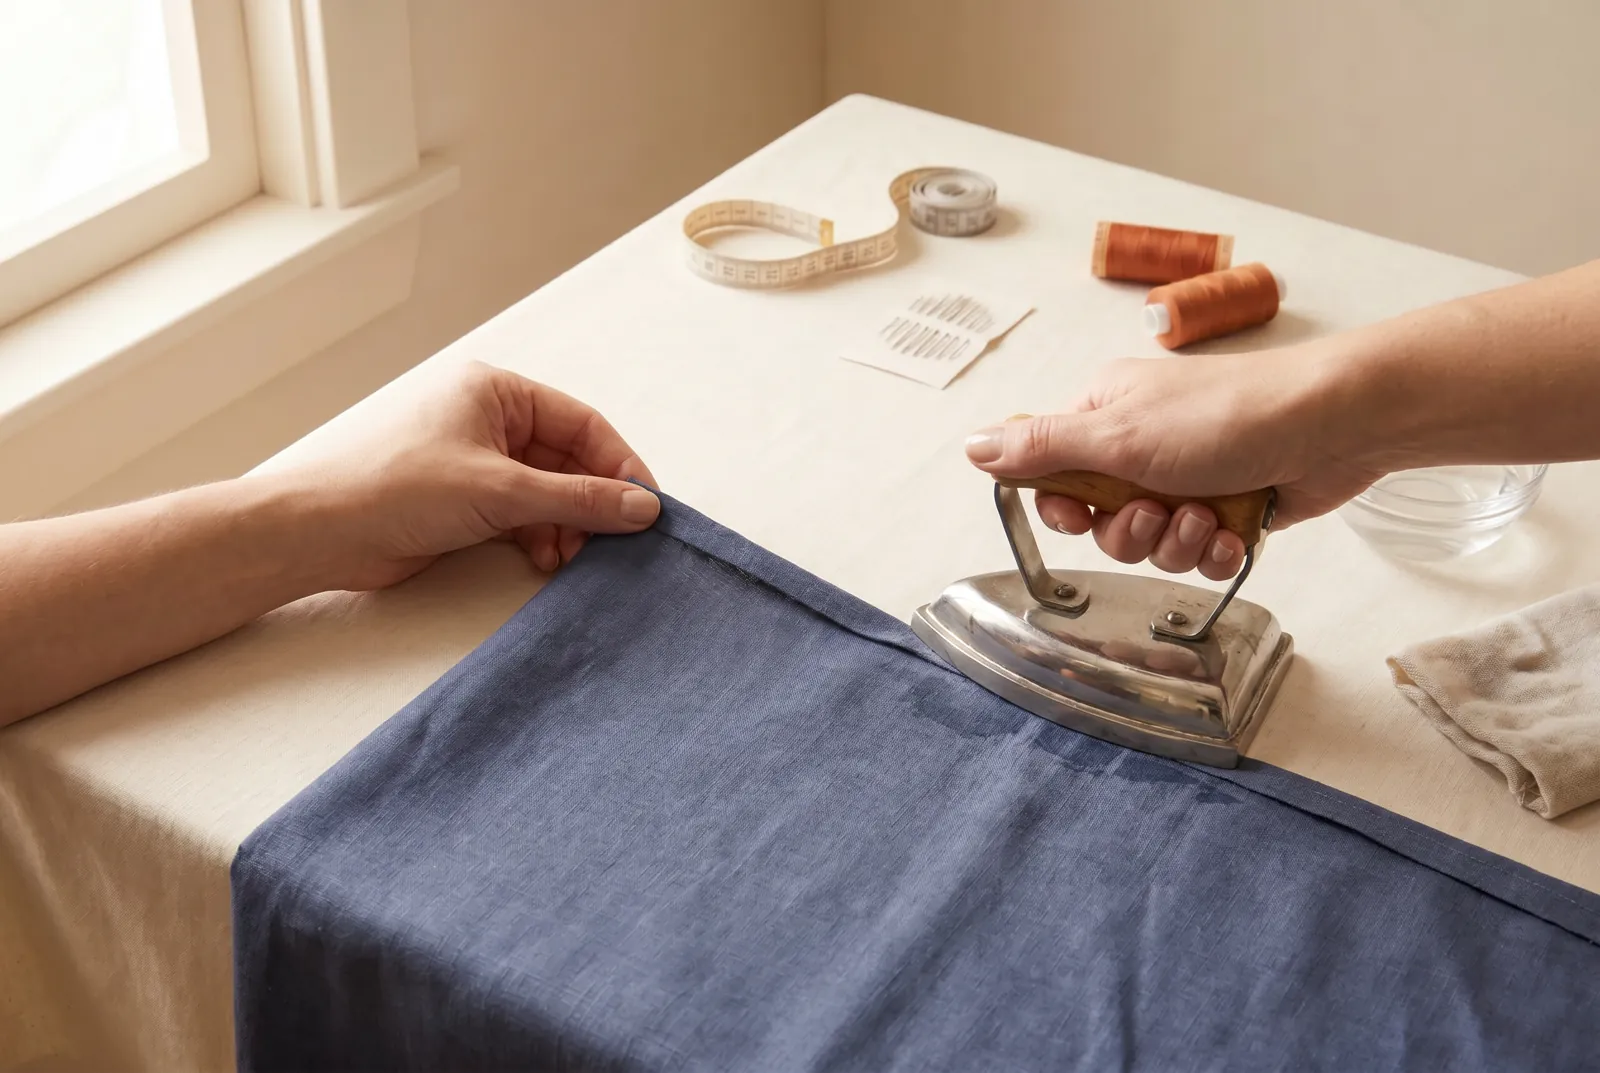
КРОК 2/9Turn the raw edge of the garment to the wrong side by 6 mm (1/4 in) and press the fold flat; cotton takes a hot iron and may be pressed damp. This narrow first turn tucks the raw edge inside where it will not fray.
Крок 3
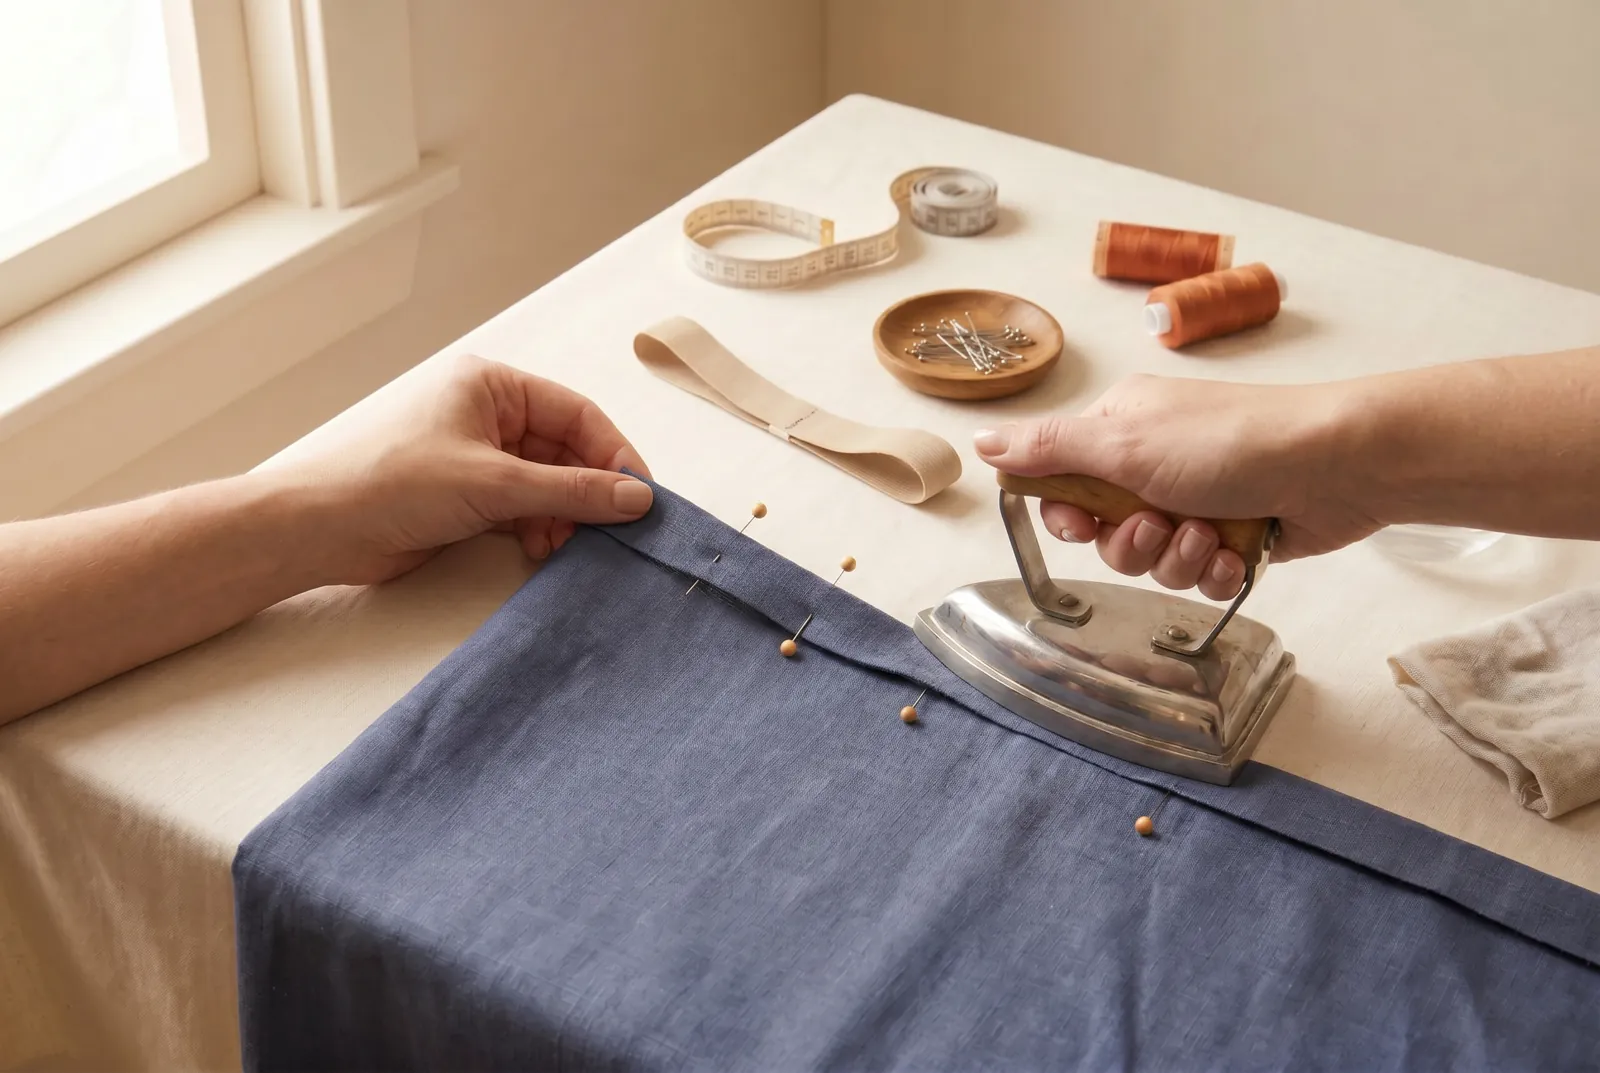
КРОК 3/9Turn the pressed edge over a second time, making this fold a little wider than your elastic, press it, and pin it down. Keep the turn wider than the elastic so the elastic slides through with room to spare — a tunnel folded too tight will jam.
Крок 4
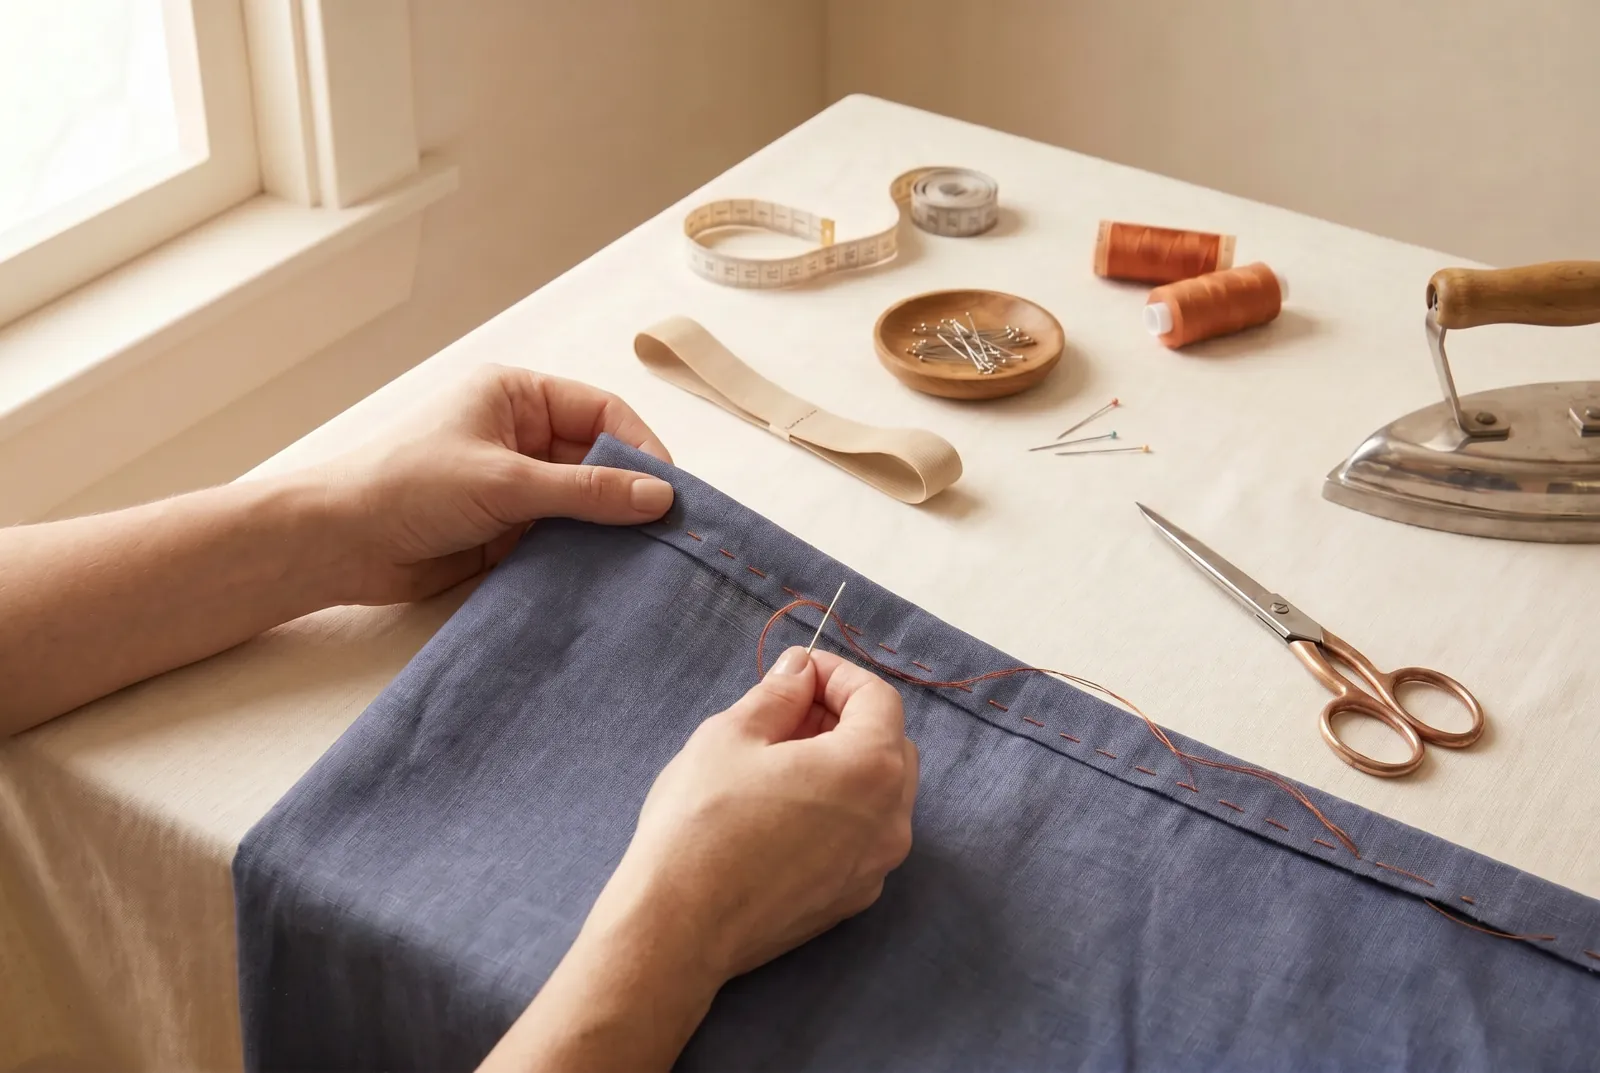
КРОК 4/9Stitch a steady line along the lower fold all the way around, but stop short and leave a gap of about 2.5 cm (1 in) unstitched. That gap is the opening the elastic enters through, so do not close it.
Крок 5
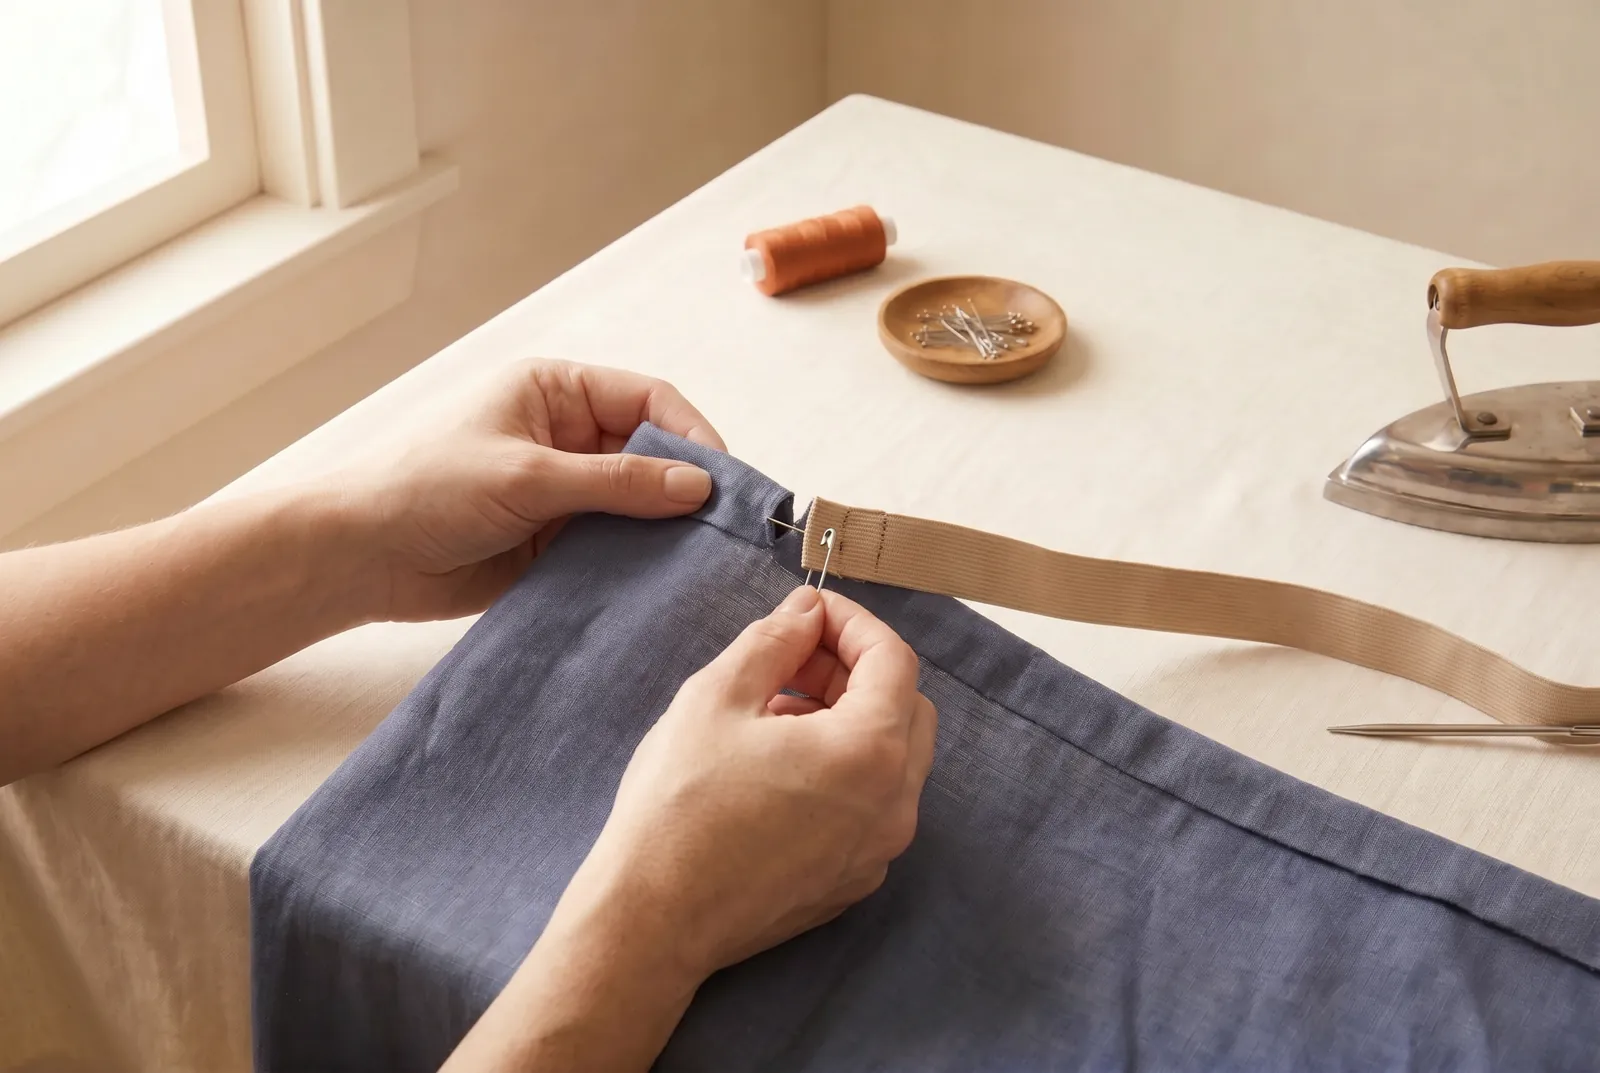
КРОК 5/9Fasten one end of the elastic to a bodkin or a small safety pin. Pin the other, loose end to the garment right beside the opening so it cannot be pulled into the tunnel — without that pin the loose end slips inside as you draw in the last of it.
Крок 6
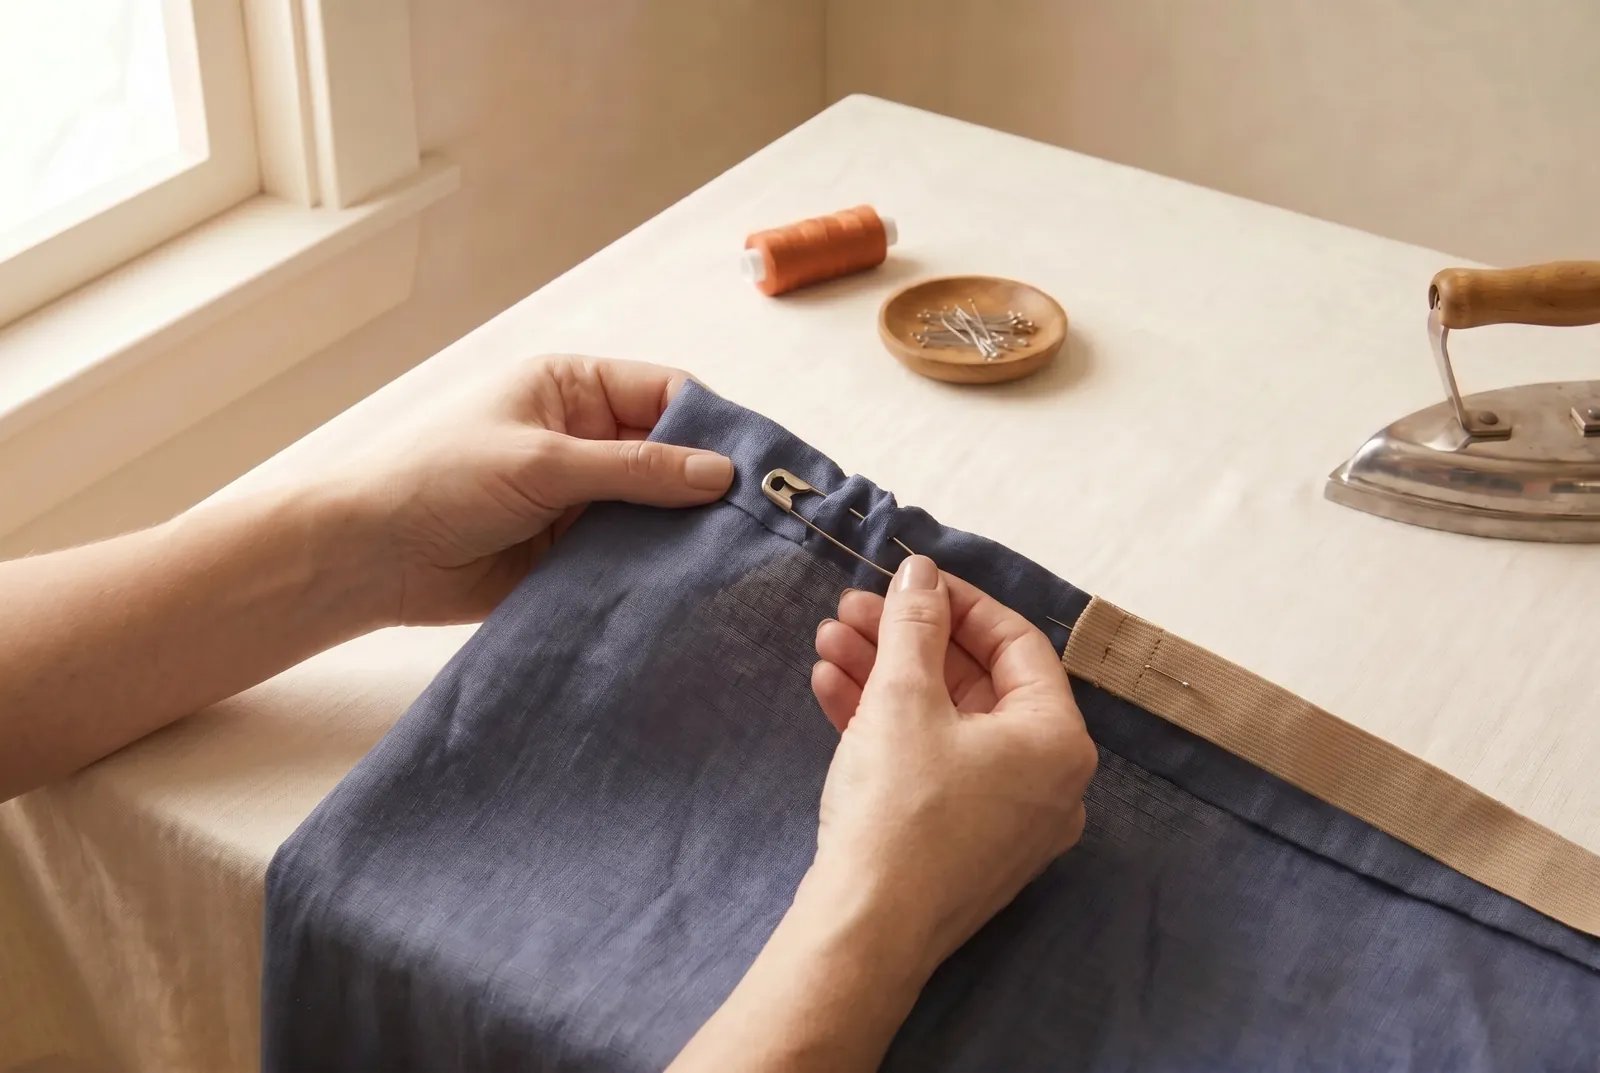
КРОК 6/9Feed the bodkin in at the opening and work it through the whole casing, pushing the cloth back off the pin and gathering it behind you, until the bodkin comes out at the opening again. Keep the loose end pinned the entire way.
Крок 7
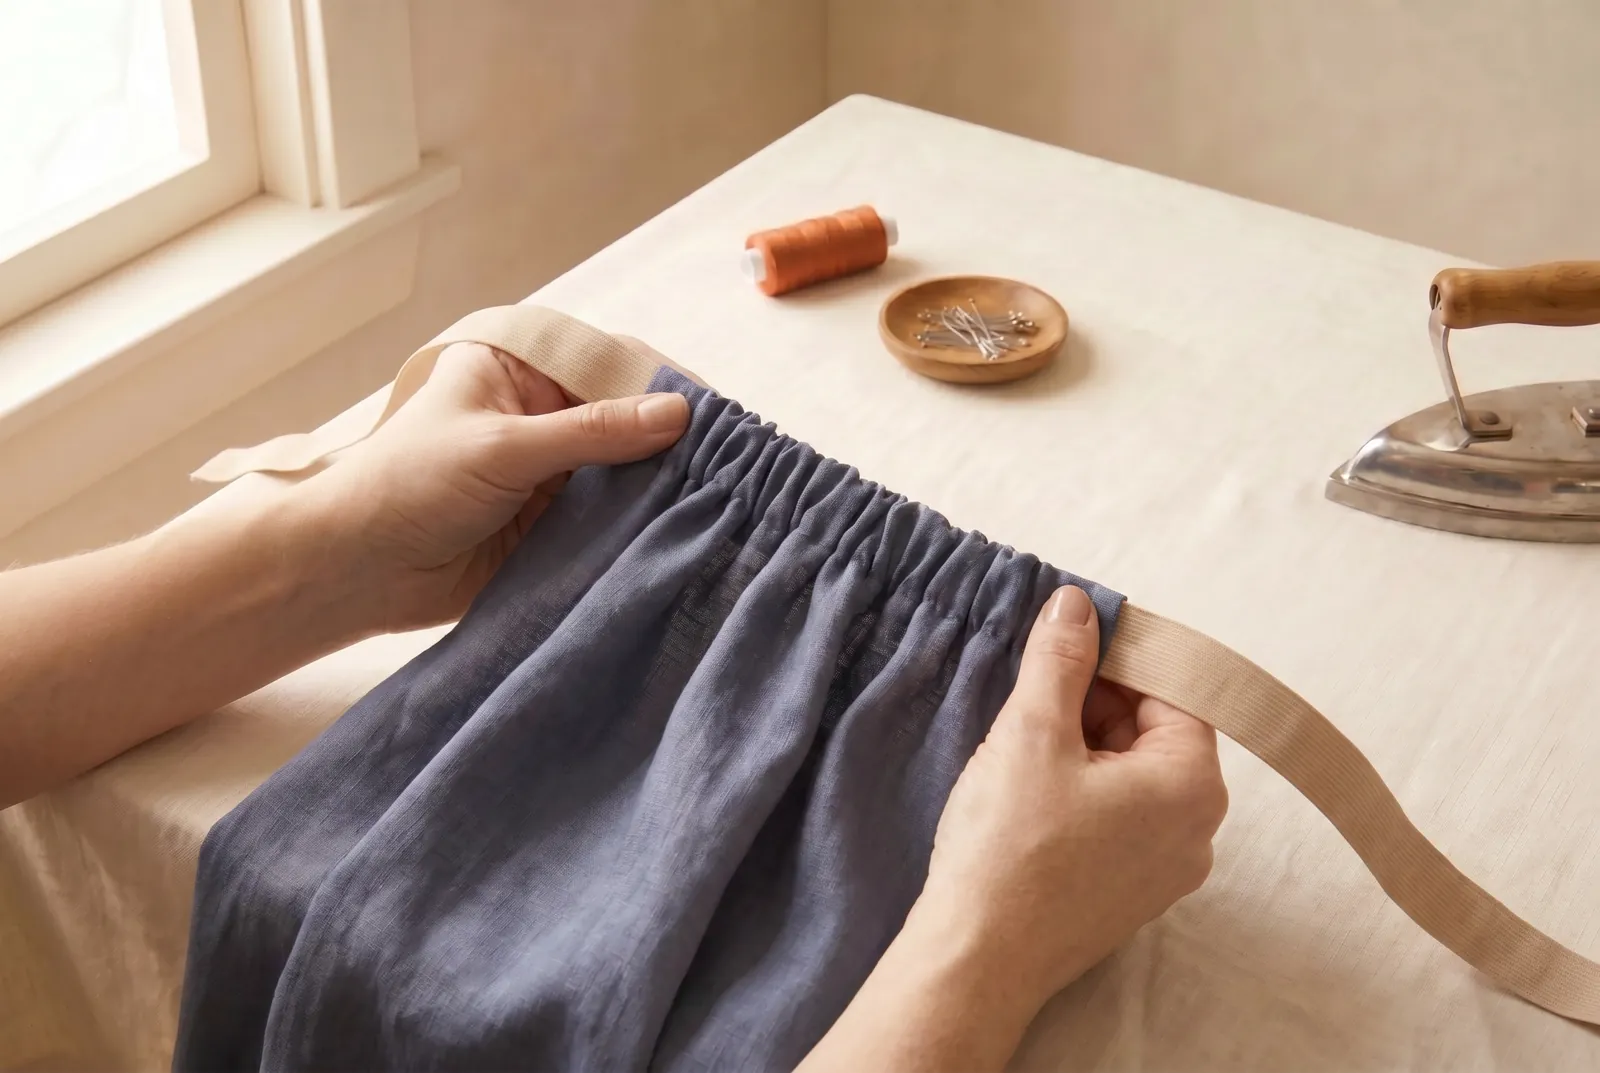
КРОК 7/9Unpin the ends and draw the cloth up evenly along the elastic; it shirrs into even gathers, and the fuller the cloth is relative to the elastic, the deeper those gathers sit. Try the fit around the body now — if it pulls too tight, let a little elastic slide back out before you join.
Крок 8
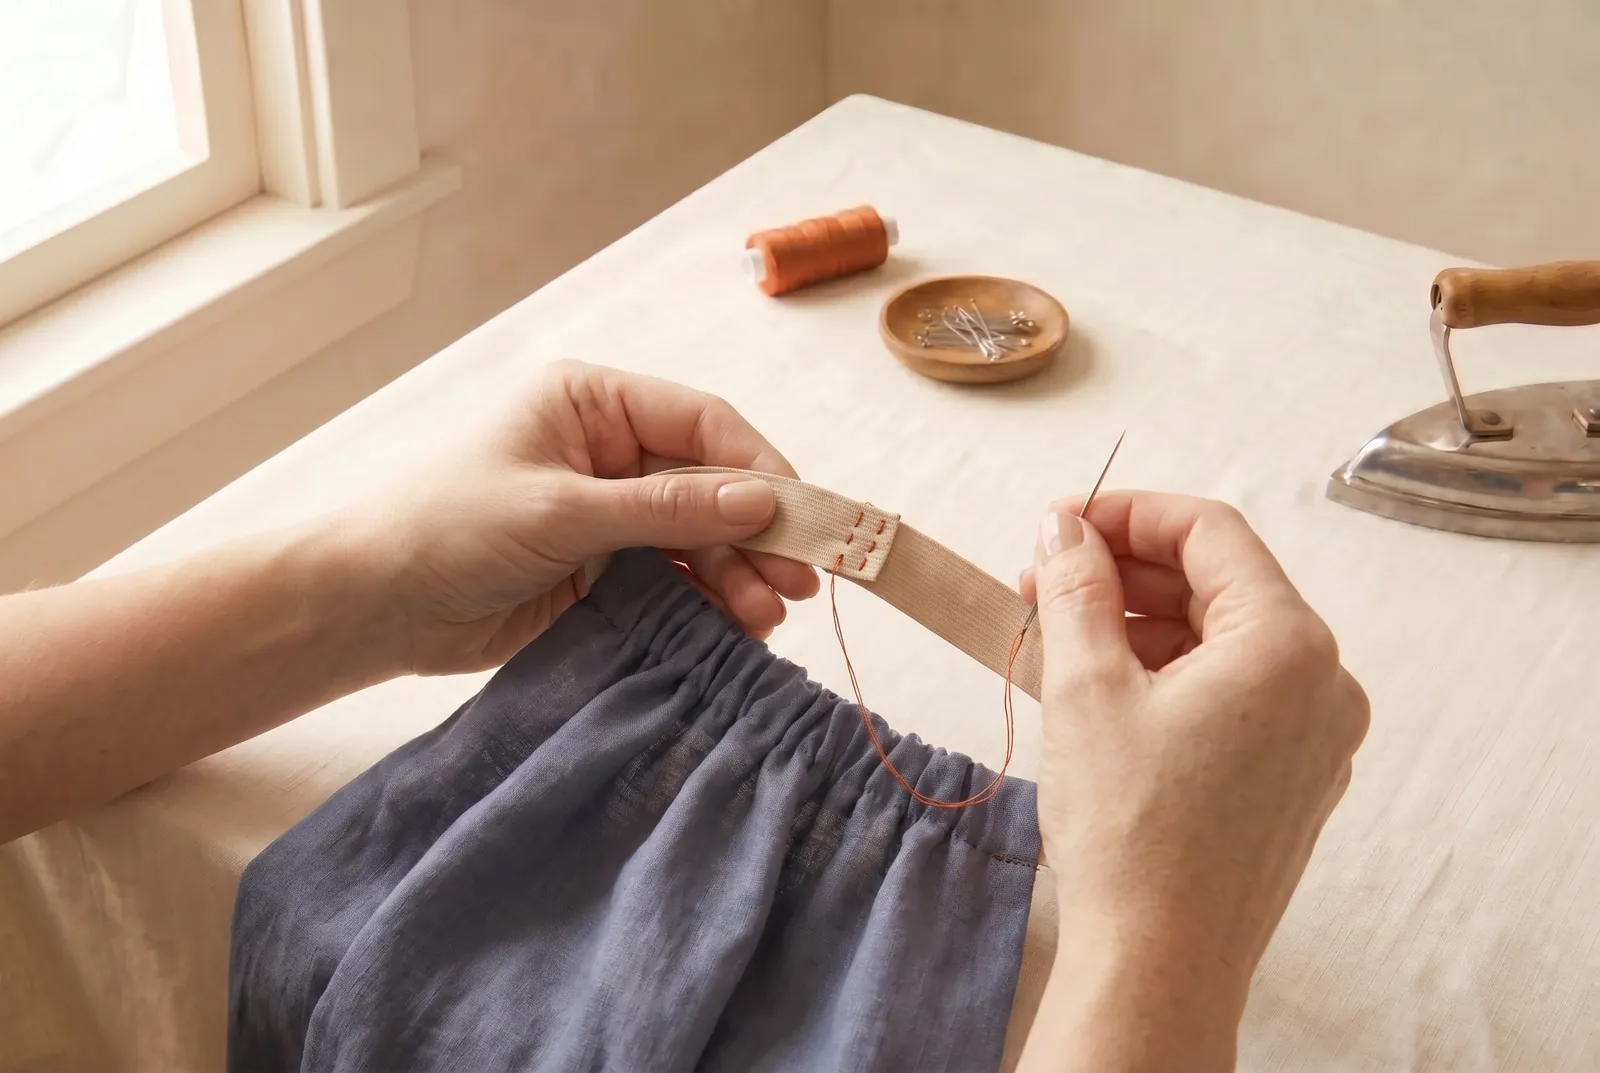
КРОК 8/9Lap the two elastic ends over each other by 1.3 cm (1/2 in) and stitch back and forth across the lap several times, then along each edge of the overlap. A lapped, stitched join lies flat and holds; a knot slips and leaves a lump that rides in the casing.
Крок 9
КРОК 9/9Ease the joined elastic back inside the casing and close the opening with a few slip stitches. Stitch it so it can be unpicked later, since elastic wears out before the cloth does and you will want to renew it without opening the whole casing.