Знайомство з машинкою · деталь Nº 03 · 48 хв
Set Up a Sewing Machine: Threading, Tension, and Stitch Length
Before you sew a single garment seam, set the machine up so its stitches hold: match thread to needle, thread the machine through the take-up, set the stitch length for your fabric, and balance the tension by testing on a scrap. These few checks are the difference between a seam that lasts and one that puckers, tangles, or pulls apart.
Шов · 8 кроків
Крок 1
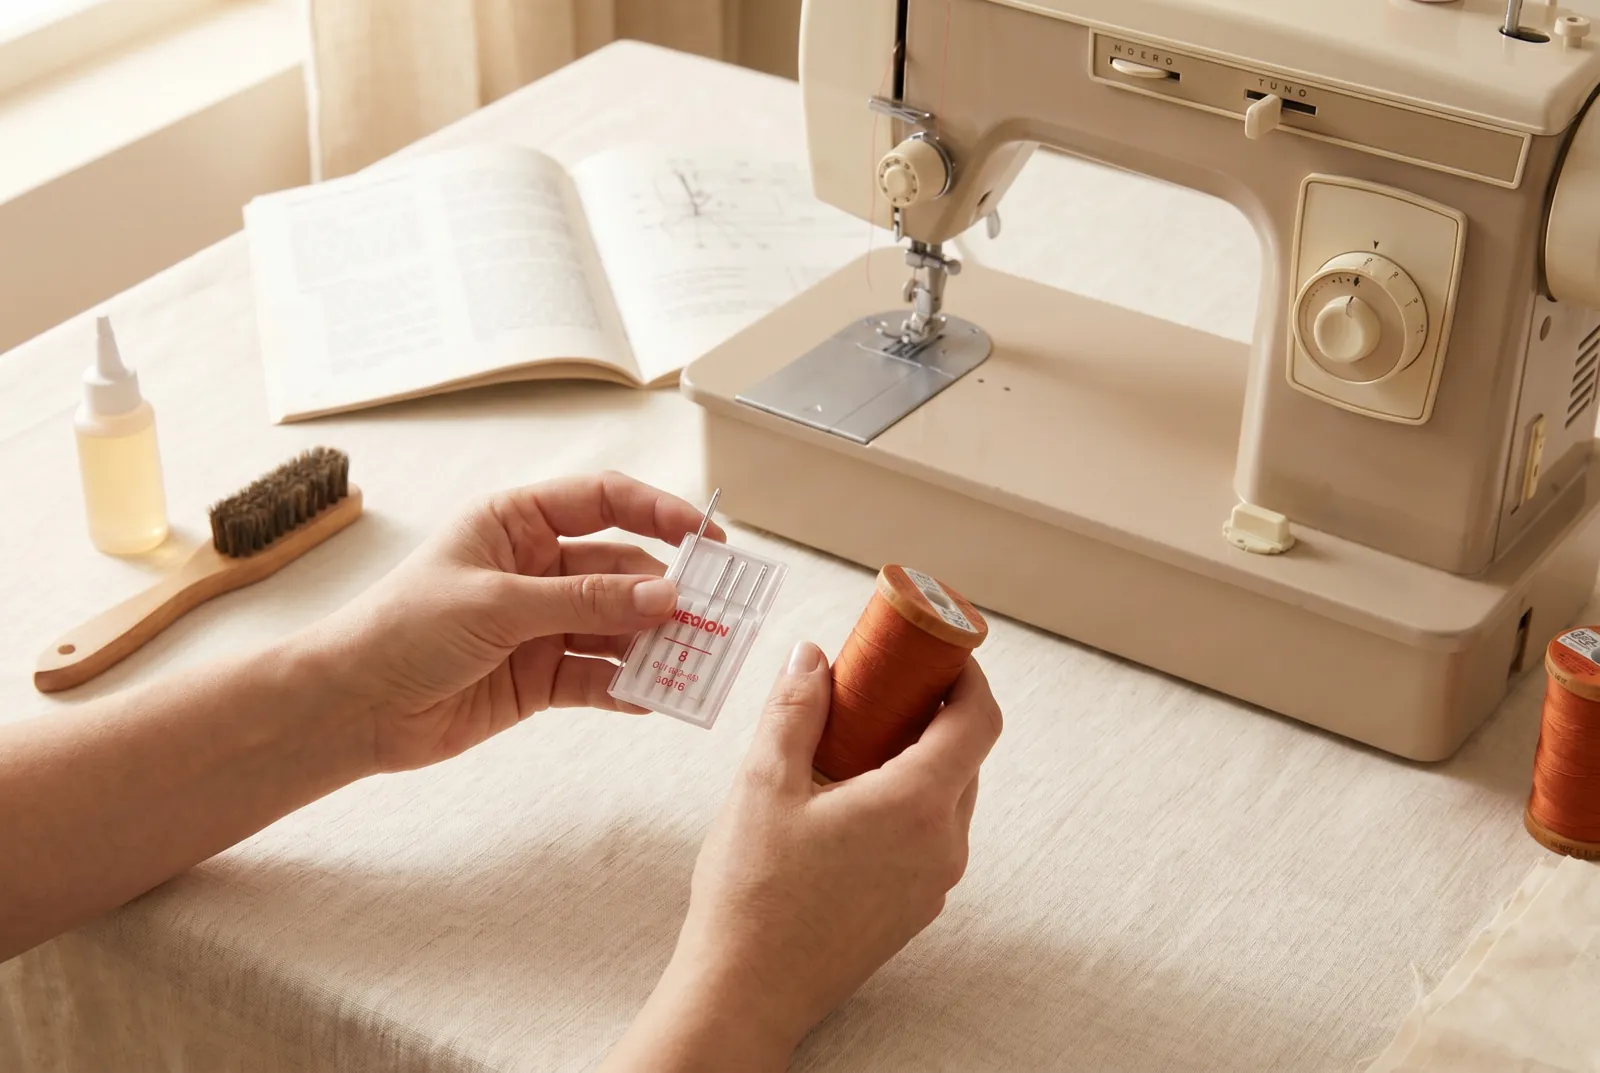
КРОК 1/8Match your thread and needle before anything else. Use the same size thread on the top and in the bobbin (cotton No. 50 to 70 suits ordinary muslin or calico), and fit a needle a little larger than the thread, so a No. 8 or 9 needle for No. 60 to 70 cotton. A needle too fine for its thread frays and breaks it, and a bent or blunt needle cuts the cloth along the whole seam, so change a damaged needle first.
Крок 2
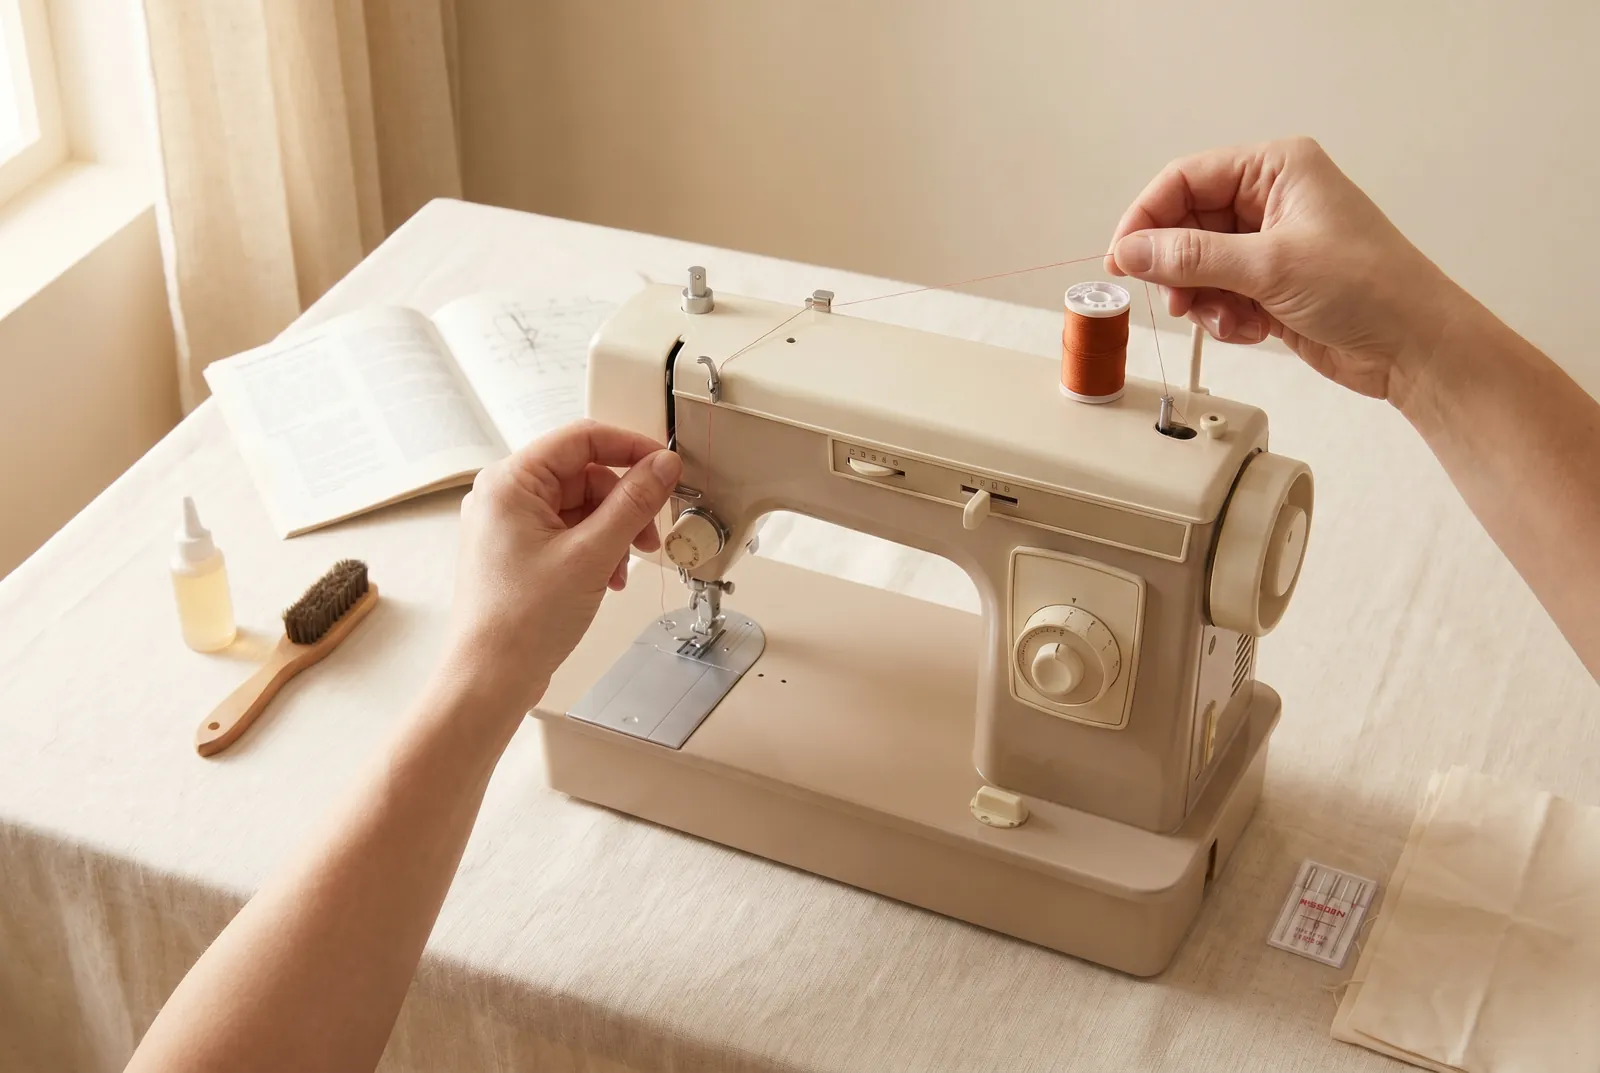
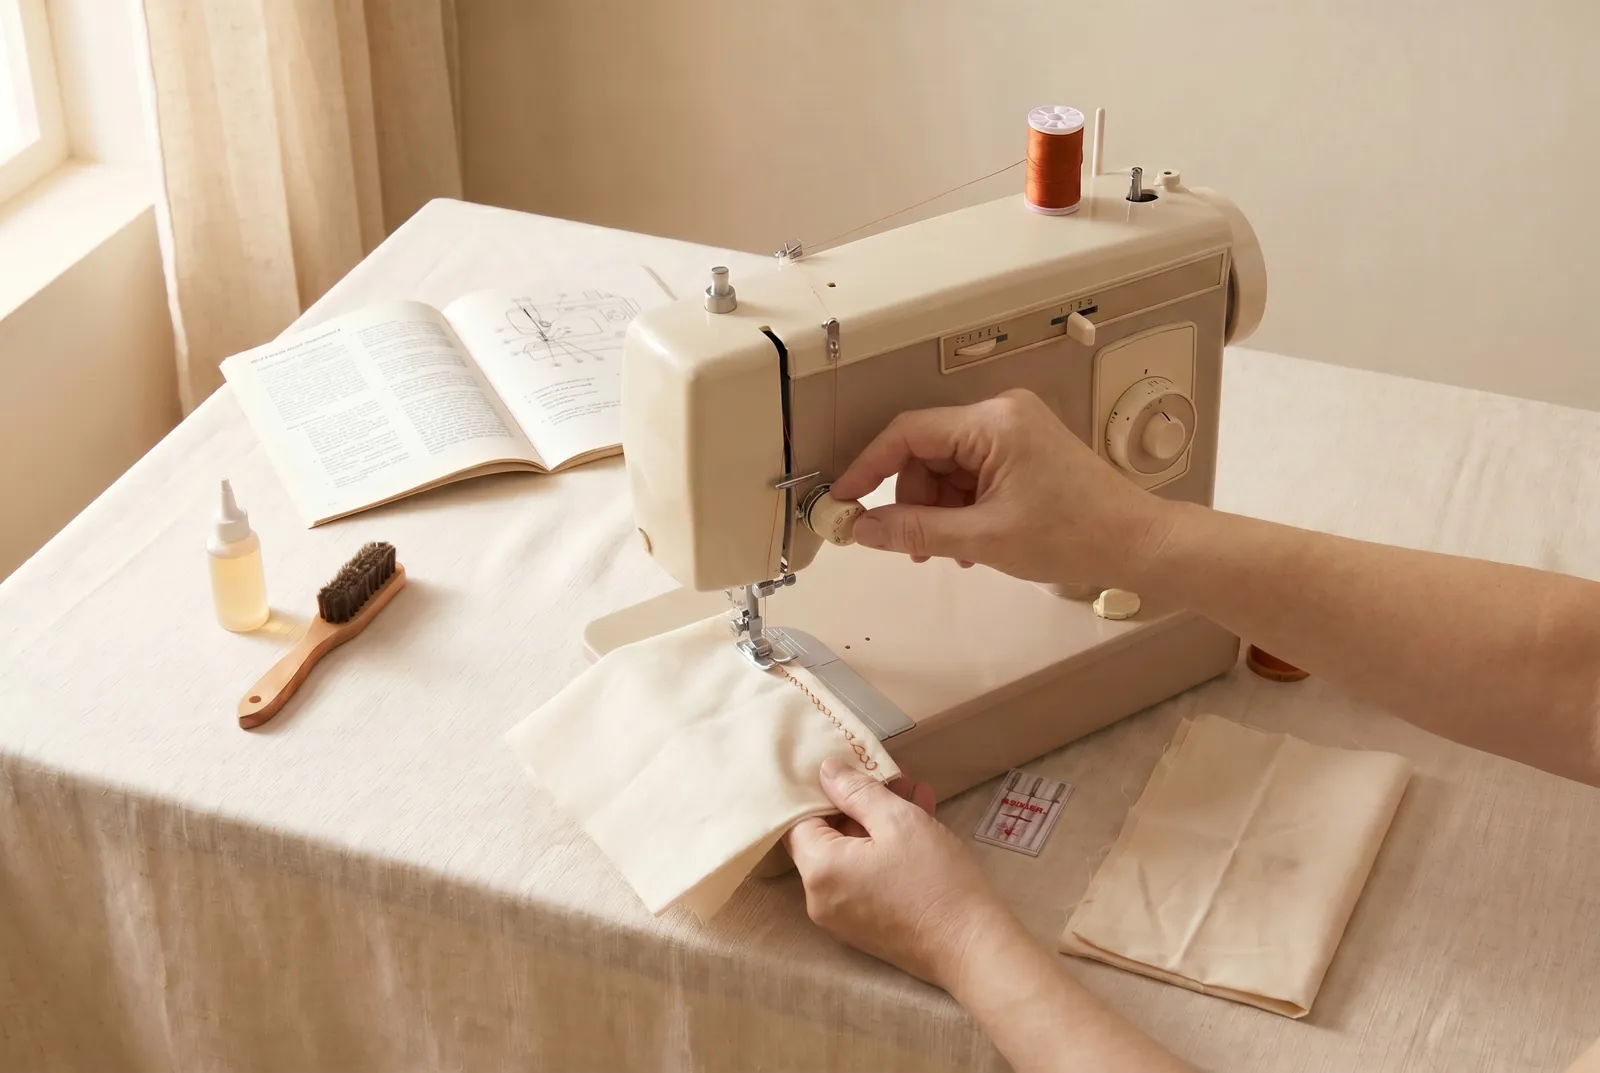
КРОК 2/8Thread the machine following the diagram in its manual, and make sure the thread passes through the take-up lever. Threading the machine wrongly, or missing the take-up, throws tangled loops of thread underneath the cloth, a fault often blamed on the tension. If you see those loops later, check the threading before you touch any dial.
Крок 3
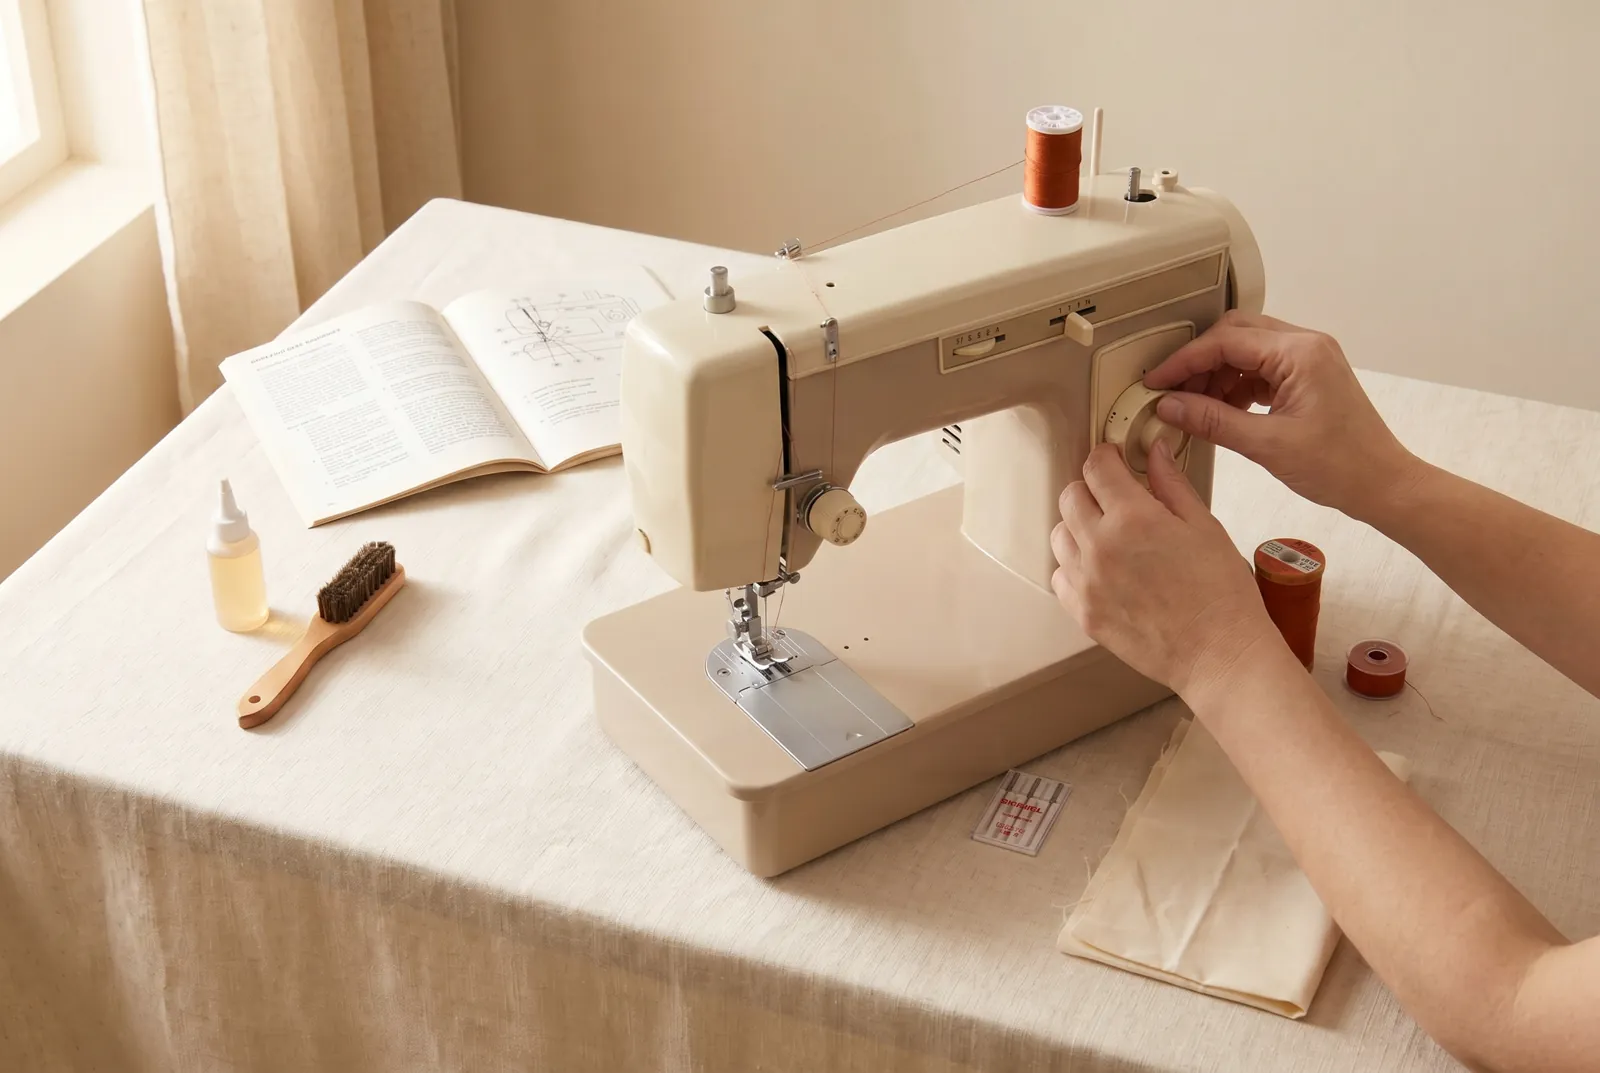
КРОК 3/8Set the stitch length on the stitch regulator. For ordinary sewing on medium-weight fabric, aim for twelve to sixteen stitches per inch (2.5 cm); use a shorter stitch and finer thread on thin fabric, and a longer stitch and coarser thread on heavy fabric. A seam sewn with too long a stitch has no strength, and one sewn with too short a stitch in heavy fabric cuts the cloth along the line like a row of perforations.
Крок 4
КРОК 4/8Test on a doubled scrap of the same fabric before you sew the real piece. Stitch a line across the scrap and look at both sides: when the tension is right, the twist of each stitch is buried in the middle of the cloth and both surfaces show a smooth, even line of stitches.
Крок 5
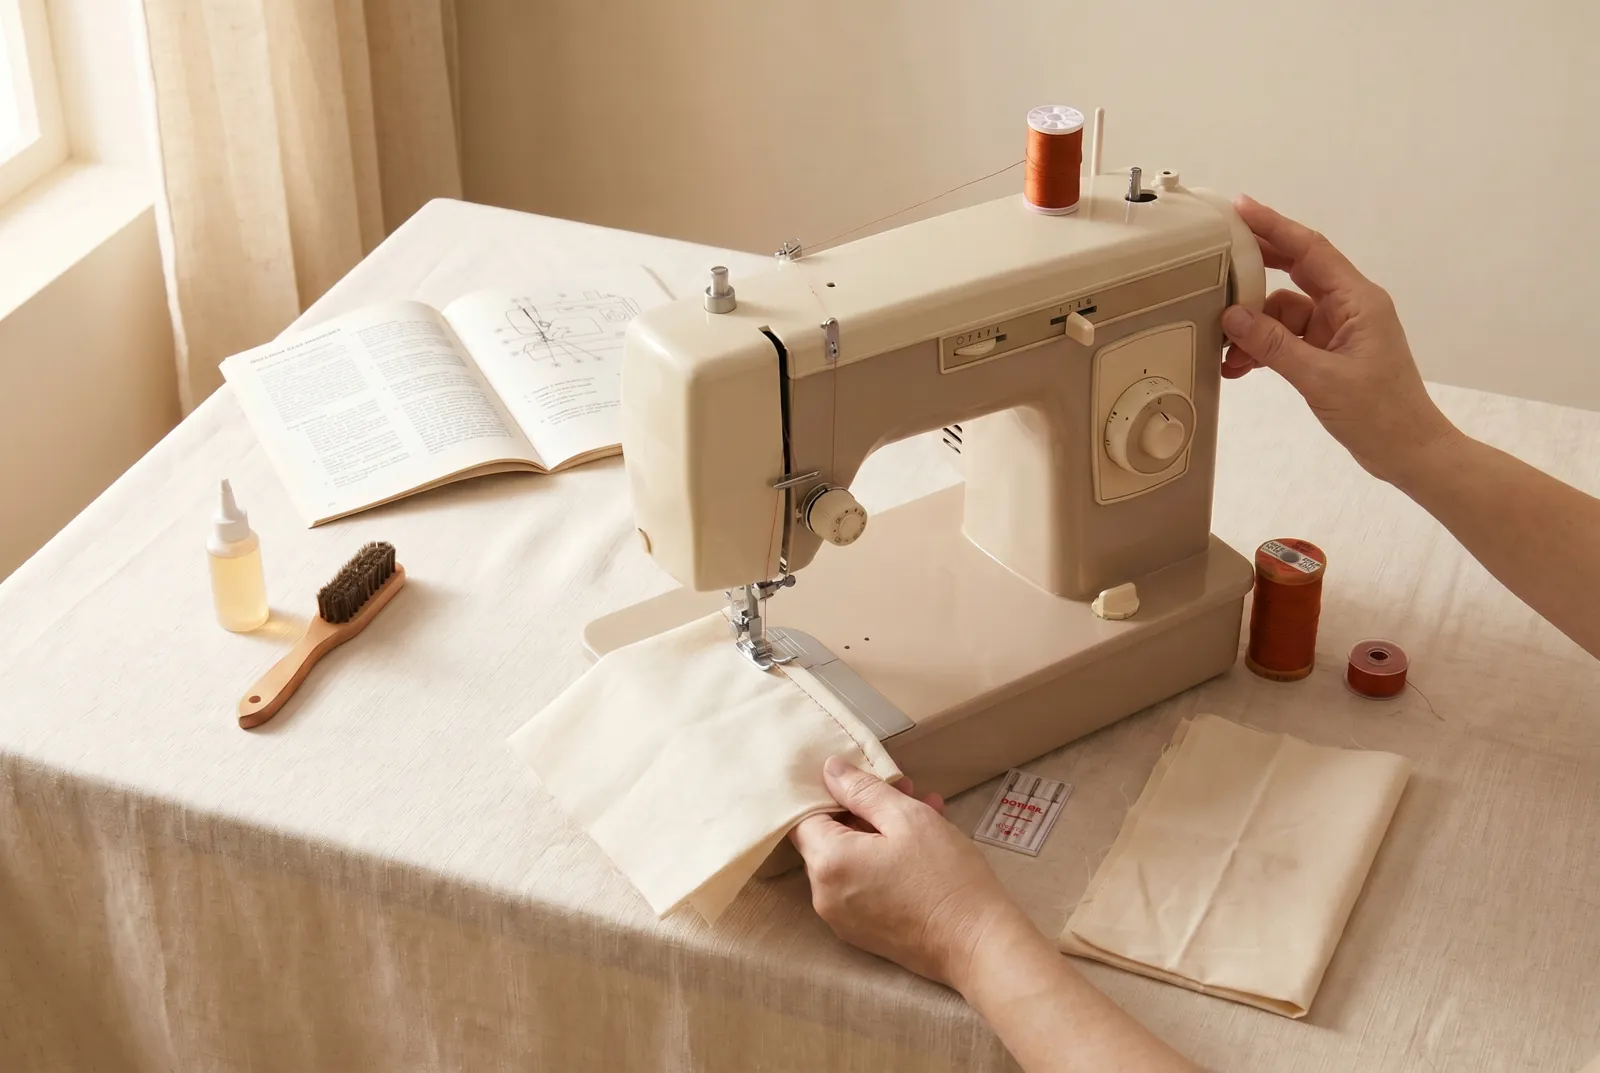
КРОК 5/8Read the tension from your test scrap and correct it with the upper tension. If the upper tension is too tight, the bobbin thread is dragged up and lies along the top of the cloth, and the seam breaks under a light pull from below; if it is too loose, the upper thread lies in loops on the underside. Turn the upper-tension screw a little at a time and re-test after each turn, and leave the bobbin spring alone, since it is set at the factory and rarely needs touching. Both tensions run tighter for heavy fabric and coarse thread, and looser for thin fabric and fine thread.
Крок 6
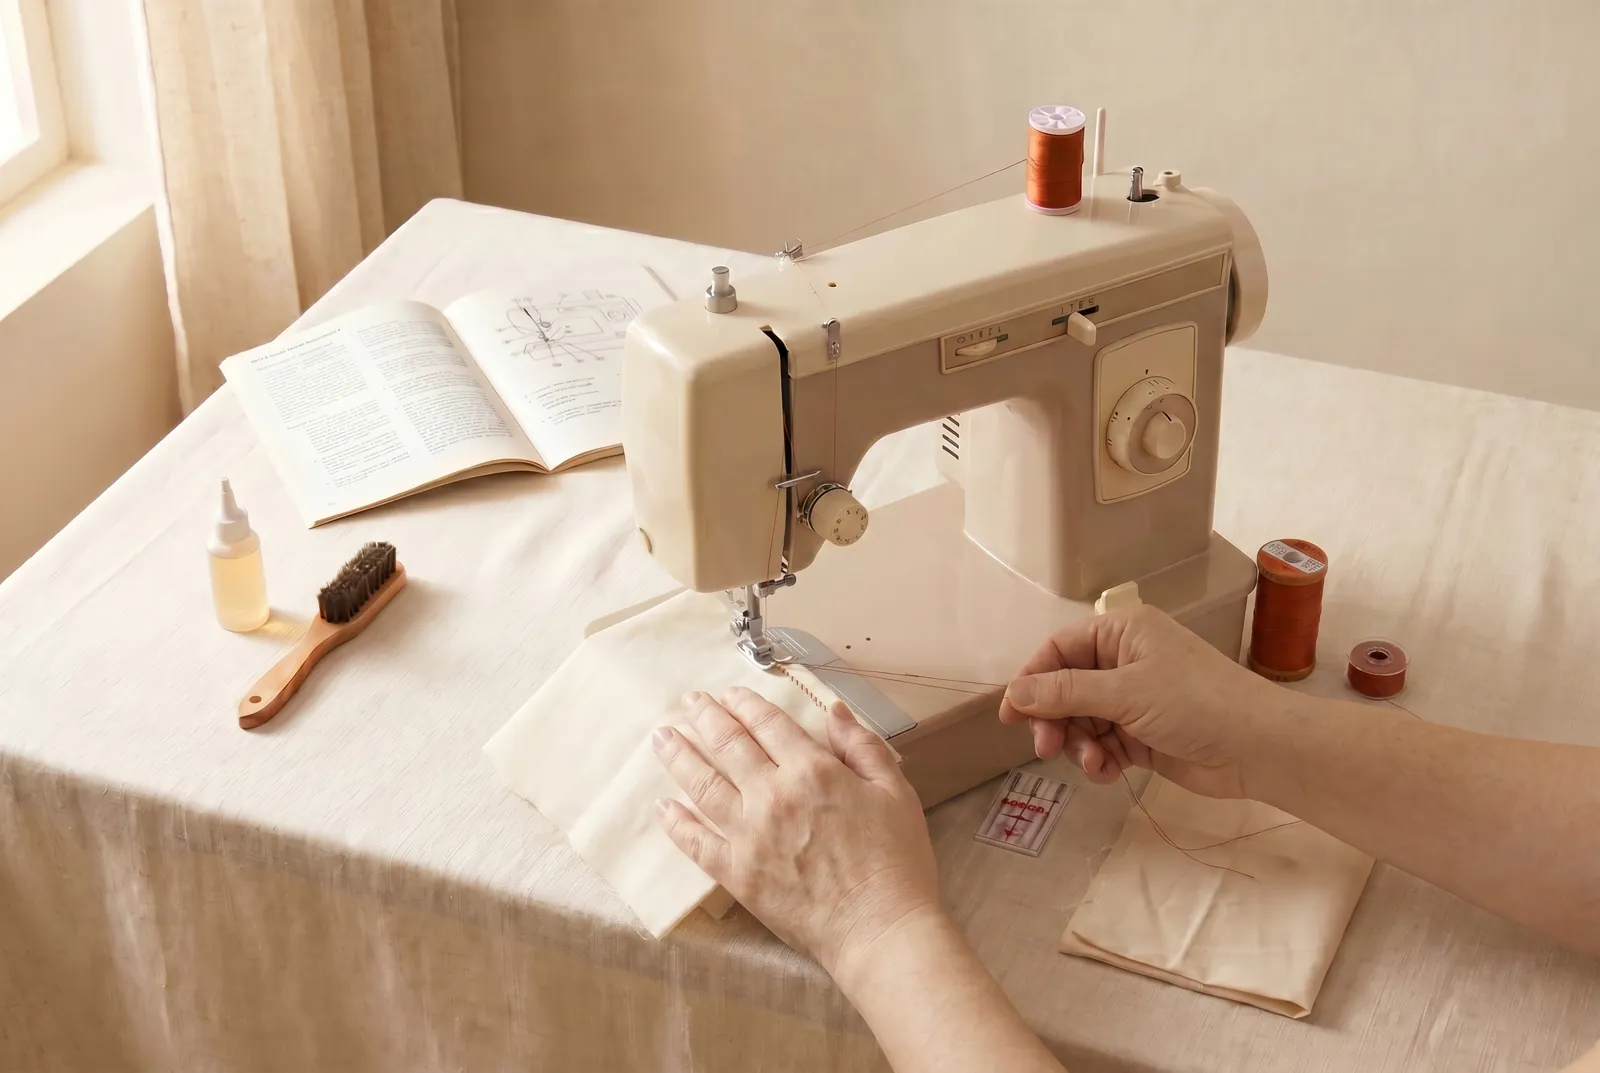
КРОК 6/8Start the seam with the take-up lever at its highest point, so the upper thread is not jerked out of the needle at the first stitch. Lower the needle into the cloth right at the start of the seam line, then lower the presser foot. Hold the ends of both the upper and bobbin threads back under your fingers for the first few stitches, so they are not pulled down into the machine.
Крок 7
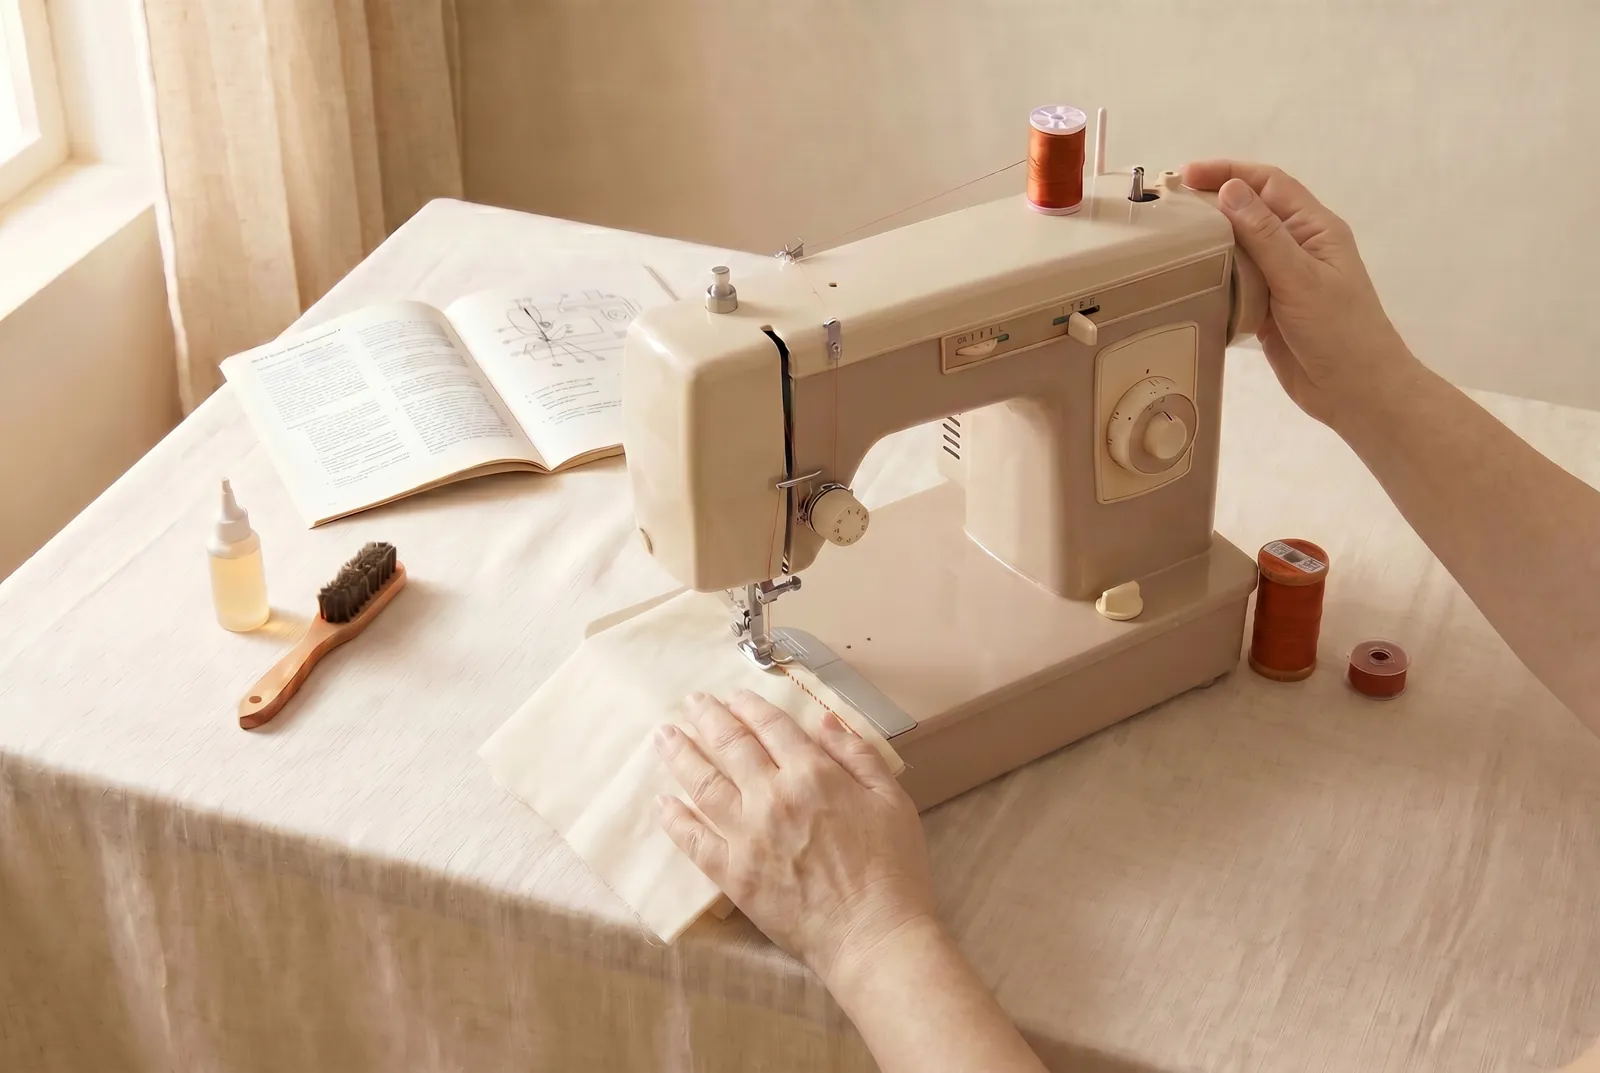
КРОК 7/8Run the machine at a steady, even pace and let it move the cloth for you. The feed under the needle carries the fabric along and your hands only guide it, so do not push or pull the work. On a treadle machine, start the balance wheel by hand, turning it toward you, and keep the treadling smooth, since uneven treadling breaks the thread and can run the machine backward, which unthreads the needle.
Крок 8
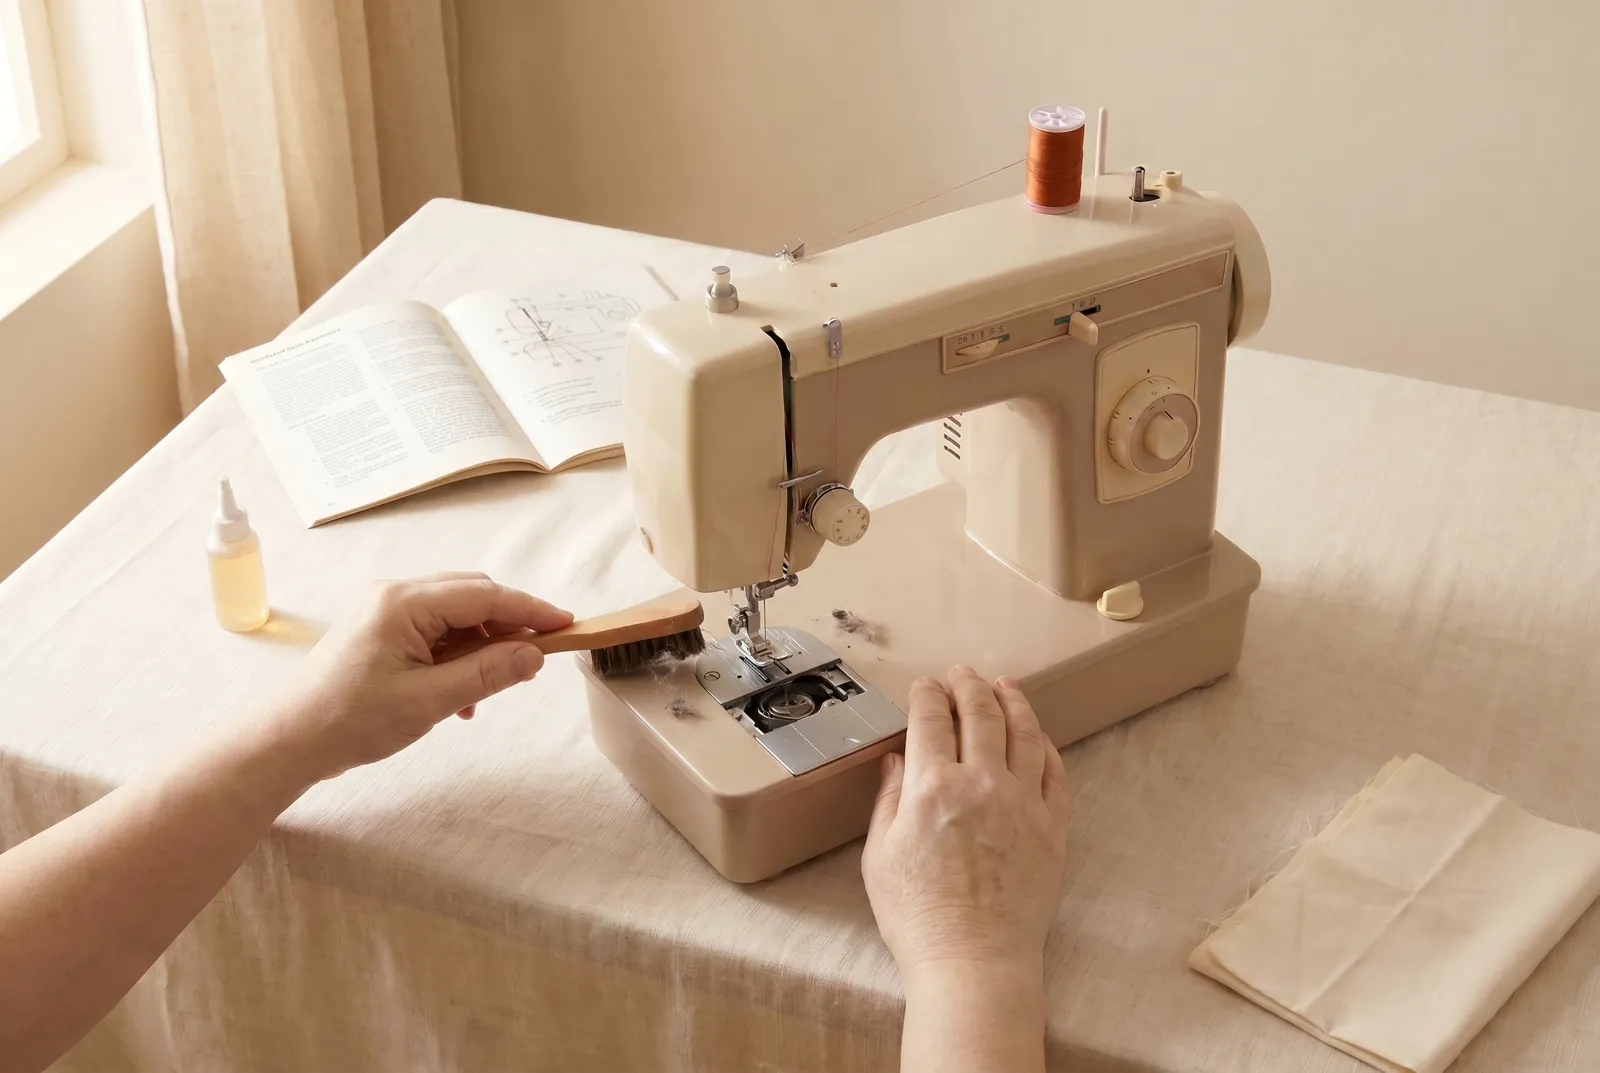
КРОК 8/8Keep the machine dusted and oiled as its manual directs. Lint packed under the needle plate is the commonest cause of hard running and broken thread, so clear it out when the machine starts to drag or the thread keeps snapping.