Visible & Decorative Mending · piece Nº 06 · 48 min
Cover a Stain with a Decorative Quilted Patch
A stain that will not wash out can be hidden under a cloth patch stitched down in rows of running stitch. Worked in a contrasting thread, those even rows read as a deliberate trim rather than a repair.
The seam · 8 steps
Step 1
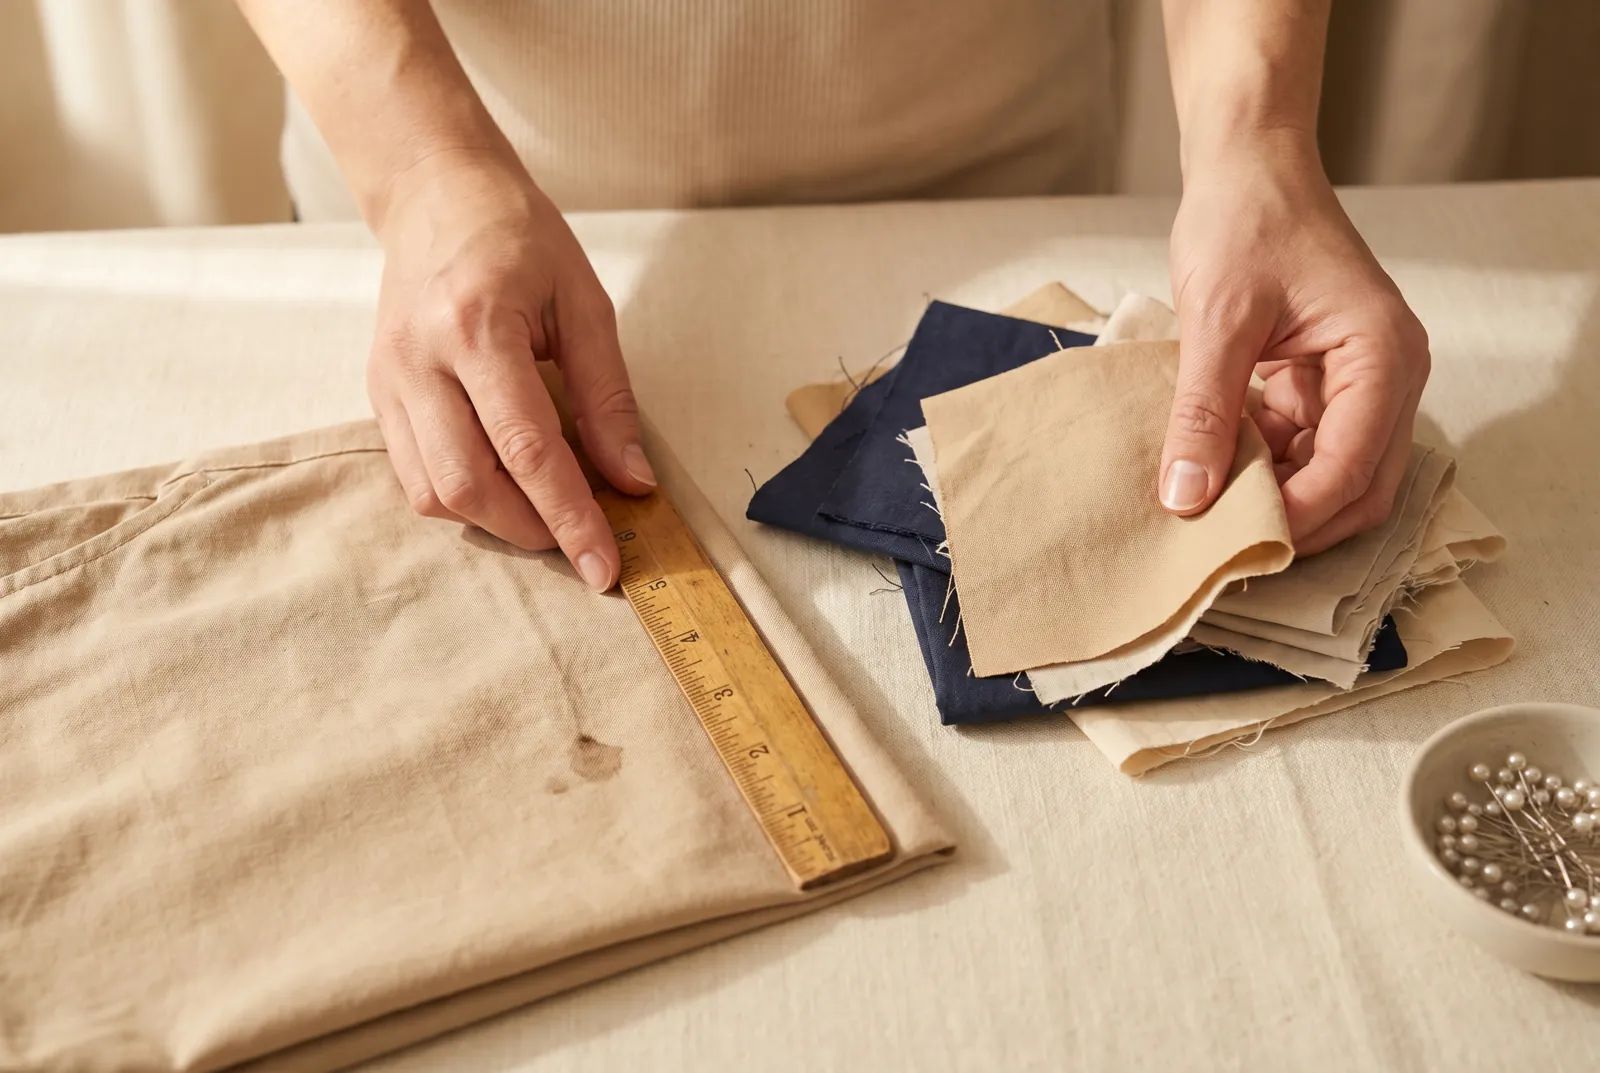
STEP 1/8Measure the stain at its widest point in each direction and note the two numbers. Choose a scrap of firm cotton for the patch, the same weight as the garment or a little lighter, from your bag of saved cloth.
Step 2
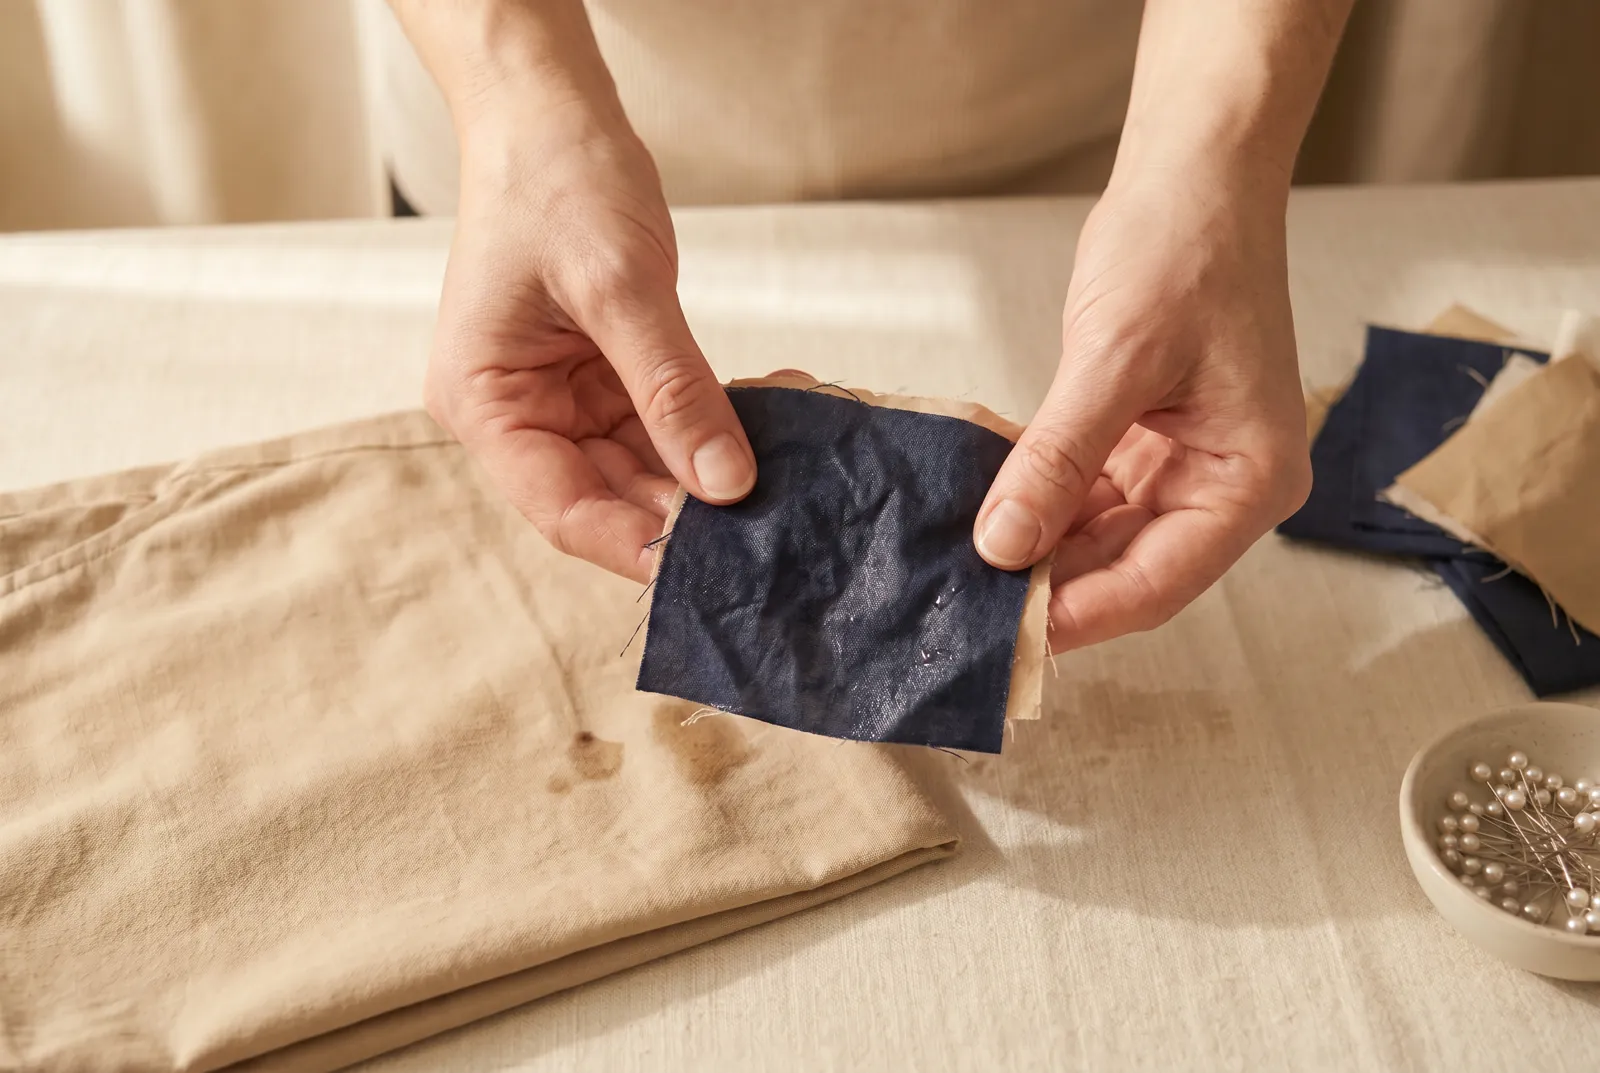
STEP 2/8If this garment gets washed, wash and dry the patch cloth the same way before you cut it. Cloth added to a wash garment without shrinking it first will pucker the fabric around it the first time it is laundered.
Step 3
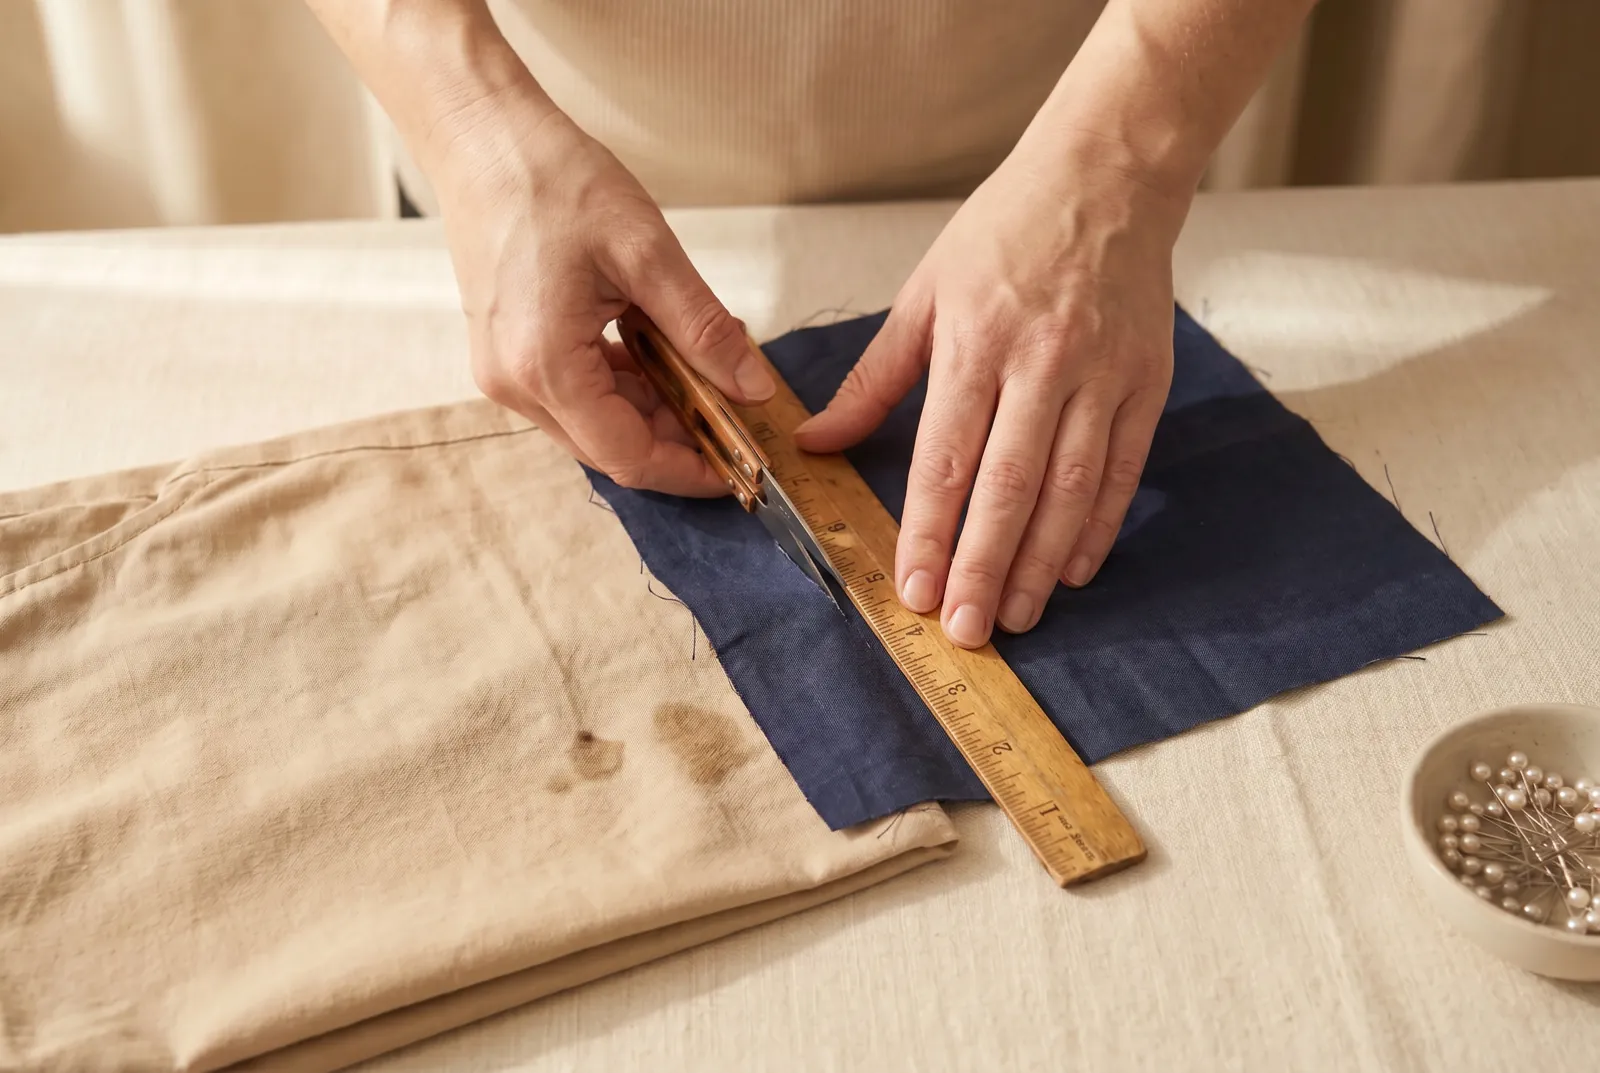
STEP 3/8Cut the patch so it reaches 3 cm (1 1/4 in) beyond the stain on every side. For a stain 4 cm (1 1/2 in) wide, cut a 10 cm (4 in) patch — the stain's width plus 3 cm (1 1/4 in) at each edge — and size the length the same way. That margin has to cover both the edge you will fold under and a band of sound cloth around the stain for the stitches to grip.
Step 4
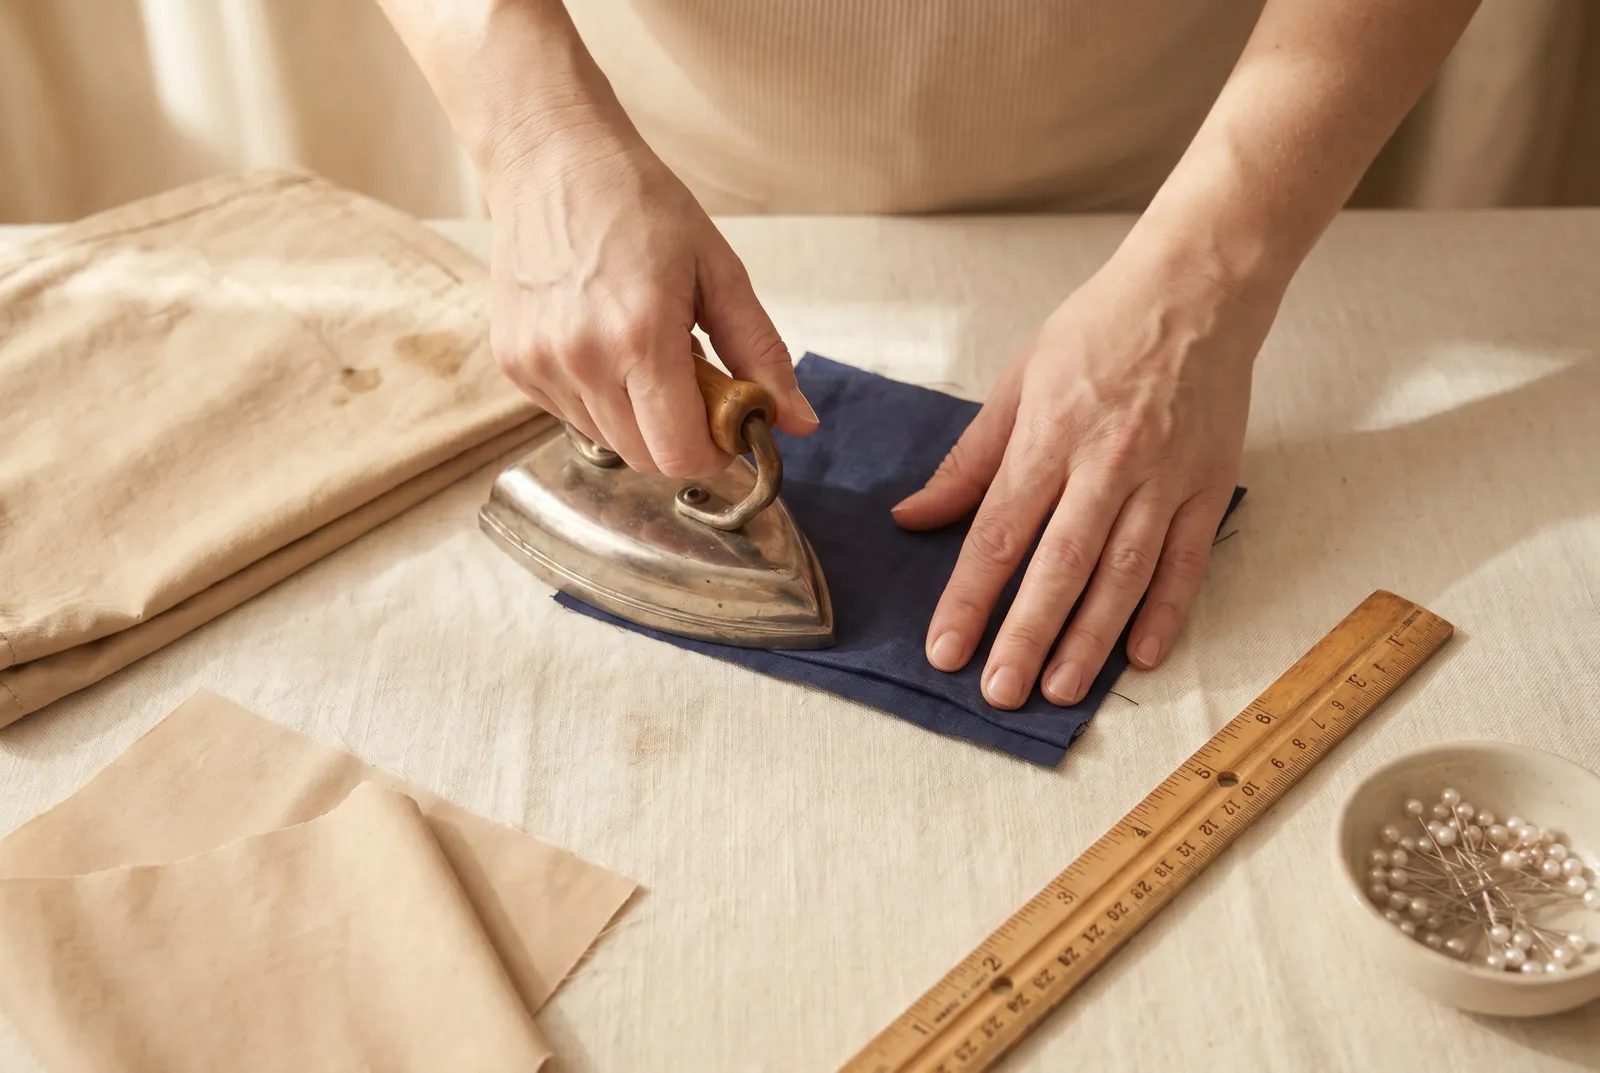
STEP 4/8Fold one edge under 6 mm (1/4 in), fold it under the same amount again to bury the raw edge, and press the double fold flat; repeat on all four edges. The two folds take up about 1.2 cm (1/2 in) at each edge, so the finished patch still reaches about 1.8 cm (3/4 in) past the stain all around. This turned edge keeps the patch from fraying in the wash.
Step 5
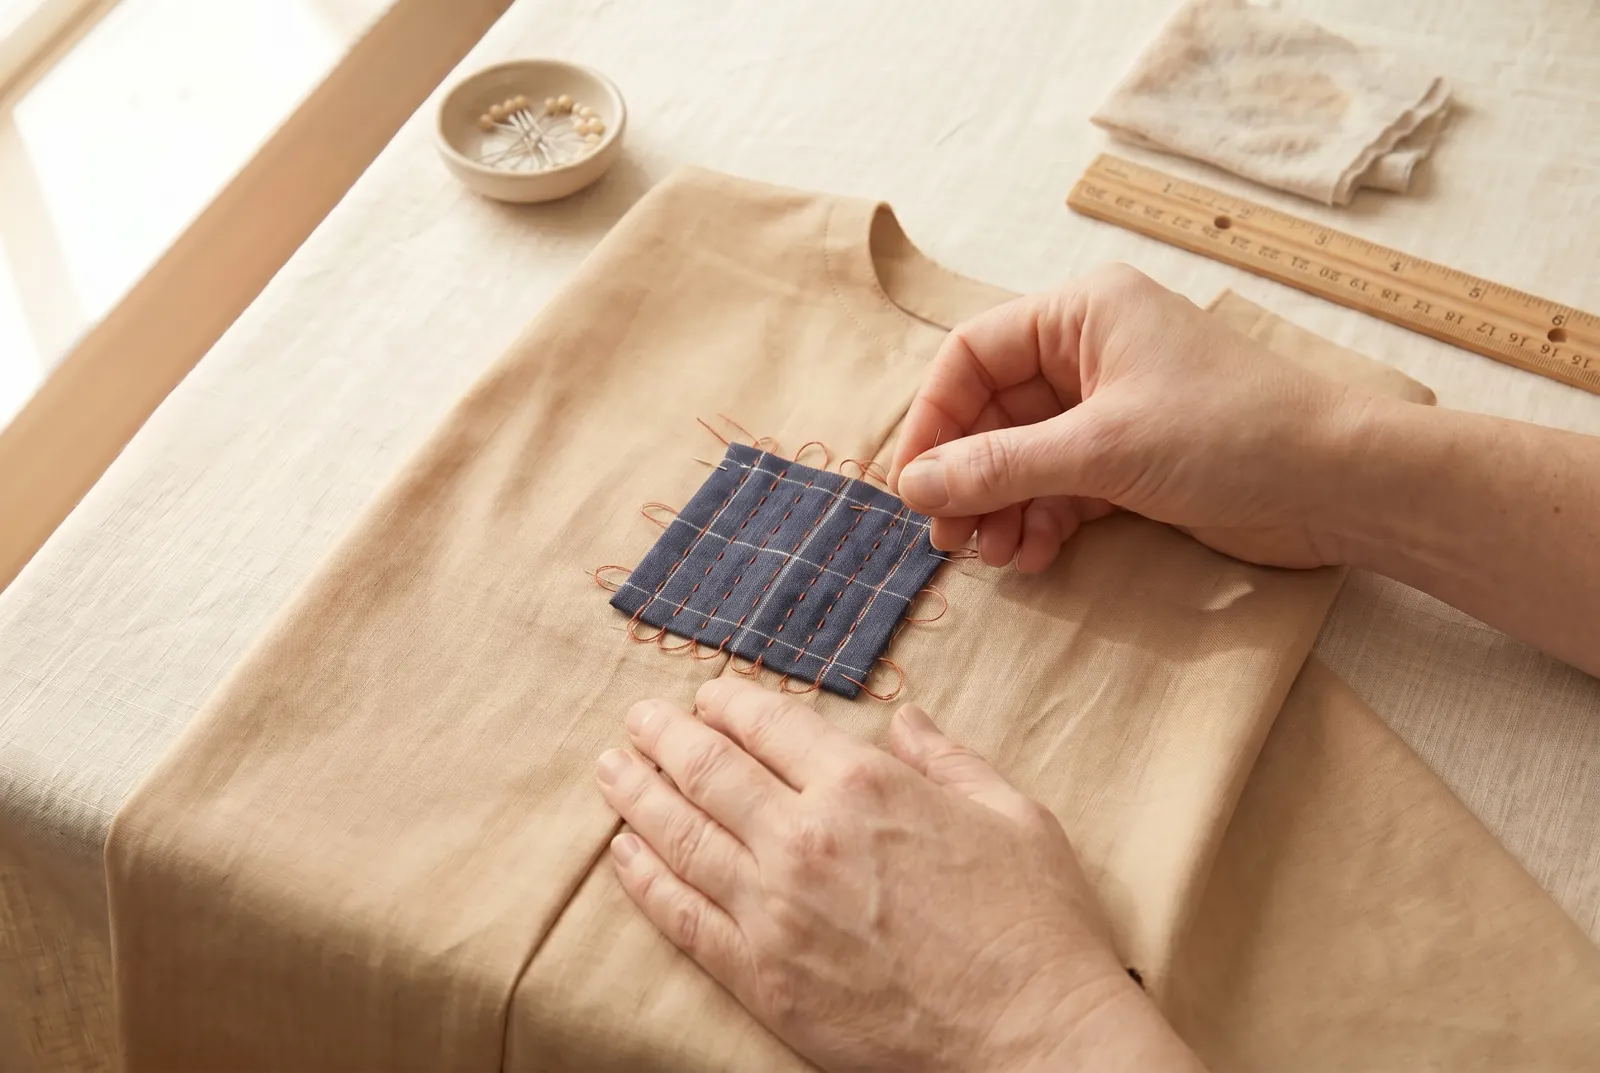
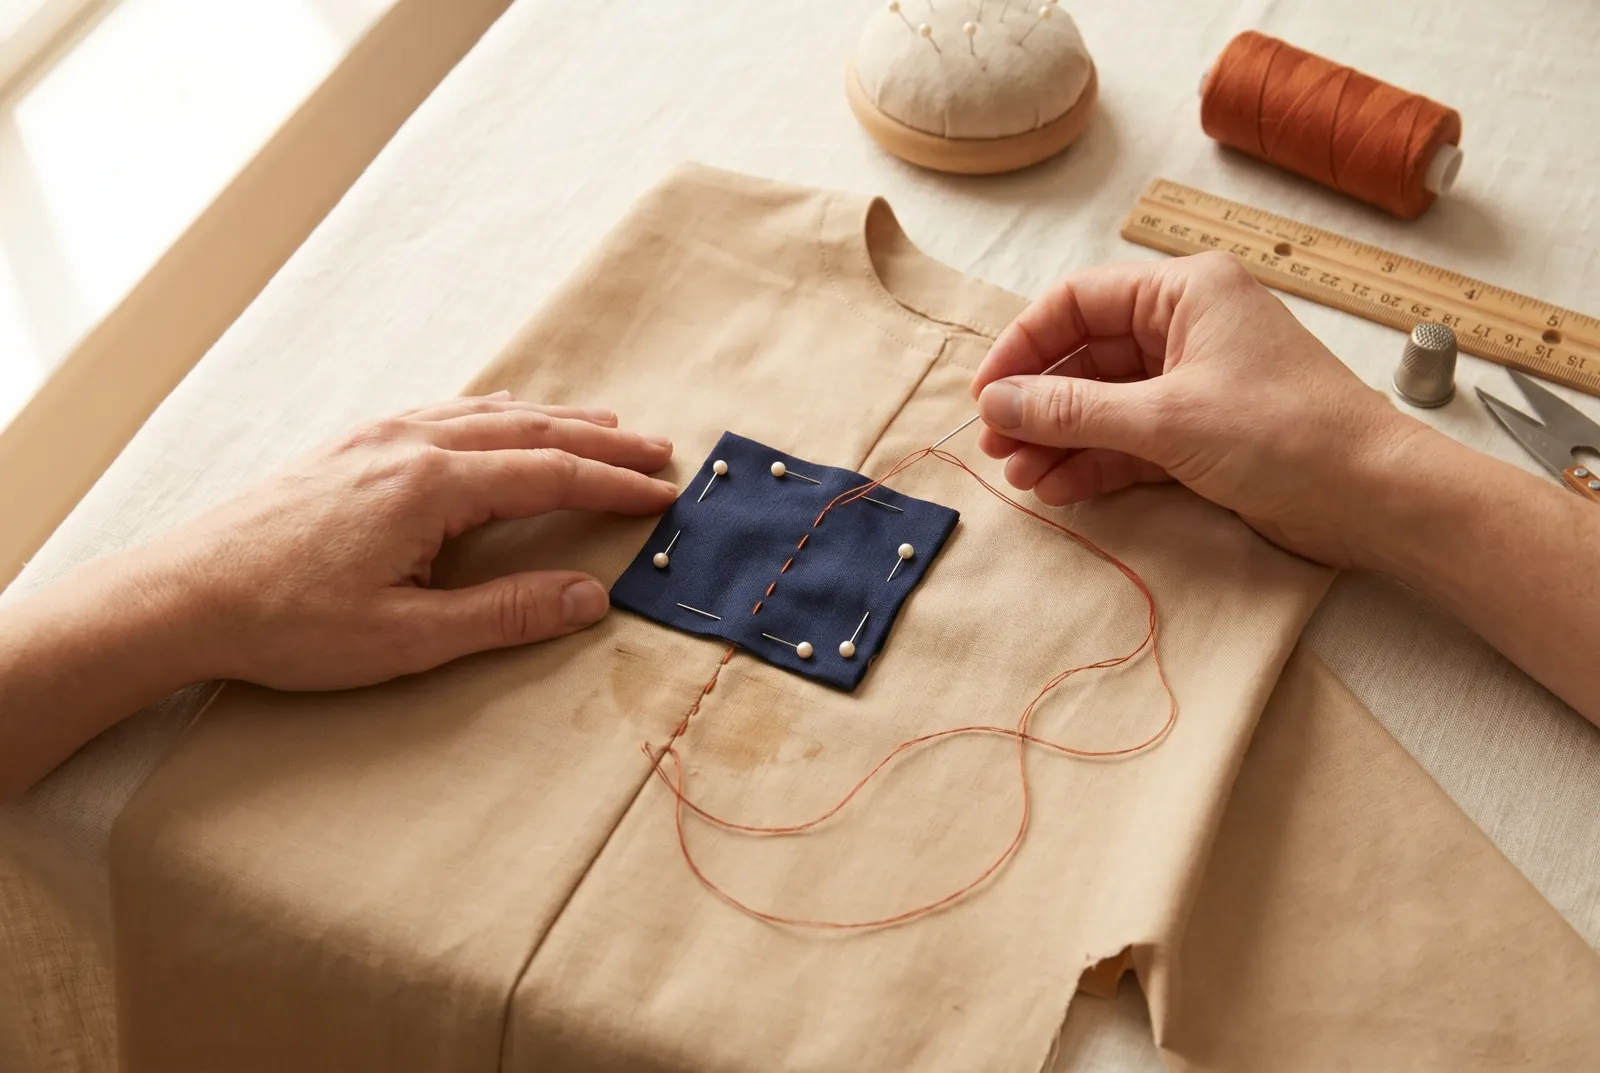
STEP 5/8Center the folded patch over the stain, folded edges down, and pin it around all four sides. Baste through both layers with a line of long running stitches across the middle each way, so the layers cannot shift while you quilt.
Step 6
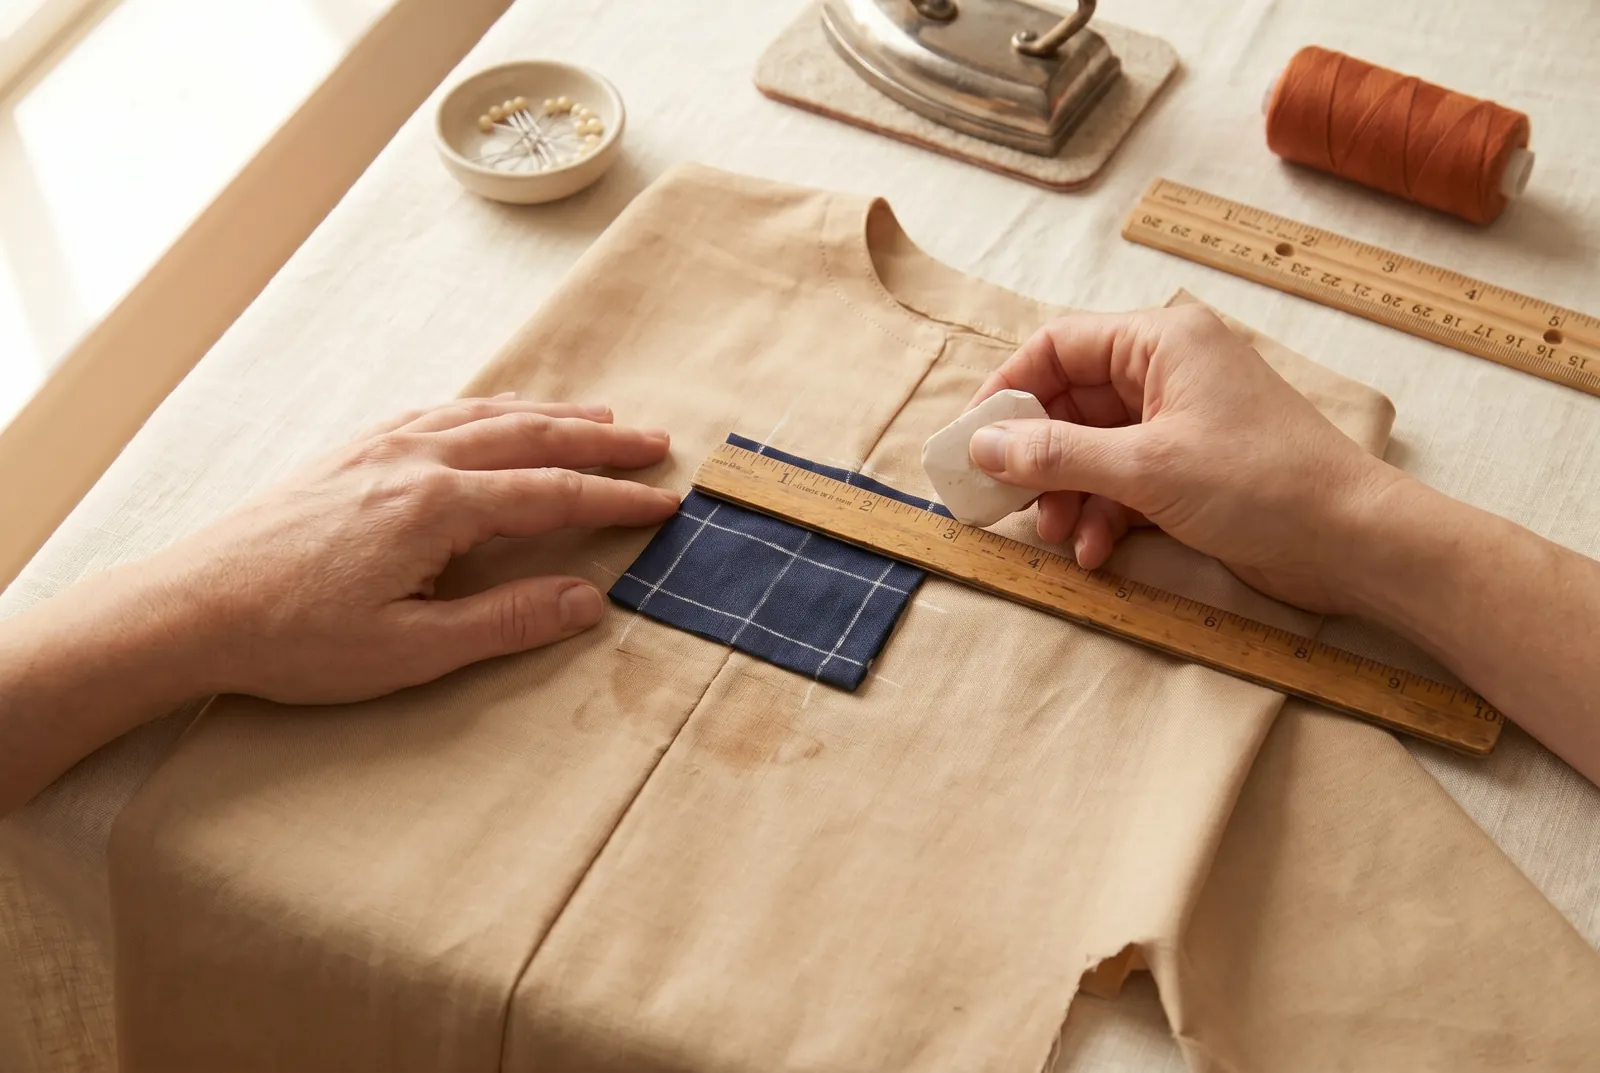
STEP 6/8On the right side of the patch, mark straight stitching lines with chalk and a ruler, 6 to 10 mm (1/4 to 3/8 in) apart, and carry each line 1 cm (3/8 in) past the patch edges into the sound cloth. Cross the lines at right angles for a square grid, or add a second set on the diagonal for diamonds, so the stitching catches every folded edge.
Step 7
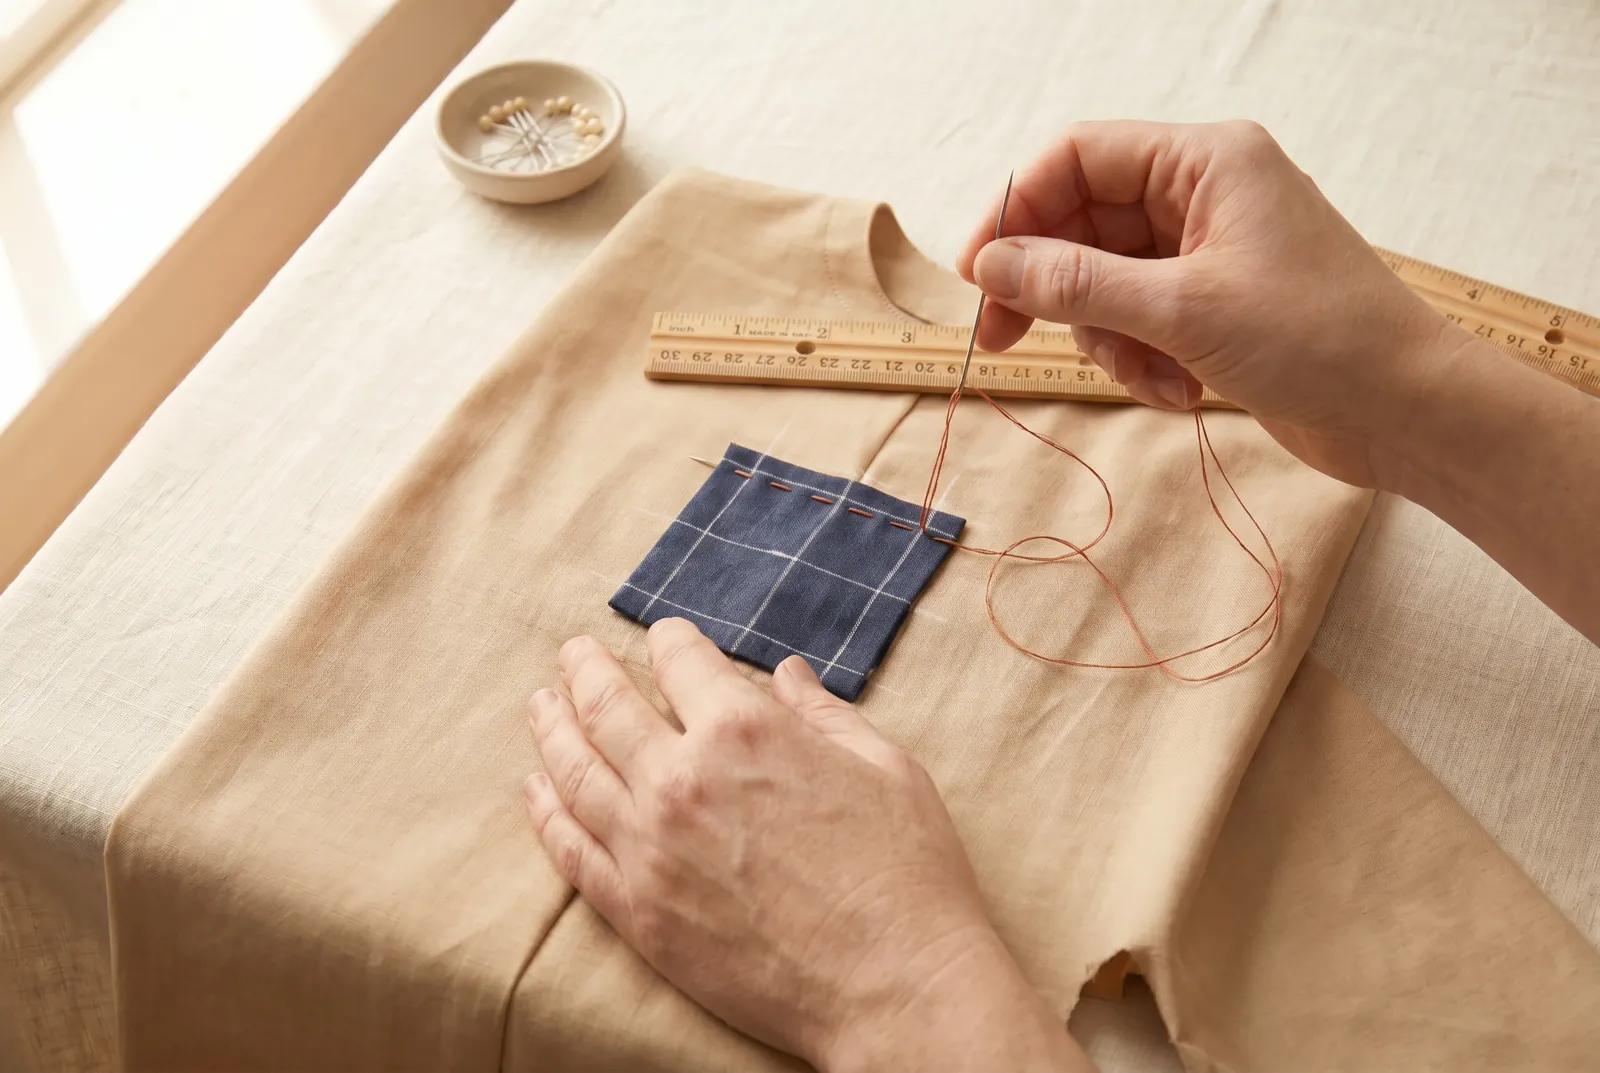
STEP 7/8Thread the long needle with strong, soft cotton in a contrasting color and work rows of running stitch along the chalk lines, through all the layers. Make four to six stitches to 2.5 cm (1 in): surface stitches about 4 mm (3/16 in) long with gaps of about 2 mm (1/16 in) between them, and load several stitches on the needle before drawing the thread through to keep the row straight.
Step 8
STEP 8/8Keep the work flat and leave each row slightly slack — after finishing a row, smooth the patch and leave about 3 mm (1/8 in) of ease in the thread, because thread drawn tight over many rows puckers the whole patch. At the end of a row leave a loop of thread about 3 mm (1/8 in) at the turn — it is ease for wear and washing, not decoration. Start and finish each thread with a knot the size of a pinhead, pulled through to sit hidden between the layers. When every row is stitched, pull out the pins and both plain-cotton basting lines — the quilting grid now holds the layers — and press the patch once under a damp cloth. Worked in contrasting thread in even rows, the finished patch reads as a decoration rather than a repair.