Meet Your Machine · piece Nº 02 · 54 min
Wind and load a bobbin
Wind thread evenly onto a bobbin and load it into the Janome J30's top-loading hook so the lower thread feeds without loops or tangles. A bobbin wound unevenly or seated backward is one of the most common causes of messy stitches, so get this step right before you sew a seam.
The seam · 9 steps
Step 1
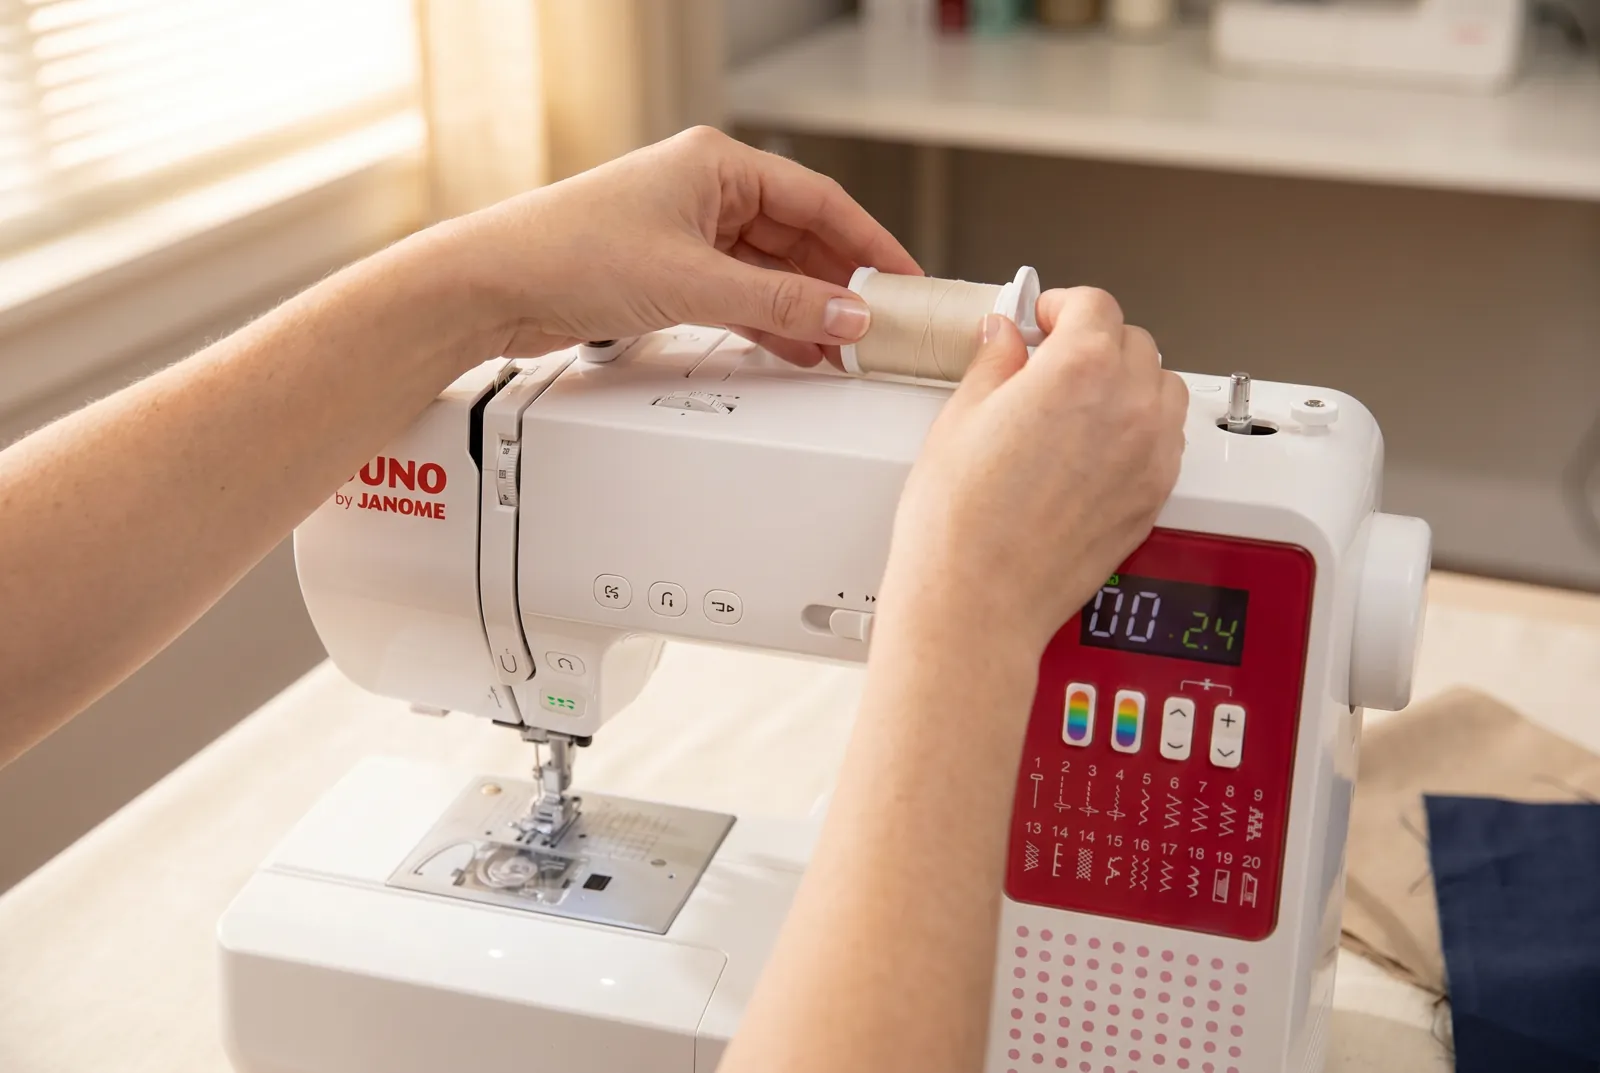
STEP 1/9Set a spool of thread onto the spool pin on top of the machine and slide a spool cap on top of it if your spool is narrower than the pin — the cap keeps the spool from wobbling and stops thread catching on the pin's edge as it unwinds.
Step 2
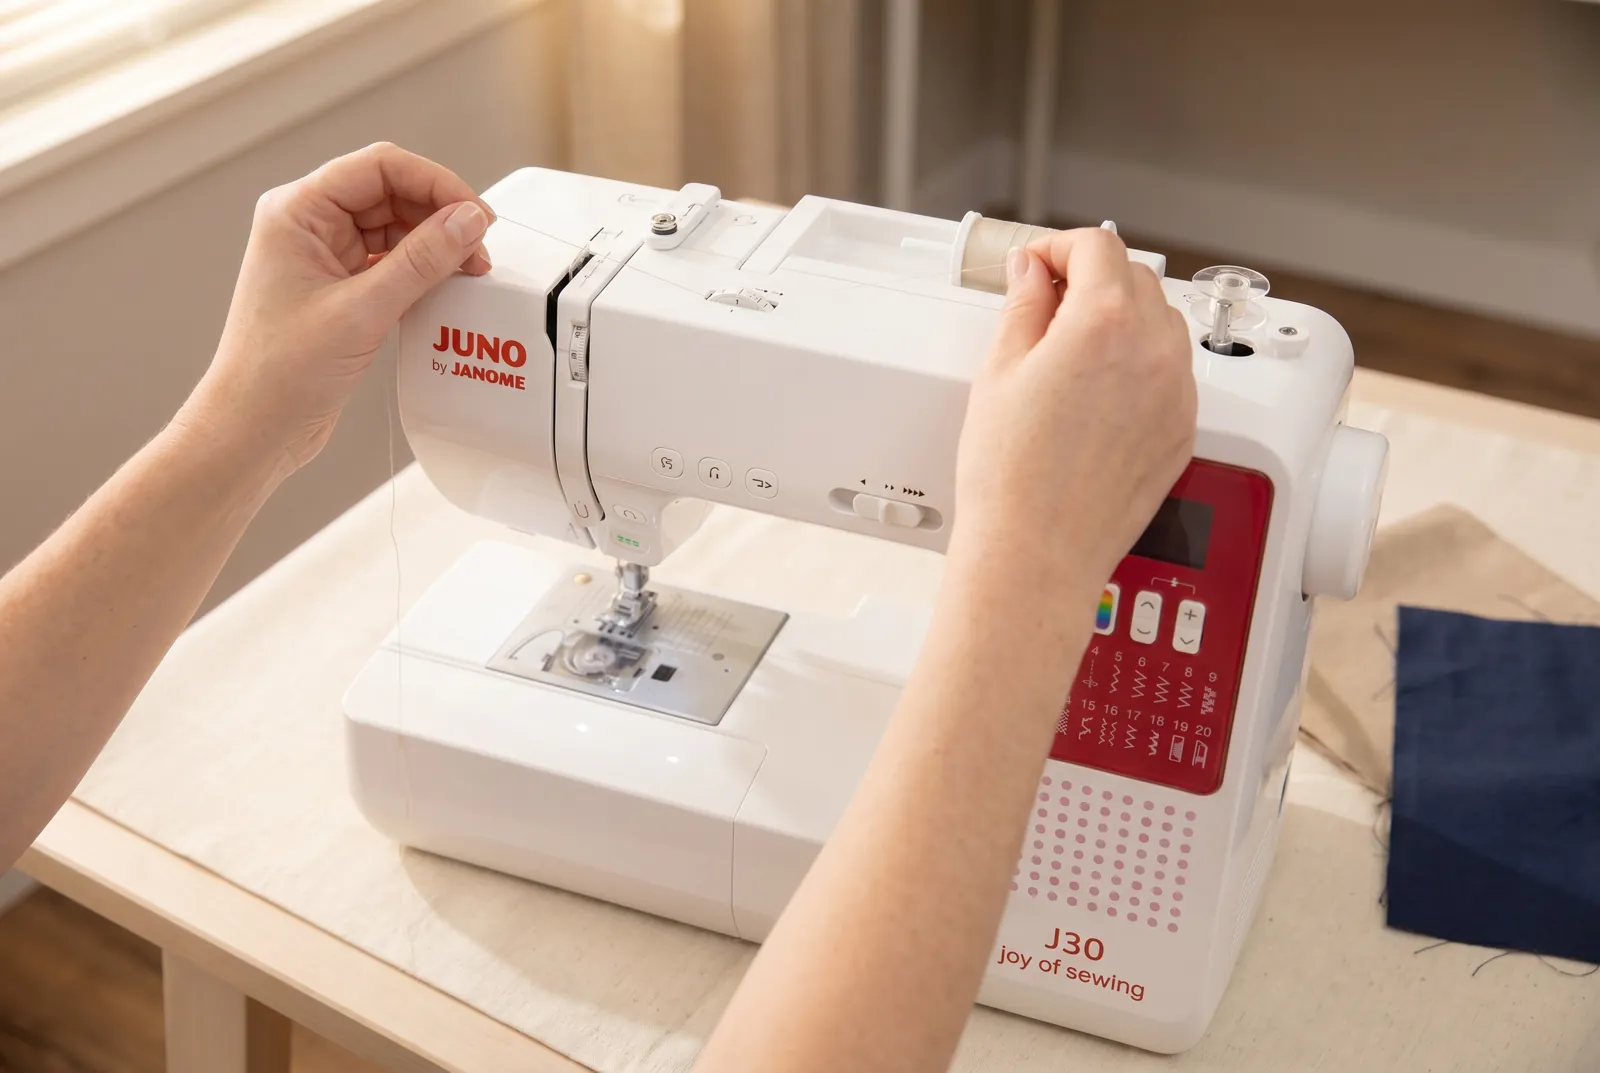
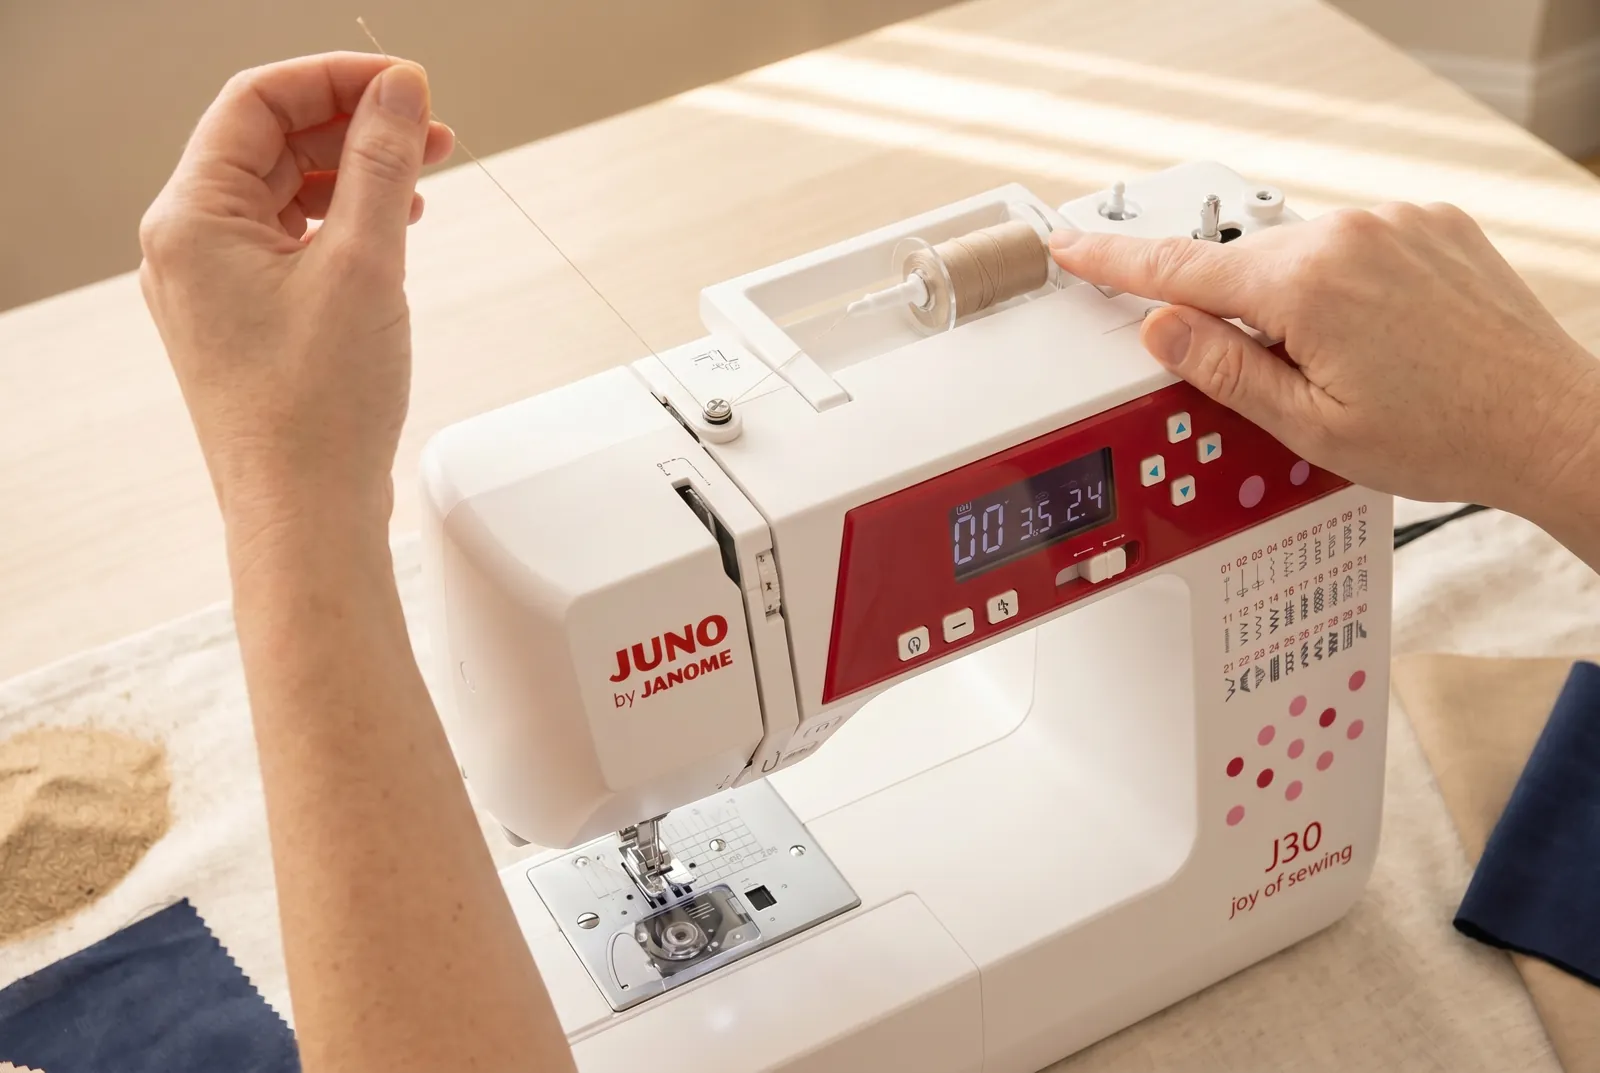
STEP 2/9Follow the printed thread-guide path from the spool pin to the bobbin winder, a second, smaller pin near the top right of the machine. Lay the thread through each printed guide along the way, in order — skipping one lets the thread wind unevenly.
Step 3
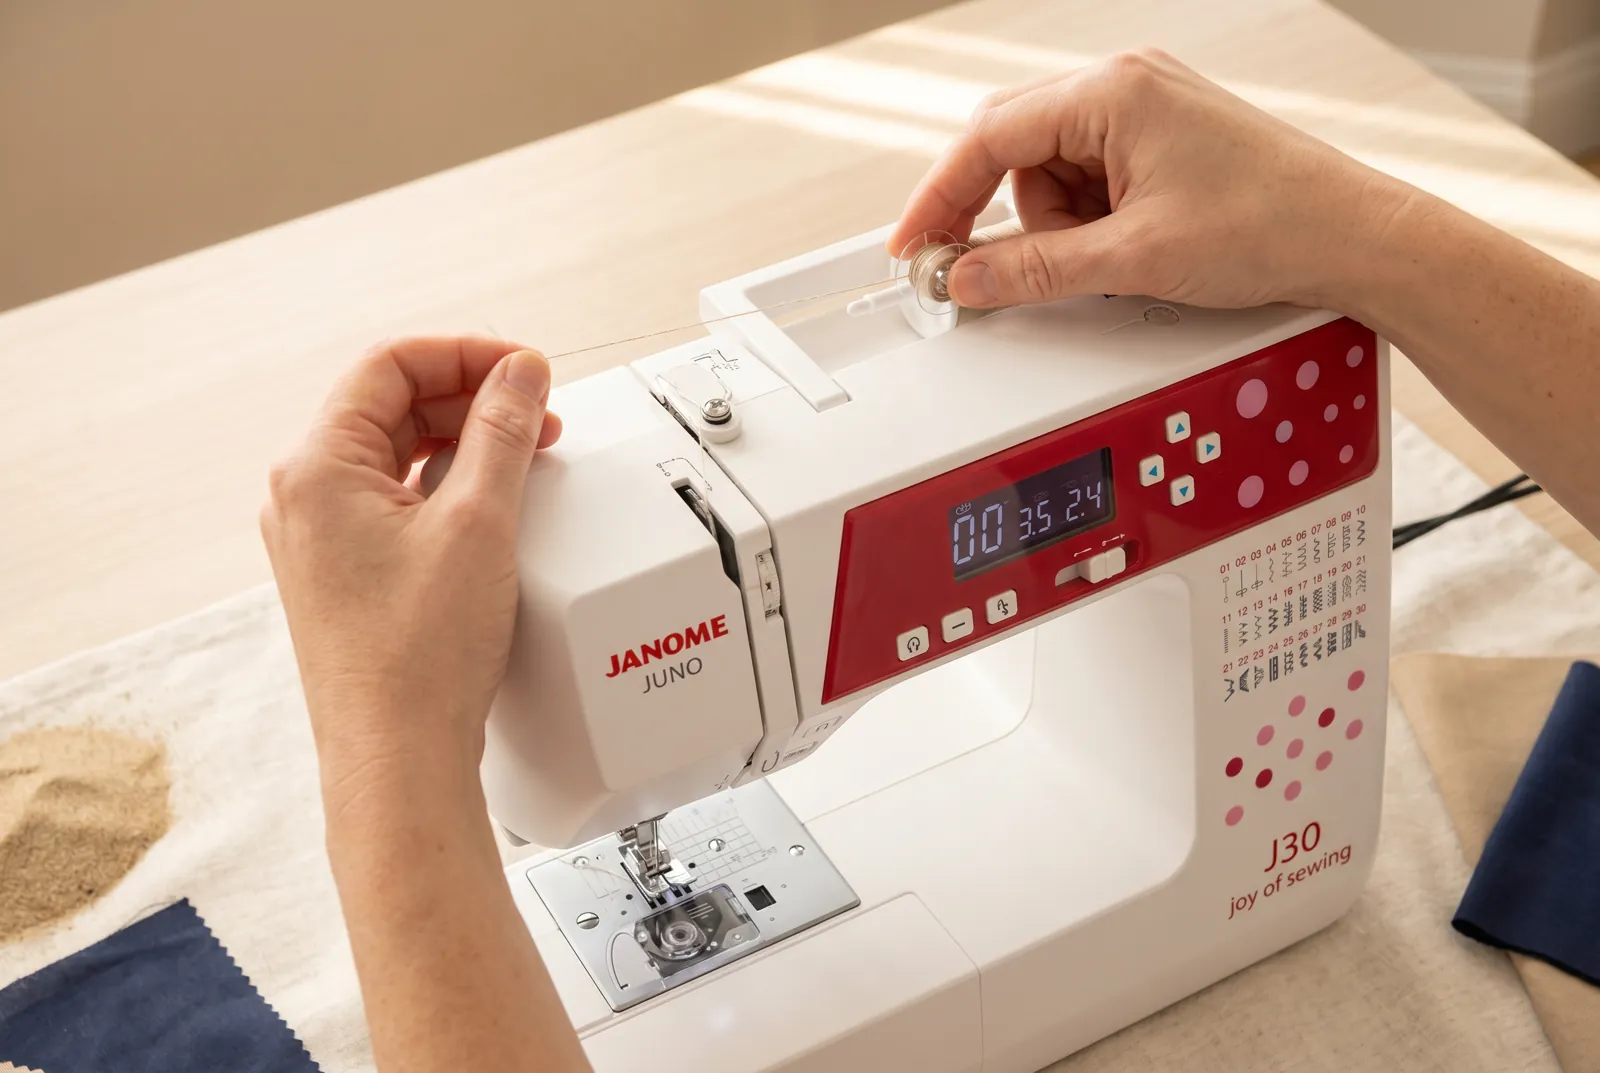
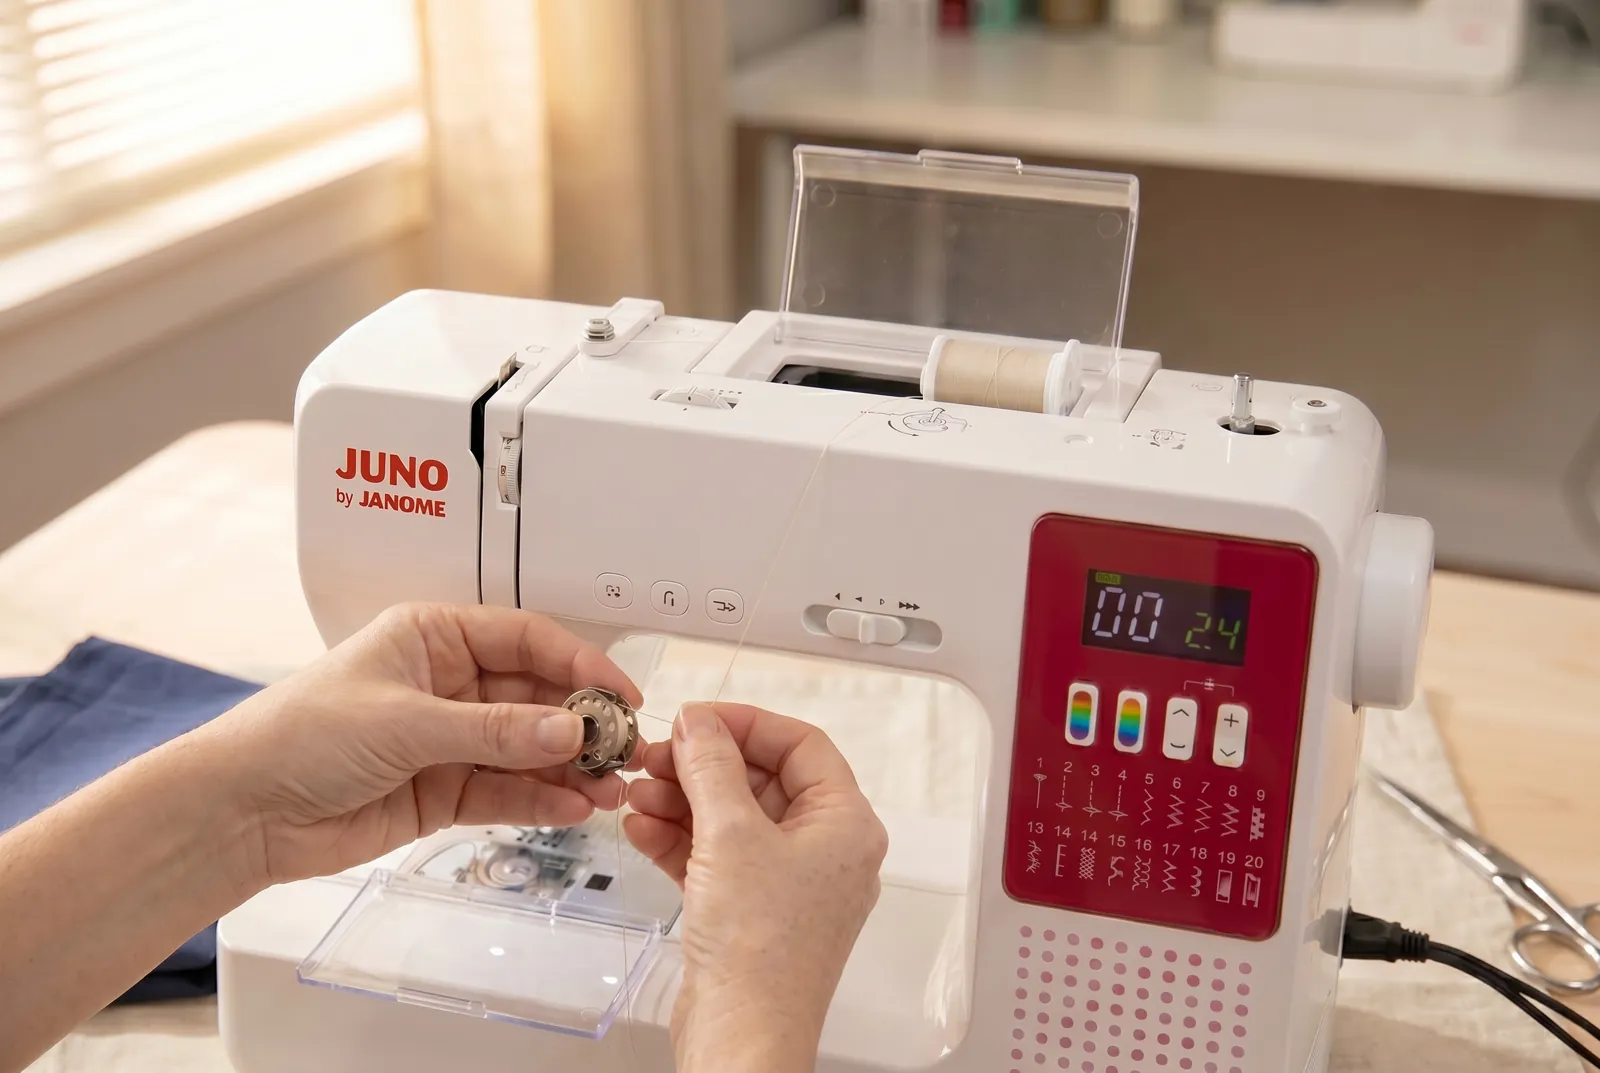
STEP 3/9Place an empty bobbin on the bobbin-winder spindle so the slot in its side lines up with the small pin on the spindle. Wrap the thread clockwise around the bobbin two or three times by hand to anchor it before you start winding.
Step 4
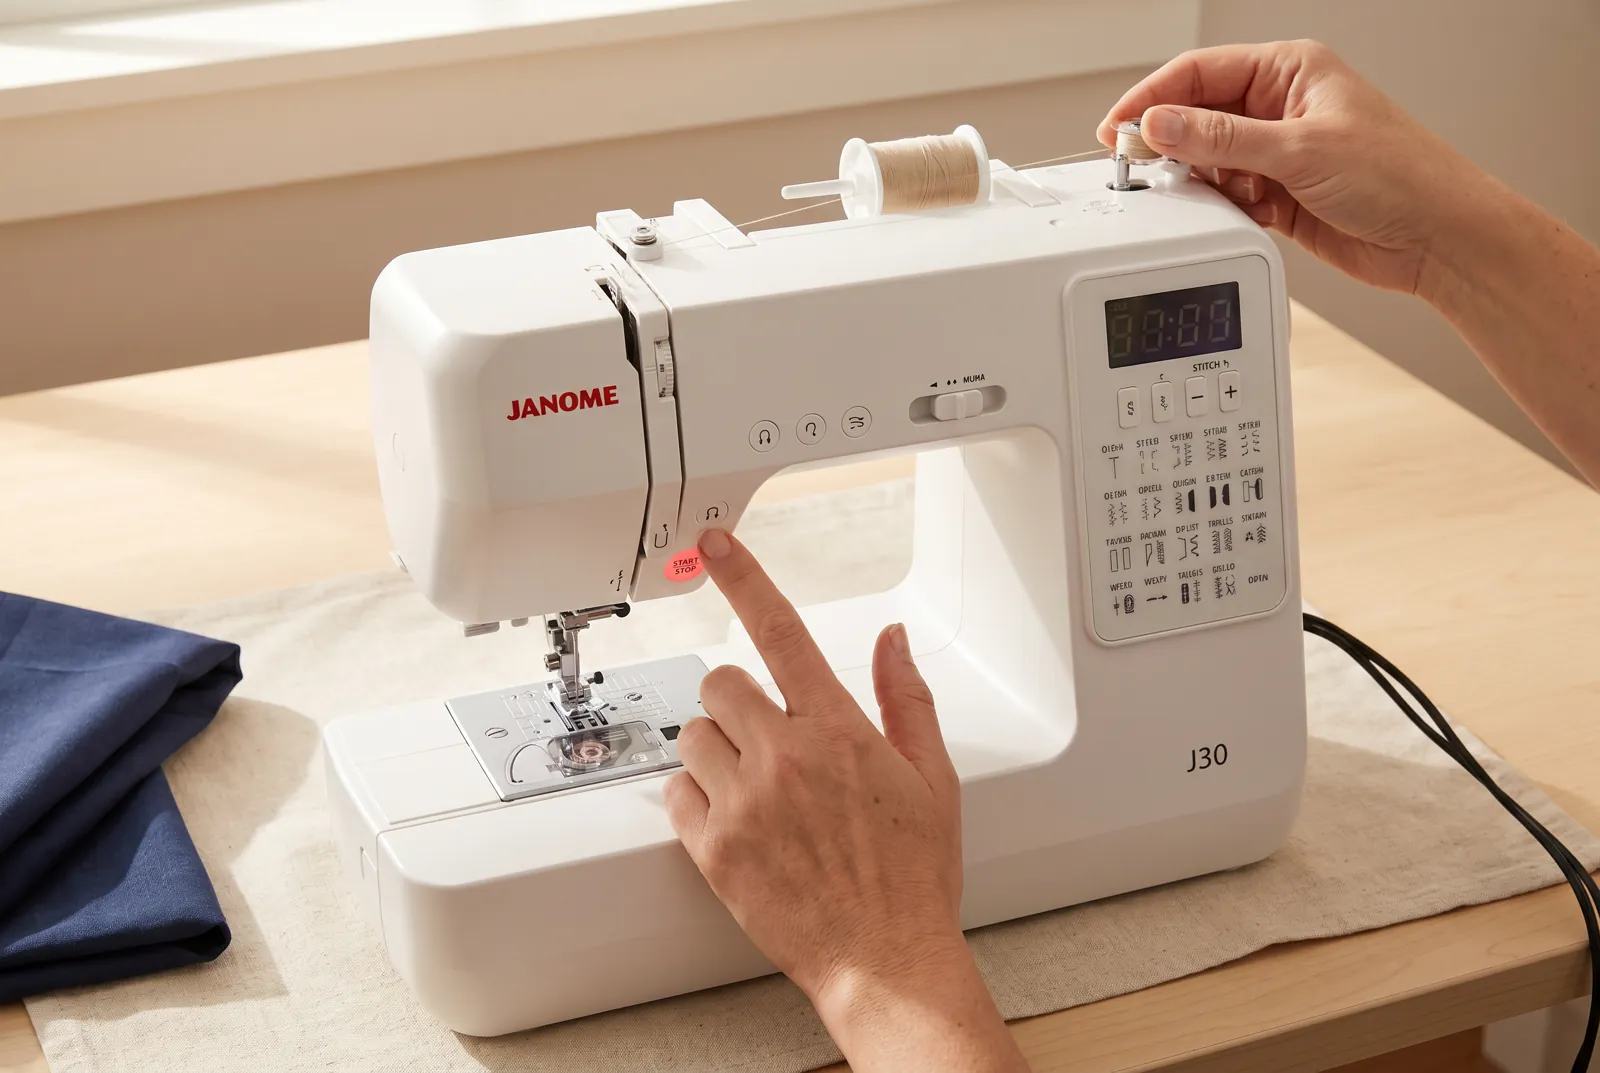
STEP 4/9Push the bobbin-winder spindle to the right until it clicks — this engages the winder and automatically disengages the needle, so the needle will not move while you wind. Hold the thread tail up out of the way with one hand.
Step 5
STEP 5/9Press the start/stop button, or press the foot pedal at a moderate, steady speed, and wind the bobbin. Watch it fill evenly across its width — thread banked up on one side, or wound past the bobbin's outer rim, causes loopy, inconsistent stitches later, so stop and rewind by hand if you see it building lopsided or overfull. The winder disengages on its own once the bobbin reaches its rim; trim the thread tail close to the bobbin.
Step 6
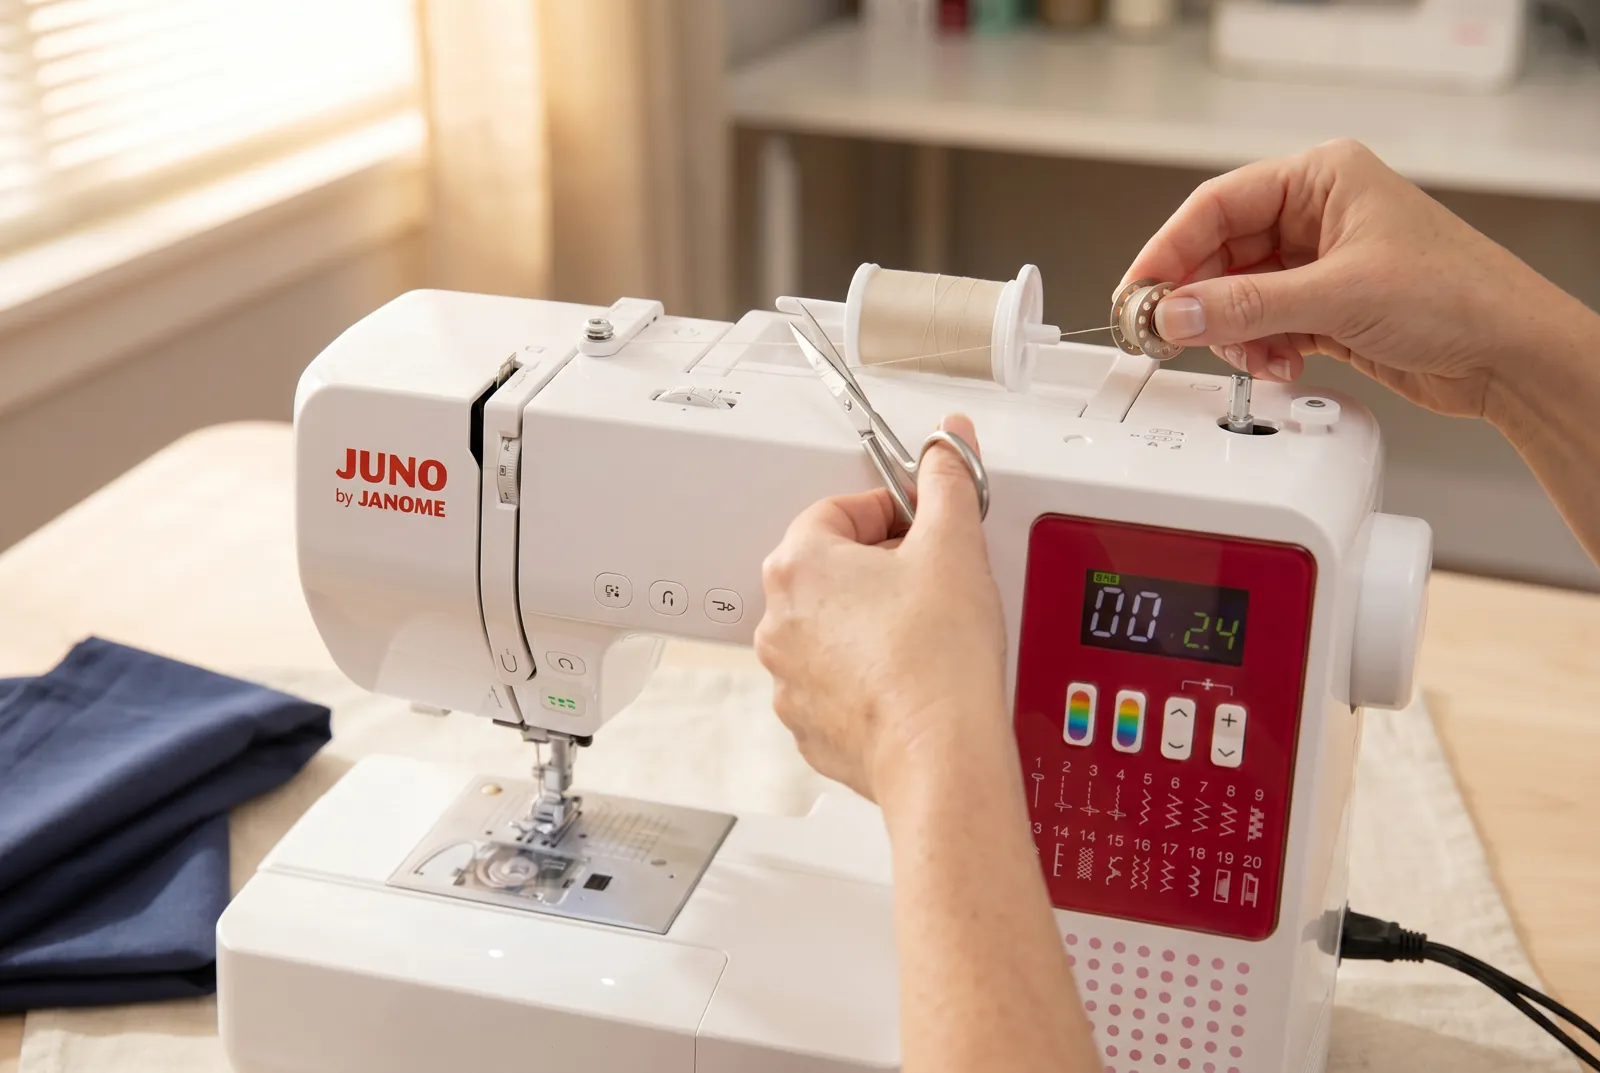
STEP 6/9Push the spindle back to the left and lift the full bobbin off; cut the thread between the bobbin and the spool guide.
Step 7
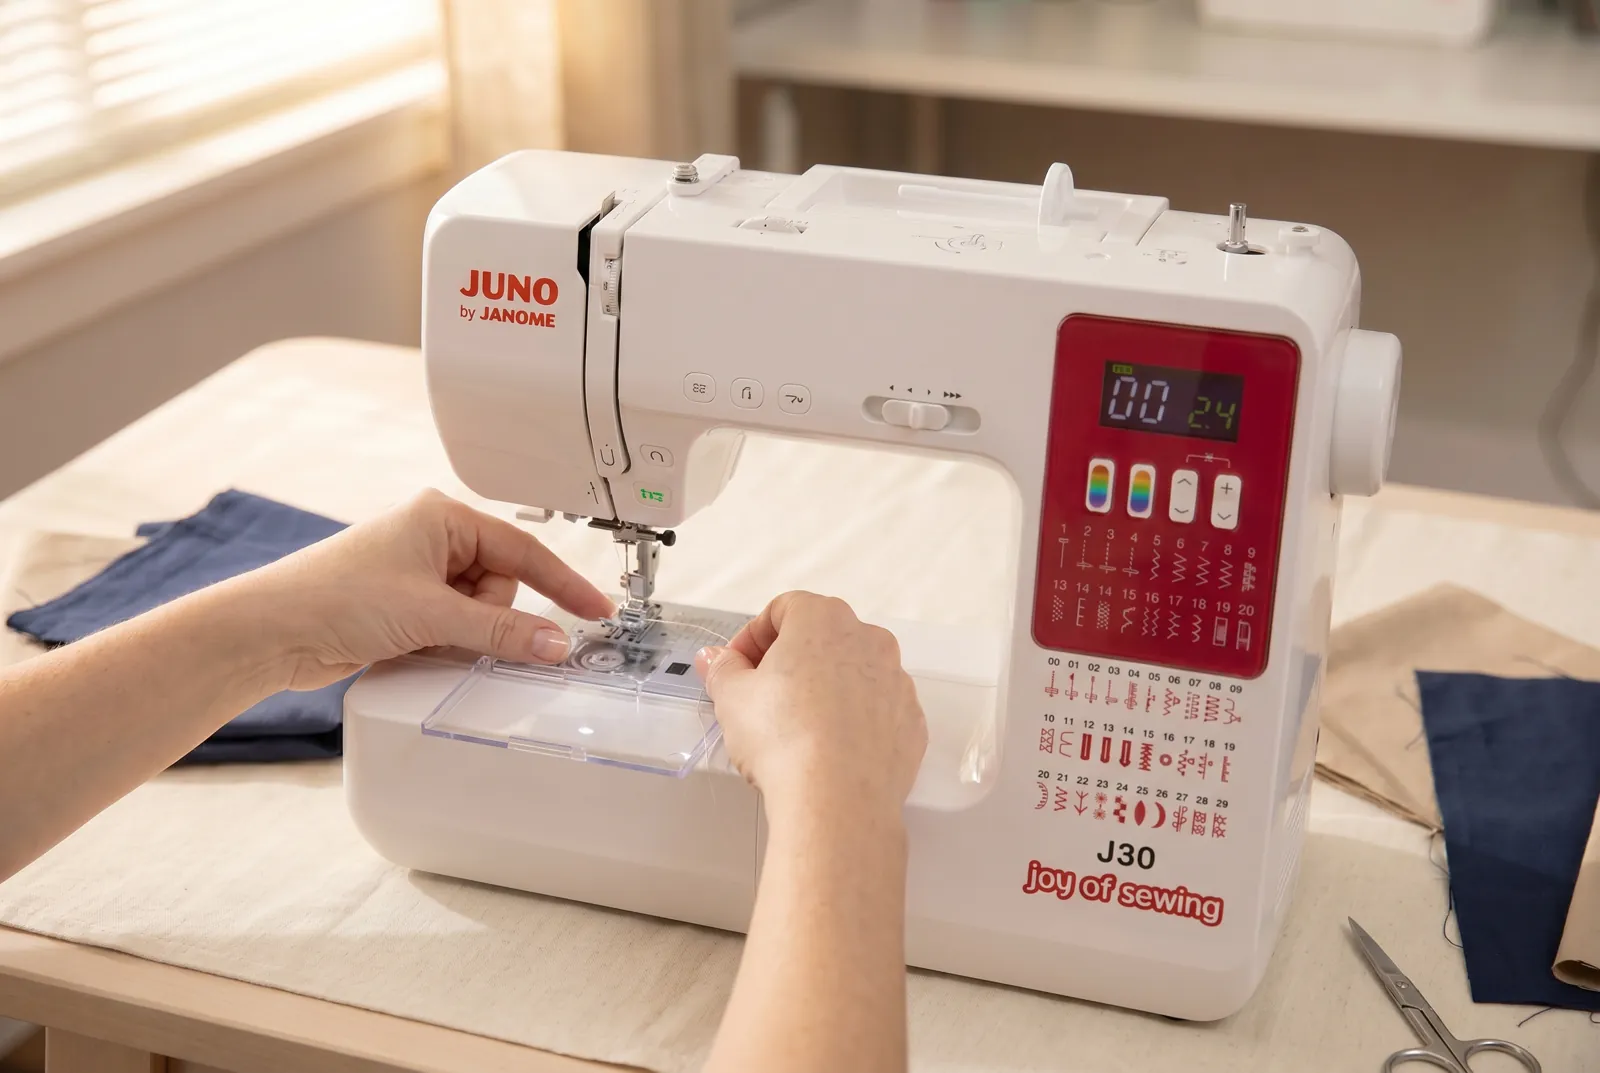
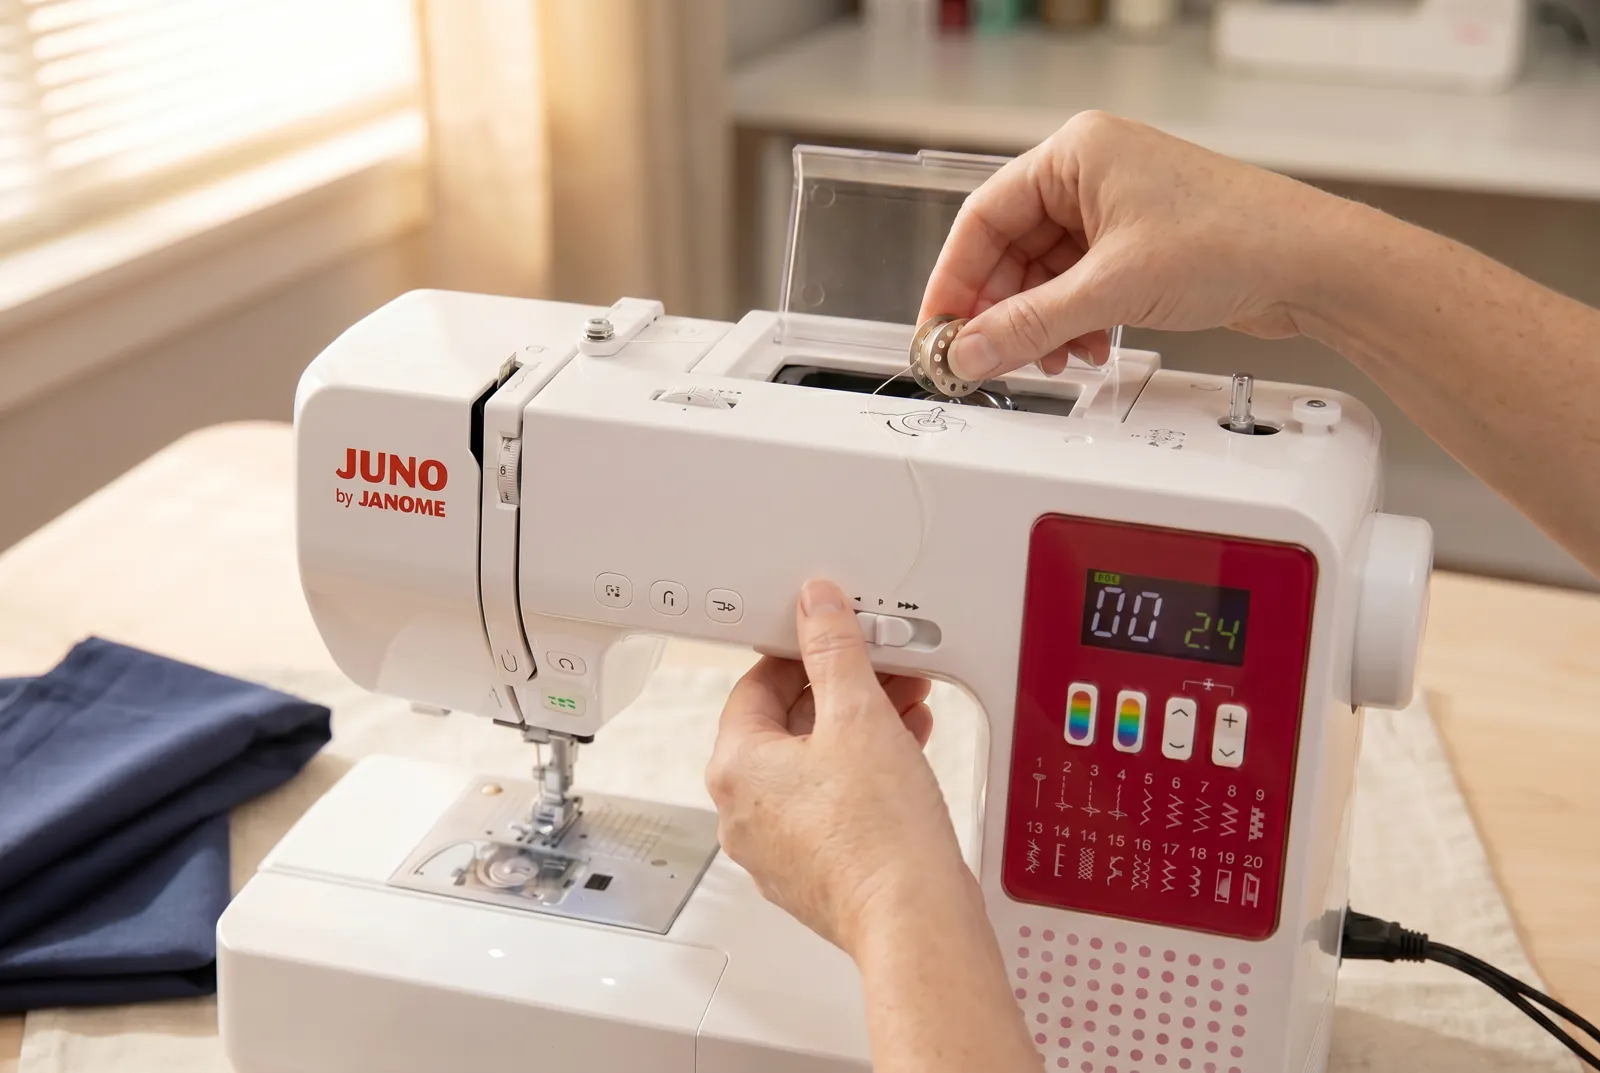
STEP 7/9Drop the bobbin into the top-loading hook under the clear bobbin cover so the thread unwinds counter-clockwise, matching the small diagram printed next to the hook. Loading it backward makes the top and bottom threads fight each other and the stitches lock unevenly, so check the diagram before you close the cover.
Step 8
STEP 8/9Draw the thread tail through the guide slot at the edge of the hook, feeling a slight click of tension as it seats — this slot sets the bobbin thread's tension, so do not skip it.
Step 9
STEP 9/9Close the clear plastic bobbin cover. From now on you can check the thread level at a glance through the cover instead of opening it, so glance at it whenever you sit down to sew a new seam.