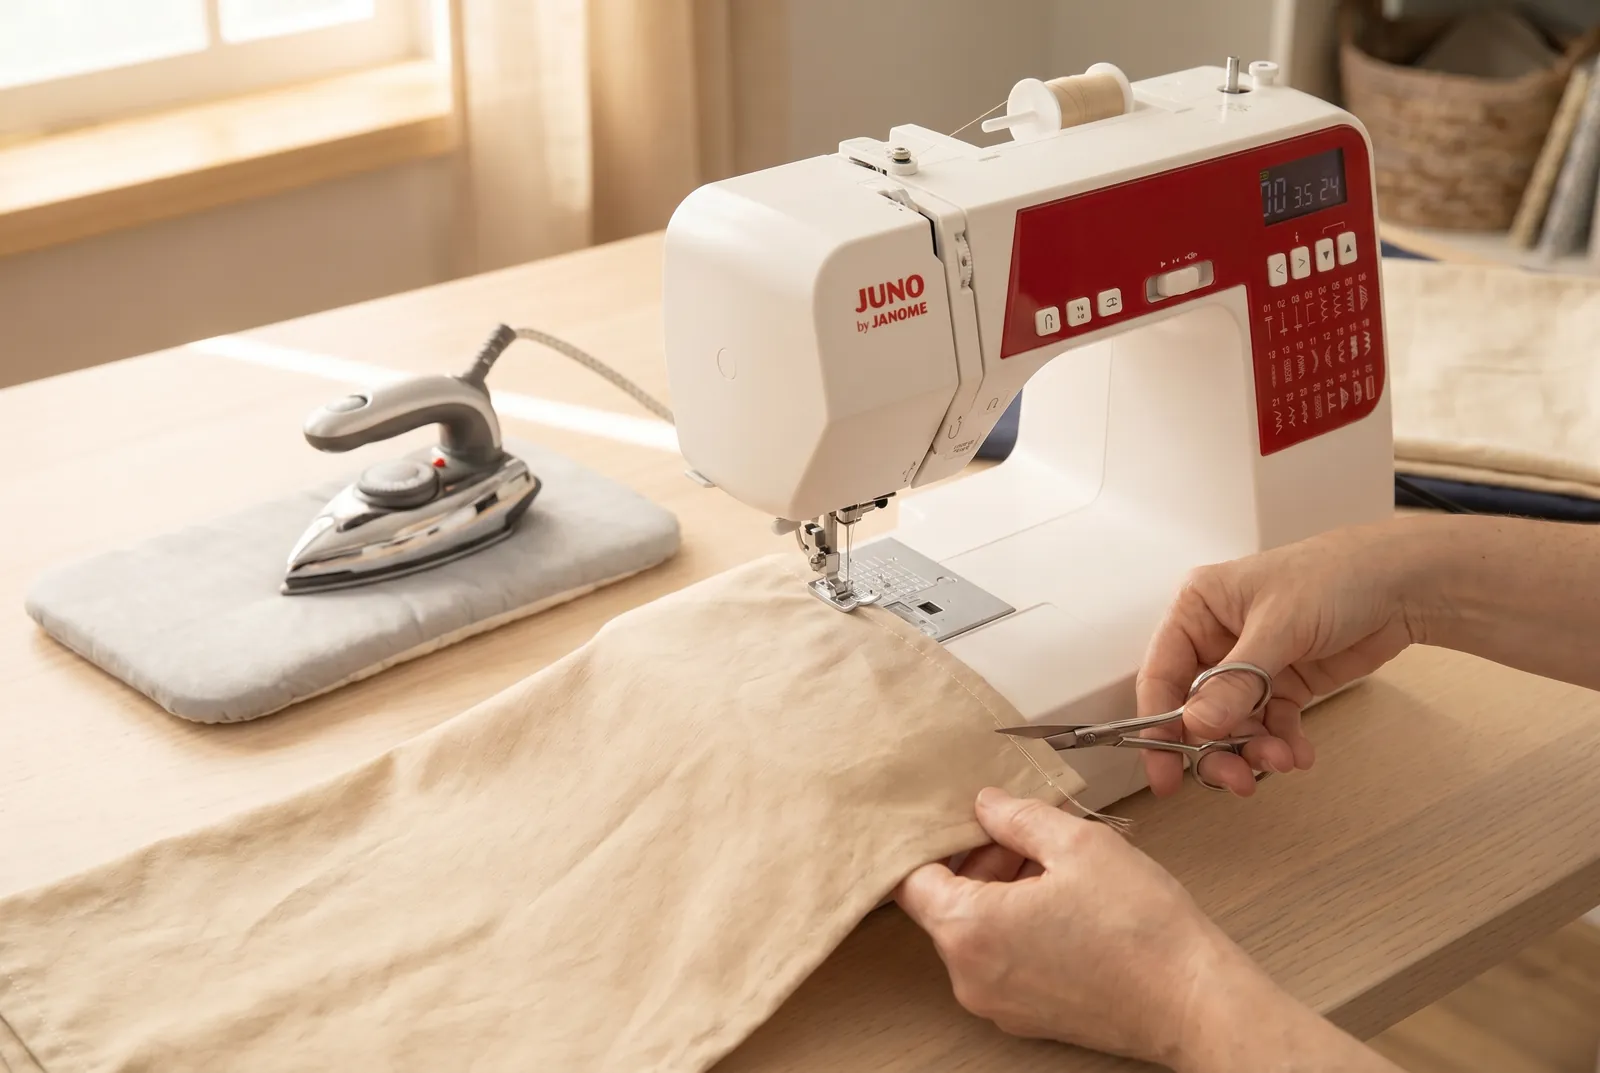
Meet Your Machine · piece Nº 05 · 54 min
Sew an even seam and turn a crisp corner
Practice keeping a steady 1.5 cm (5/8 in) seam allowance by tracking the needle-plate guide lines instead of the needle, then pivot a clean 90-degree corner. This is the seam-guiding skill every project after this one depends on.
The seam · 9 steps
Step 1
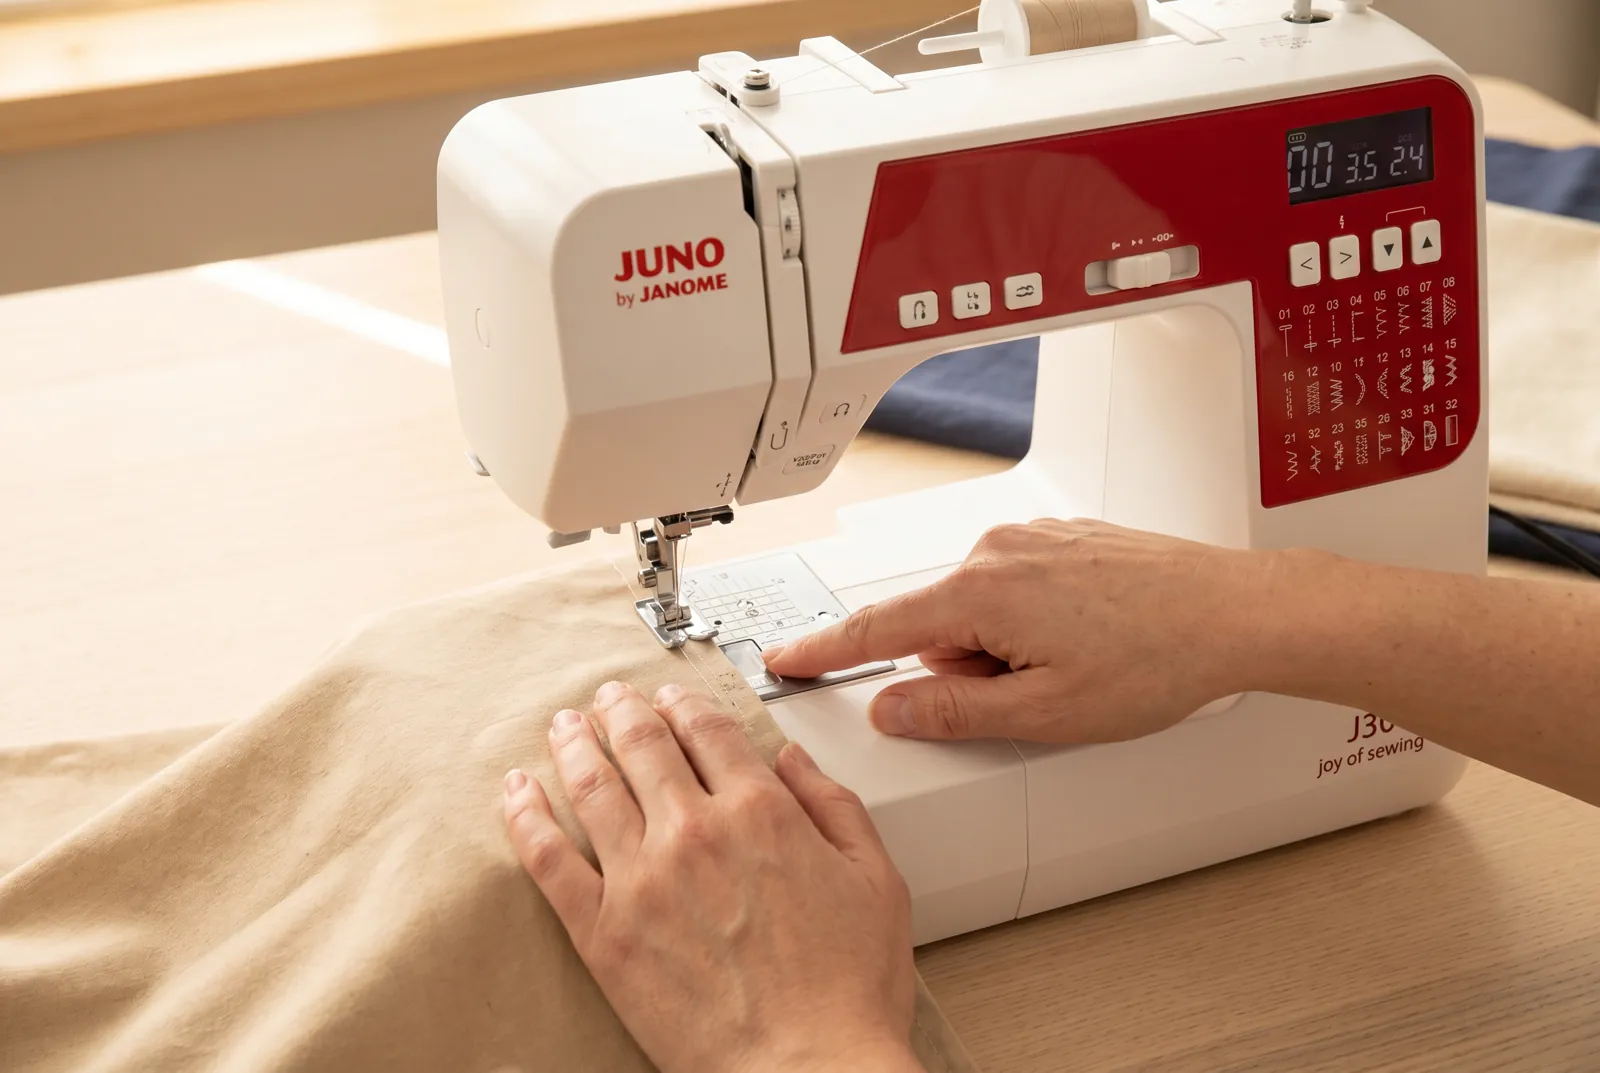
STEP 1/9Look at the needle plate in front of the presser foot. Find the etched line marked 1.5 cm (5/8 in) from the needle - that is your seam allowance guide for this lesson.
Step 2
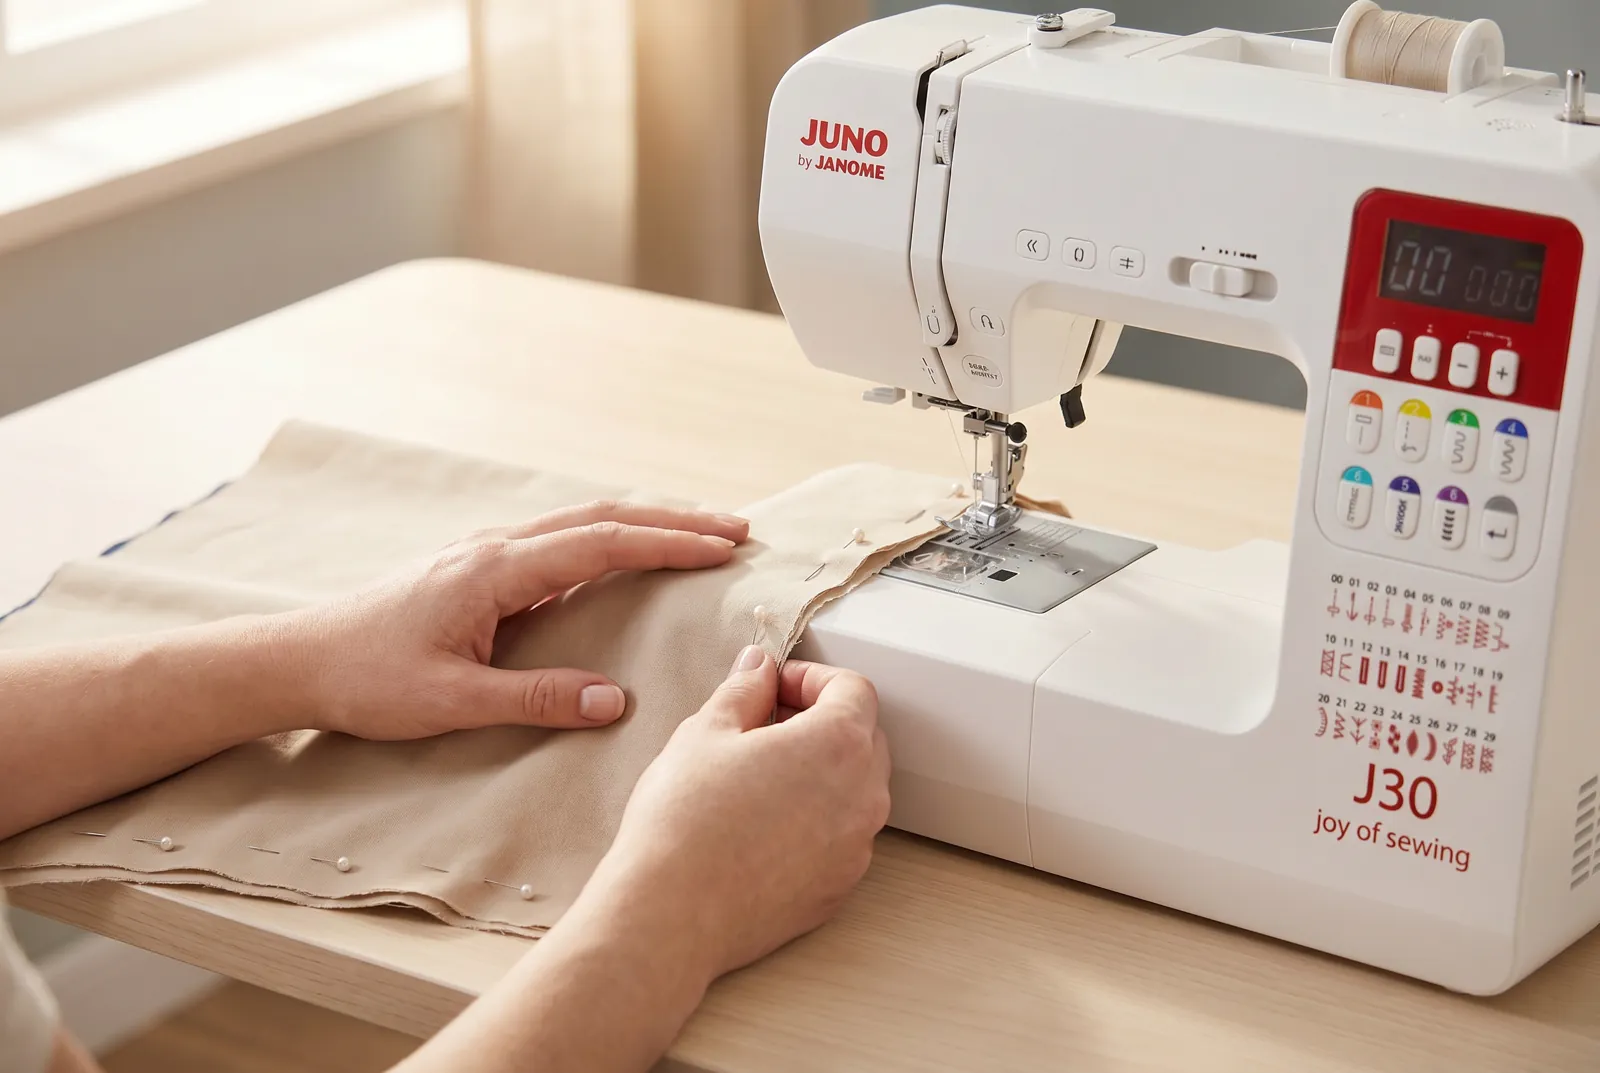
STEP 2/9Lay the two cotton rectangles right sides together, edges matching, and pin them along one long side, placing pins about every 5 cm (2 in) with the pin heads facing the edge so you can pull each one out right before the needle reaches it.
Step 3
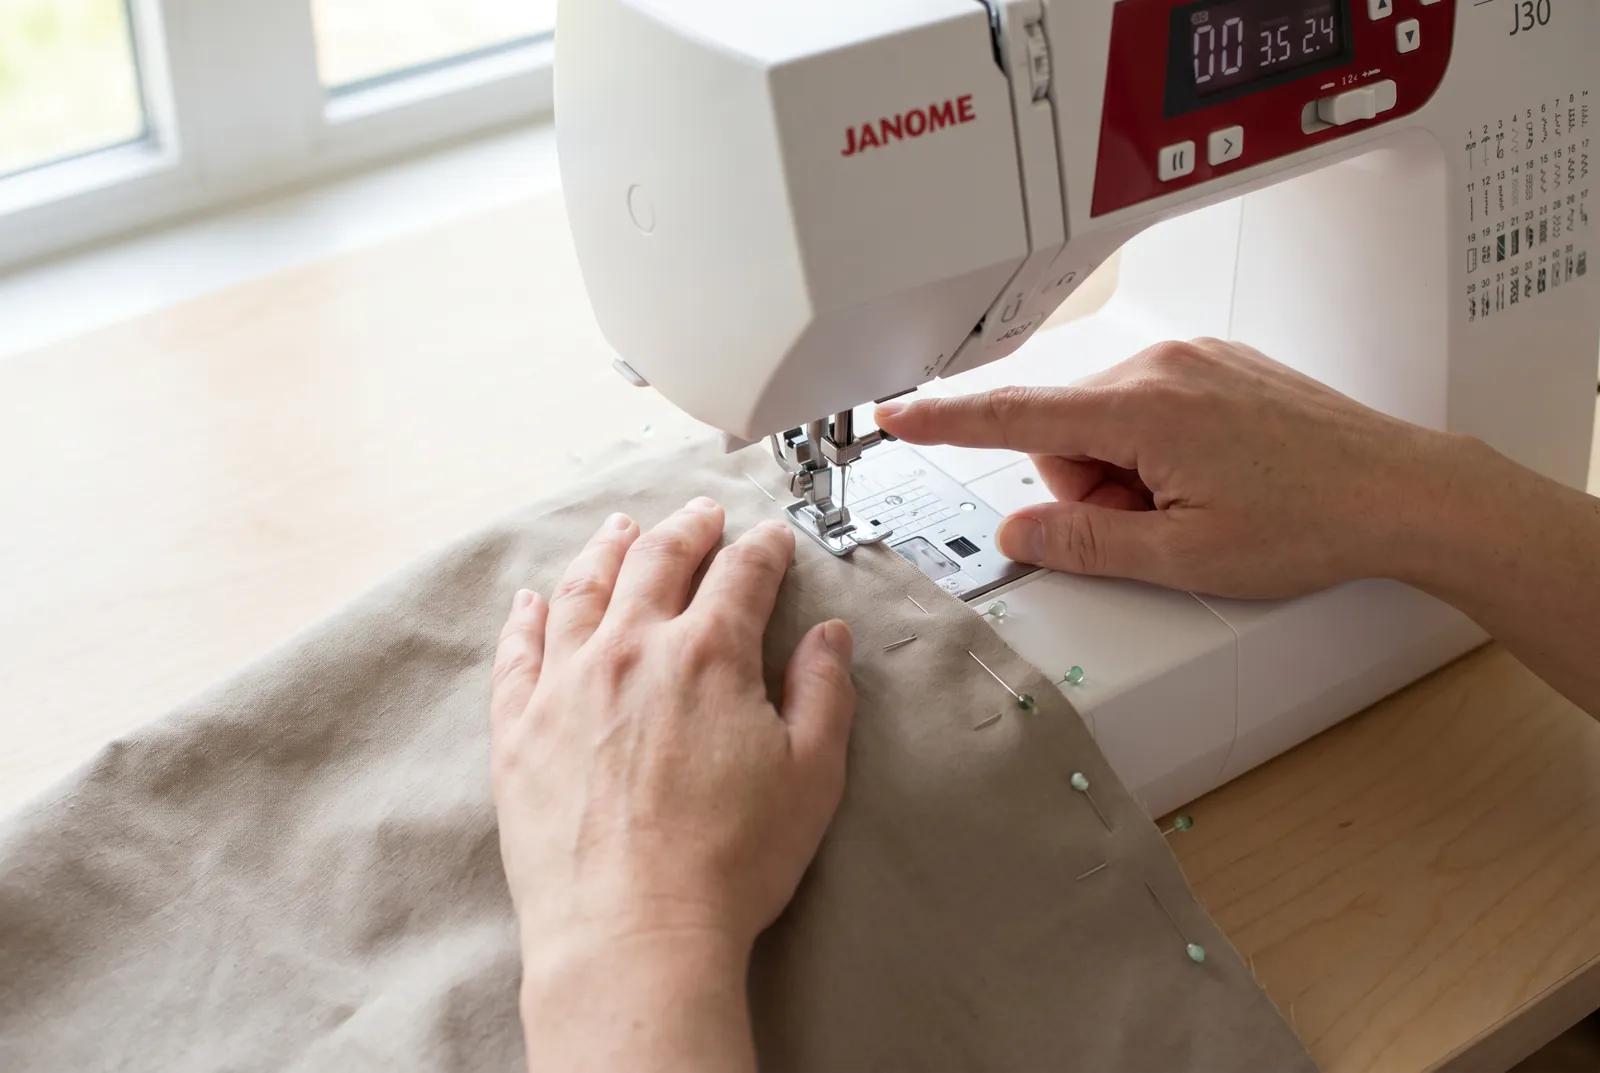
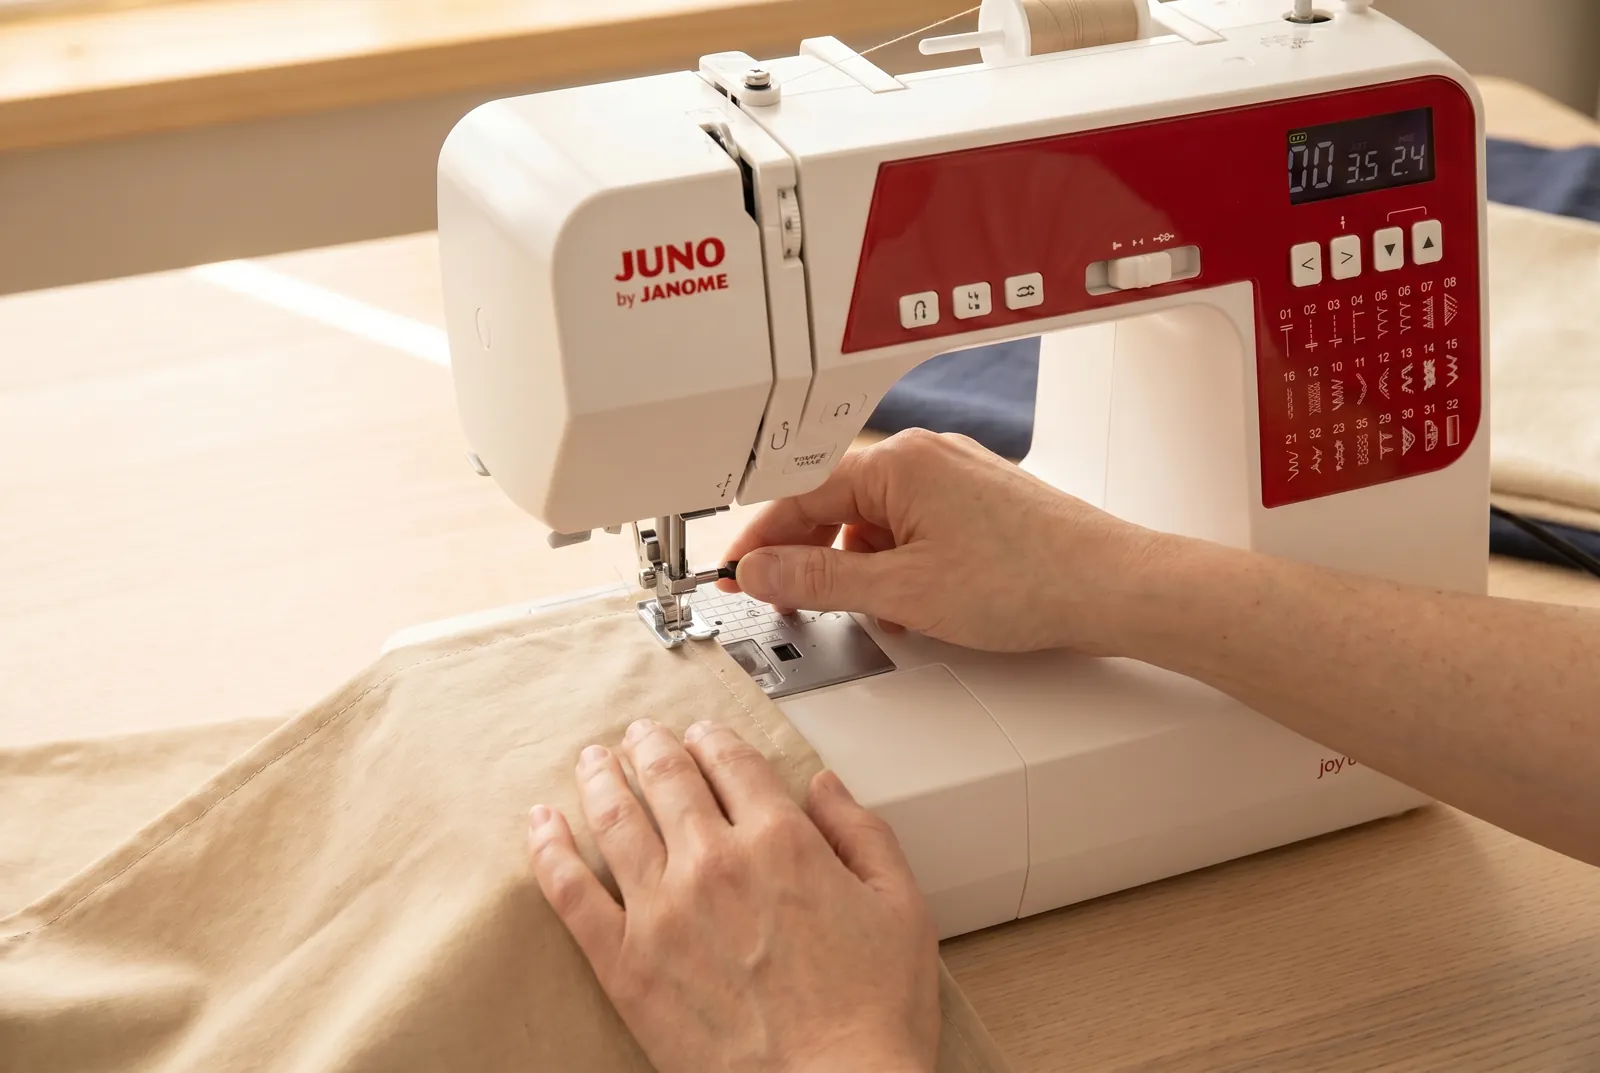
STEP 3/9Slide the pinned edge under the presser foot so the raw fabric edge lines up with the 1.5 cm guide line on the plate - line up the edge, not the needle - and lower the presser foot lever.
Step 4
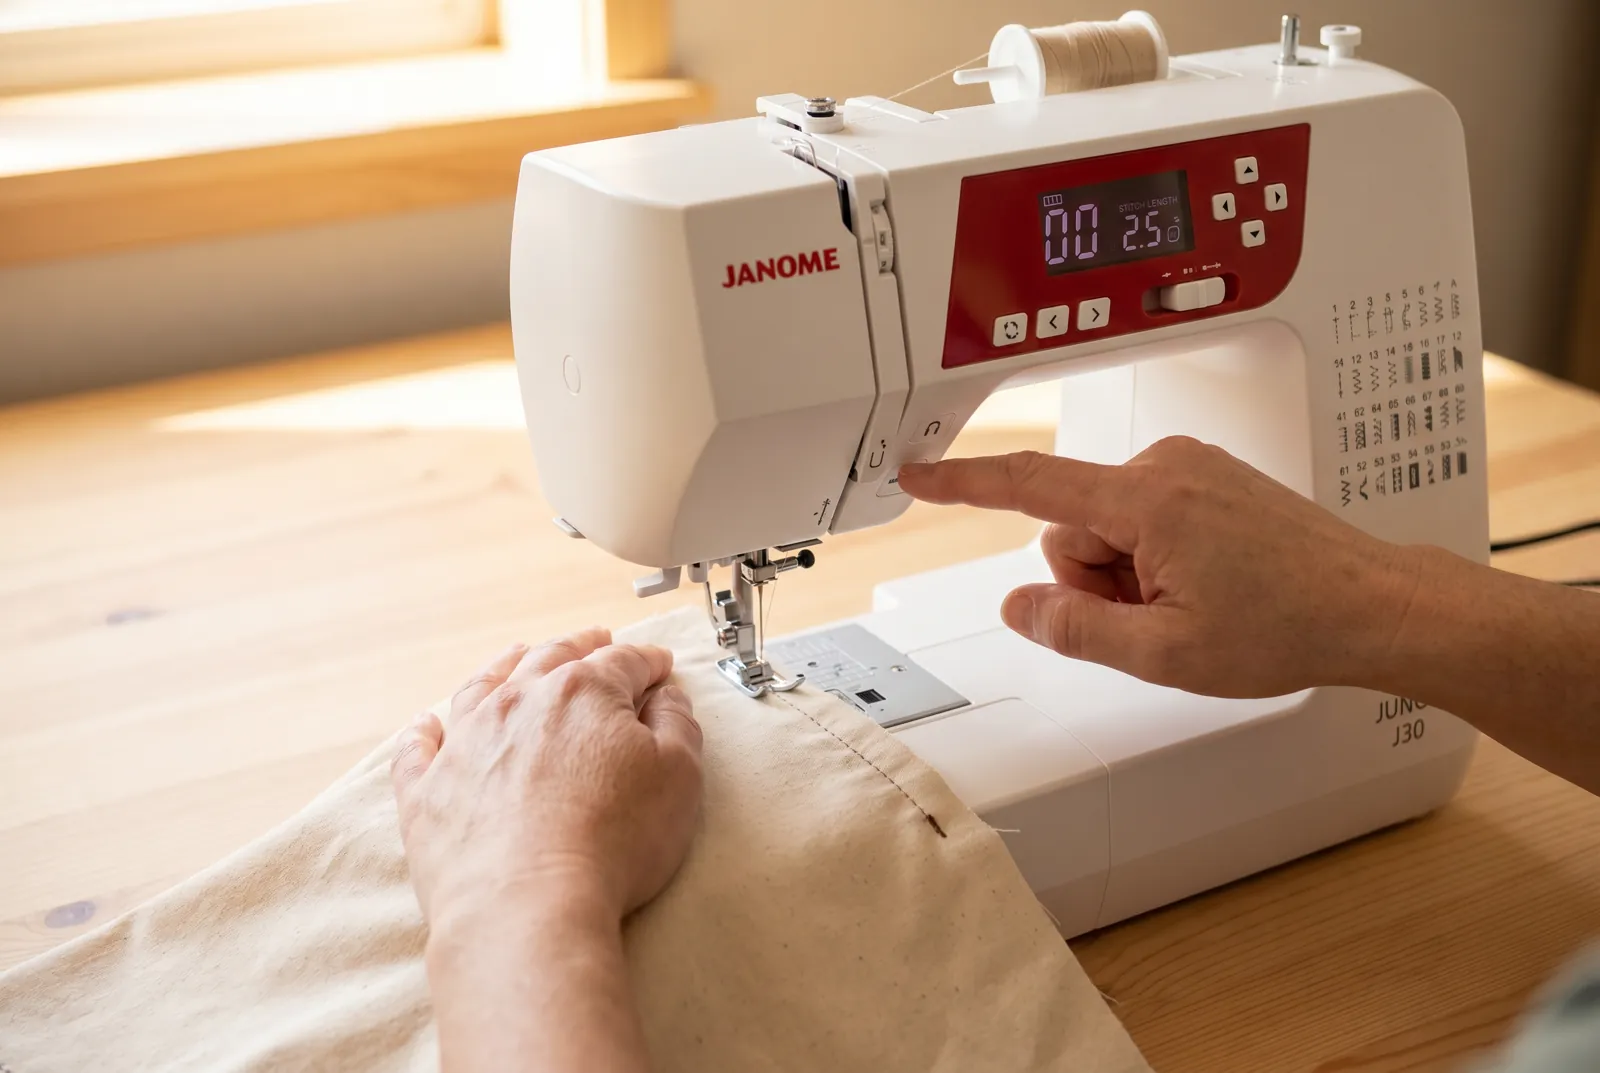
STEP 4/9Select program 00 (straight stitch) and set stitch length to about 2.5 mm. Sew about 1 cm forward, then use the reverse button to backtack over those stitches and lock the start of the seam.
Step 5
STEP 5/9Sew forward at a steady moderate speed, keeping the fabric edge riding against the 1.5 cm line the whole way. Guide the fabric lightly with your fingertips ahead of and beside the foot - the feed dogs pull the fabric through on their own, so do not push it from behind or pull it from the front, either of which puckers the seam.
Step 6
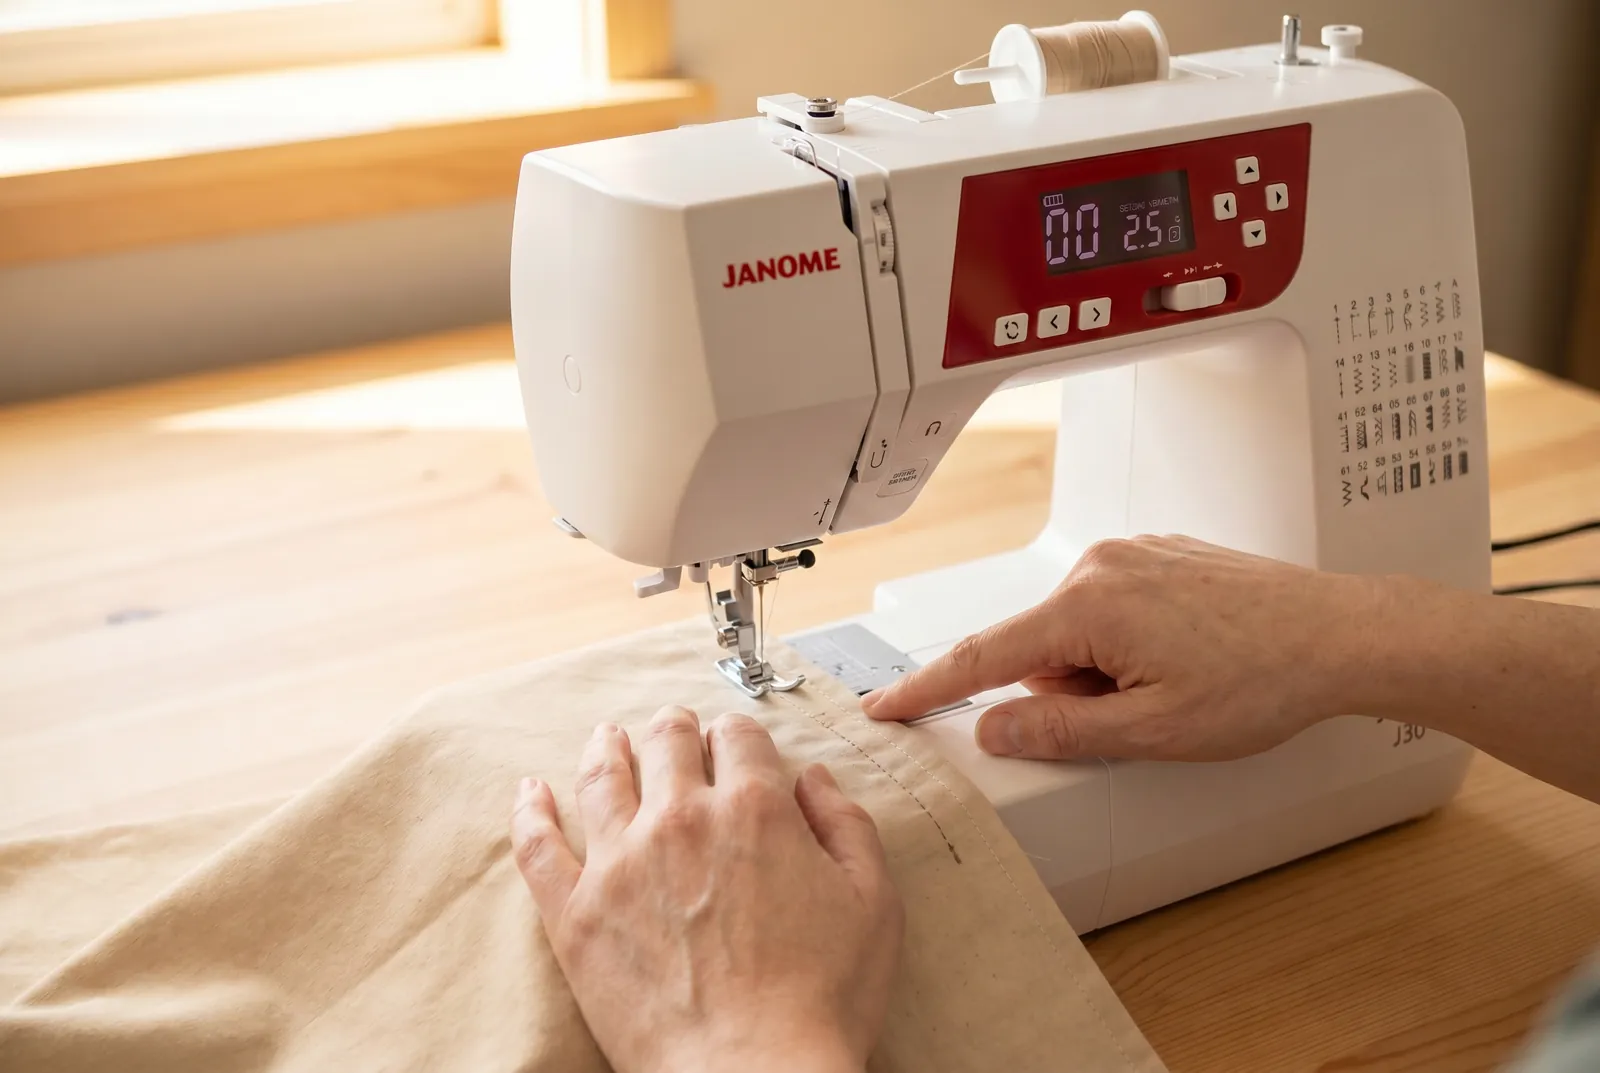
STEP 6/9As you approach the corner, watch the guide line, not the needle: a wavy seam usually means you were watching the needle instead of tracking the edge against the line.
Step 7
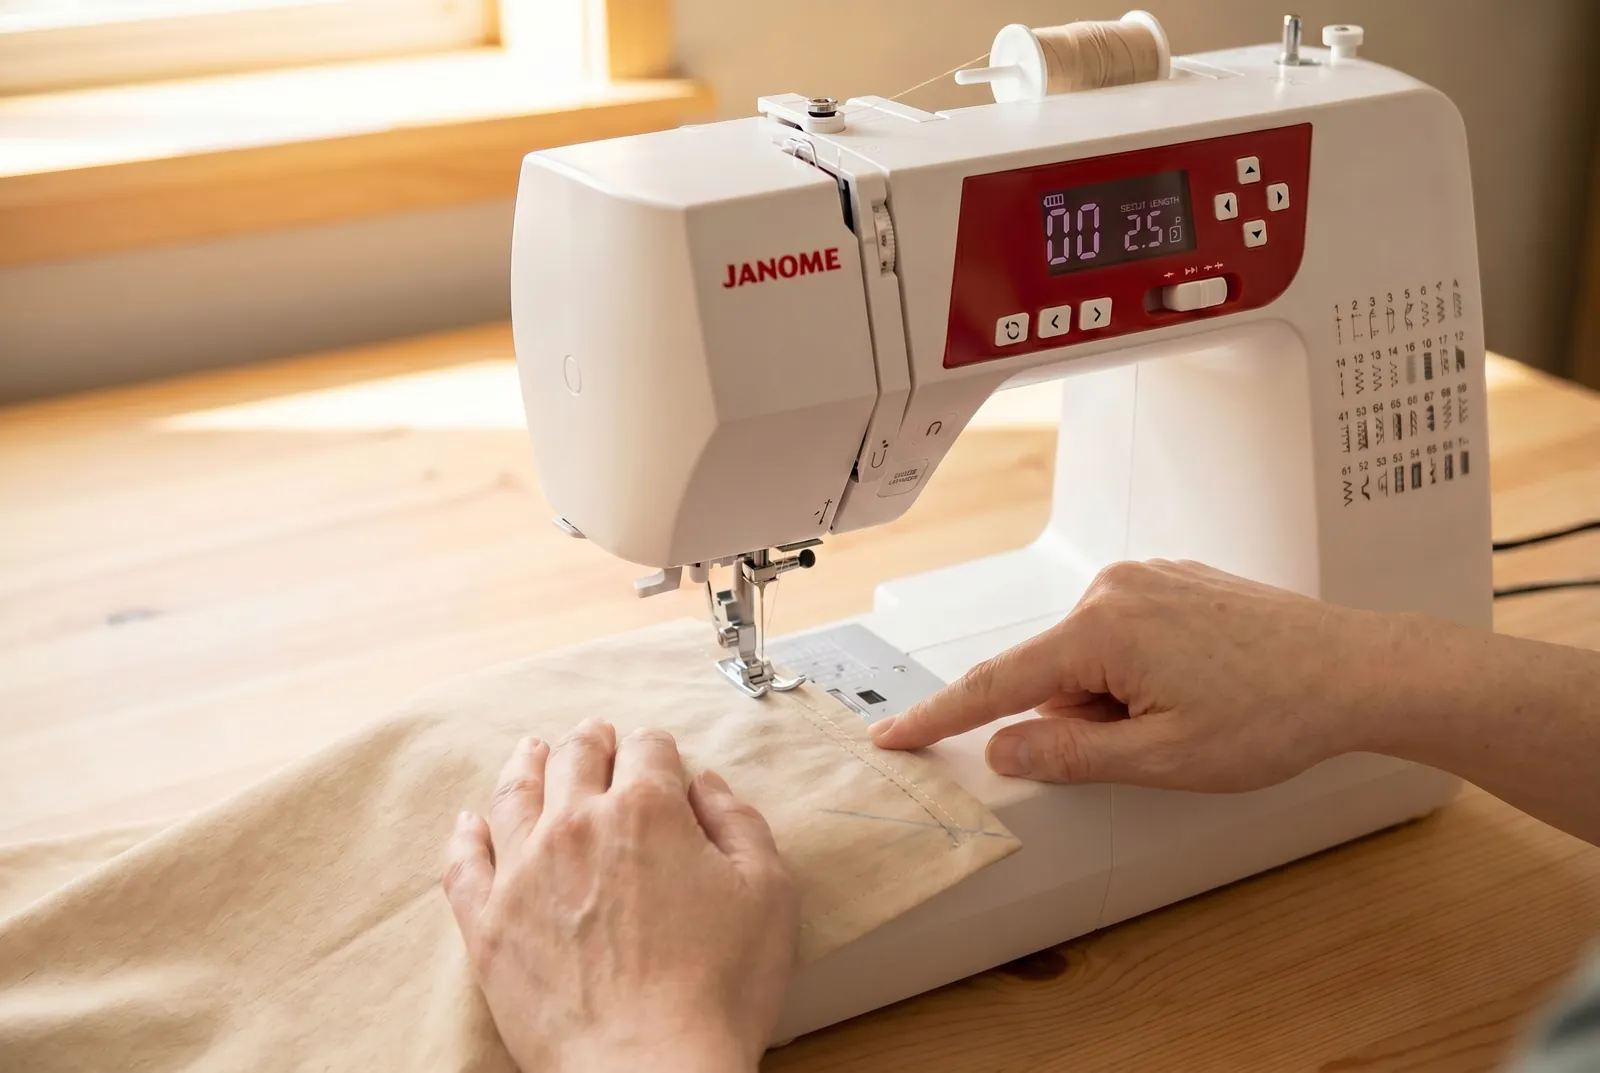
STEP 7/9When the raw edge you are following meets the far edge of the fabric, stop with the needle down in the fabric - press the needle-down button if your J30 is set to stop needle-up, or turn the handwheel toward you until the needle is fully lowered.
Step 8
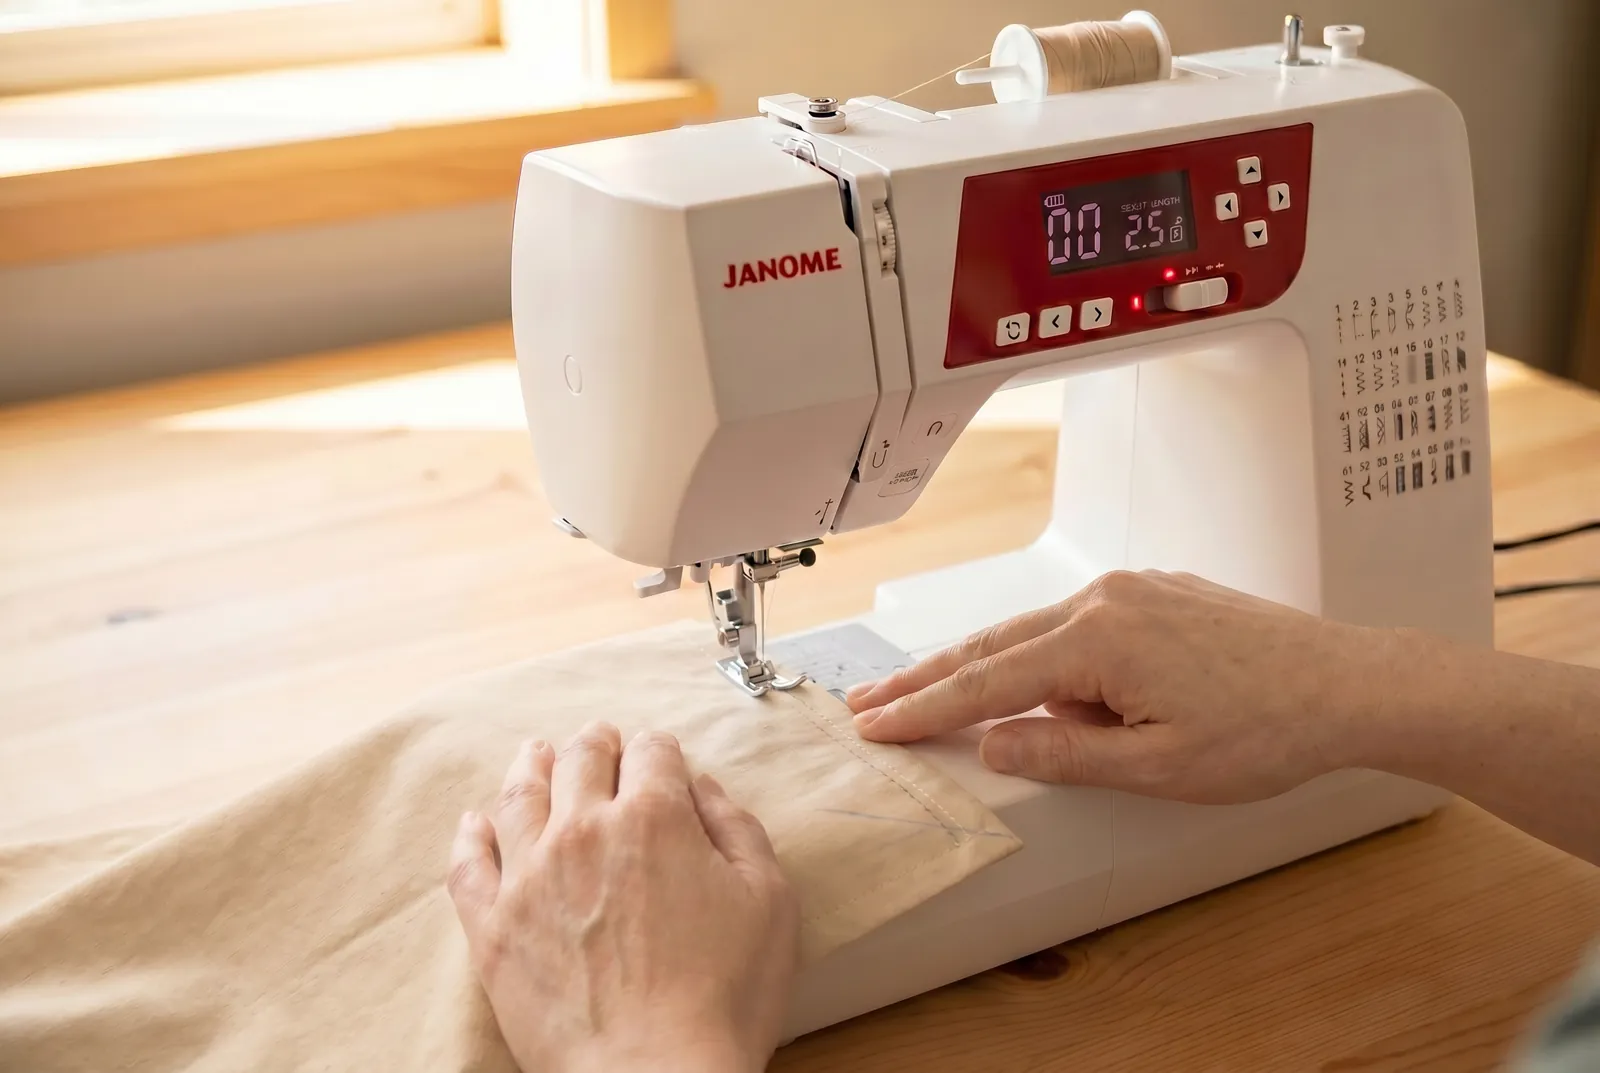
STEP 8/9Lift the presser foot lever, pivot the fabric 90 degrees around the needle so the next raw edge lines up with the 1.5 cm guide, lower the presser foot, and continue sewing straight down that side.
Step 9
STEP 9/9At the end of the seam, backtack about 1 cm again to lock it off, trim the thread tails, then press the seam allowance open with the iron. A good seam runs an even 1.5 cm from the edge along its whole length, with a sharp, square corner instead of a rounded one.