Your First Machine Projects · piece Nº 03 · 60 min
Sew a one-step buttonhole on the J30
A one-step buttonhole uses the J30's button carrier to size and stitch a buttonhole to the exact button you're using, then you cut it open by hand. It's the step that turns a plain placket into a working shirt or cuff closure.
The seam · 10 steps
Step 1
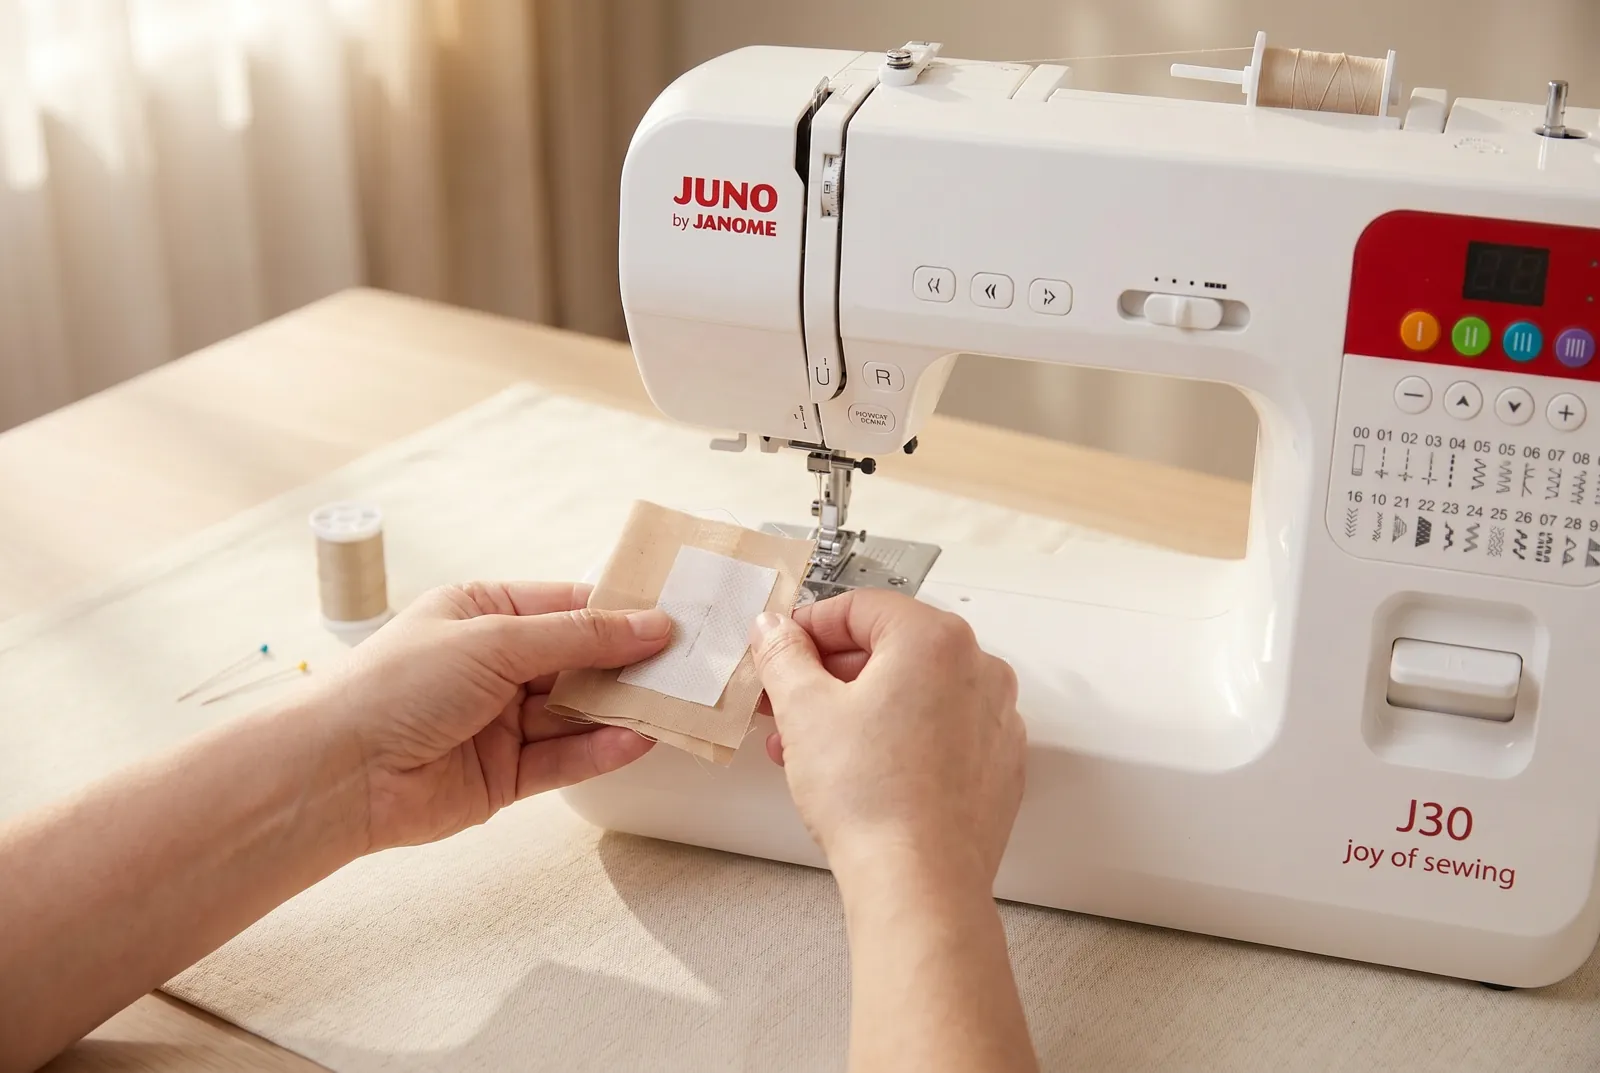
STEP 1/10Sew a test buttonhole first: layer two scraps of the actual fabric with a scrap of fusible interfacing fused to the top layer, then work steps 2-9 below on the scrap before you touch the garment.
Step 2
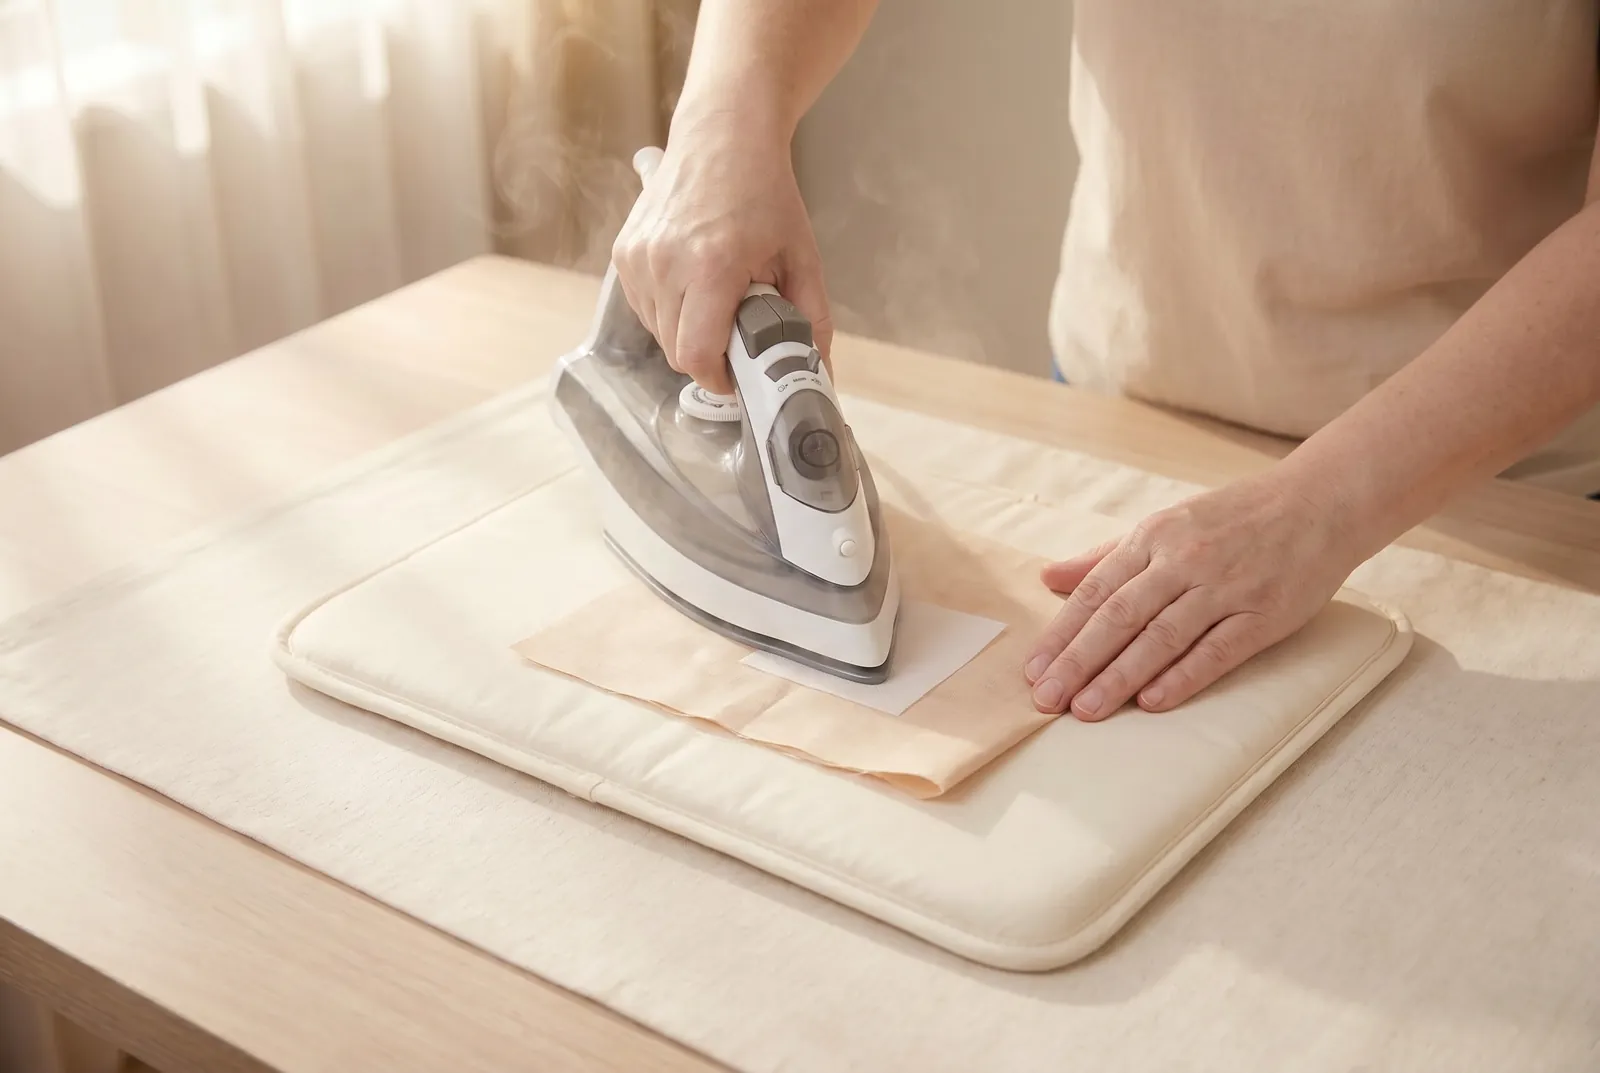
STEP 2/10Fuse the interfacing patch to the wrong side of the fabric, centred behind where the buttonhole will sit - iron with medium heat for about 10 seconds, following the interfacing package. This stops single-layer fabric stretching and puckering under the dense buttonhole stitching.
Step 3
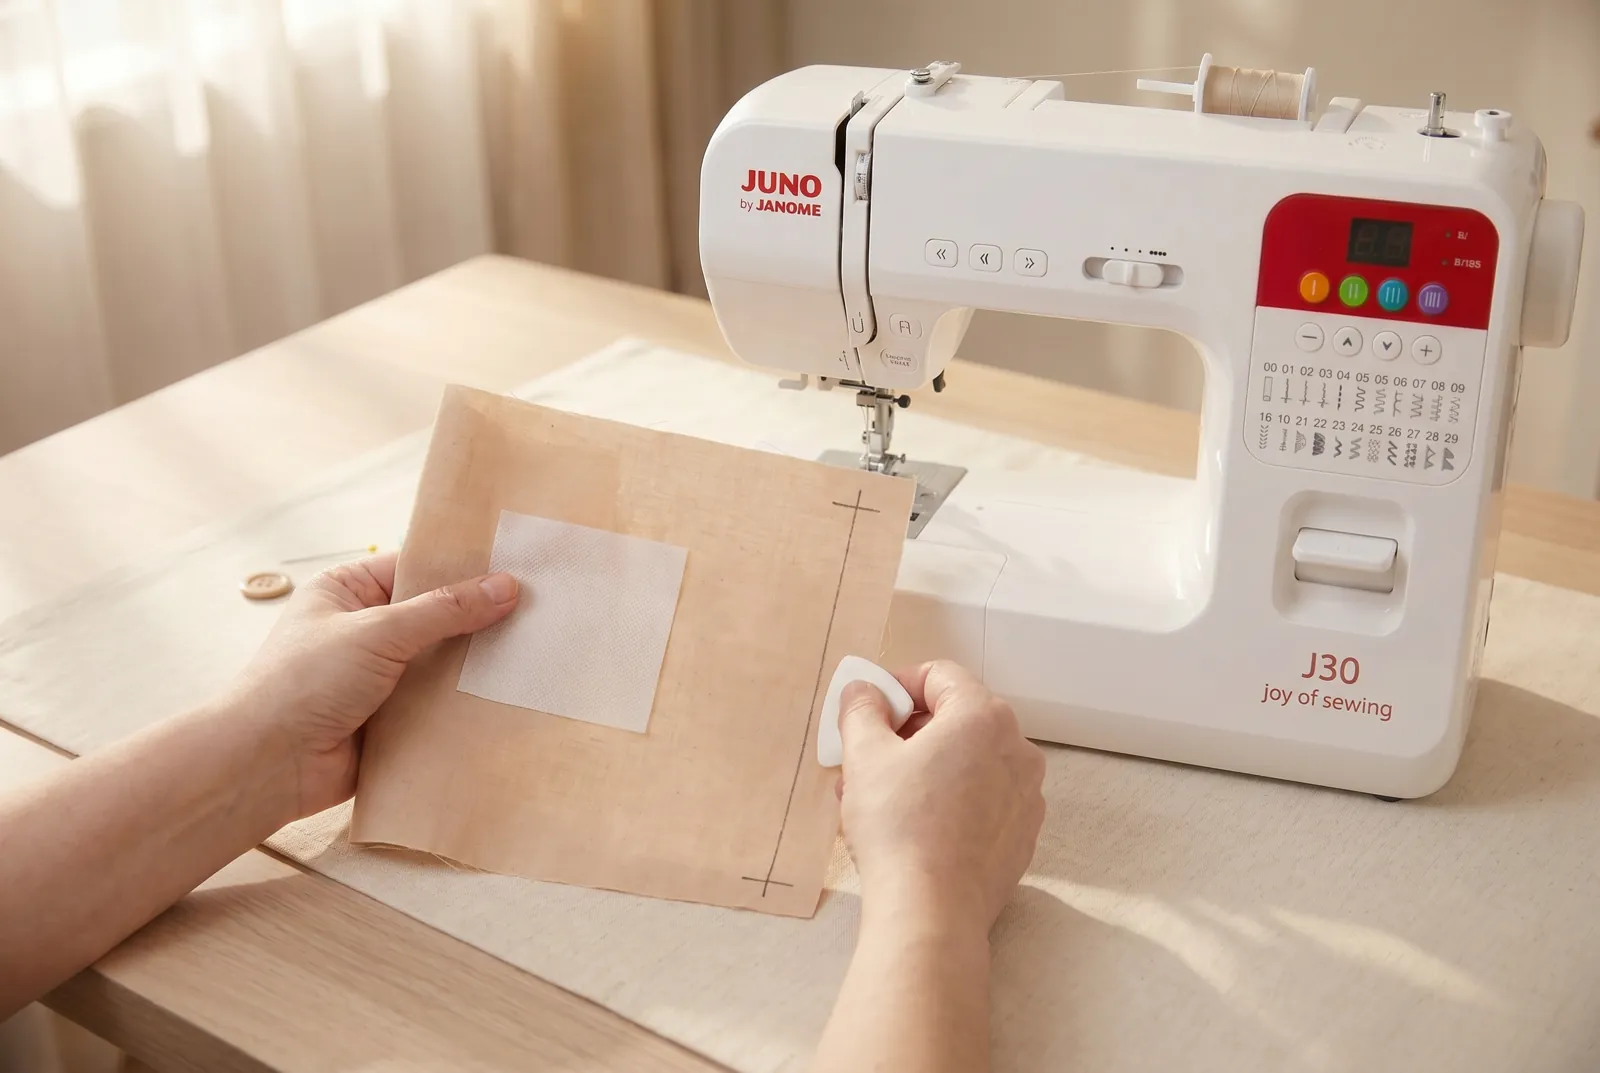
STEP 3/10Mark the buttonhole position on the right side with tailor's chalk: draw a line the length of the button's diameter plus its thickness, and put a short cross-mark at the top end and another at the bottom end.
Step 4
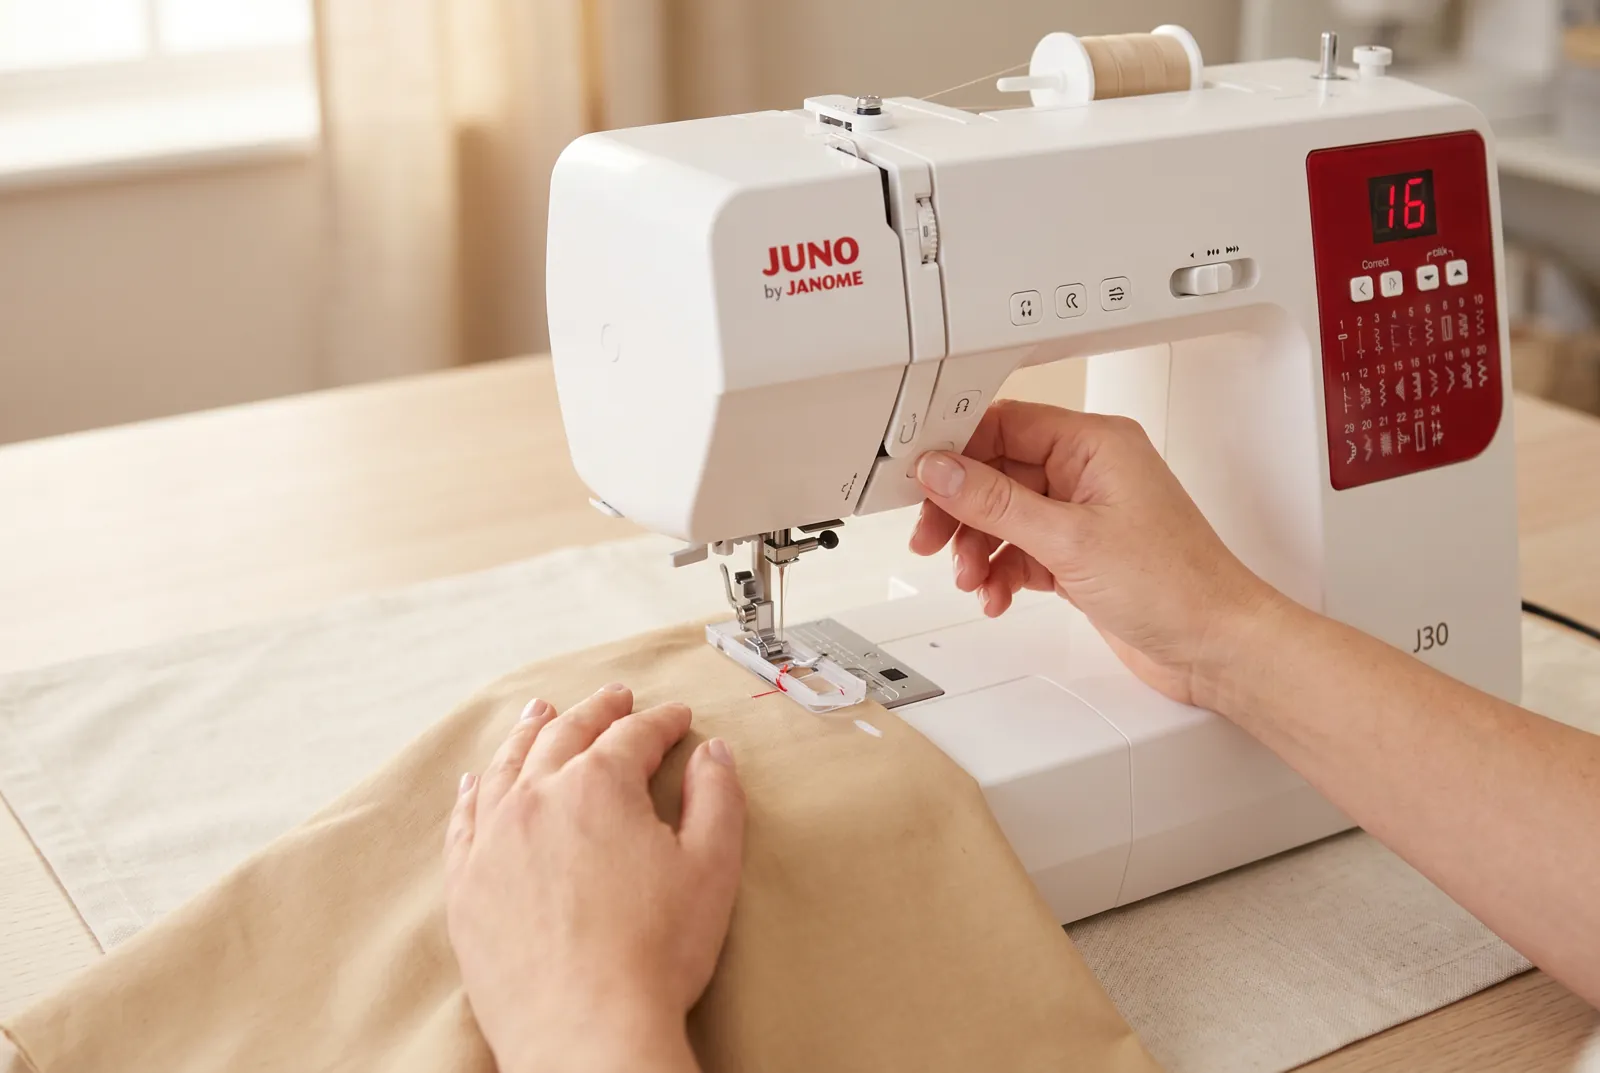
STEP 4/10Snap the automatic buttonhole foot (R) onto the machine.
Step 5
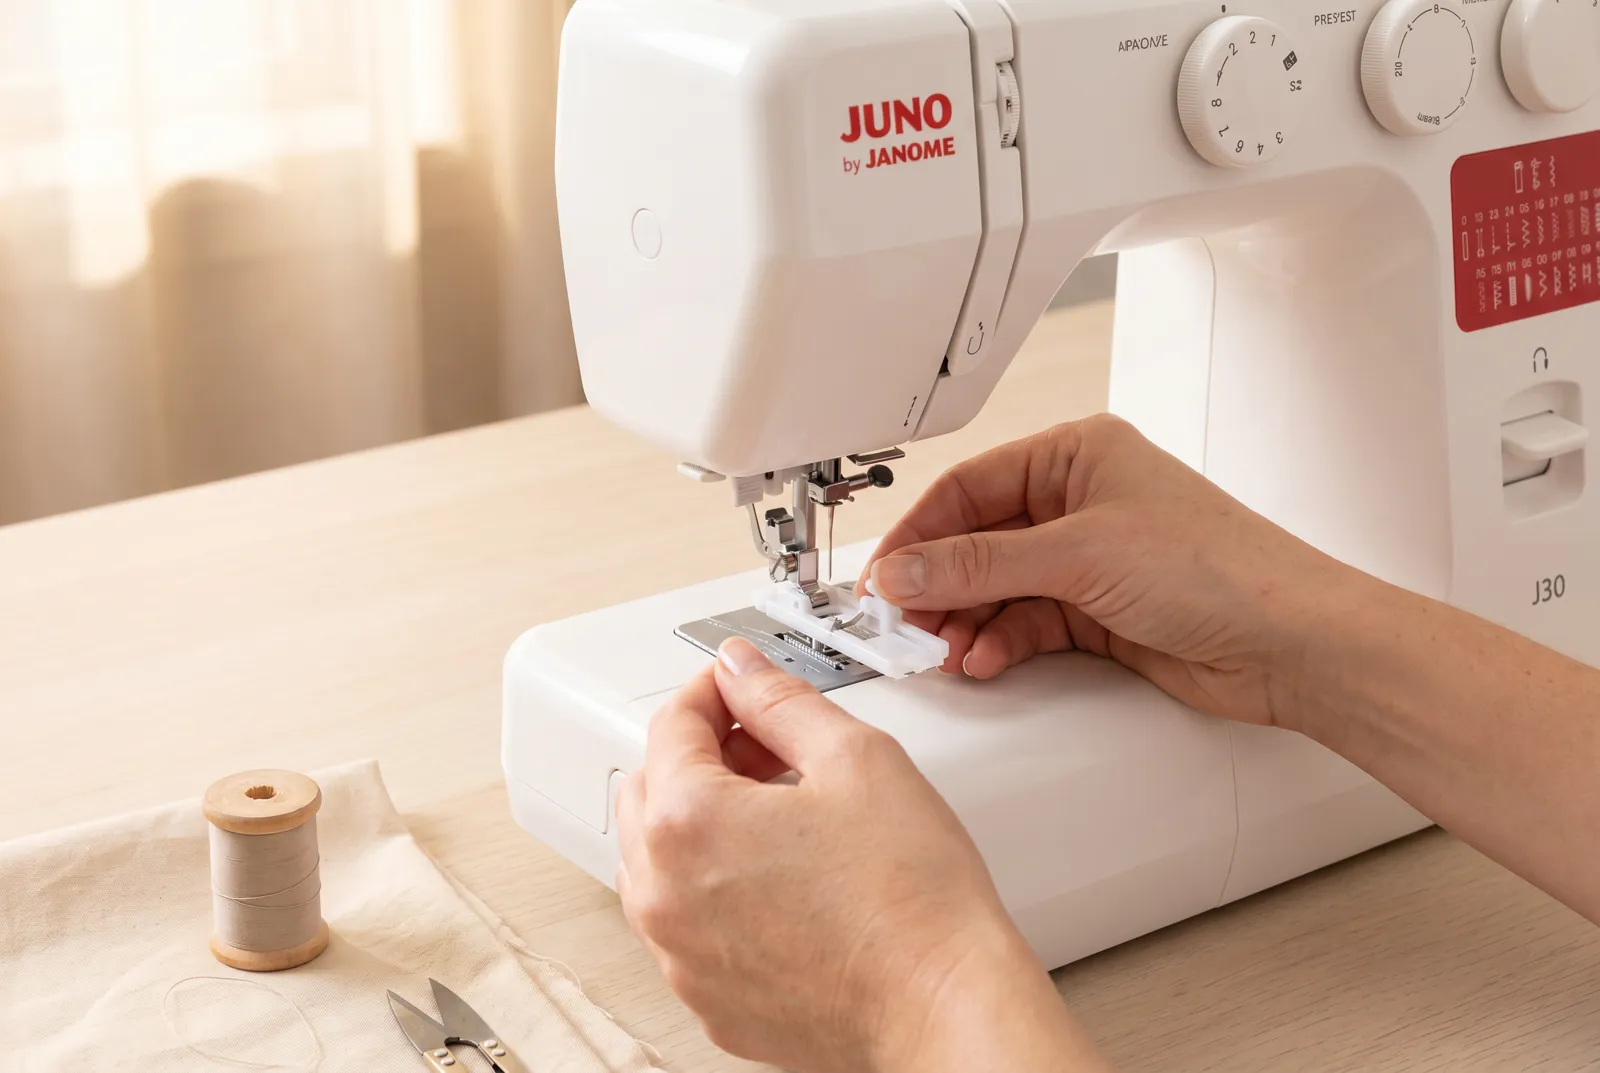
STEP 5/10Slide out the button carrier at the back of the foot, drop your button into it, and push the carrier back snug against the button - this sets the buttonhole length to match the button automatically.
Step 6
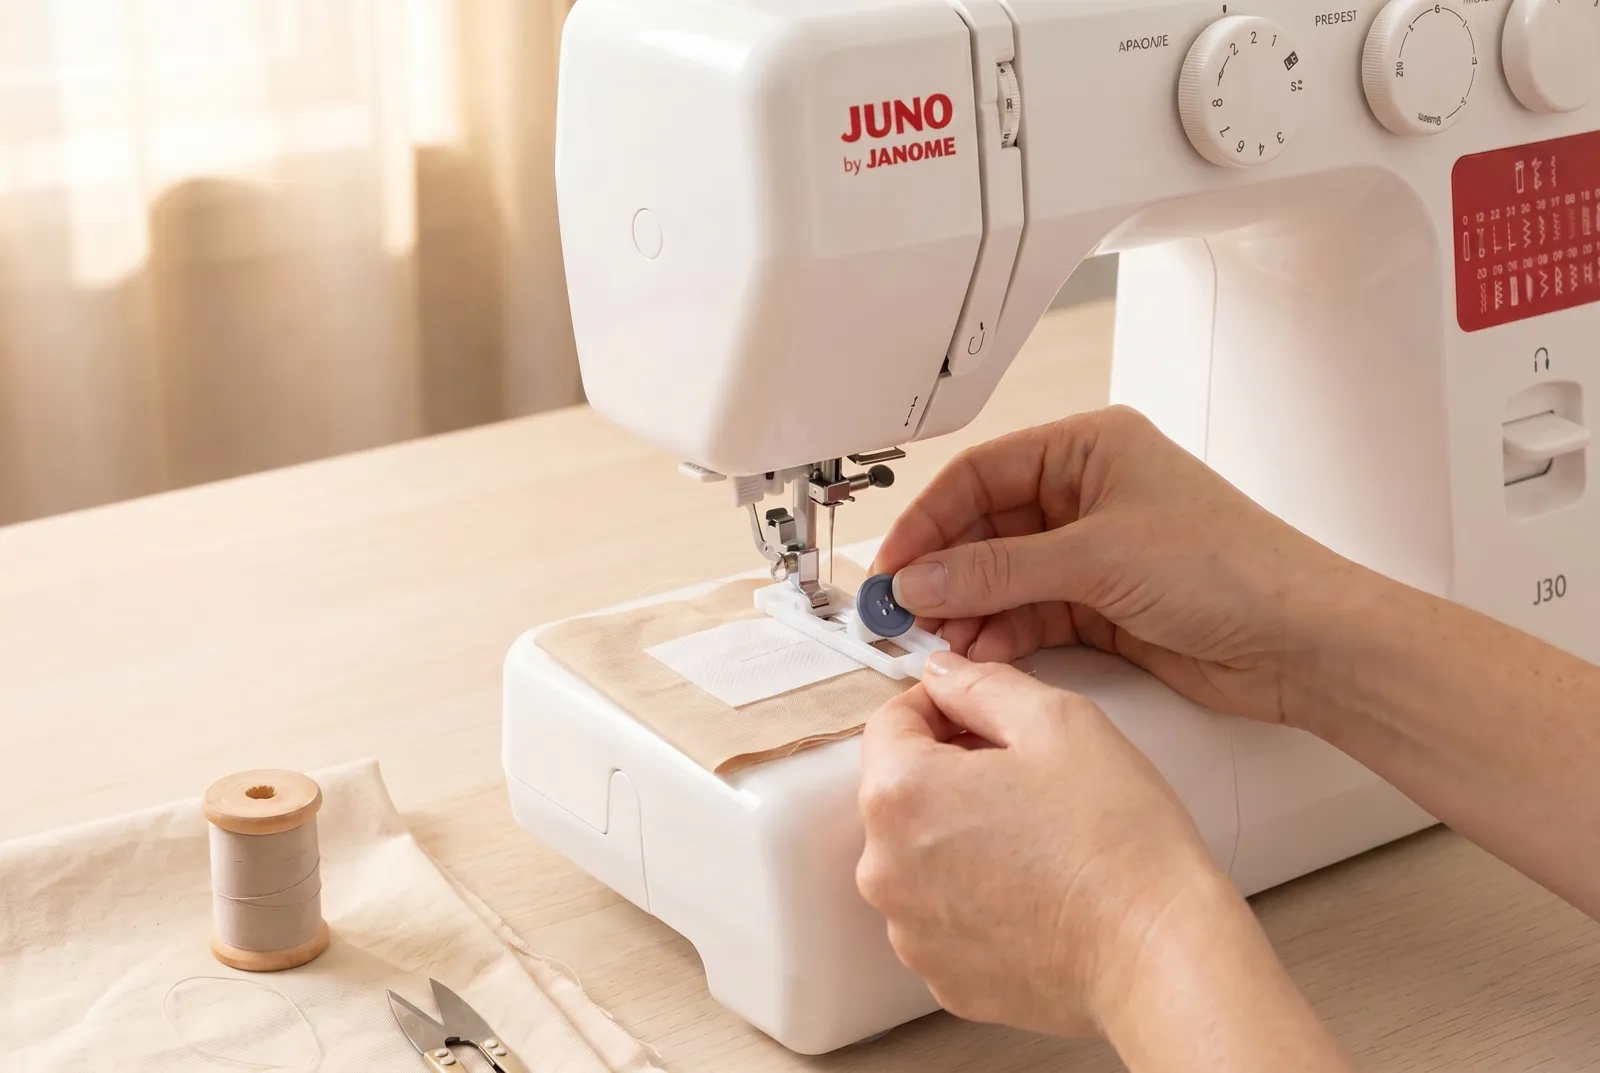
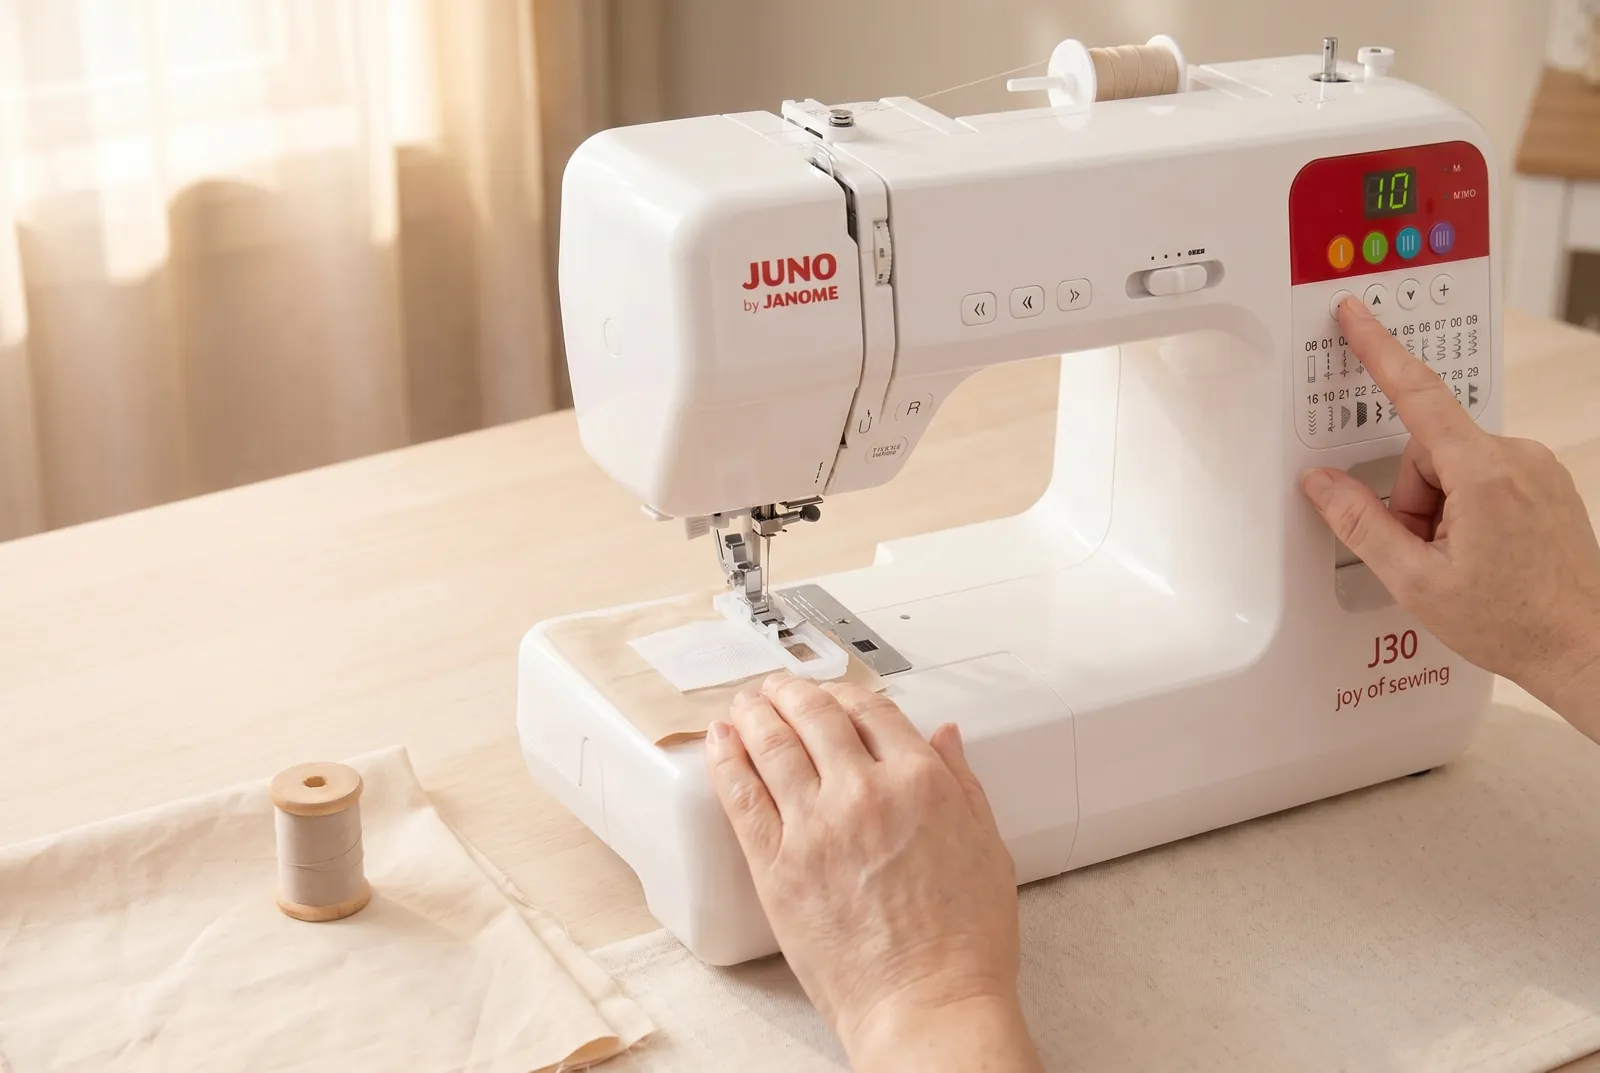
STEP 6/10Select a one-step buttonhole program on the LCD with the +/- buttons. Check the stitch chart on the front panel for the exact program number among the machine's four buttonhole programs.
Step 7
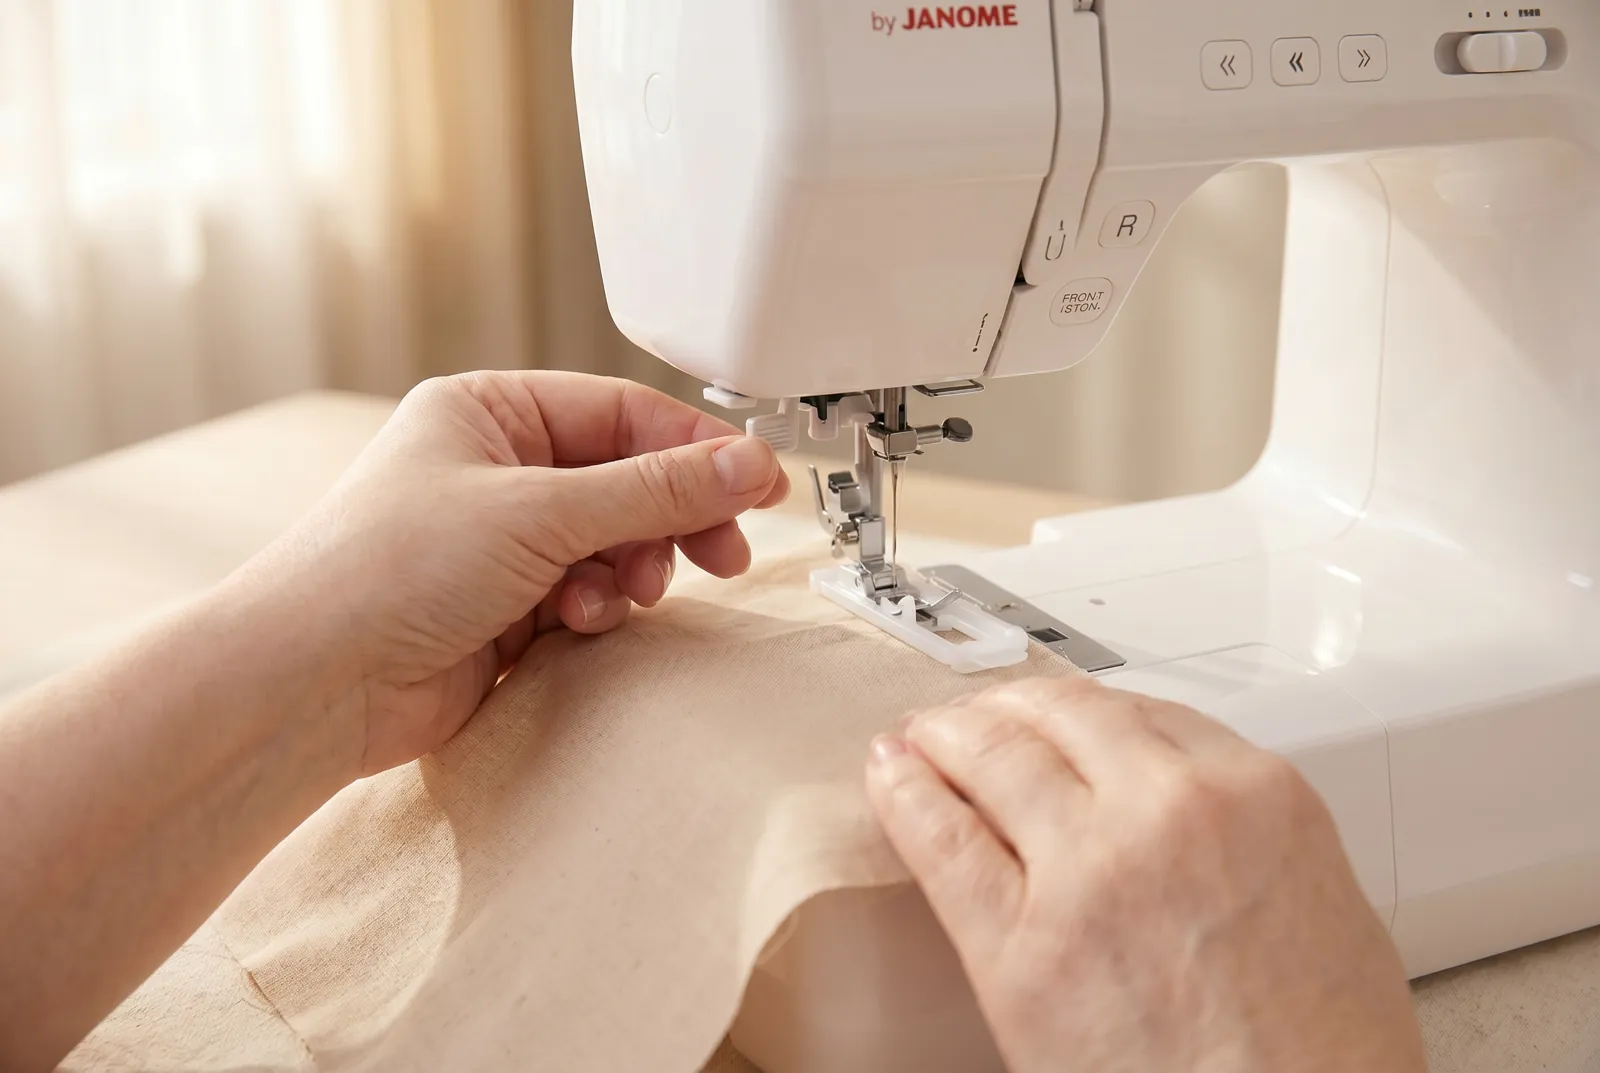
STEP 7/10Pull the buttonhole lever, behind the needle area, straight down as far as it goes.
Step 8
STEP 8/10Slide the fabric under the foot until the chalk mark lines up with the guide mark on the buttonhole foot, then lower the presser foot.
Step 9
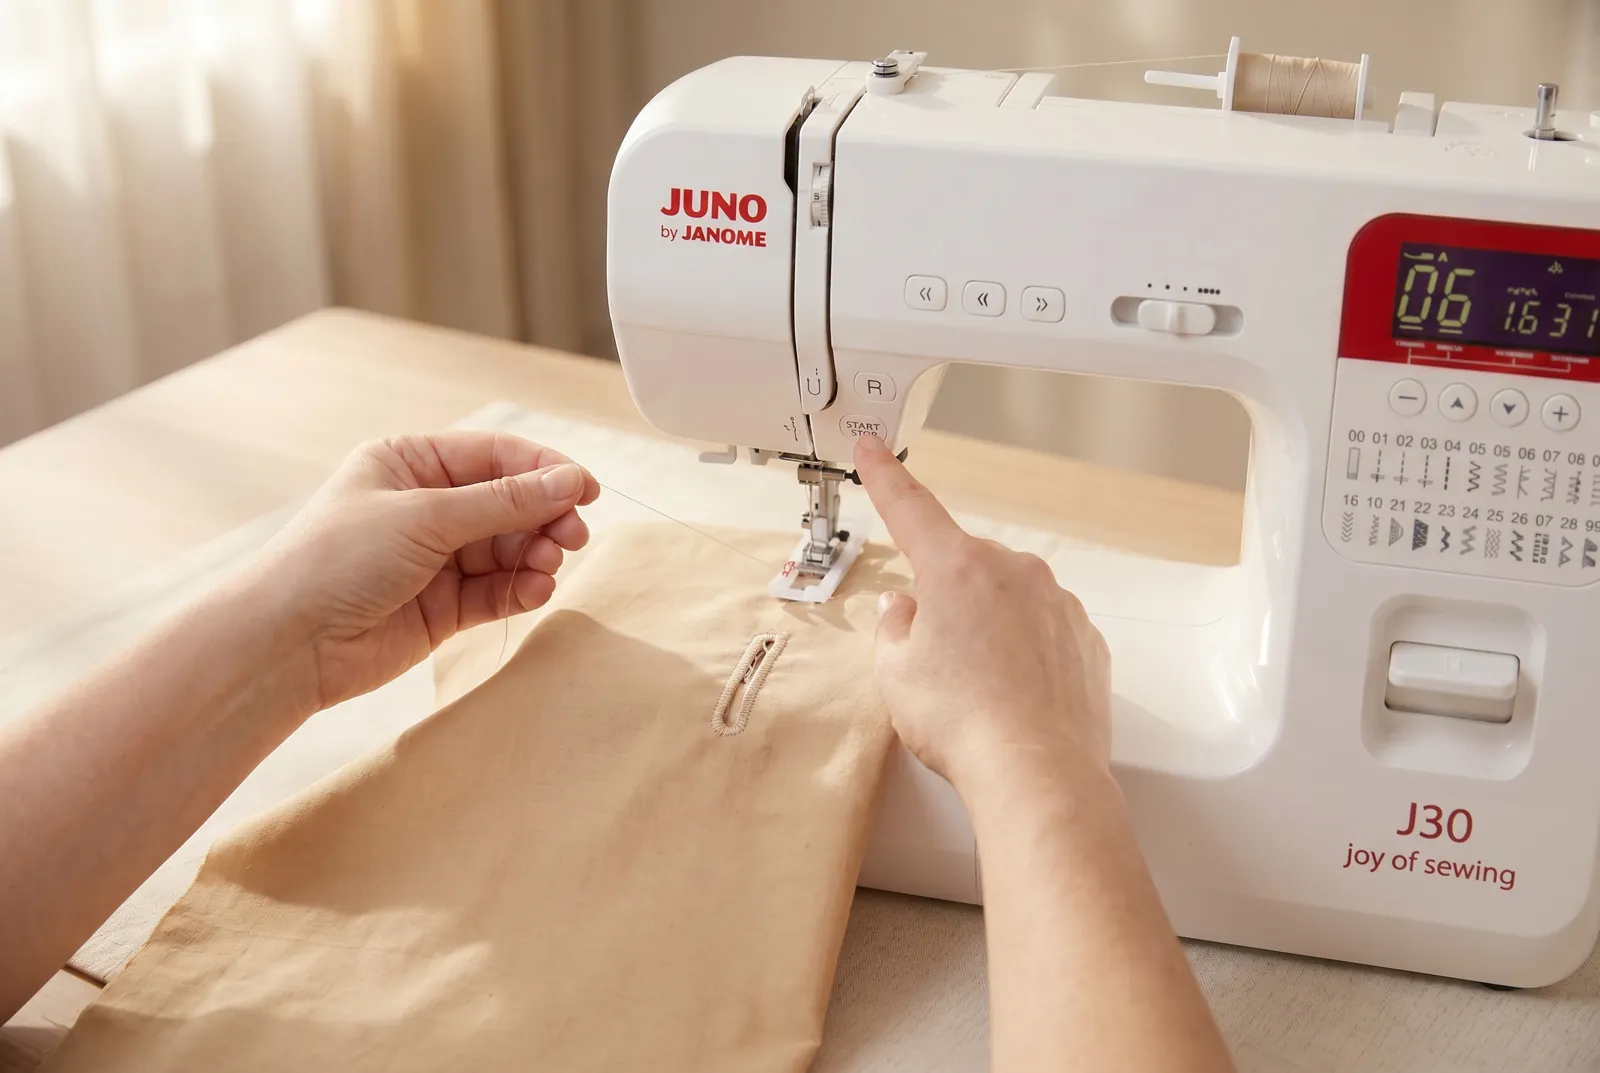
STEP 9/10Hold the top thread tail clear with one hand and press start/stop (or press the foot pedal). The machine sews down one side, across the bottom bar tack, up the other side, and across the top bar tack, then stops on its own - no turning the fabric.
Step 10
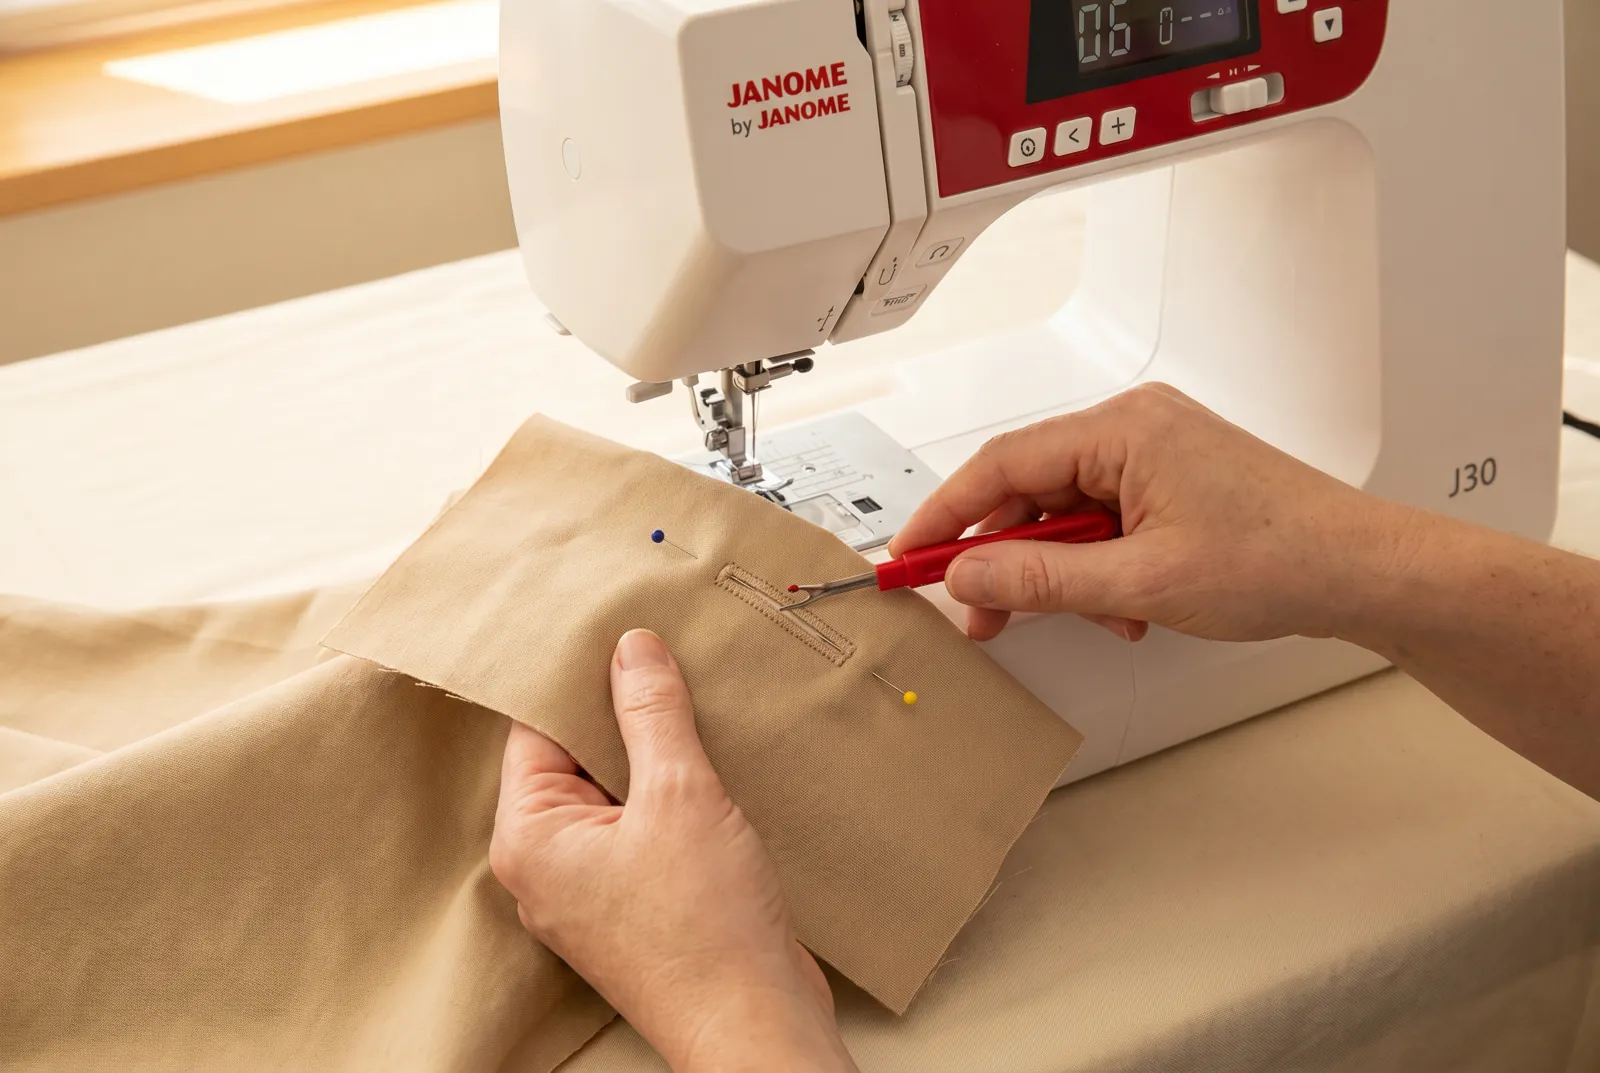
STEP 10/10Raise the foot and remove the fabric. Push a pin across the fabric close to each end bar tack - the pins stop the seam ripper from cutting through them. Insert the seam ripper between the two rows of stitching and cut from the middle out to each pin. Push the button through the slit: it should pass with a little resistance, not fall through loose.