Visible & Decorative Mending · piece Nº 05 · 60 min
Catch-Stitch a Flannel Patch on Cozy Fabrics
Repair a worn or thin spot on a flannel garment — underwear, a petticoat, a baby's layette piece, or a blanket — with a flat flannel patch held down by catch-stitching. Because flannel is too thick to fold twice, the patch goes on with flat raw edges, and the crossed stitches bind those edges down so the mend stays soft and stretches with the cloth.
The seam · 10 steps
Step 1
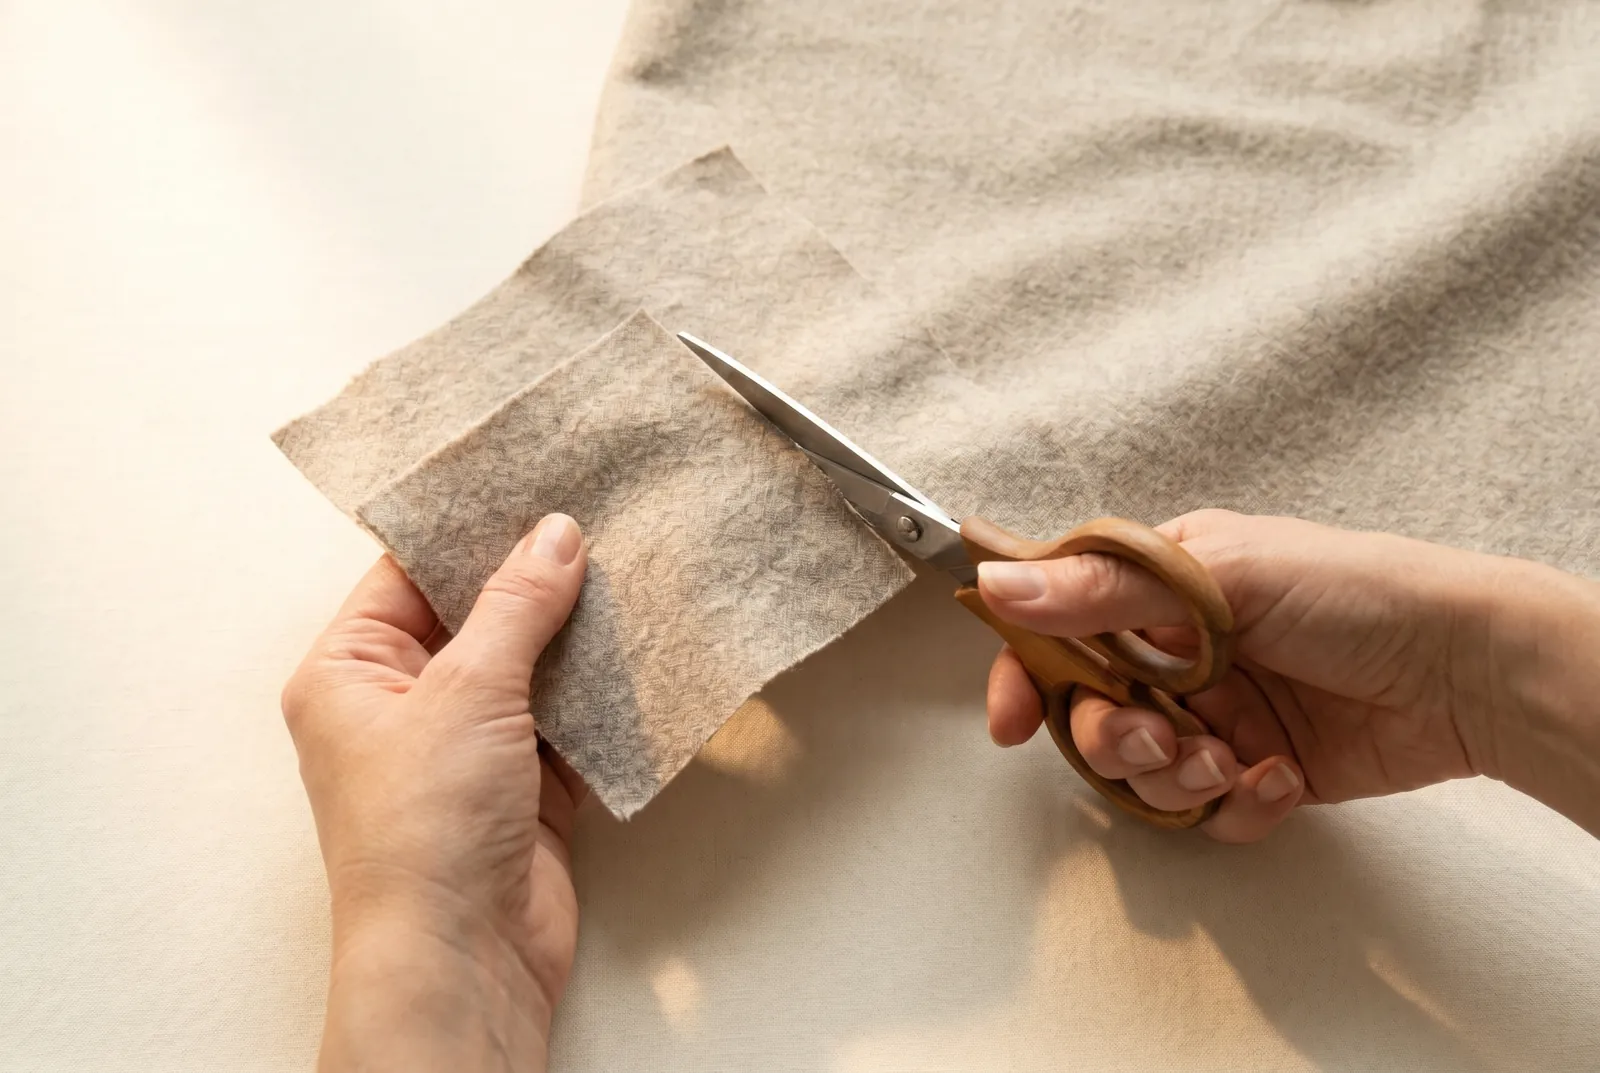
STEP 1/10Cut a flannel patch from cloth like the garment, washing it first if the garment has already been washed so it will not shrink later. Make it large enough to cover the worn or thin spot and reach 2.5 cm (1 in) past it on every side, and cut its edges clean and straight along a single thread of the weave so they lie flat.
Step 2
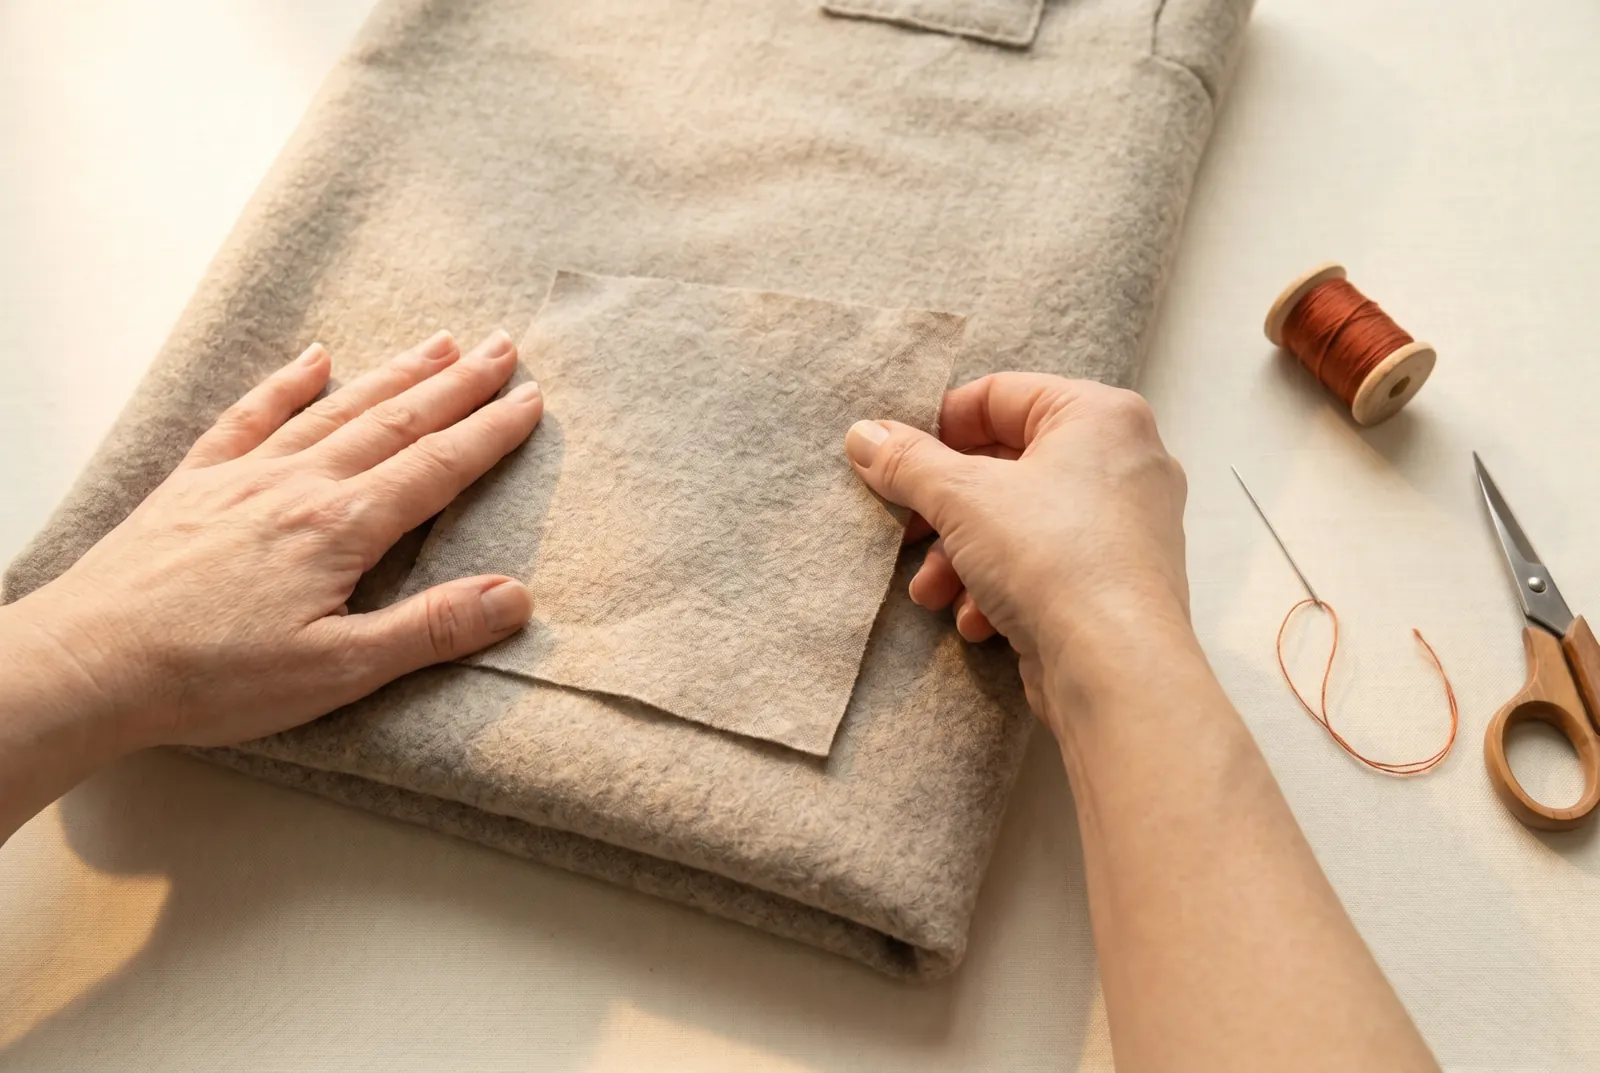
STEP 2/10Lay the patch on the wrong side of the garment, centered over the hole or thin place. Turn it so the lengthwise threads of the patch run the same way as the lengthwise threads of the garment — matching the grain keeps the mend from twisting or dragging as the cloth moves.
Step 3
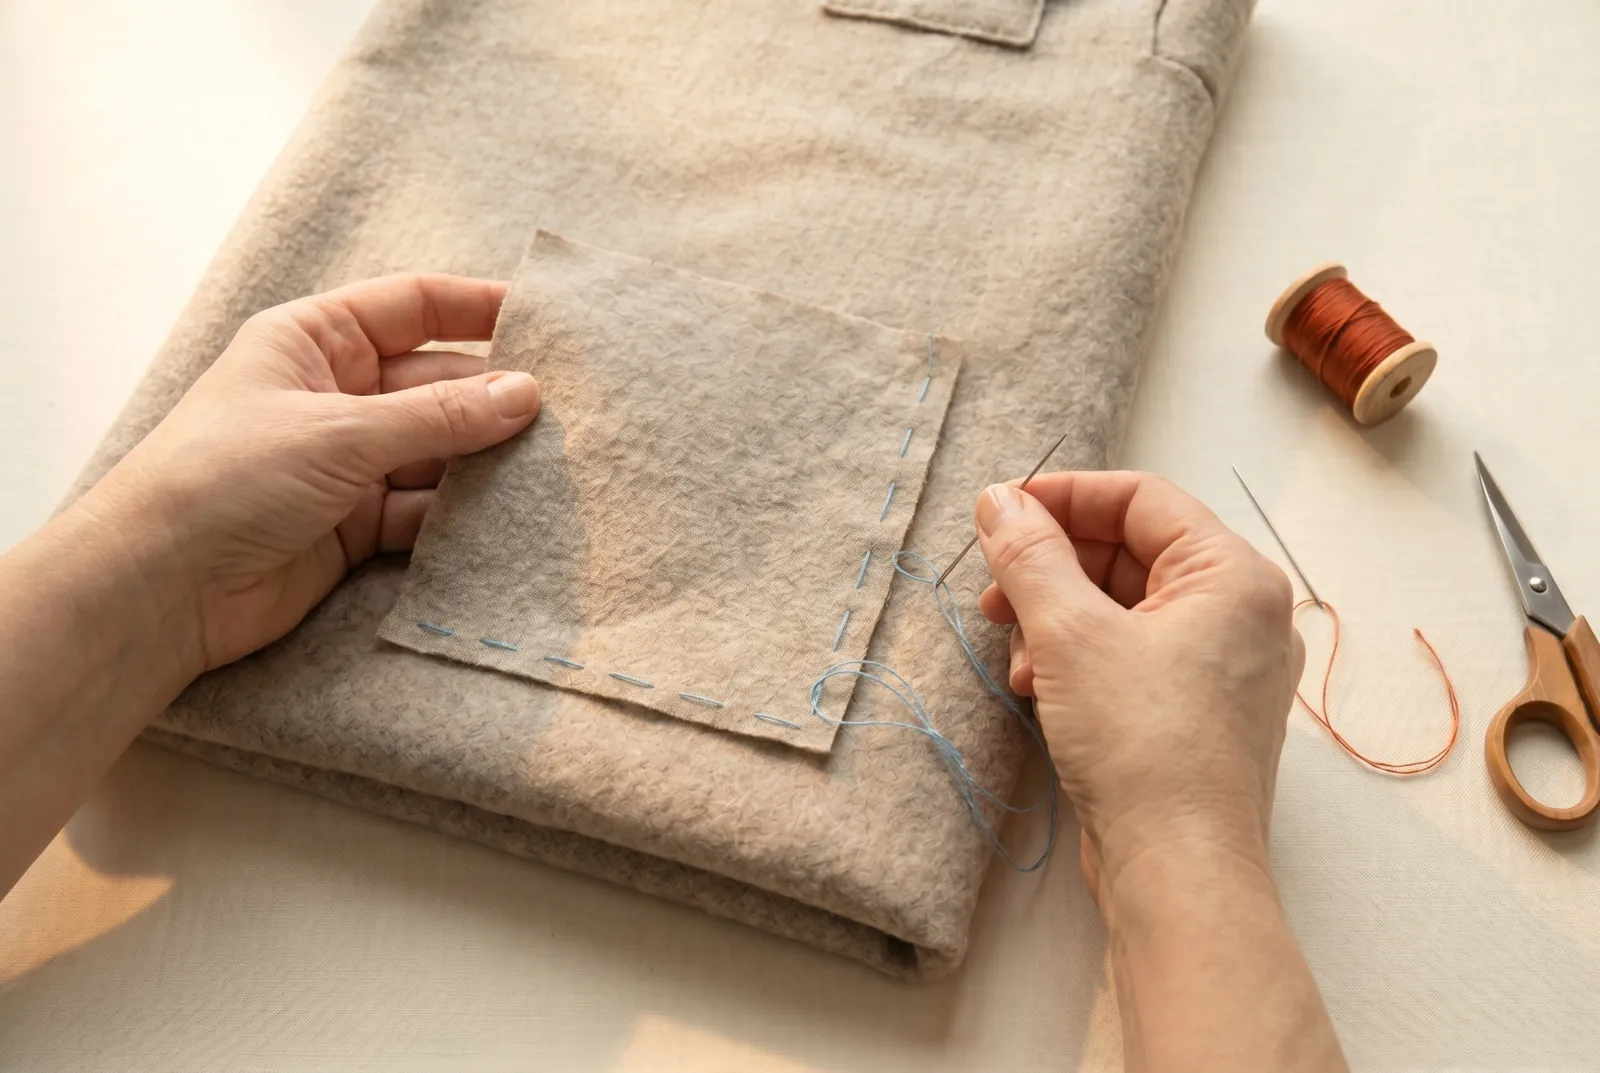
STEP 3/10Baste the patch flat with a line of long running stitches about 1 cm (3/8 in) inside the raw edge, all around, using a contrasting basting thread you can see and pull out later. Keep the patch smooth and centered as you baste — any wrinkle held in now will be stitched in permanently.
Step 4
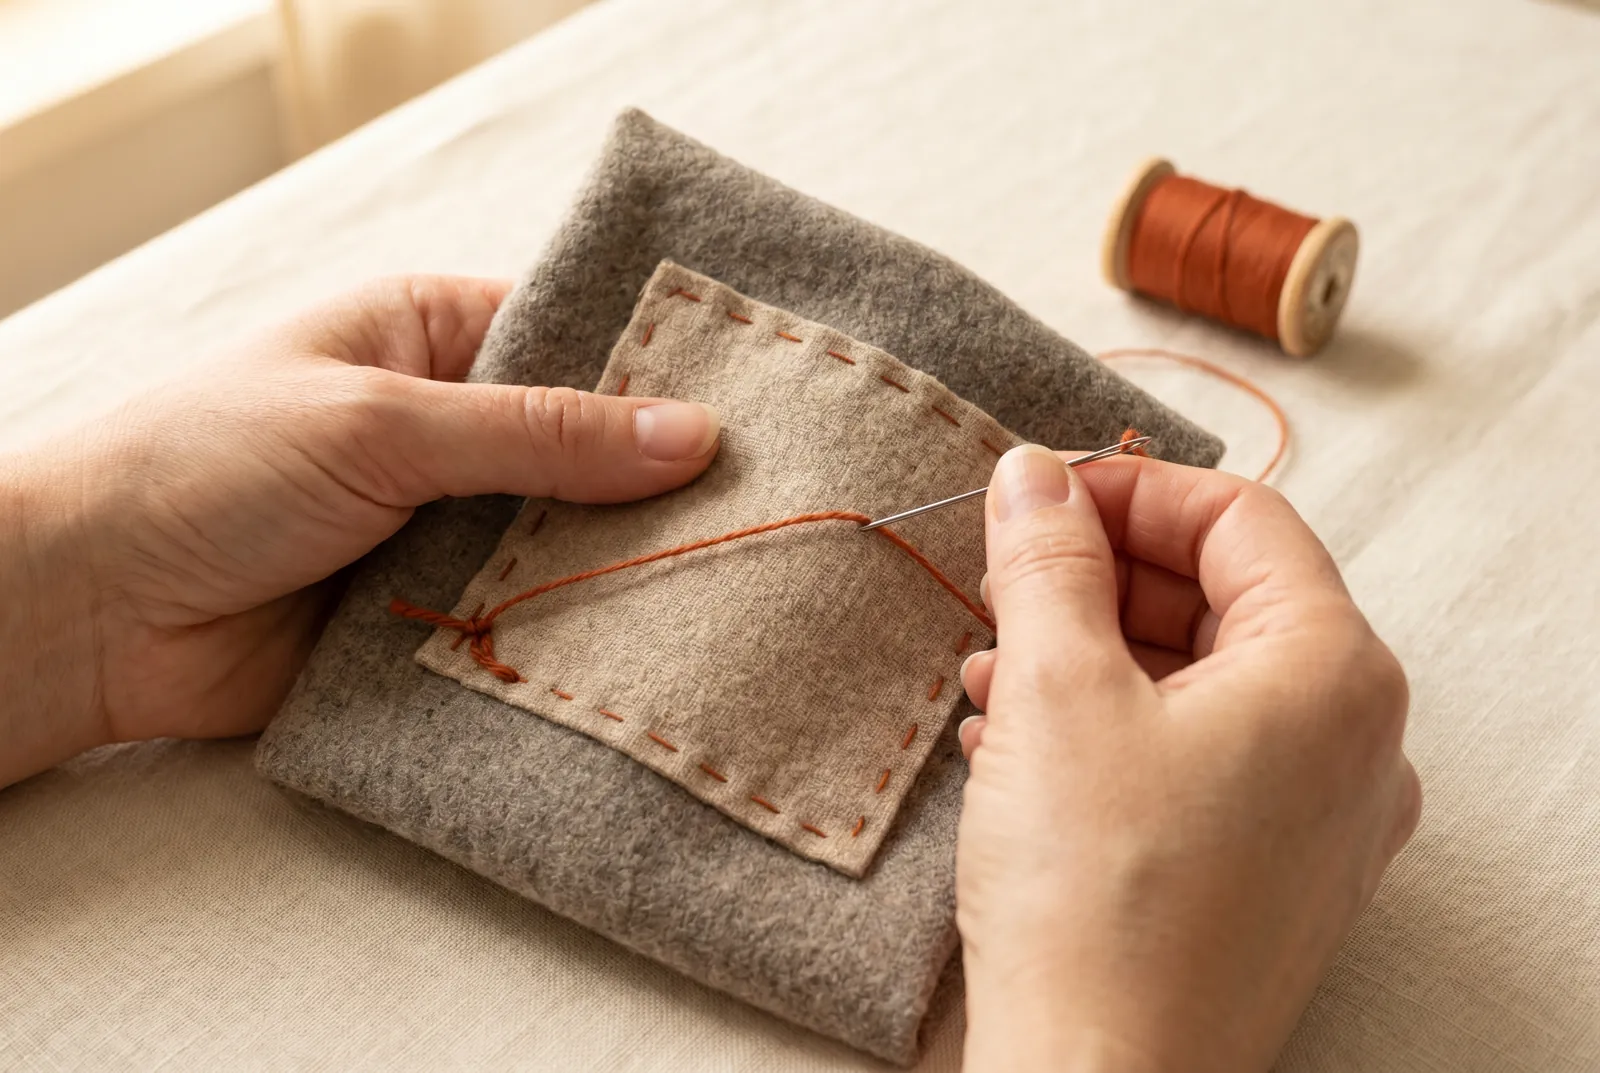
STEP 4/10Thread the needle with wool or silk, knot the end, and lock it with one short backstitch taken into the patch at the left-hand edge. Begin the catch-stitch here, at the left, and work toward the right with the needle always pointing back to the left — this back-to-front motion is what trips up first-time stitchers, so go slowly for the first few stitches. Matching thread hides the mend; contrasting thread shows the catch-stitch as honest visible mending.
Step 5
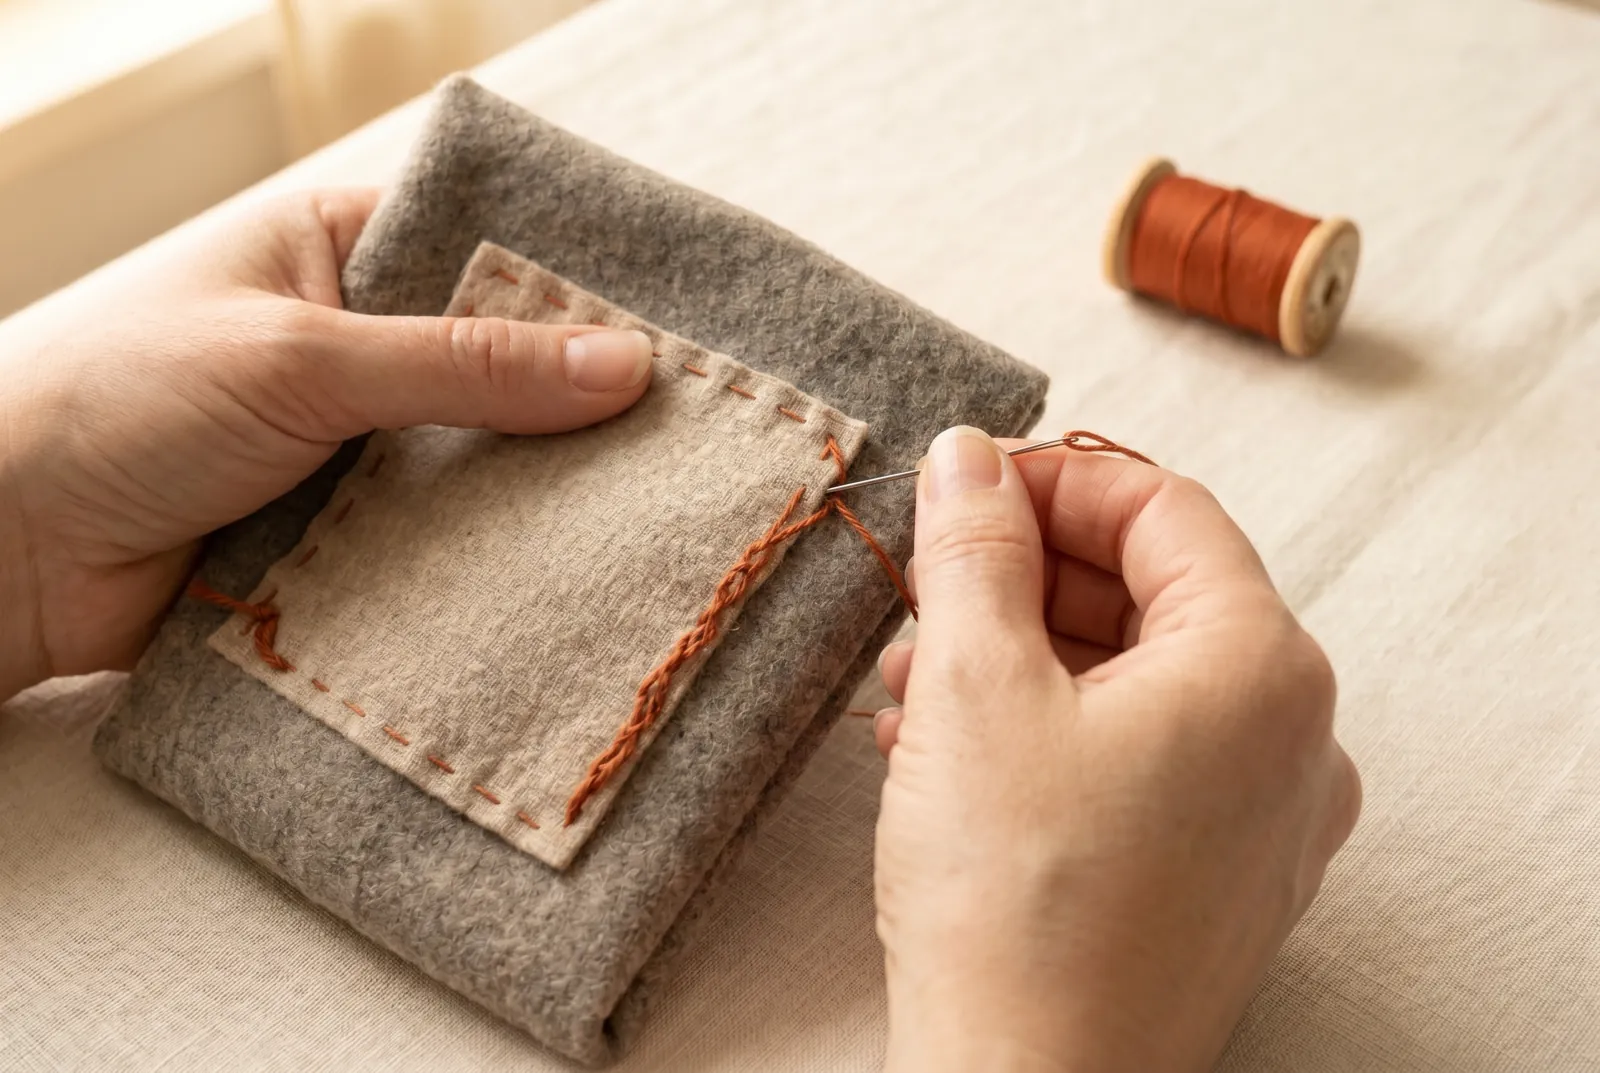
STEP 5/10Push the needle in about 3 mm (1/8 in) beyond the raw edge, taking a bite about 3 mm (1/8 in) deep in the whole cloth; then take a matching bite in the patch below the edge, about 6 mm (1/4 in) further to the right, and let each new stitch cross the thread of the last so the crossings lie like a braid over the raw edge. Take the stitches loosely, not drawn tight, because flannel stretches and the stitches must stretch with it — pulled tight, they pucker the cloth.
Step 6
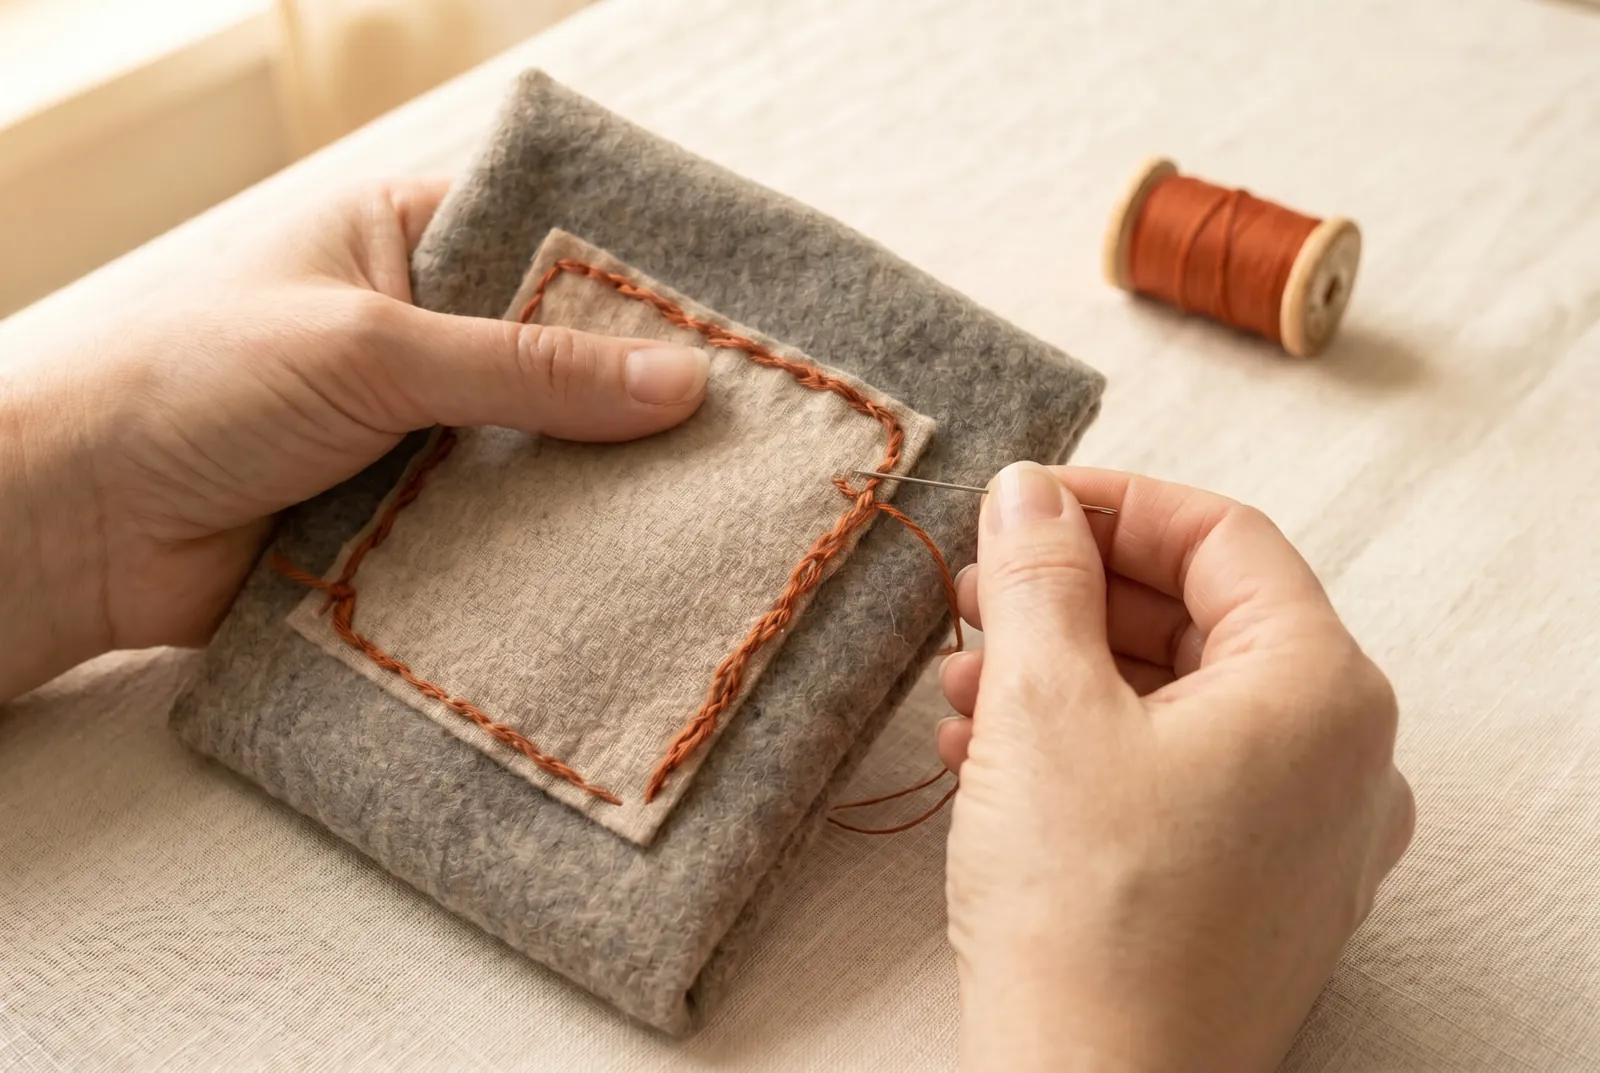
STEP 6/10Carry the catch-stitch all the way around the patch at the same spacing, keeping the crossings even. When you arrive back where you began, fasten off with two or three short stitches worked into the patch where they will be hidden.
Step 7
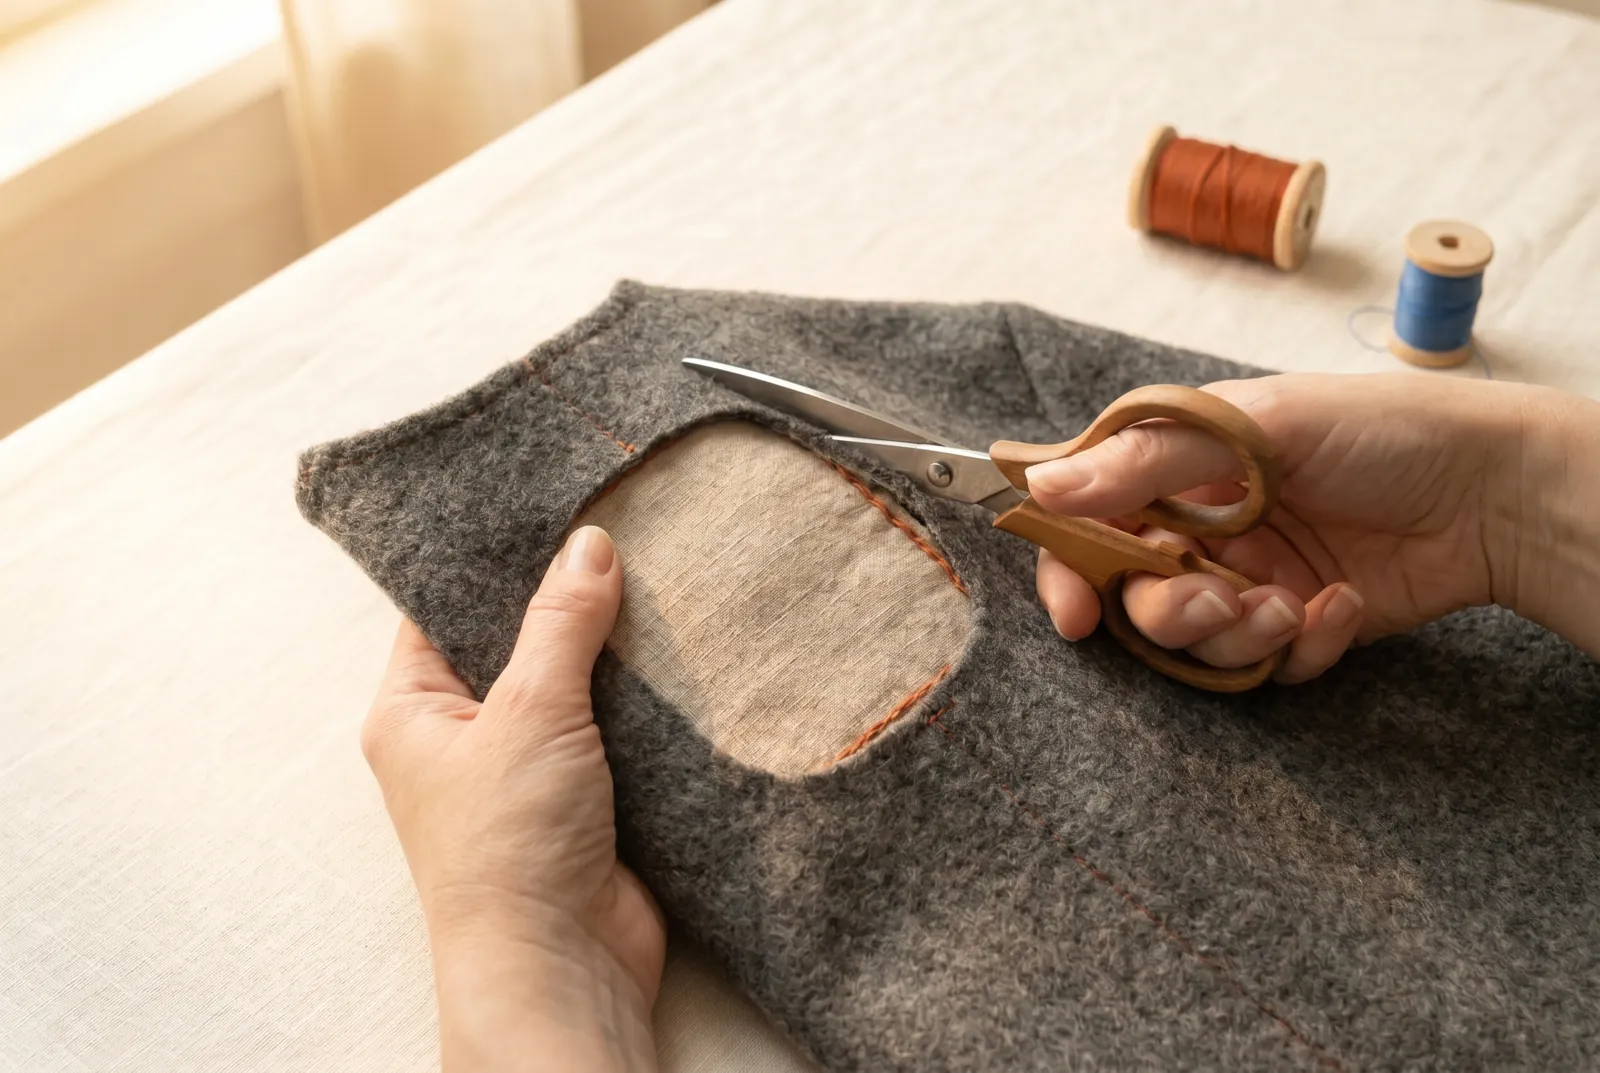
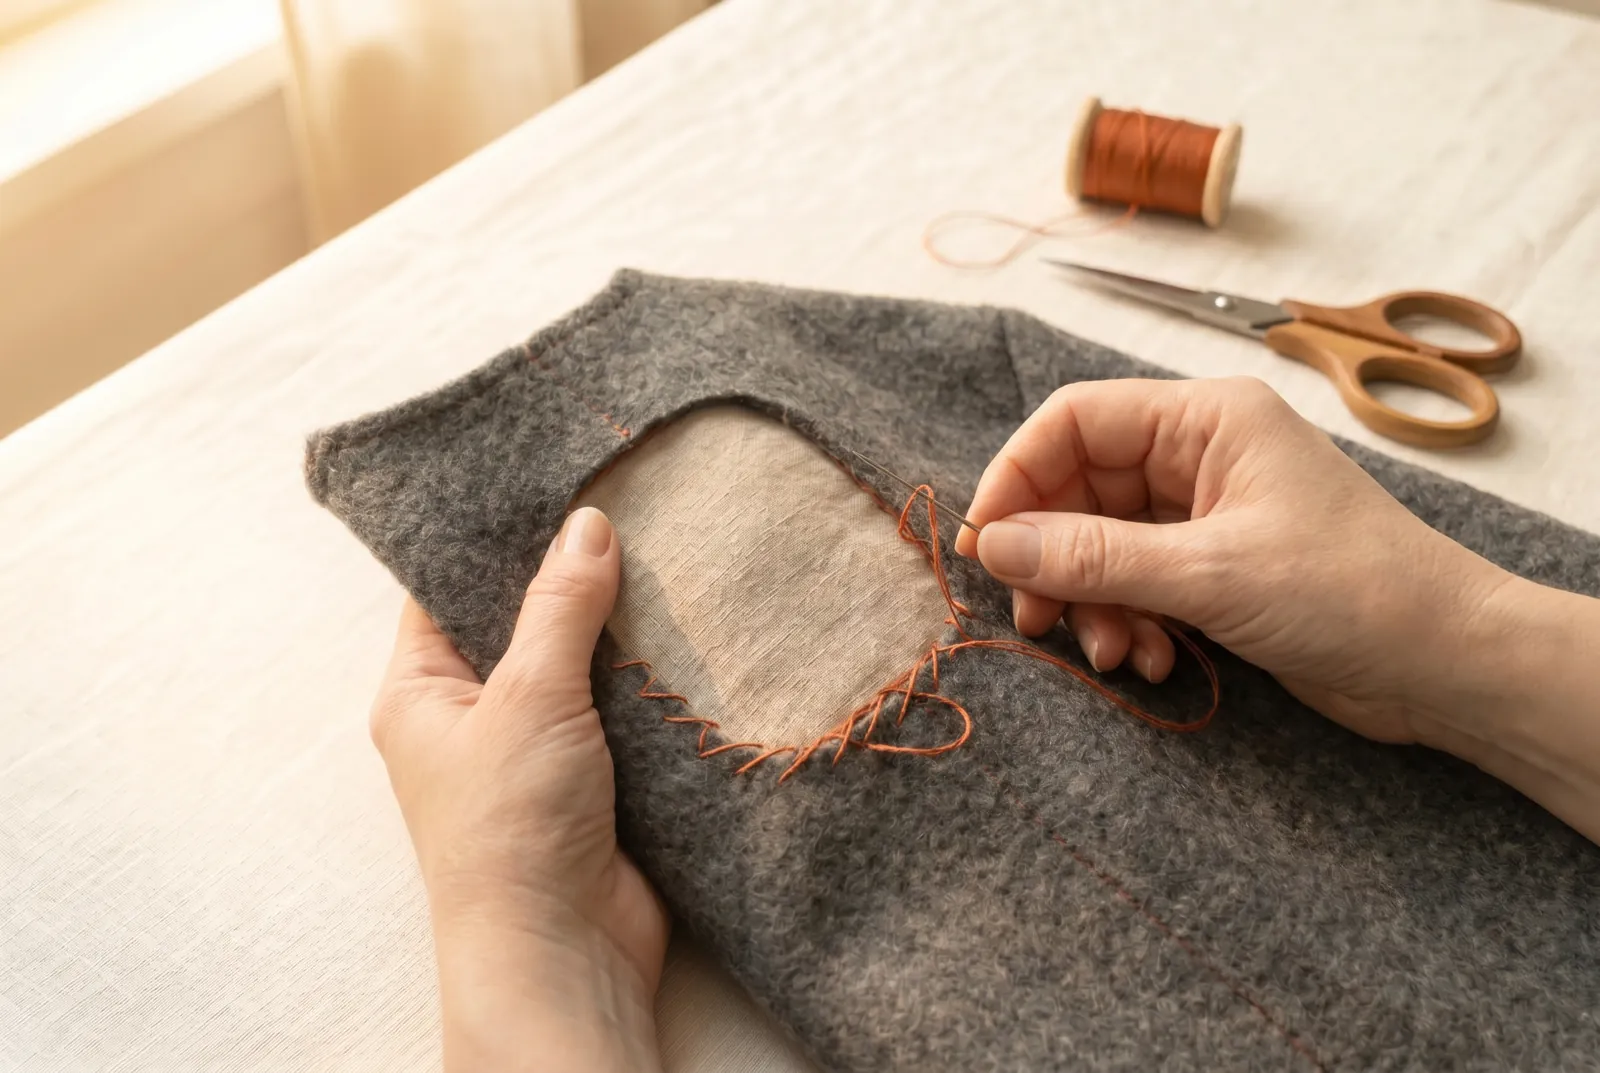
STEP 7/10Turn the garment to the right side. Cut away the worn part of the cloth over the patch, trimming back until you reach sound, whole cloth — cut only the garment, not the patch beneath it. Round each corner of the opening in a shallow curve about 1 cm (3/8 in) across, or cut it to a clean square, matching the shape of the worn place; rounded corners are less likely to lift and fray.
Step 8
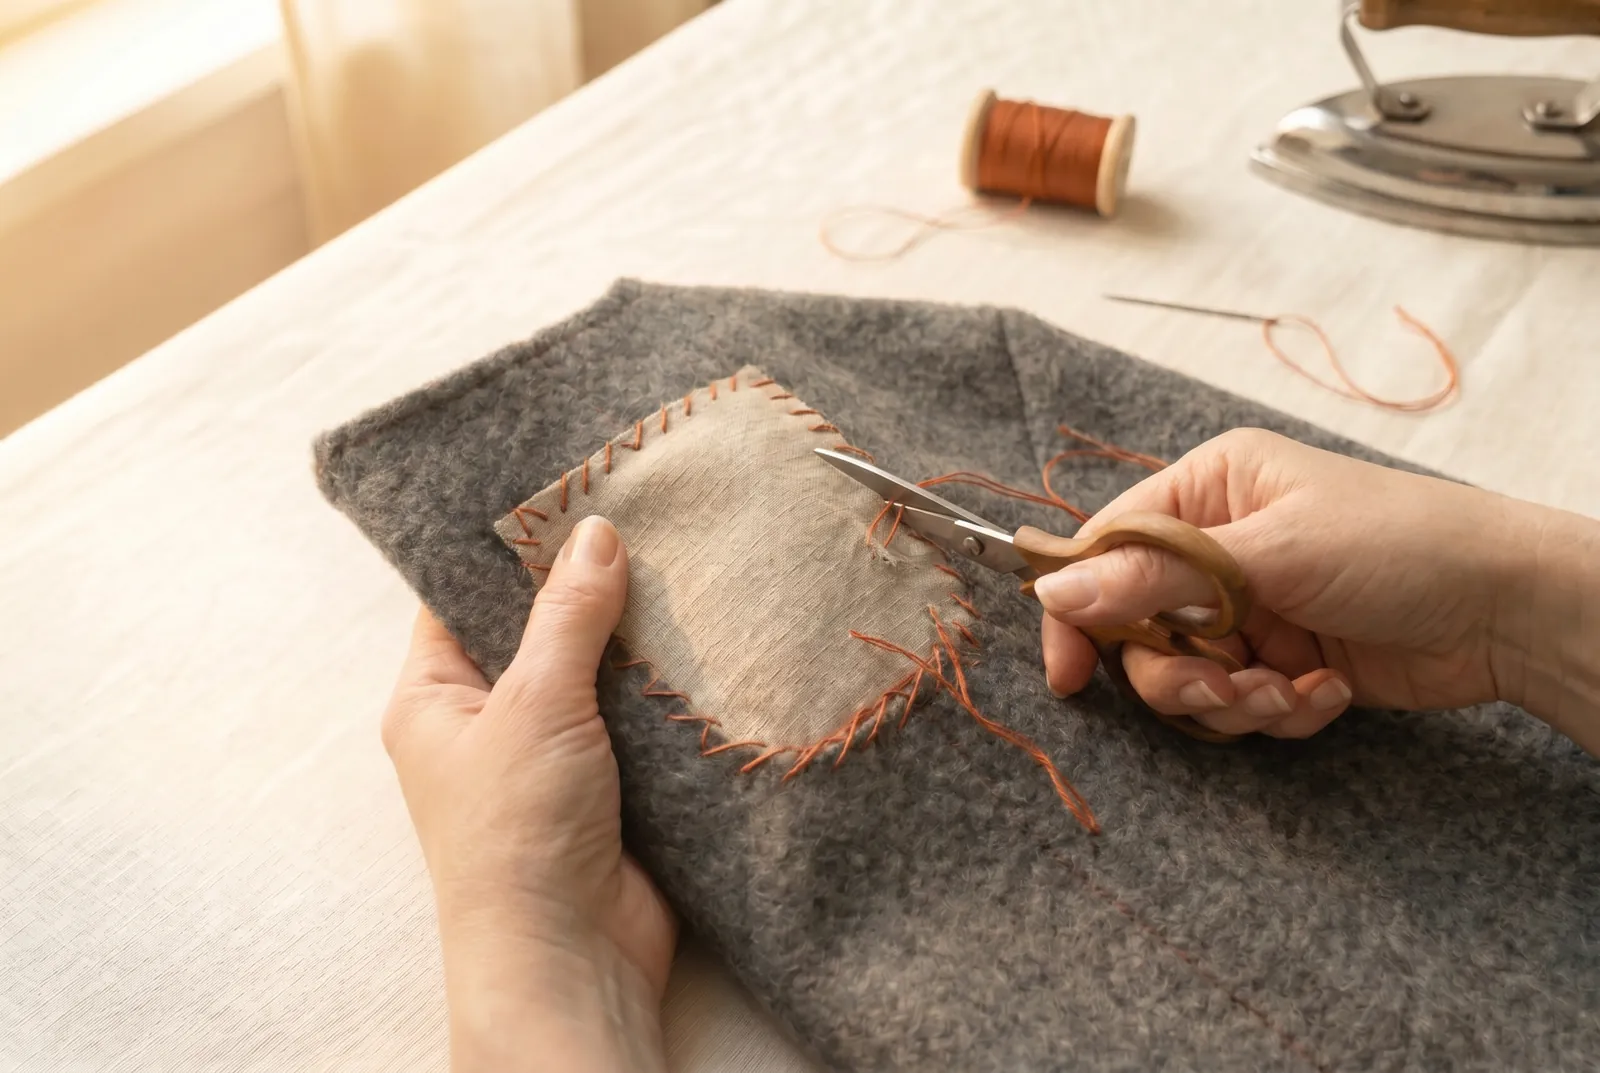
STEP 8/10Catch-stitch this second raw edge — the cut edge of the garment — down onto the patch in the same way as before: anchor a fresh length of wool or silk with a knot and a backstitch, work the crossed stitches loosely from left to right around the opening, and fasten off into the patch. Now each raw edge, top and bottom, lies flat against whole cloth and is covered by the crossed stitches, with no folded ridge anywhere.
Step 9
STEP 9/10Pull out the contrasting basting threads — both edges are held by the catch-stitching itself, so the basting has done its work and should come out before the final press.
Step 10
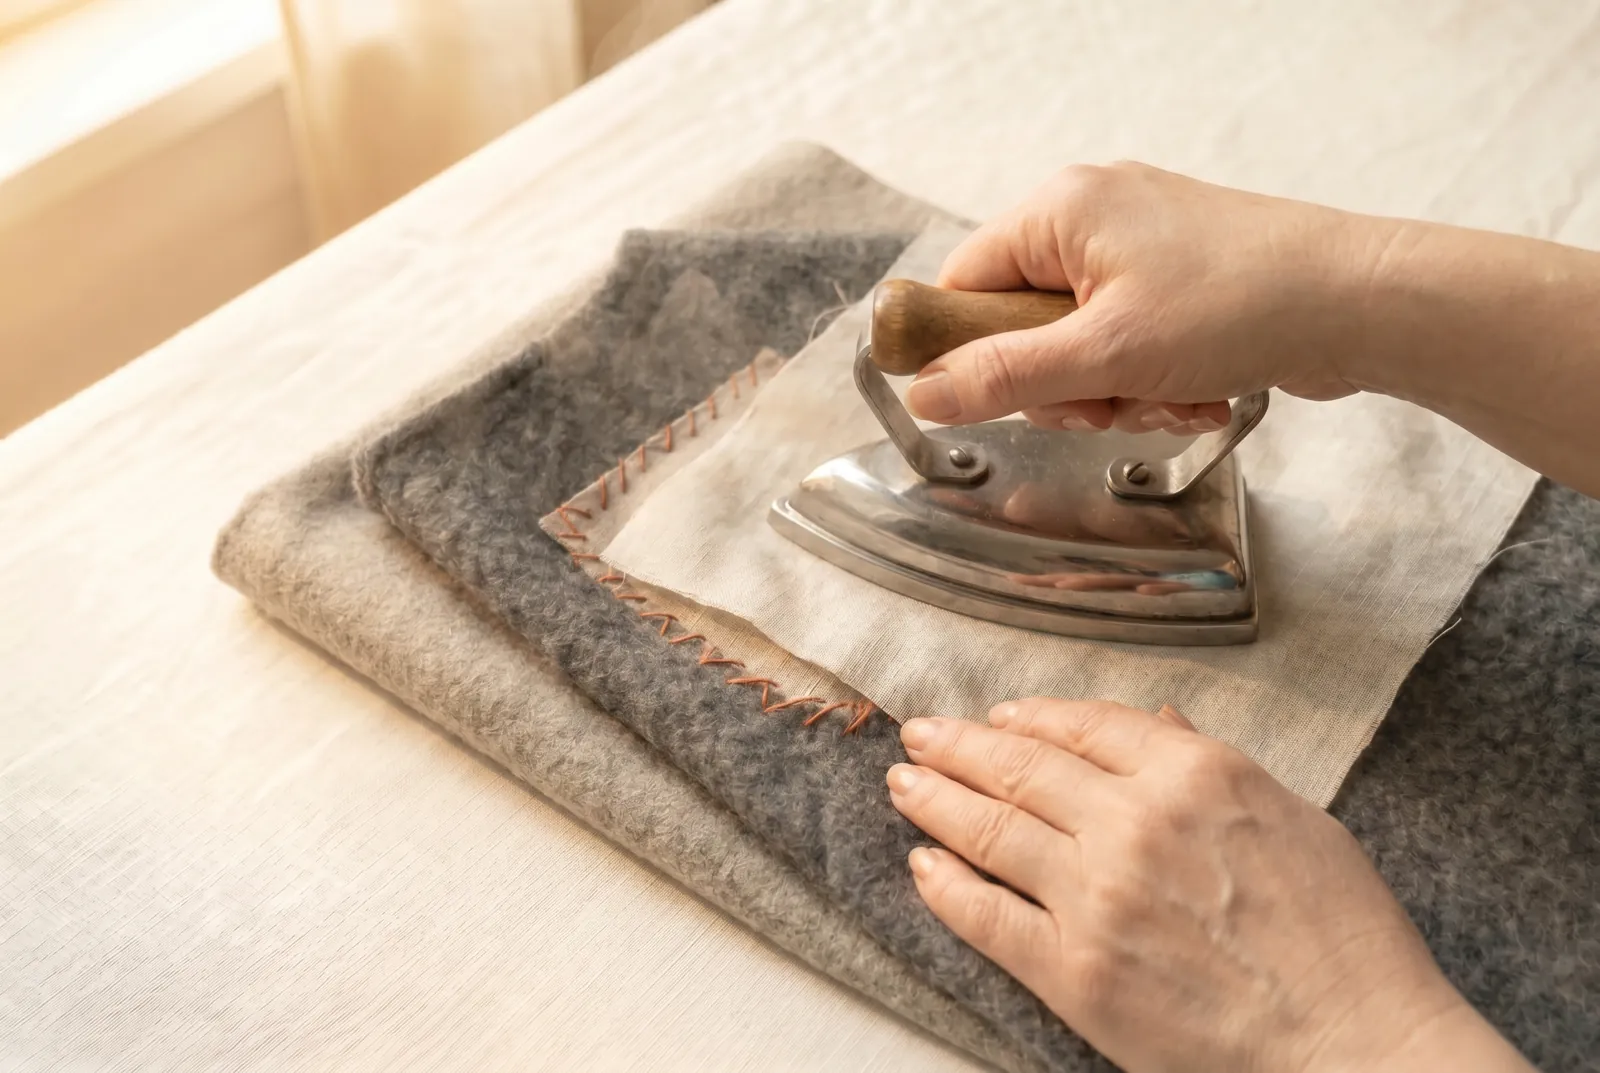
STEP 10/10Lay the mend right-side down on the folded piece of flannel, so the crossed stitches sink into the soft bed and are not flattened. Press from the wrong side under a pressing cloth wrung out until it is damp but not dripping, with a moderate iron — a wool setting, about 150 C (300 F) — setting the iron down without bearing on the stitches. The finished mend lies flat, without a fold anywhere, and gives with the garment in wear and washing.