Upcycling & Thrift Flips · piece Nº 45 · 60 min
Take in a loose waistband: gather the back with a hidden cotton tape
Draw in the loose back of a soft, hollow waistband by threading a cotton tape through its channel and gathering the extra fabric to your waist measurement. This keeps a thrifted skirt or pair of trousers sitting on your hips without touching the front or the closure. The method needs a soft, folded-tube band with a hollow channel; a stiff interfaced band, like most jeans, has no channel to thread and is out of scope.
The seam · 10 steps
Step 1
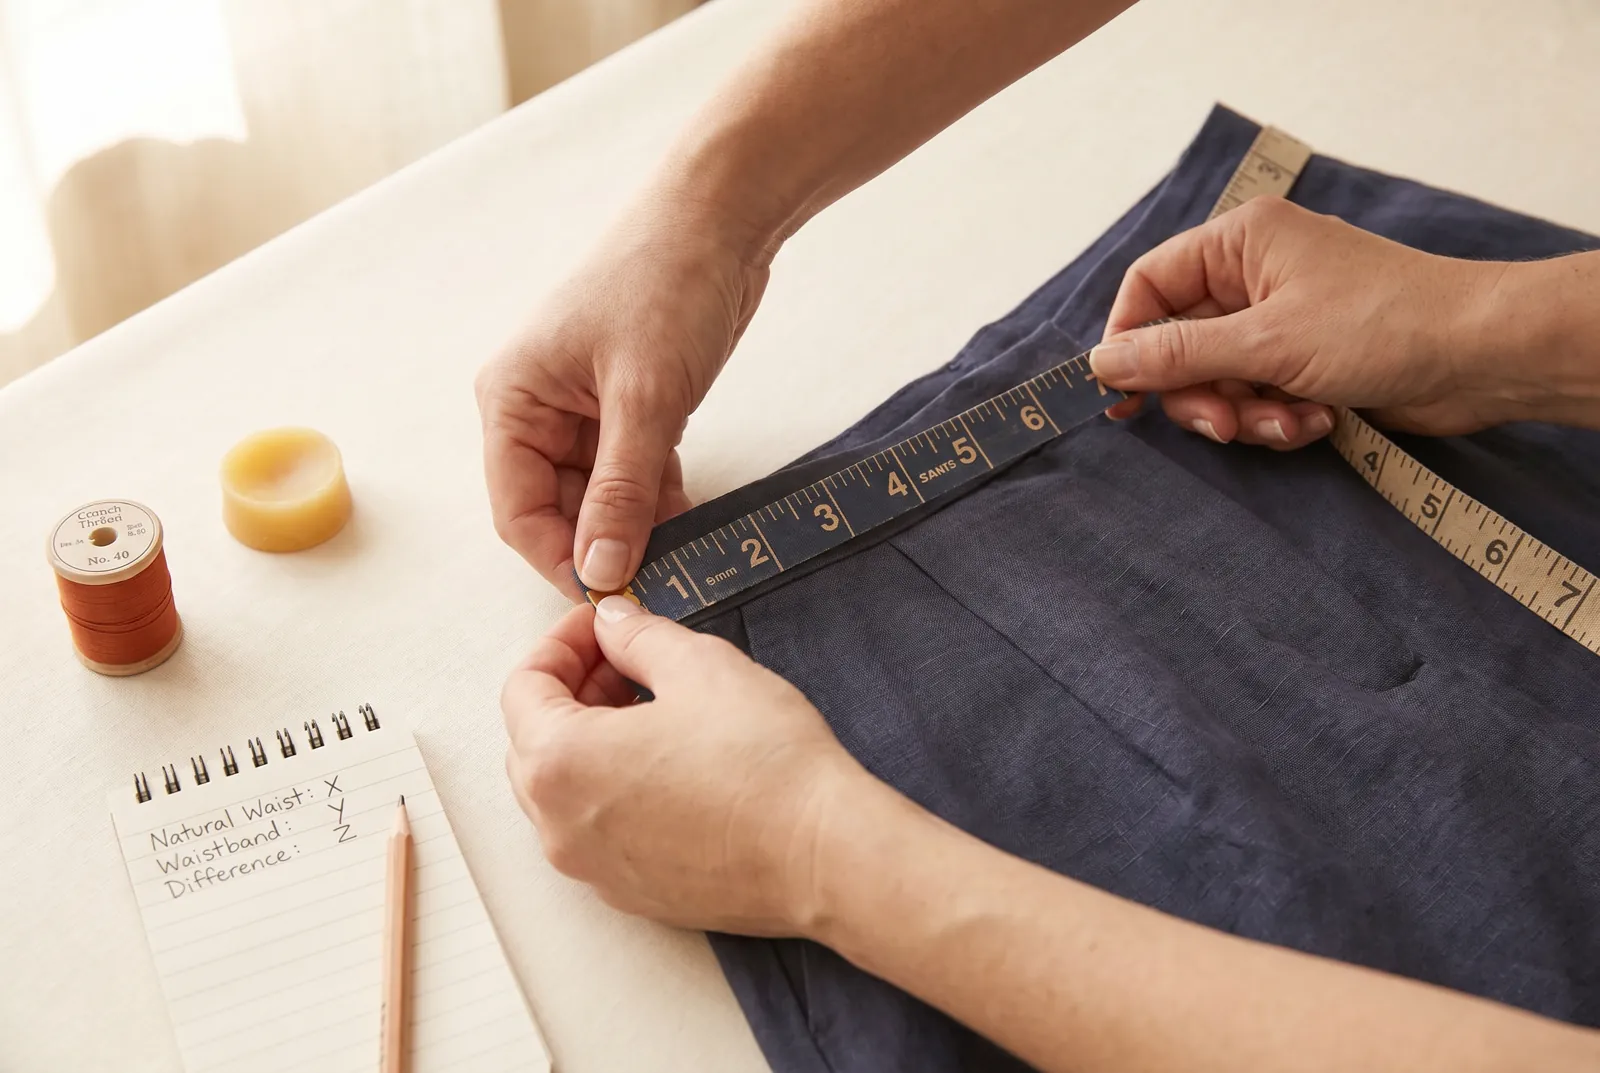
STEP 1/10Put the garment on and fasten it, then measure your natural waist with a tape measure. Measure around the top of the waistband as well; the difference between the two is the amount you will draw out of the back. Write that number down, since you will gather the back until the waistband equals your waist measurement.
Step 2
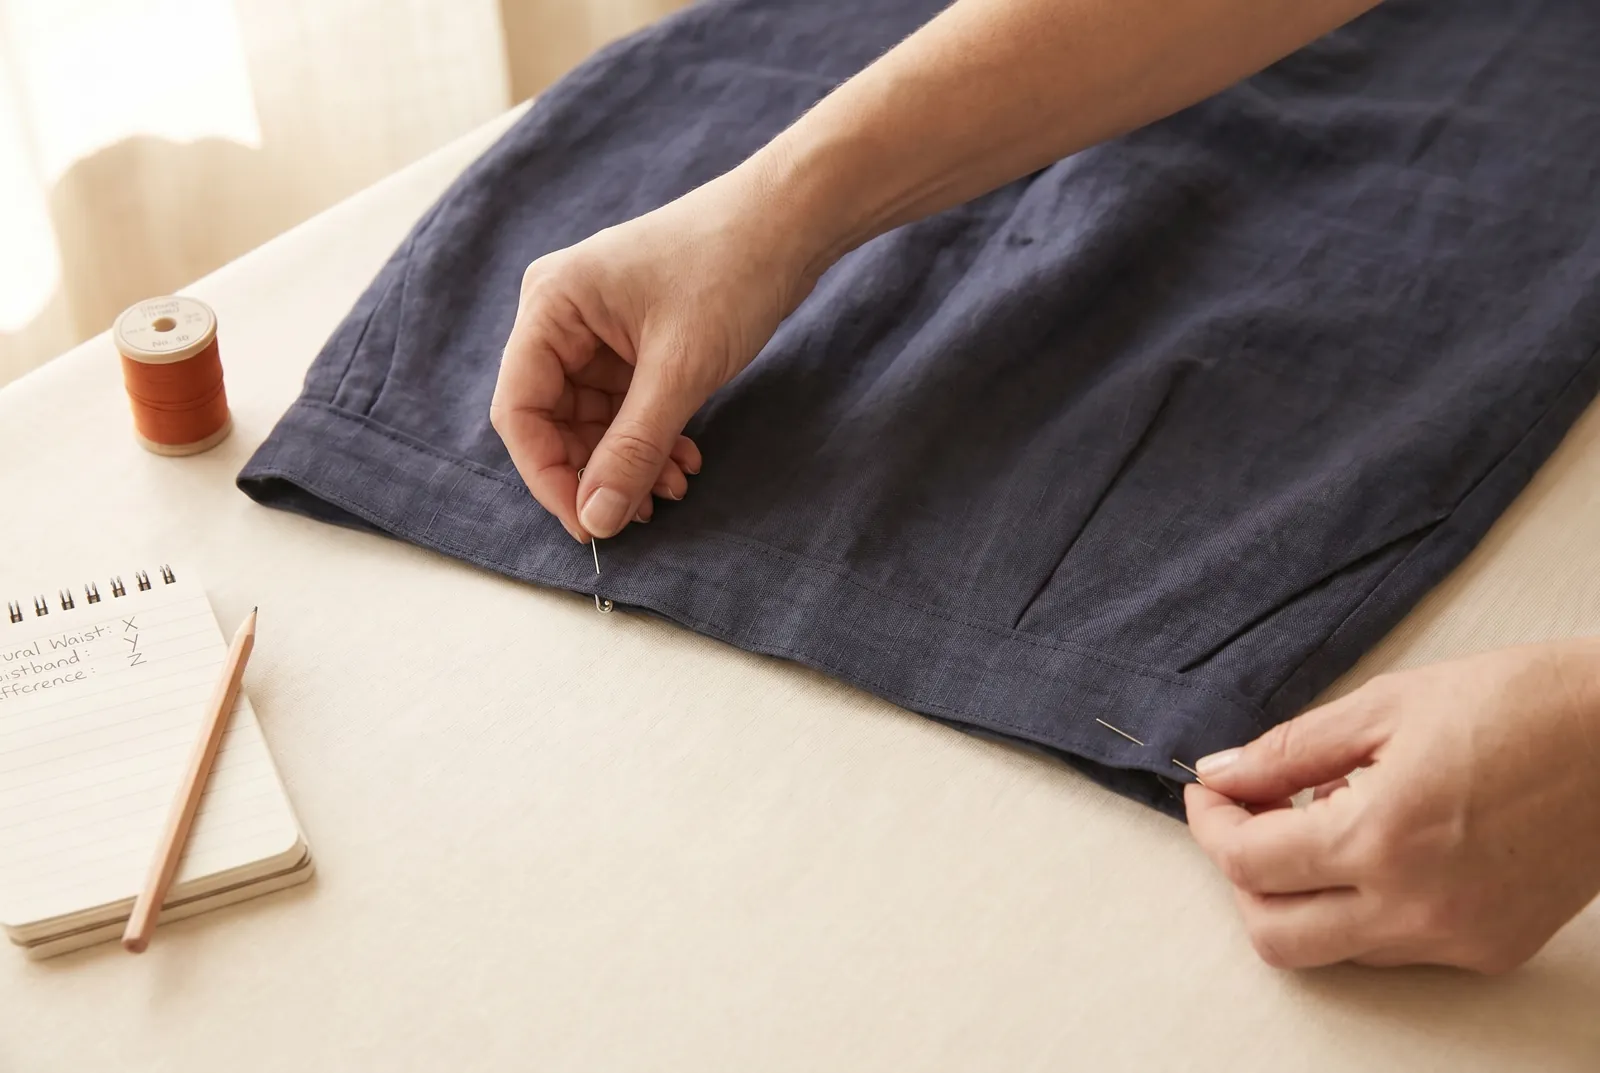
STEP 2/10Lay the garment flat and find the two side seams, marking each with a pin. These two seams flank the back, and each one will hold one end of the tape, so all the gathering falls in the back while the front and the closure stay as they are.
Step 3
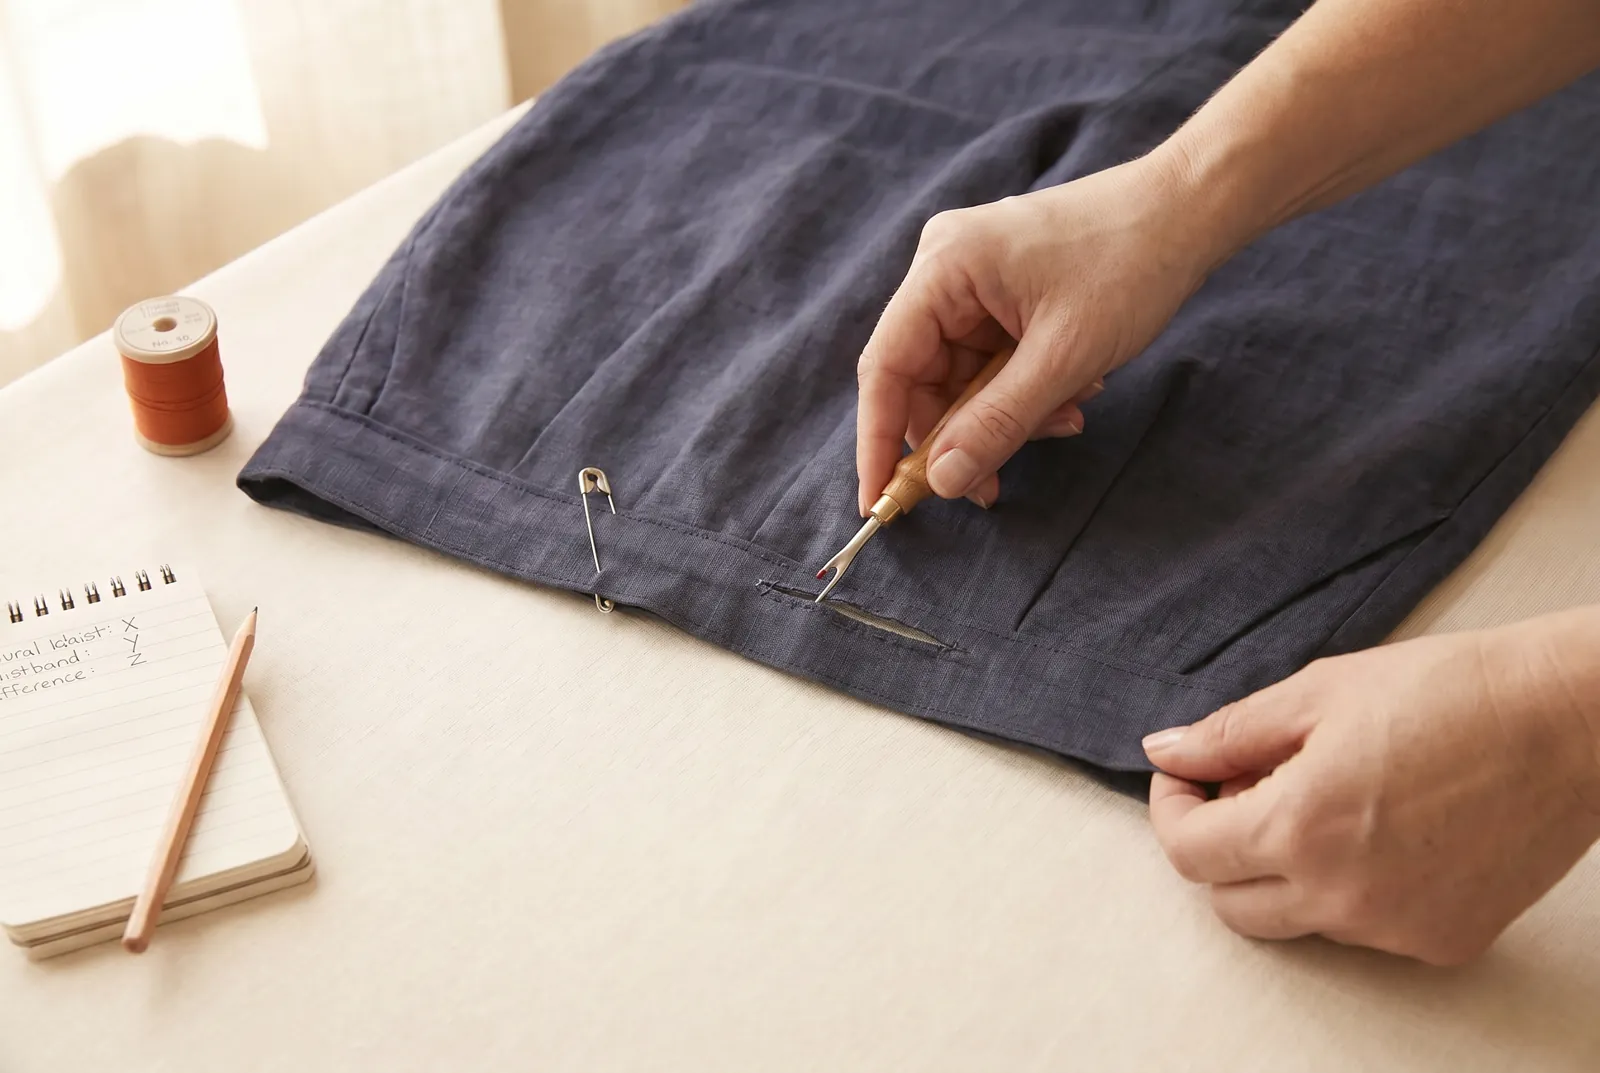
STEP 3/10At each side-seam pin, use a seam ripper to pick out about 2.5 cm (1 in) of stitching from the inner layer of the waistband, opening the hollow channel at those two points. Work only the inner layer and do not cut the outer cloth, or the band will show a hole from the right side.
Step 4
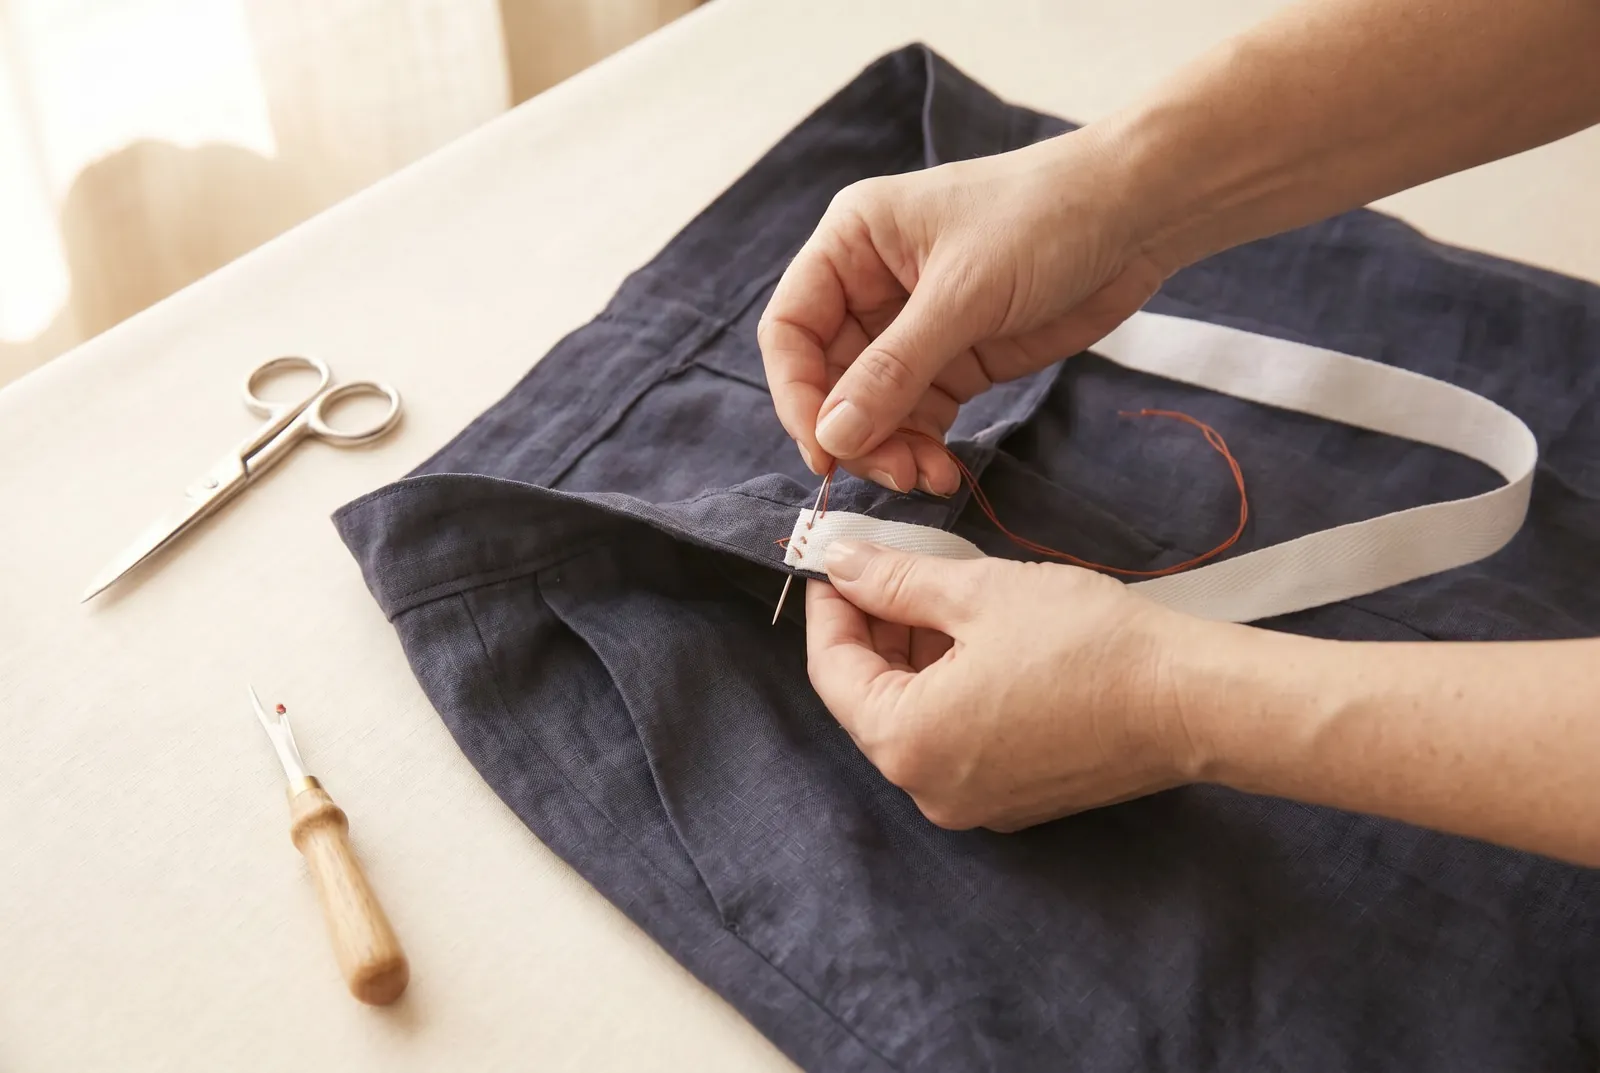
STEP 4/10Cut a length of white cotton tape 2 cm (3/4 in) wide, a few centimetres longer than the back span between the side seams. Stitch one end of the tape firmly to the inside of the waistband at one side-seam opening, taking several small stitches through the band so the end cannot pull free.
Step 5
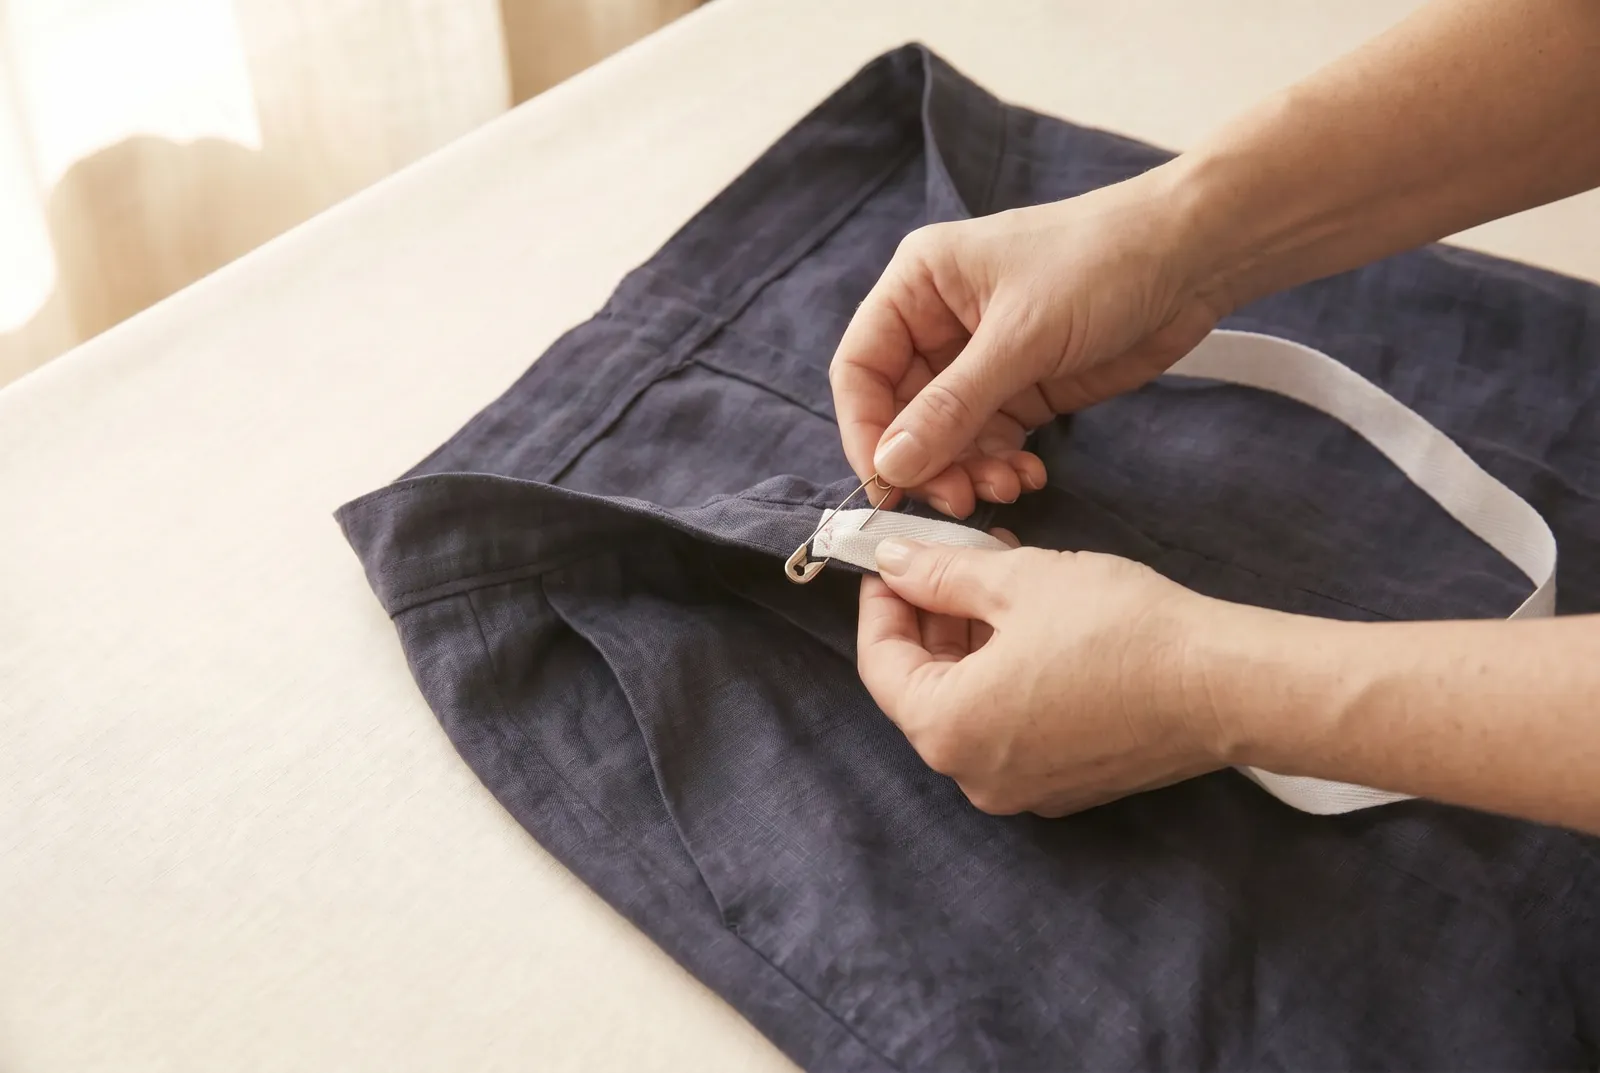
STEP 5/10Attach the free end of the tape to a bodkin, or pin it inside a folded safety pin, and feed it into the anchored side-seam opening. Work the bodkin through the hollow channel across the back until it comes out at the other side-seam opening. Because each opening sits at a side seam, the tape only crosses the back and never has to pass the front closure.
Step 6
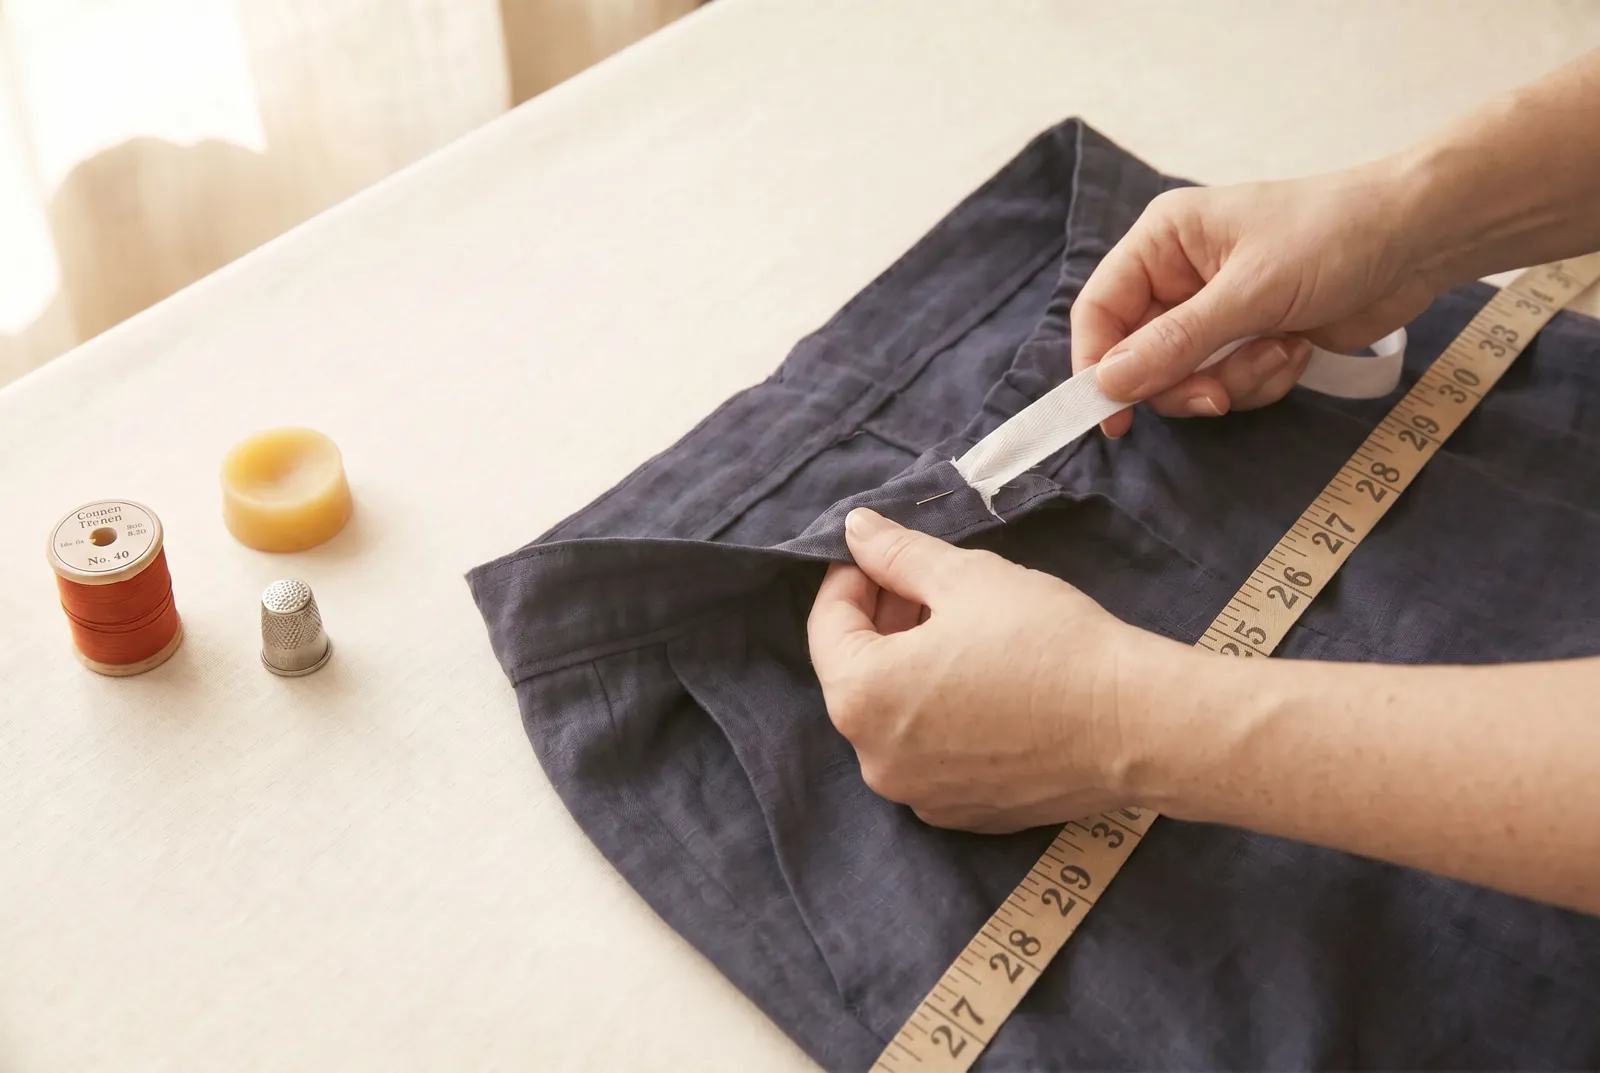
STEP 6/10Hold the anchored end and pull the free end of the tape until the back gathers and the whole waistband equals the waist measurement from step 1. Keep the gathers even along the back, and stop at your measurement rather than drawing the fabric taut, or the band will pucker. Pin the tape where it leaves the second opening to hold it while you sew.
Step 7
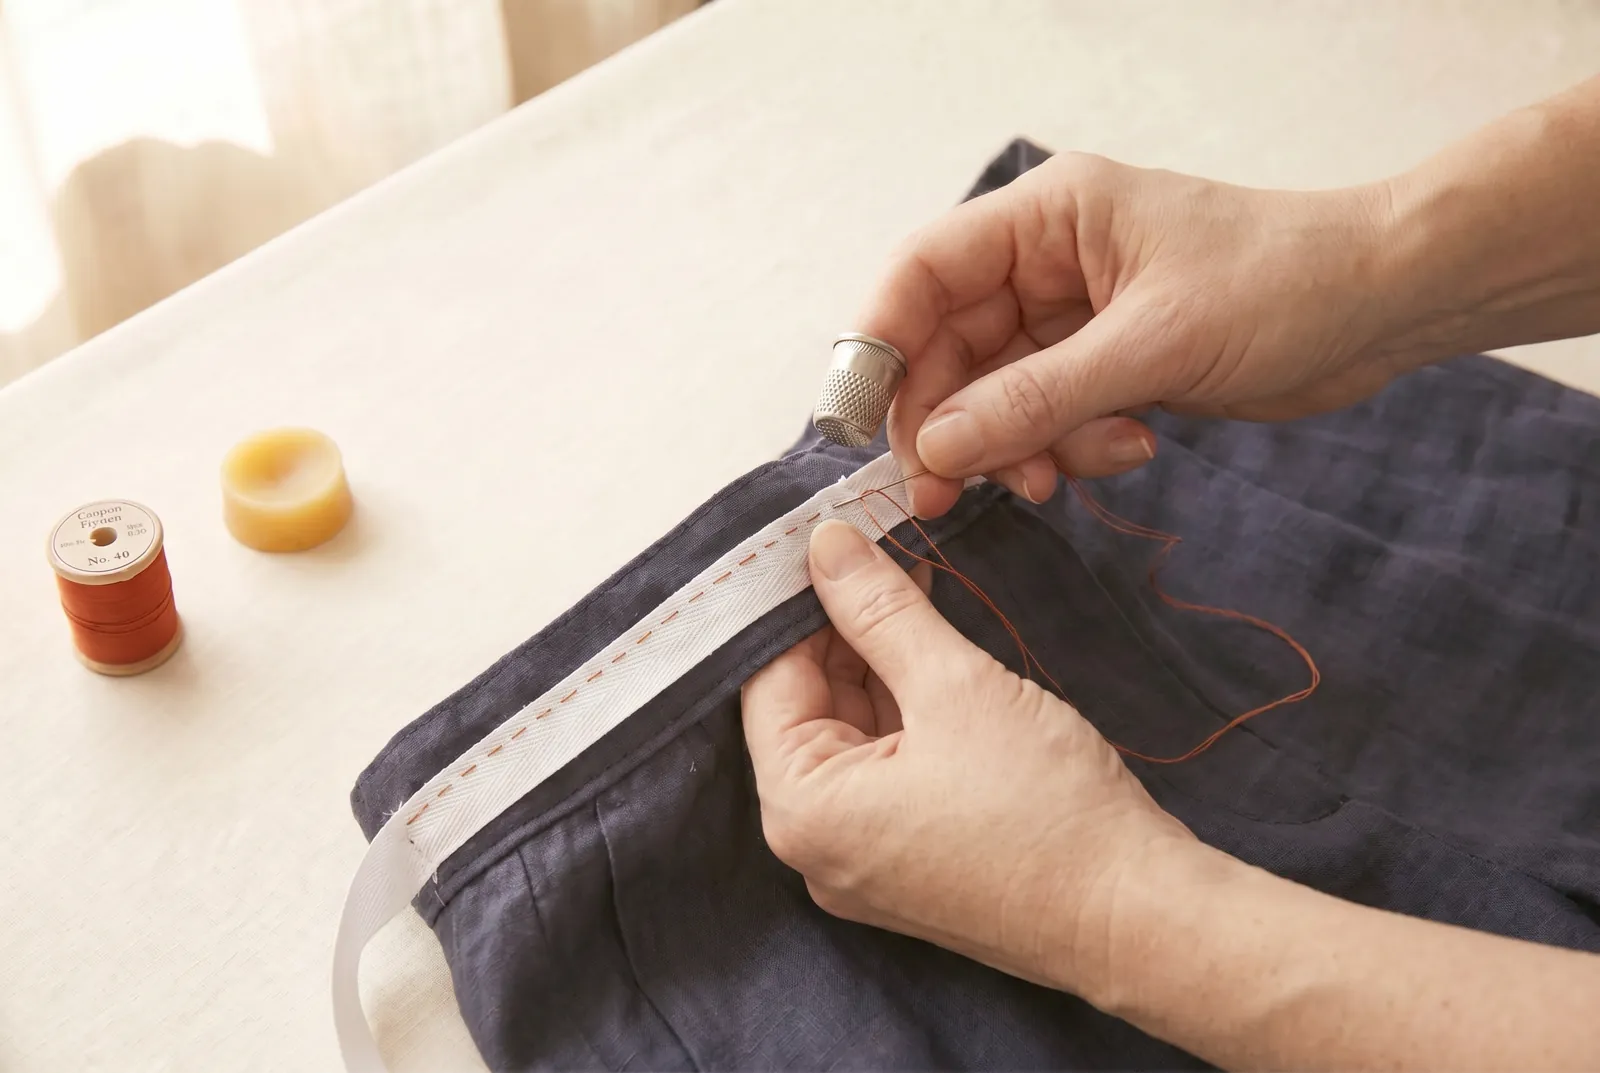
STEP 7/10Along the back, take a row of small running stitches through both the band and the tape, taking up less cloth than you skip, so the gathers sit evenly and stay straight. This holding row keeps the fullness from sliding along the tape once the garment is worn and washed.
Step 8
STEP 8/10Stitch the free end of the tape firmly to the waistband at the second side-seam opening, matching the way you fastened the first end. Bury the knot between the layers of the band so no hard knot shows on the outside or rubs against your skin.
Step 9
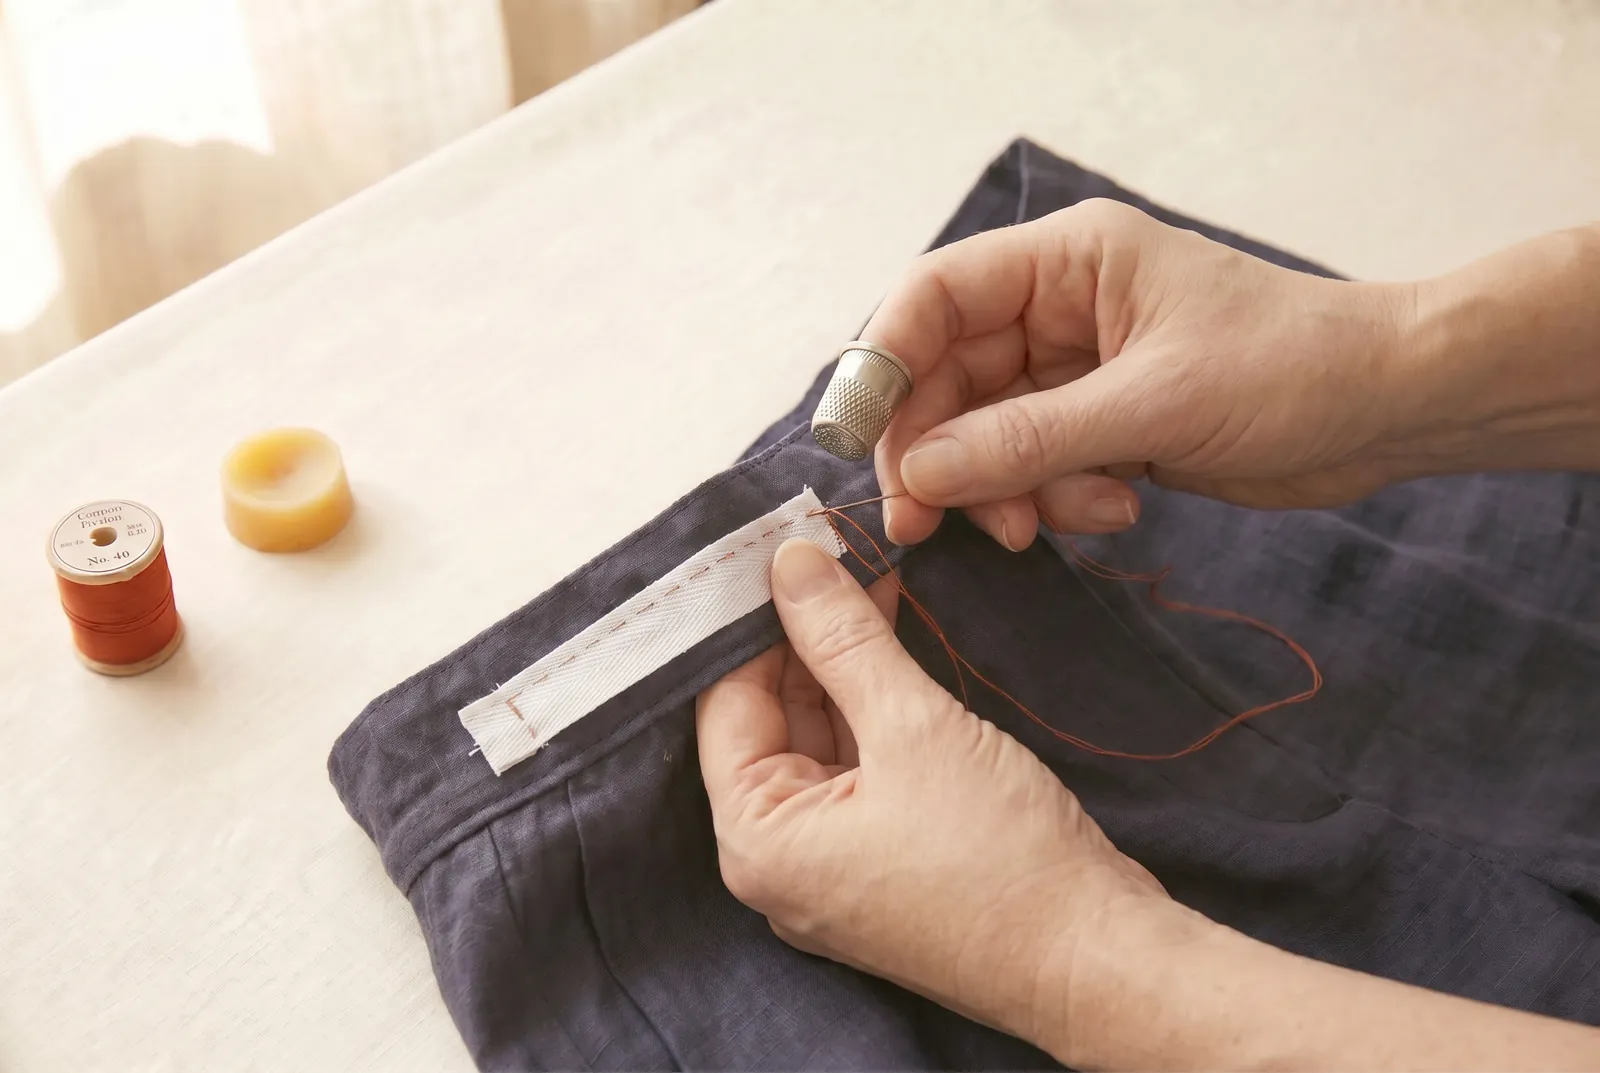
STEP 9/10Turn the raw edge of each side-seam opening under about 3 mm (1/8 in) and stitch it down close to the fold so the opening will not fray. Work both openings the same way.
Step 10
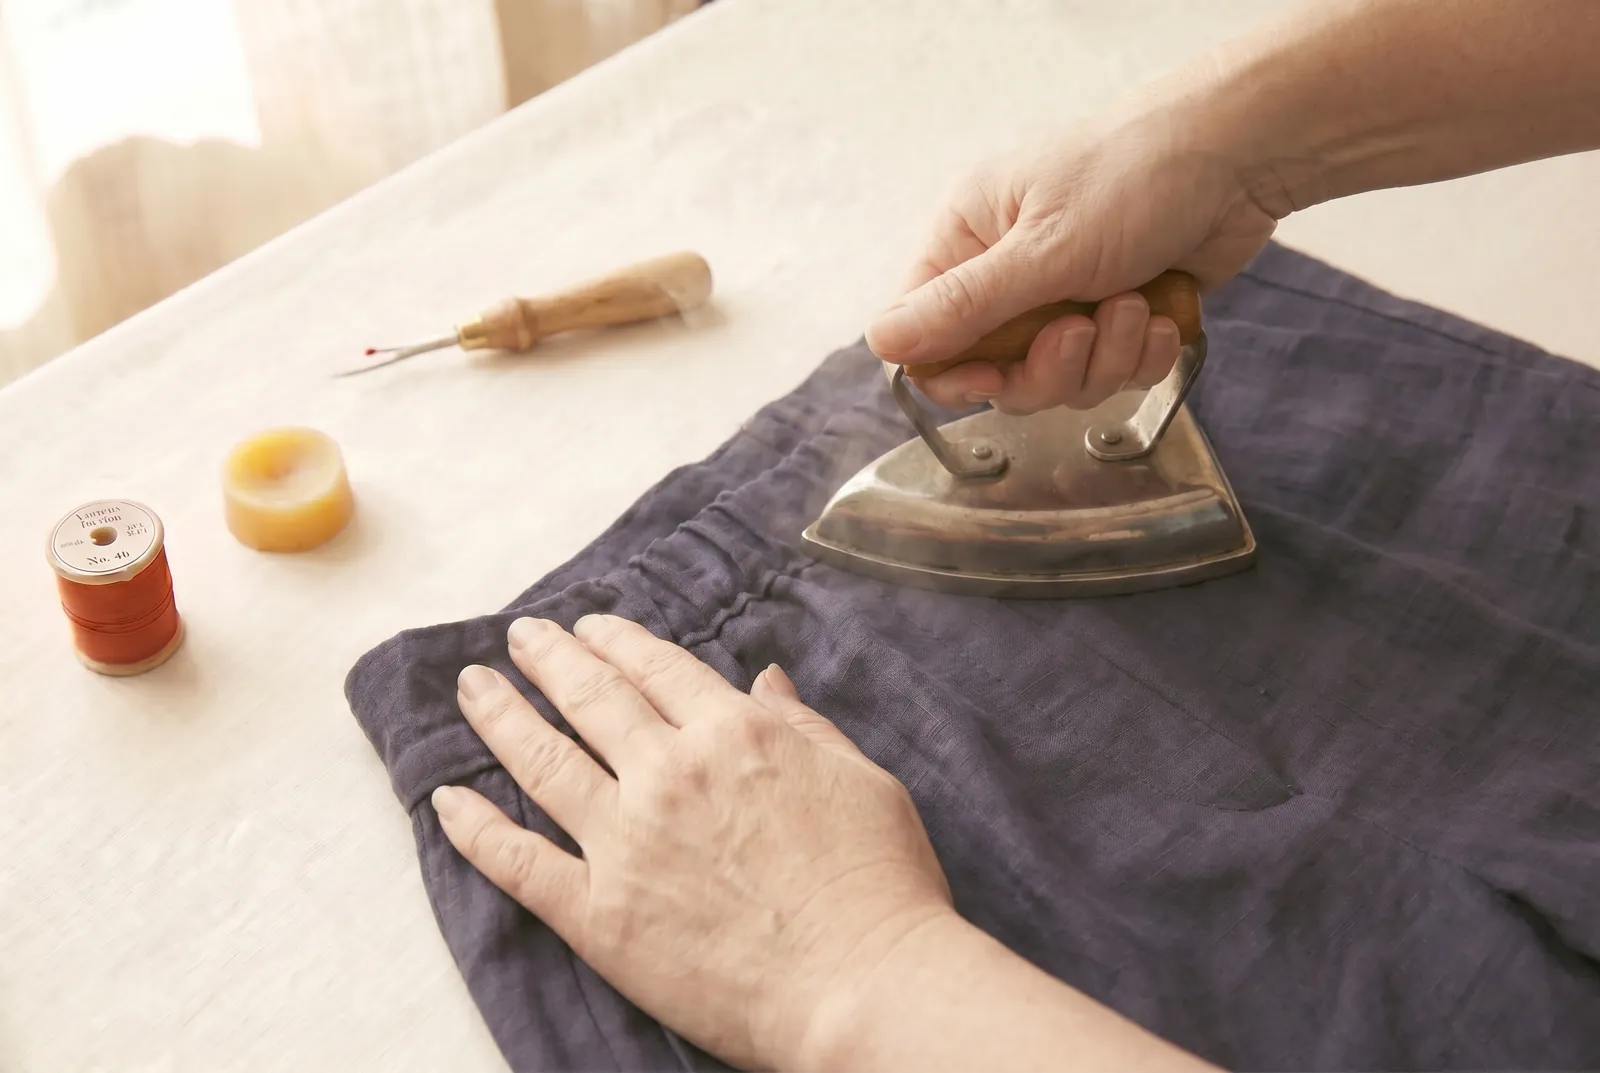
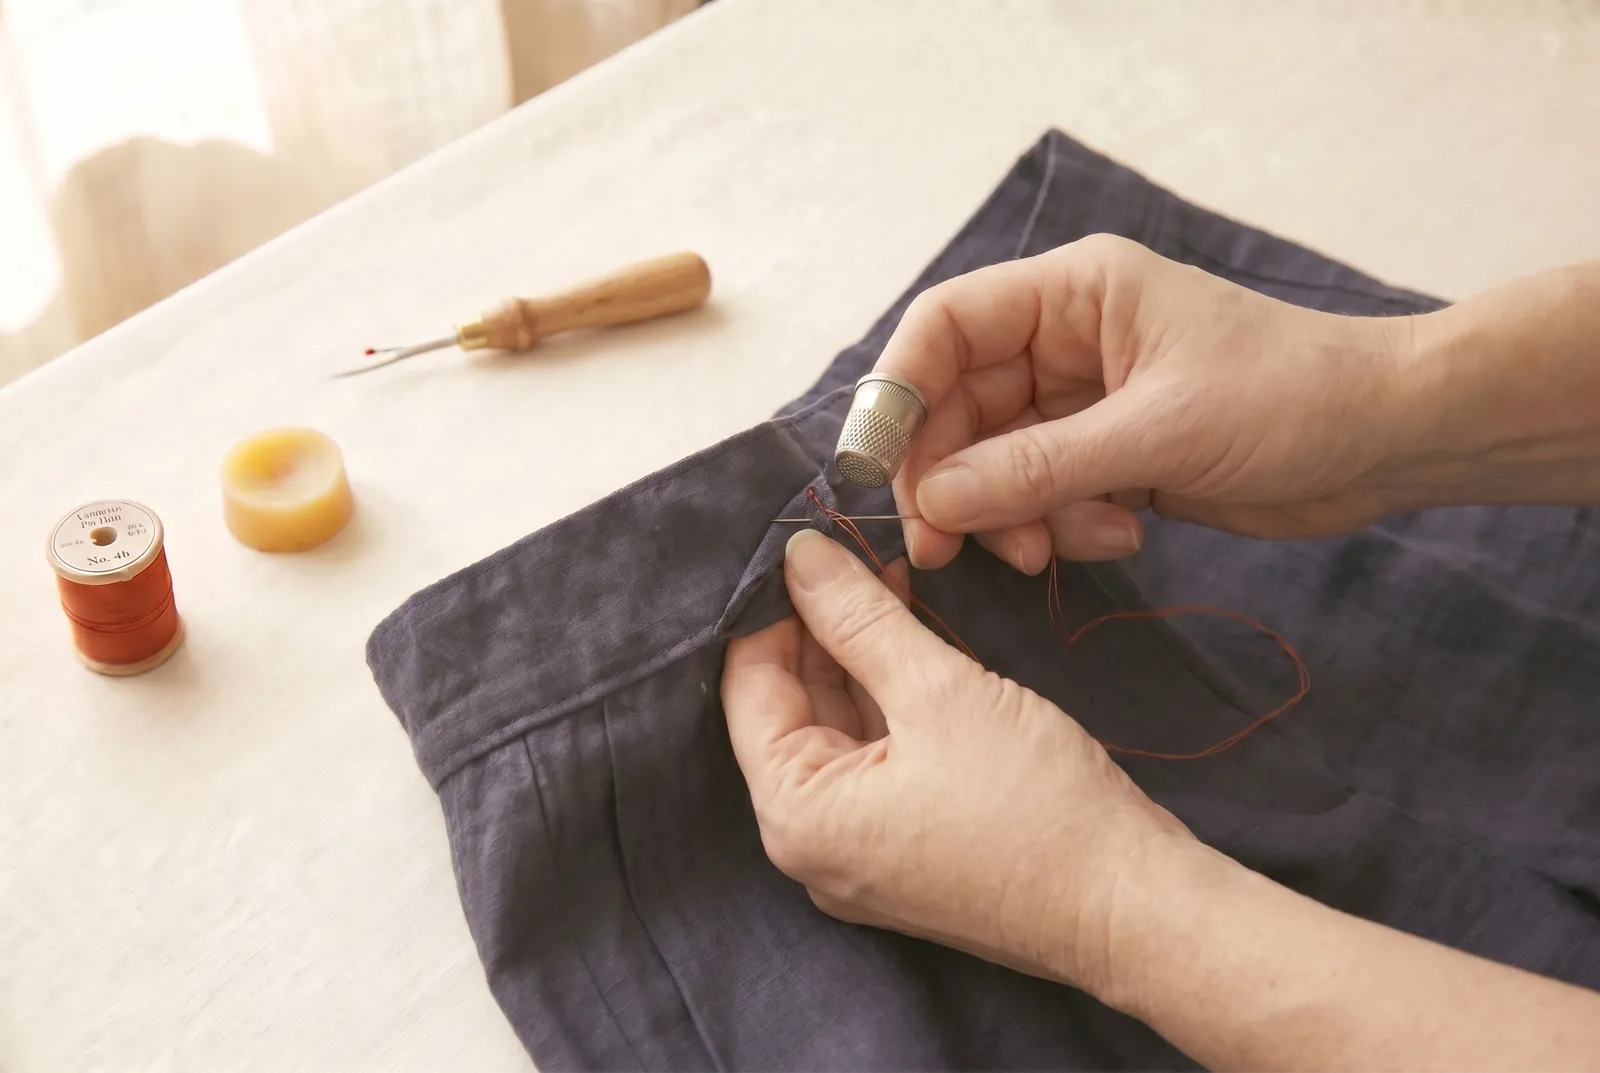
STEP 10/10Press the gathered back flat with a warm iron to set the gathers and settle the tape inside the channel. Let the band cool before you try the garment on so the pressed gathers hold their shape.