Meet Your Machine · piece Nº 04 · 36 min
Stitch and finish a plain machine seam so it lies flat and won't fray
Join two pieces of cloth with a plain machine seam, overcast the raw edges together so they do not fray, and press the seam so it lies flat. A seam prepared, finished, and pressed this way keeps its shape and does not ravel at the edge.
The seam · 6 steps
Step 1
STEP 1/6Straighten the two edges you will join. Near each raw end pick up one crosswise thread, draw it so it gathers the cloth into a puckered line clear across, and cut along that drawn line so the edge follows the grain. Keep the selvage — the tight woven edge down each side — out of the seam, since it draws up and puckers.
Step 2
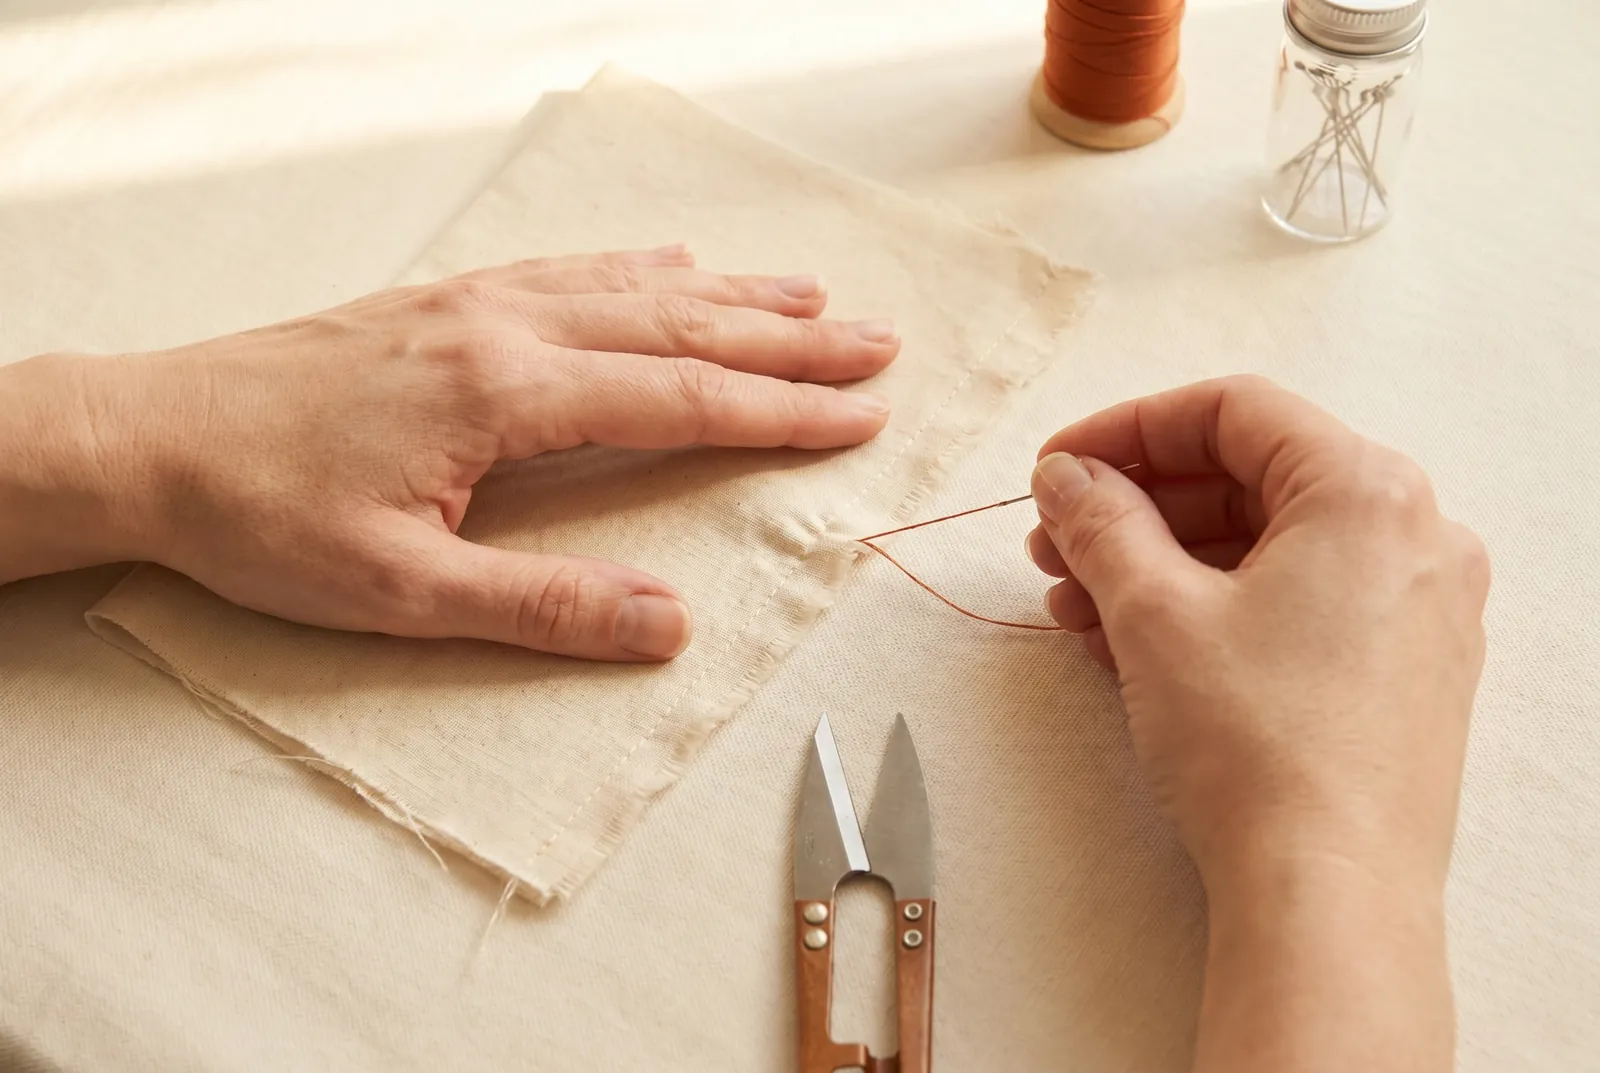
STEP 2/6Ready the machine before you sew. Match the thread to the cloth (cotton No. 40 to No. 70 for medium cotton or linen) and the needle to the thread: a needle too fine for the thread frays and breaks it, and a bent or blunt needle cuts the cloth the length of the seam, so change a dull one. Clear any lint packed under the needle plate, the commonest cause of a machine that runs hard and breaks thread.
Step 3
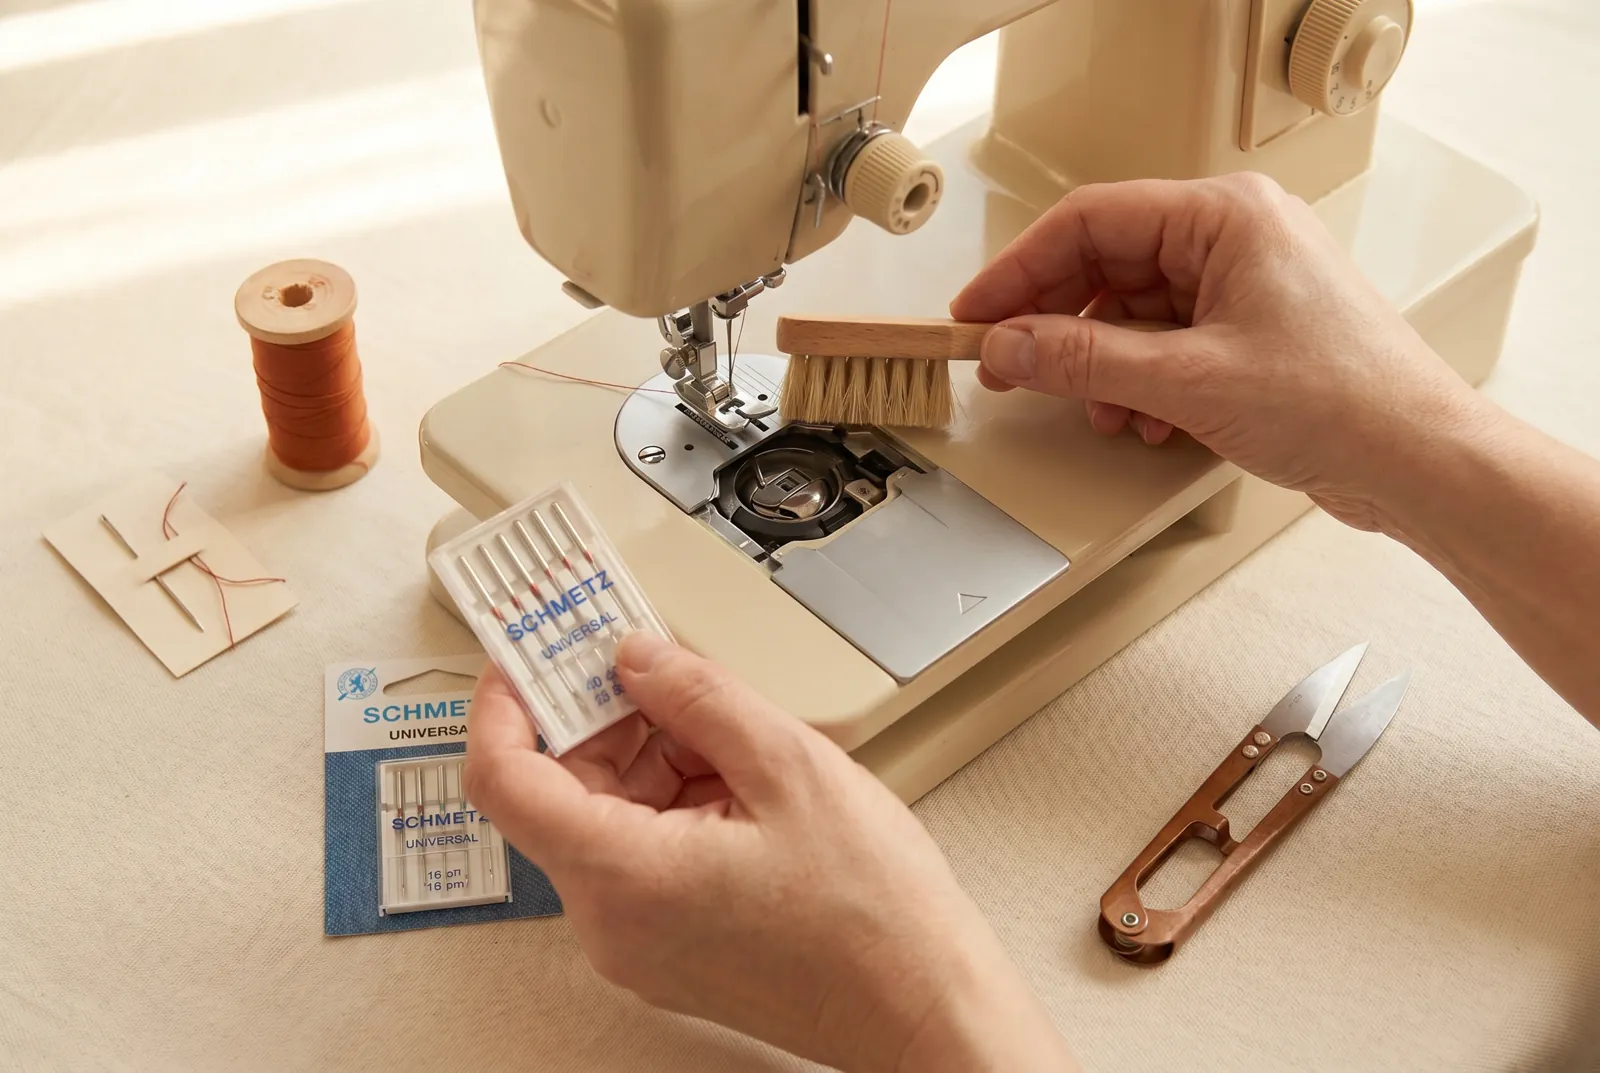
STEP 3/6Lay the two pieces together with the straightened edges even, one directly over the other. Pin across the edge every 5 to 8 cm (2 to 3 in) so the layers cannot shift under the presser foot and the stitching wander. If the cloth is slippery, first baste the layers with a line of long hand stitches, since pins alone let smooth goods slide.
Step 4
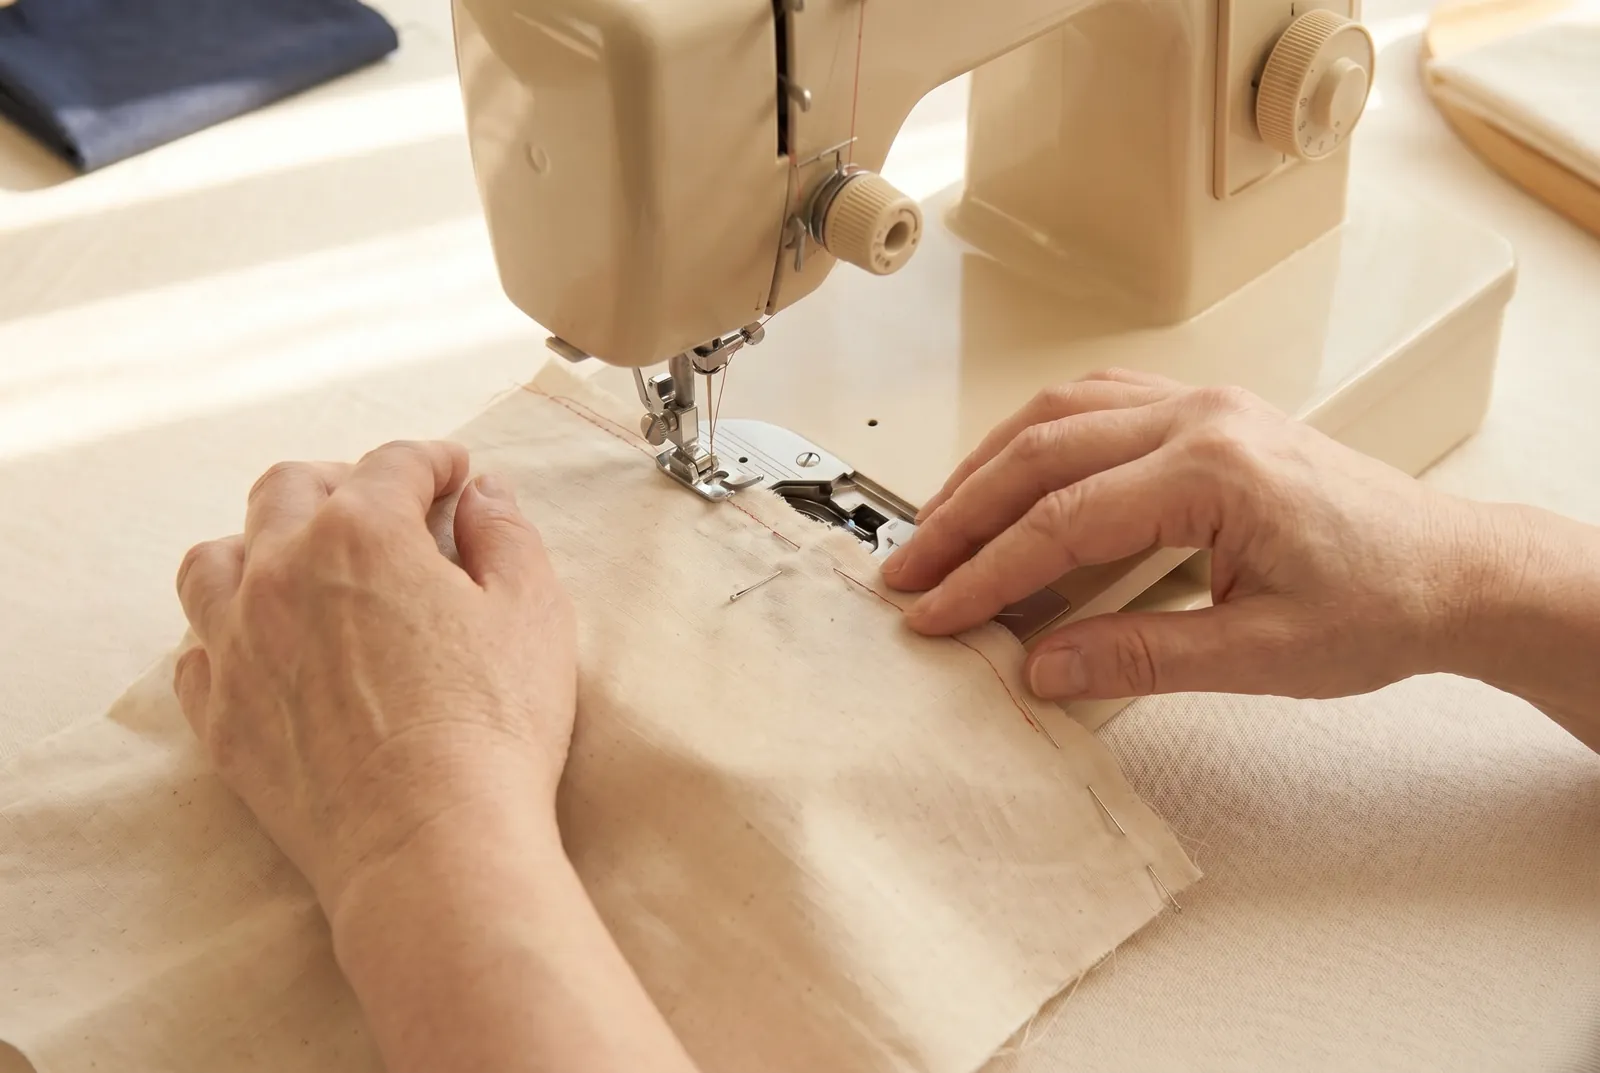
STEP 4/6Stitch a straight line the length of the seam, holding it an even 2 cm (3/4 in) in from the matched edges. Guide the cloth with both hands so the line stays straight and the layers feed together, and take out each pin before the needle reaches it. If either edge is cut on the bias — running diagonally across the weave — it will stretch as you sew, so ease it in and do not pull it.
Step 5
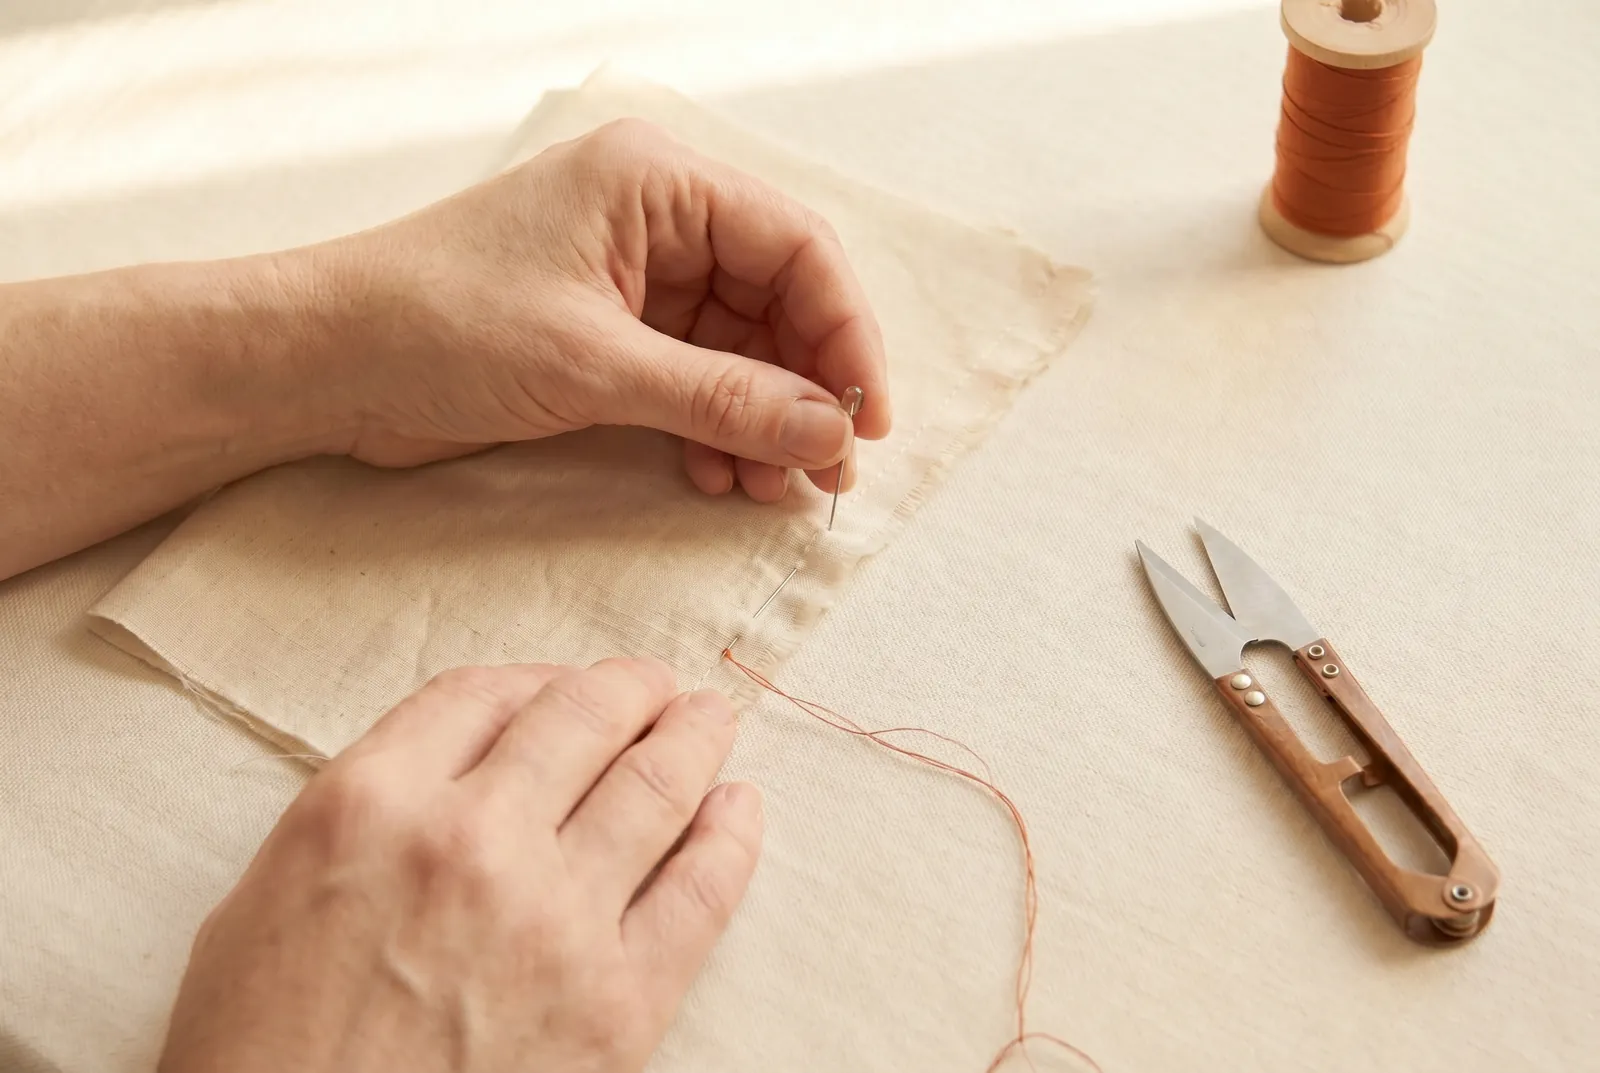
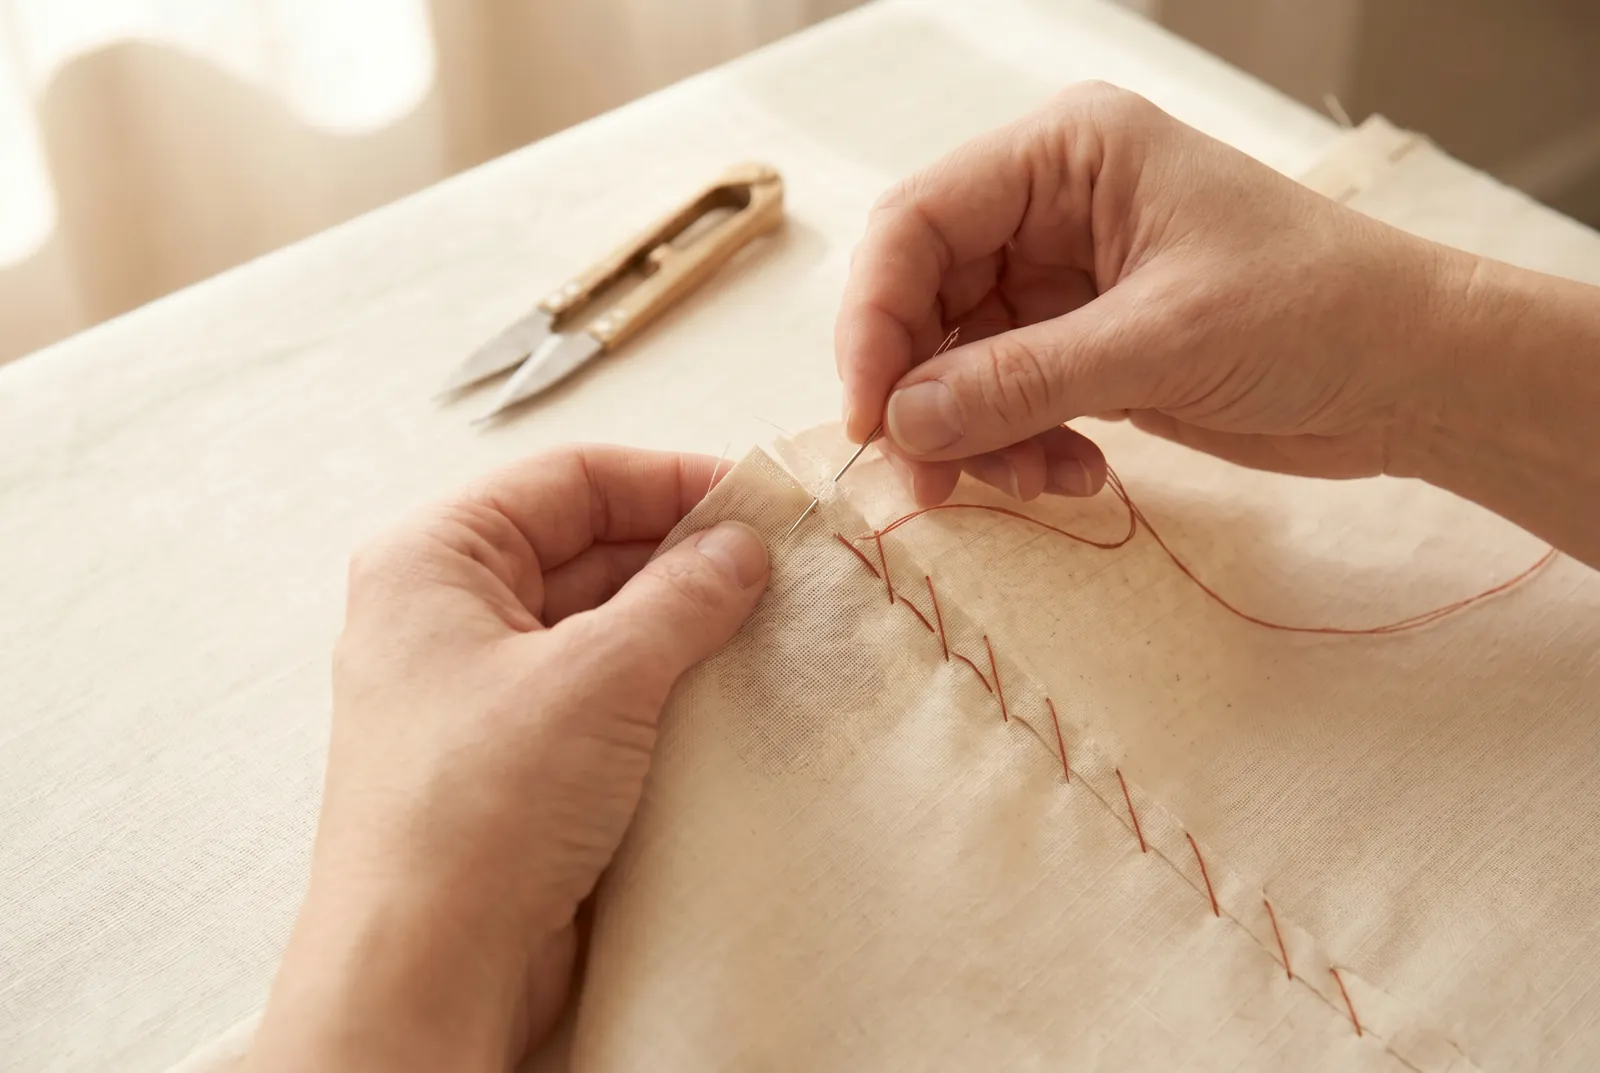
STEP 5/6Close the two raw edges against fraying by overcasting them together: work a row of slanting stitches that each pass over the edge and through both layers, spaced evenly so the cut threads are caught down. Overcasting both edges as one is the finish for a plain seam and sets well on curves, where a folded finish sets badly.
Step 6
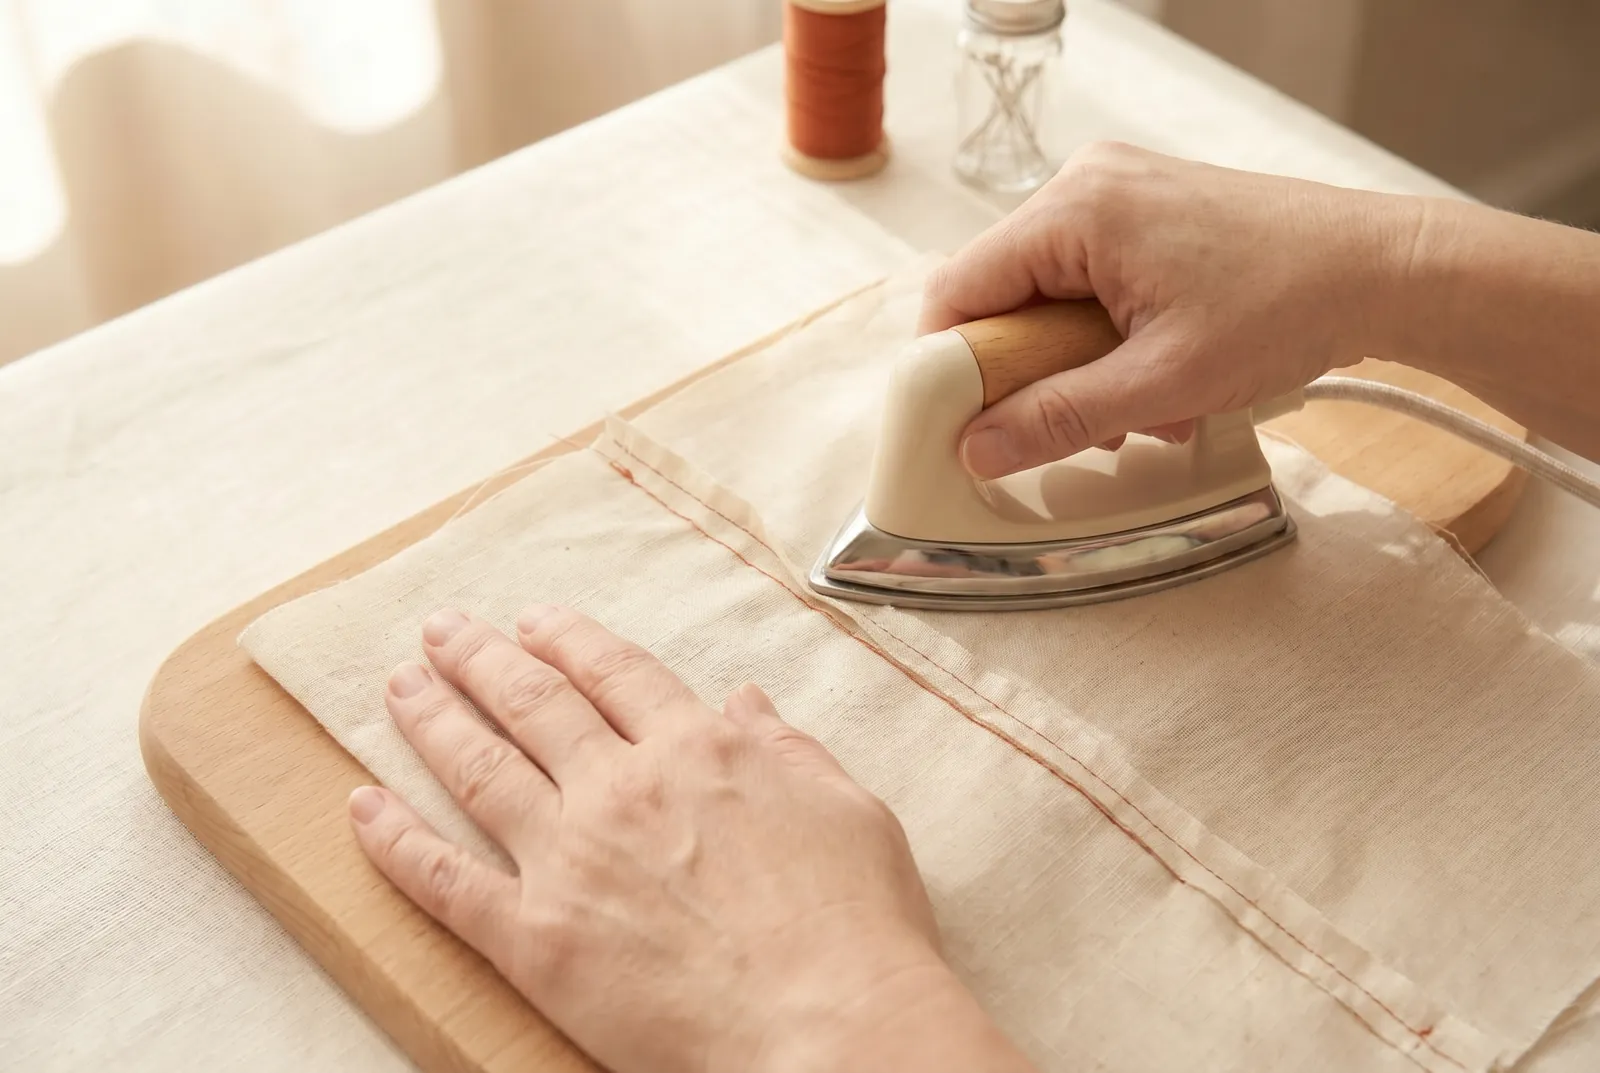
STEP 6/6Press the seam before any other seam crosses it, since a seam once crossed can never be pressed flat afterward. Lay the work wrong side up on the board, open the seam with your fingers or the point of the iron, and press along the stitched line — open, or with both edges laid to one side, as the piece requires. Suit the iron to the cloth: cotton and linen take a hot iron and may be pressed damp, wool goes under a dampened press cloth with the iron set down and lifted rather than slid, and silk is pressed dry under a dry cloth with a moderate iron.