Sustainable Basics · piece Nº 42 · 36 min
Prepare your tools and press by fiber before sewing
Before you cut or stitch, ready the handful of tools a seam needs and learn to match your iron to the cloth, so each press leaves the fabric flat and clean instead of scorched or shined. This preparation keeps a first project from being ruined by a bent needle or a bare-iron shine on wool.
The seam · 6 steps
Step 1
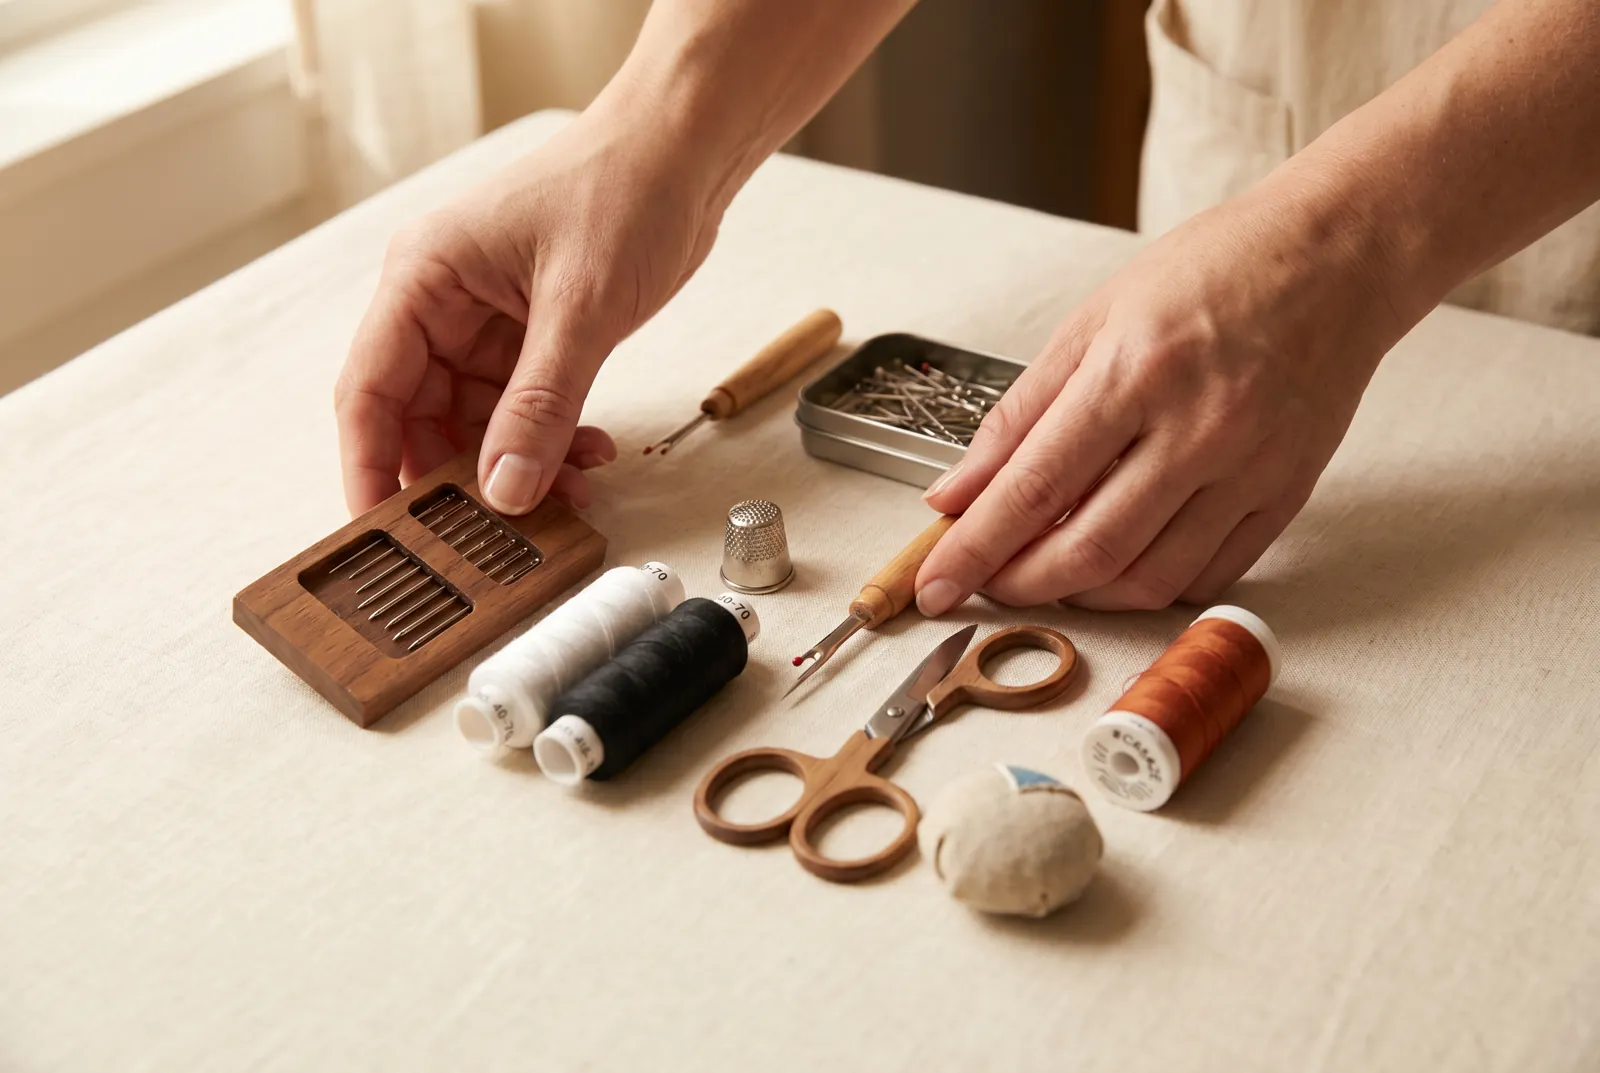
STEP 1/6Set out the few tools a seam needs before you thread a needle: sharps needles from No. 5 to No. 10, cotton sewing thread in white and black from No. 40 to No. 70, a thimble, a small sharp scissors, a seam ripper or small blade, and pins. Keep the needles in a case, and keep an emery ball at hand to clean rust off any that have gone rusty.
Step 2
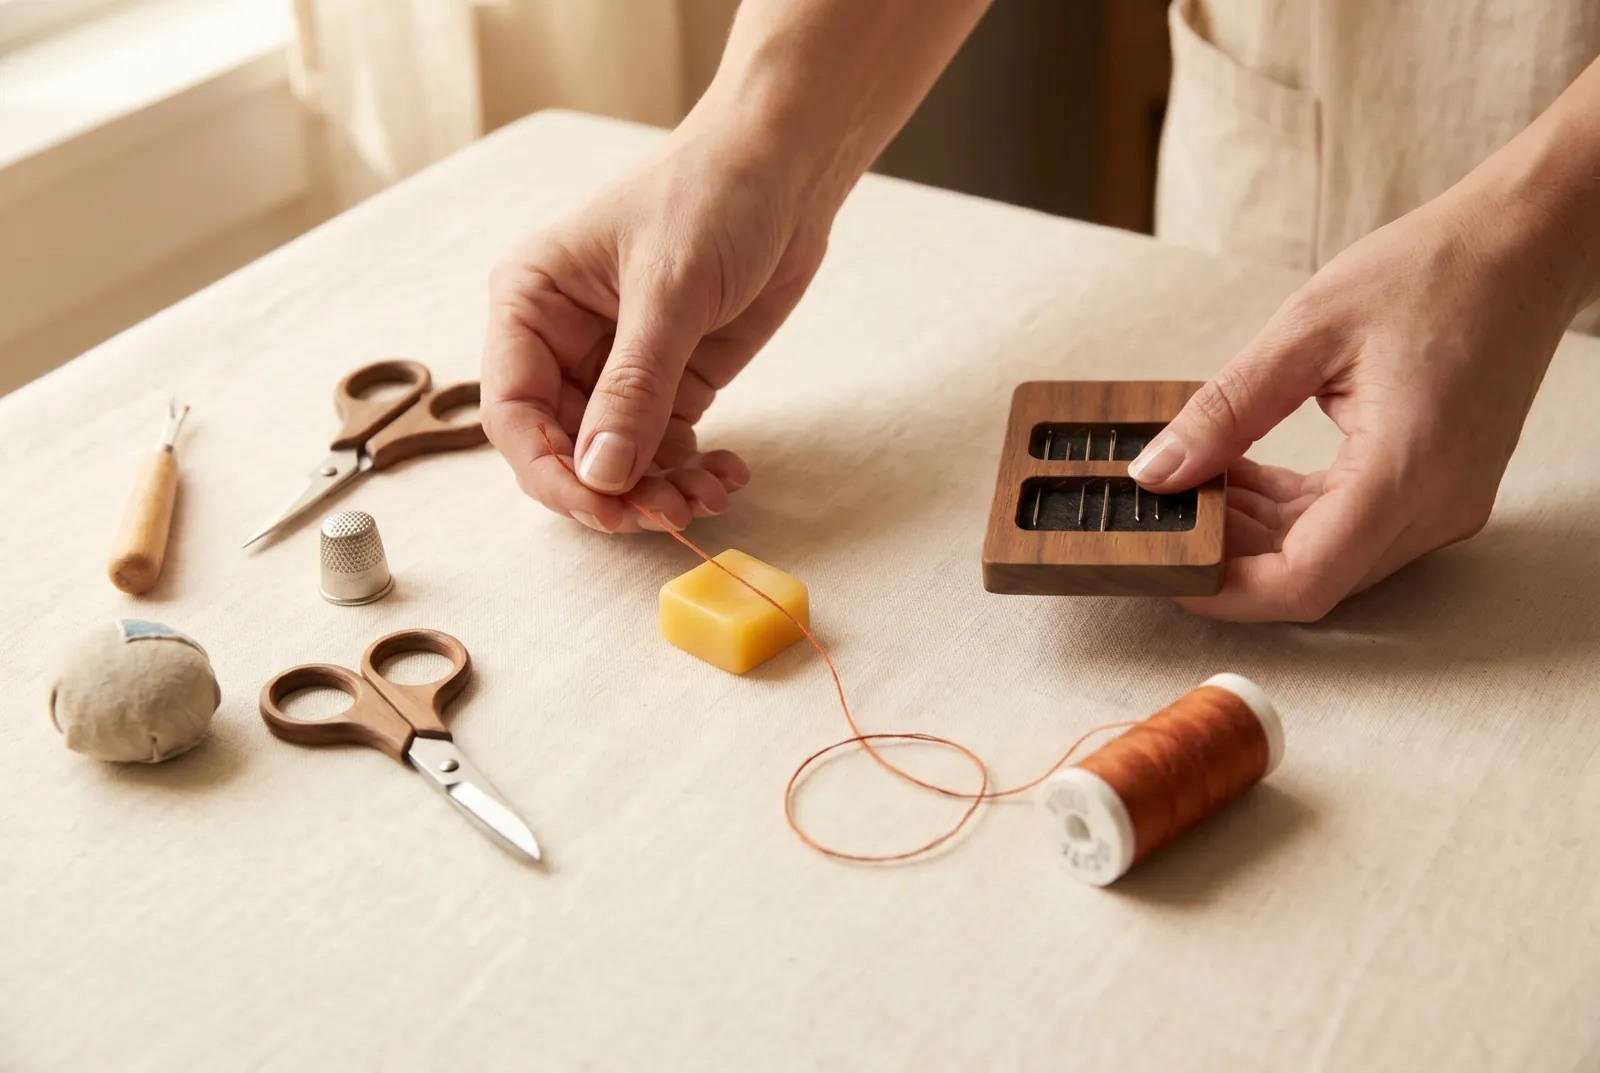
STEP 2/6Match the thread to the cloth, then the needle to the thread: choose a cotton thread suited to the goods, and a needle suited to that thread. A needle too fine for its thread frays and breaks it as you sew, so let the thread guide which needle you pick. Where a seam will bear strain, draw the thread once across a lump of beeswax to strengthen it.
Step 3
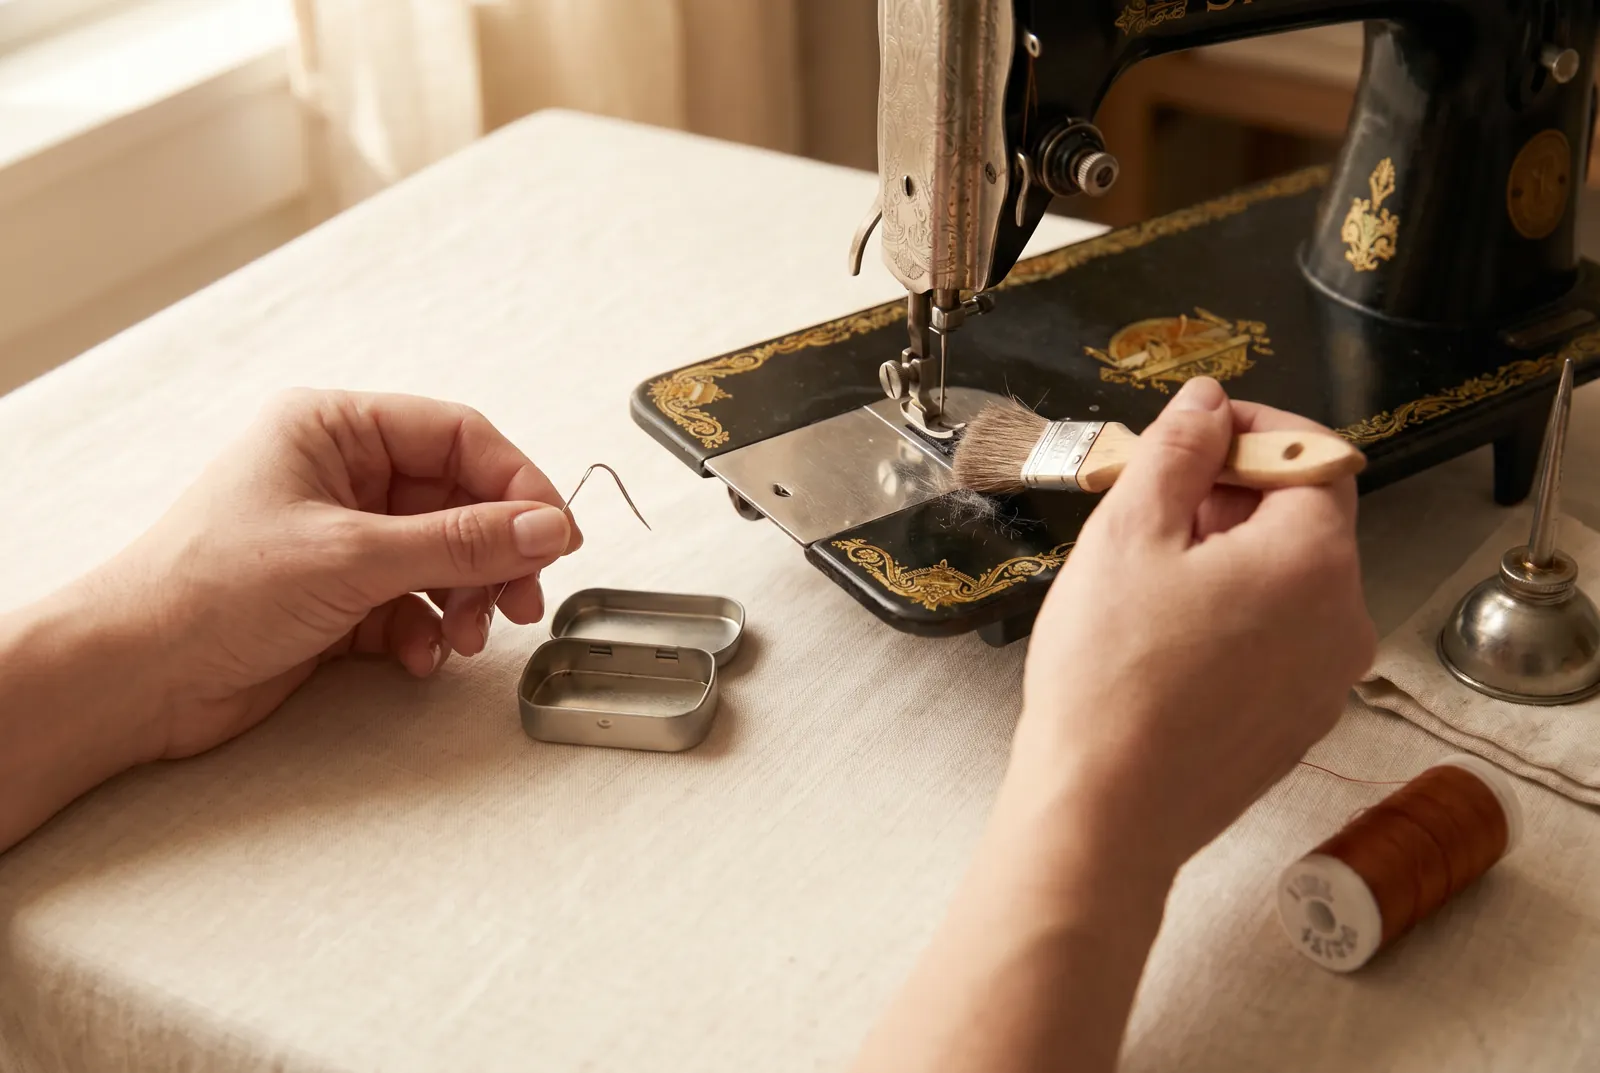
STEP 3/6Before the first stitch, throw out any bent or blunted needle, because a bent or blunted needle cuts the goods along the whole seam. If you sew by machine, keep it dusted and oiled as its book directs and clear the lint packed under the needle plate, the commonest cause of hard running and broken thread.
Step 4
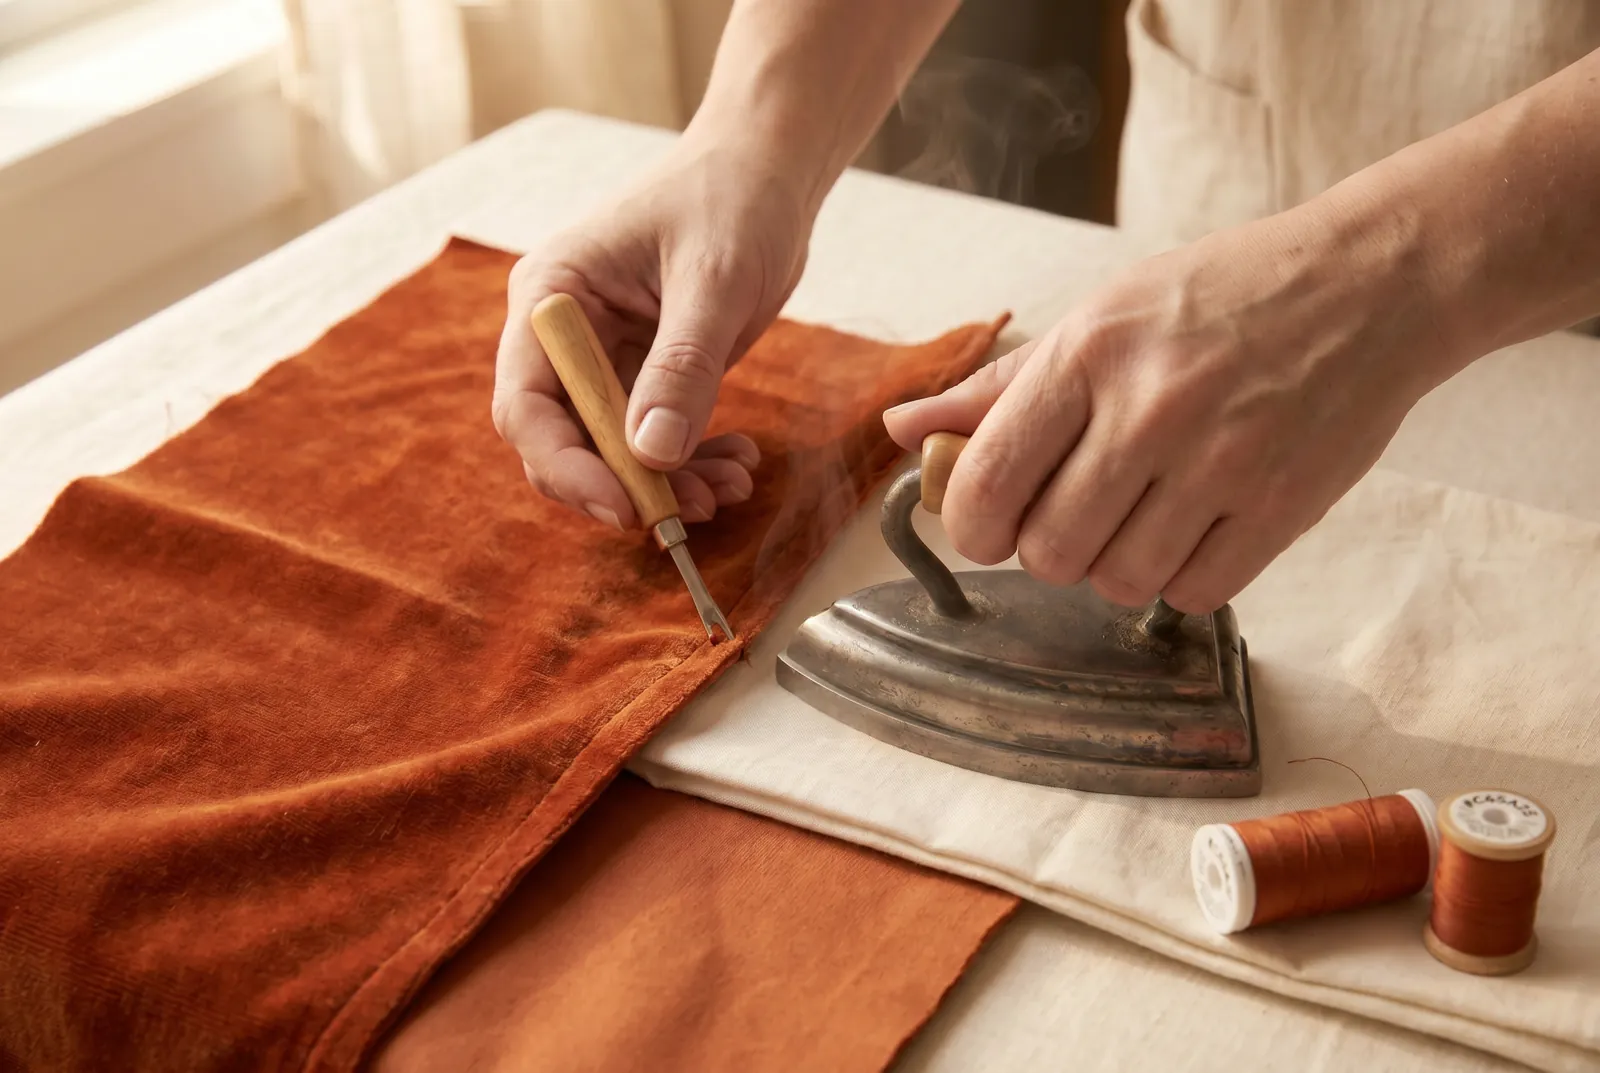
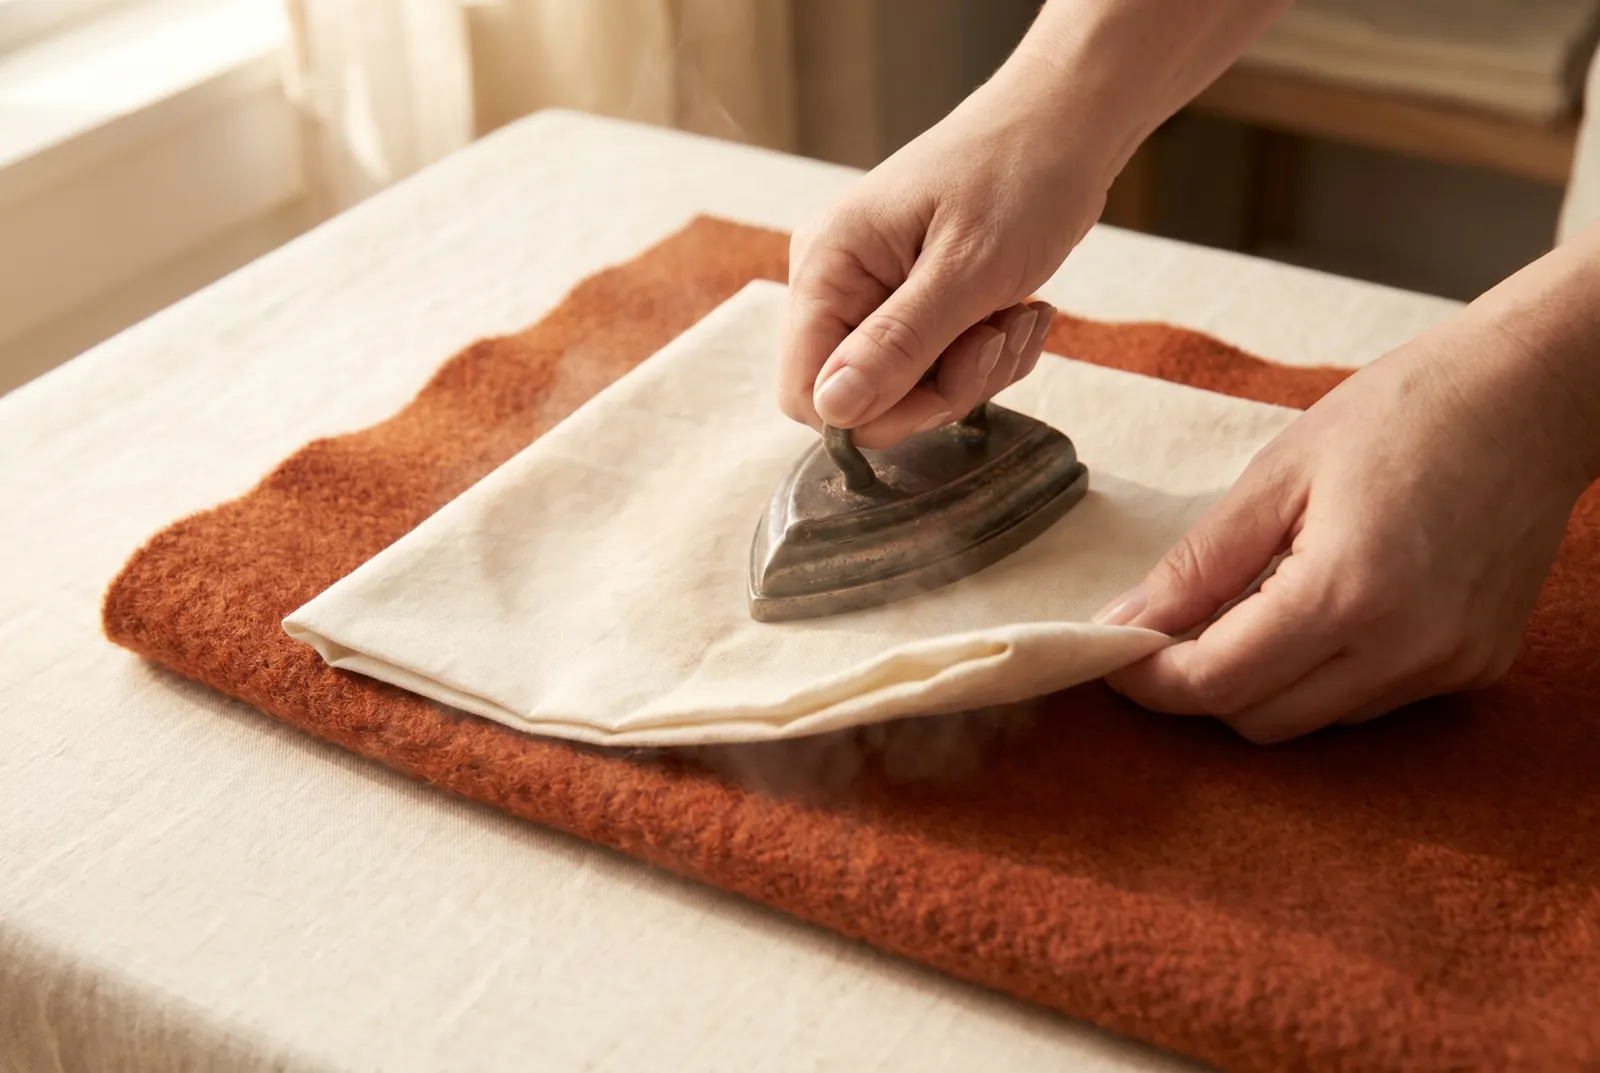
STEP 4/6Suit the iron to the fiber before you press. Cotton and linen bear a hot iron and may be pressed damp, directly on the cloth. Wool scorches and grows shiny under a hot iron used bare, so press it under a dampened press cloth of firm cotton, setting the iron down and lifting it rather than sliding it; never press wool until it is bone dry, or it will shine.
Step 5
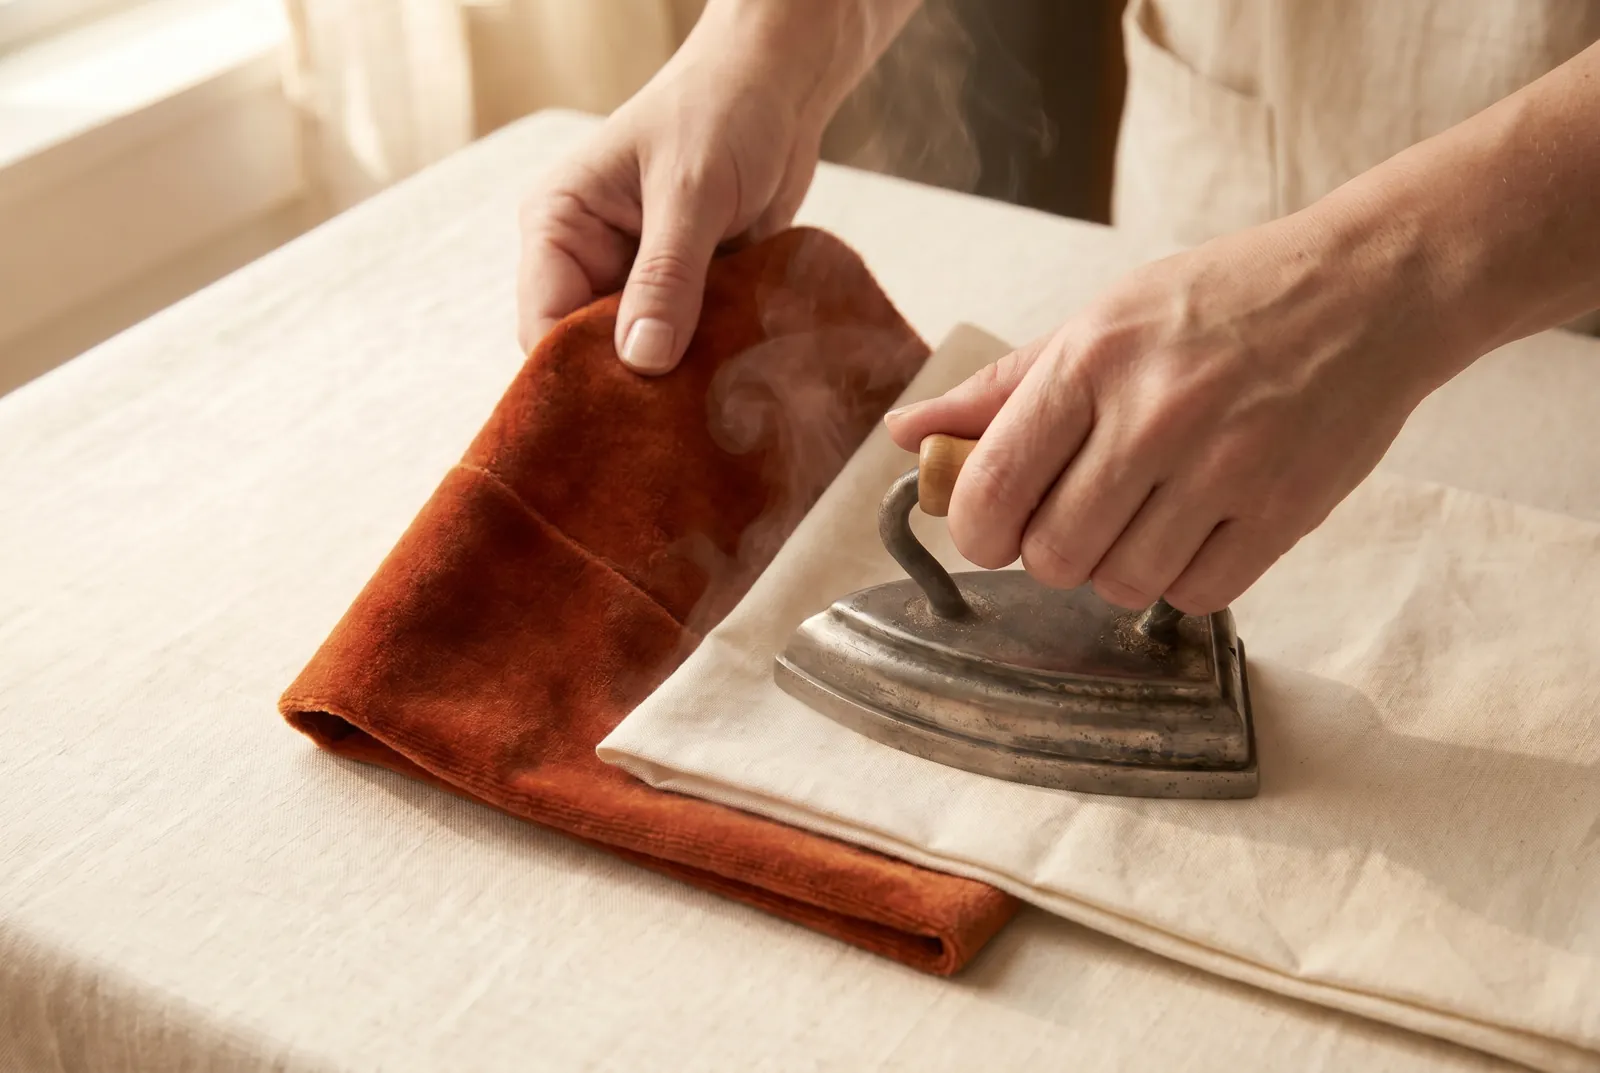
STEP 5/6Handle silk and pile goods differently. Silk water-spots, so press it dry, under a dry cloth, with a moderate iron, with no dampening. Velvet and other pile goods cannot be pressed flat at all; steam them instead, drawing the seam back and forth above the face of a hot iron under a wet cloth.
Step 6
STEP 6/6Press each seam as soon as it is sewed, and always before another seam crosses it, because a seam once crossed can never afterward be pressed flat. Lay the work wrong side up on the board, open the seam with your fingers or the point of the iron, and press along the line.