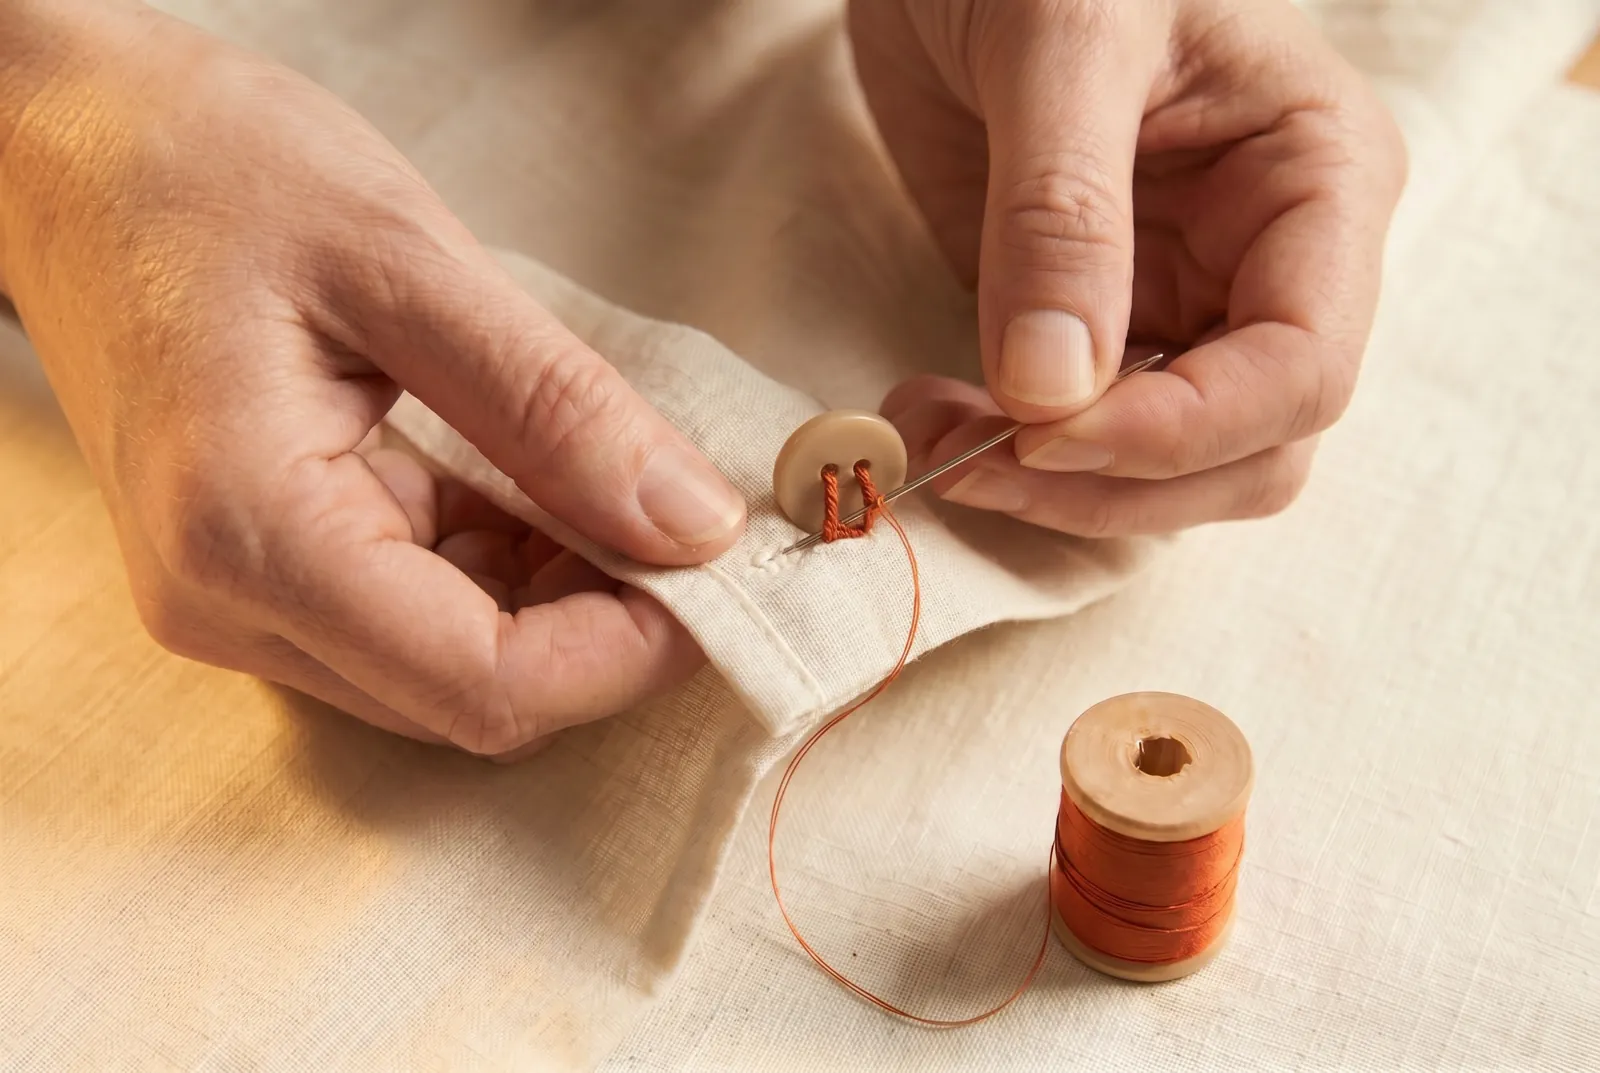
Everyday Mending · piece Nº 40 · 42 min
Sew on a two-hole button so the closing hangs straight
Replace a missing or loose two-hole button and set it exactly where the buttonhole falls, so the closing hangs straight instead of pulling crooked. You mark the spot from the buttonhole, sew a firm bar of thread through both holes, and wind a short shank so the button has room to sit under the buttonhole lap when the closing is fastened.
The seam · 7 steps
Step 1
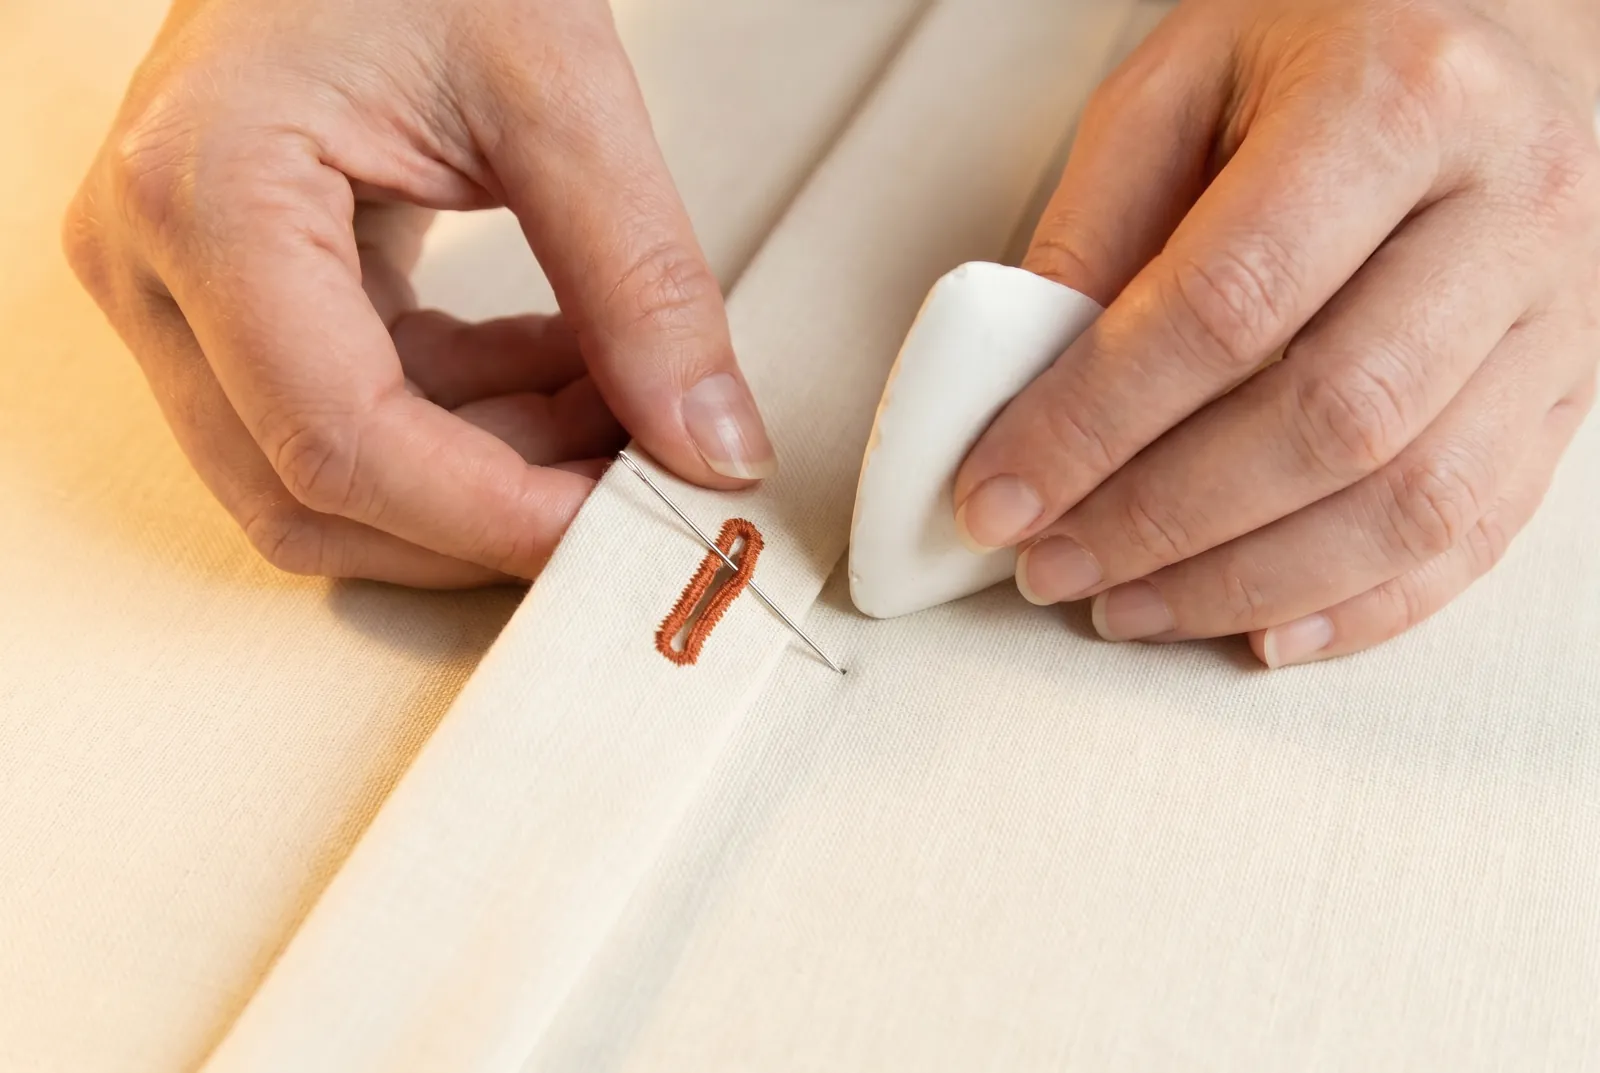
STEP 1/7Lap the closing the way it will be worn and pass a pin straight down through the outer end of the buttonhole. Mark the point where the pin meets the cloth underneath with a chalk dot or a cross of two pins; this is where the button goes. A button set by guess draws the closing crooked, so mark before you sew.
Step 2
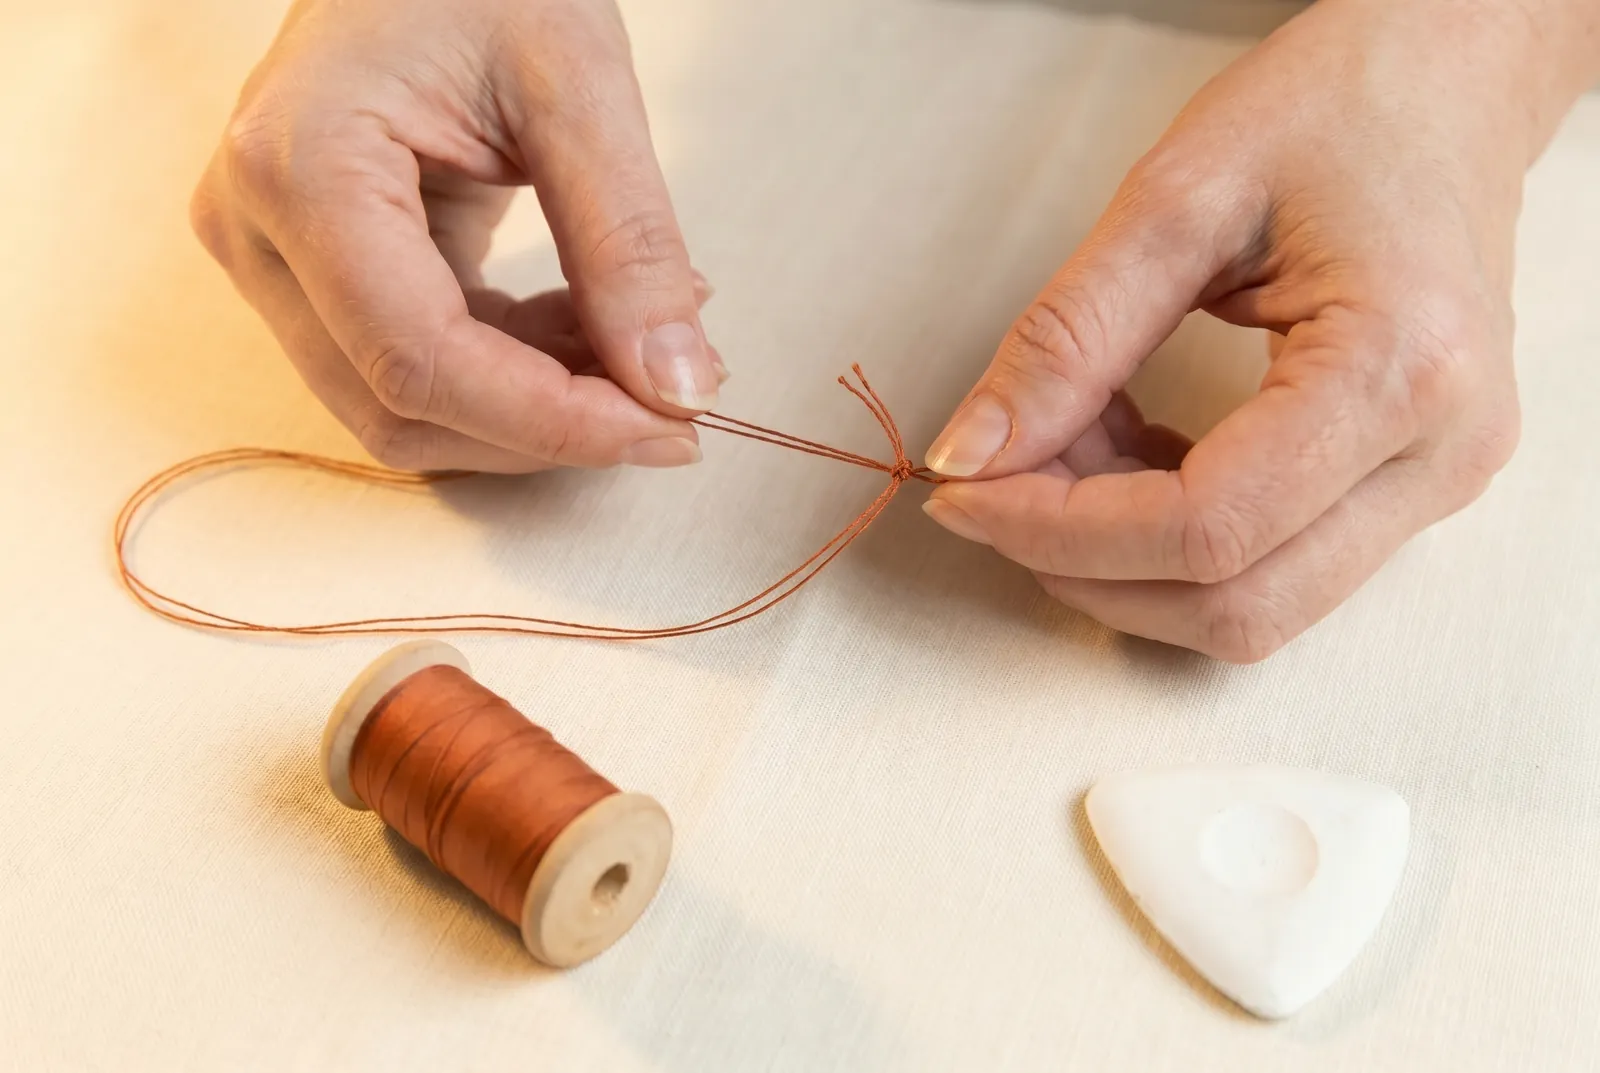
STEP 2/7Cut about 60 cm (24 in) of strong thread, fold it in half, and knot the two cut ends together so you are sewing with a doubled strand.
Step 3
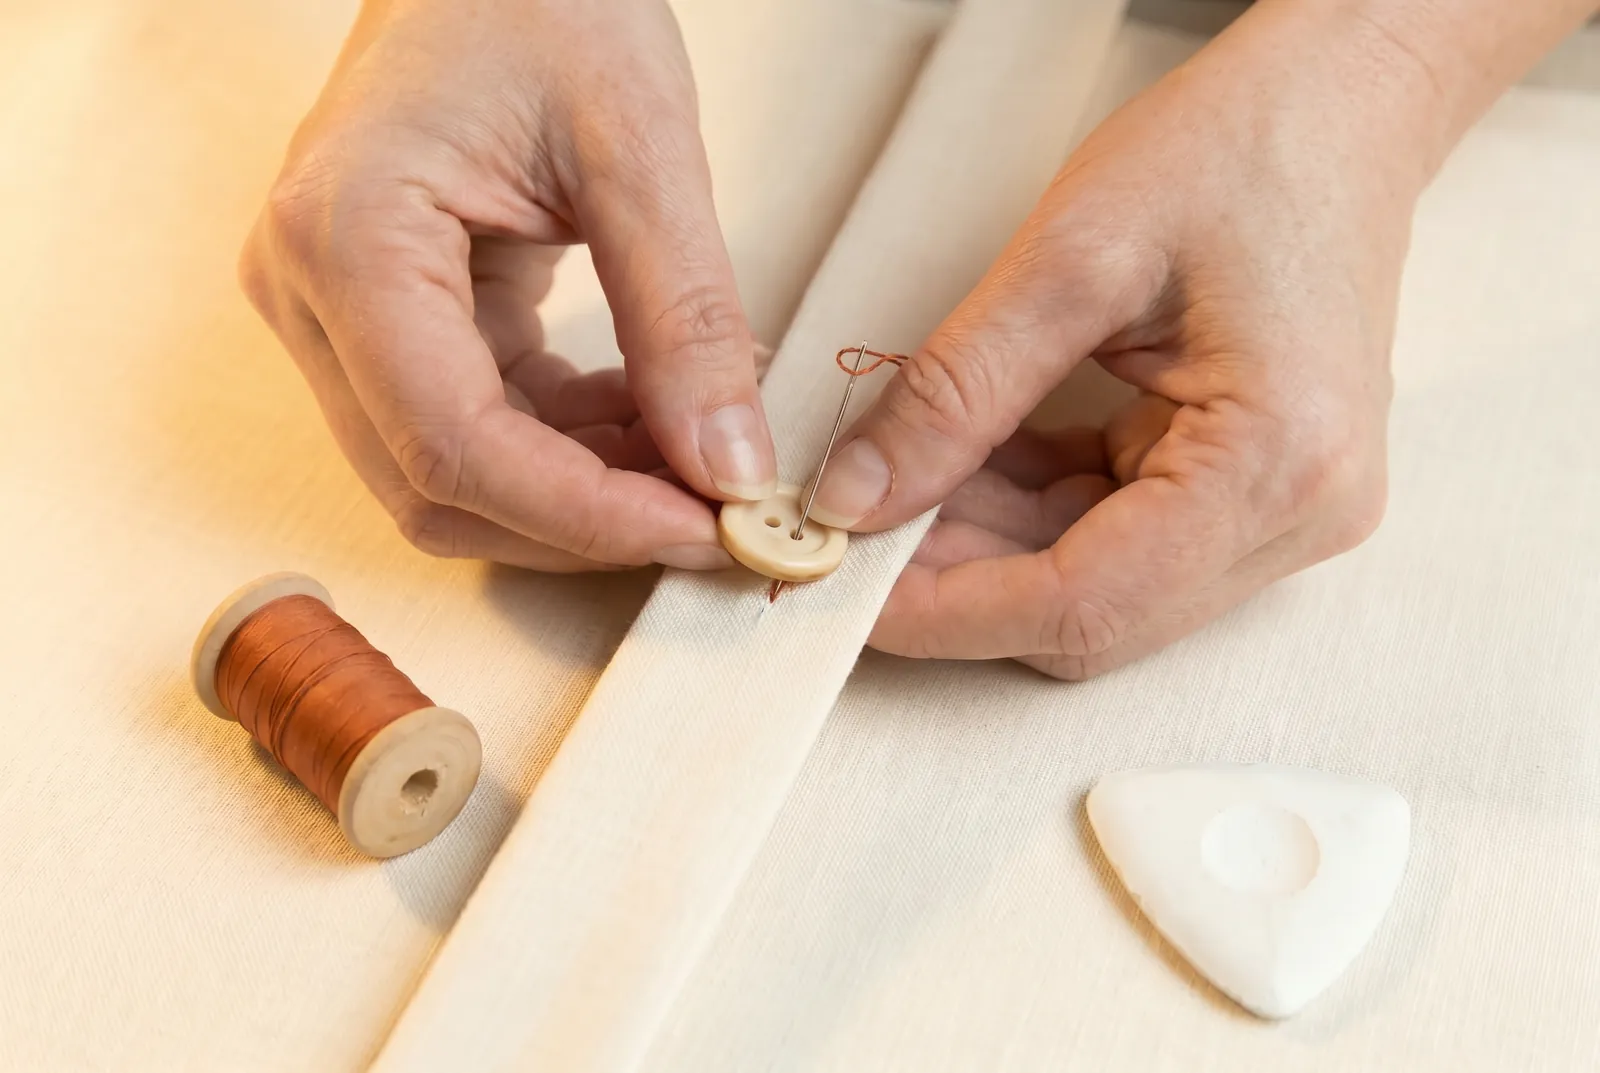
STEP 3/7Hold the button over your mark. Bring the needle up from the right side of the cloth with a small stitch exactly on the marked point, so the starting knot lands under the button where it will be hidden, then pass the needle up through one of the two holes.
Step 4
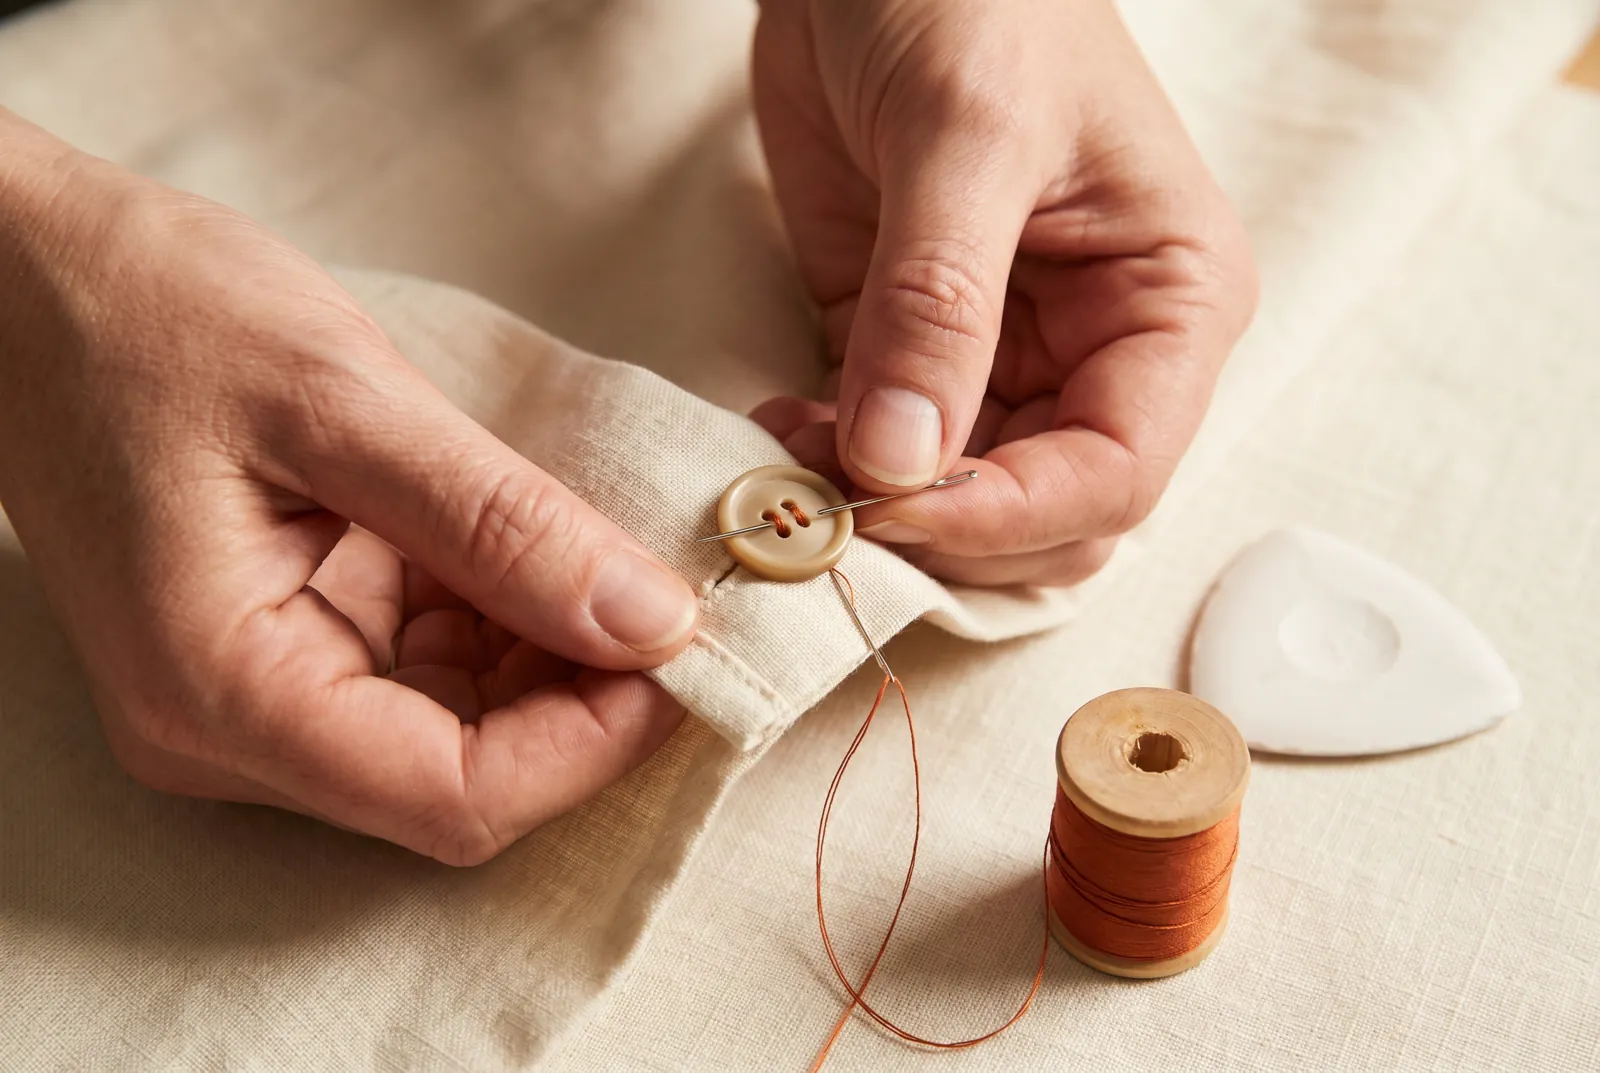
STEP 4/7Lay a pin flat across the top of the button, resting over both holes. Your next stitches will pass over this pin.
Step 5
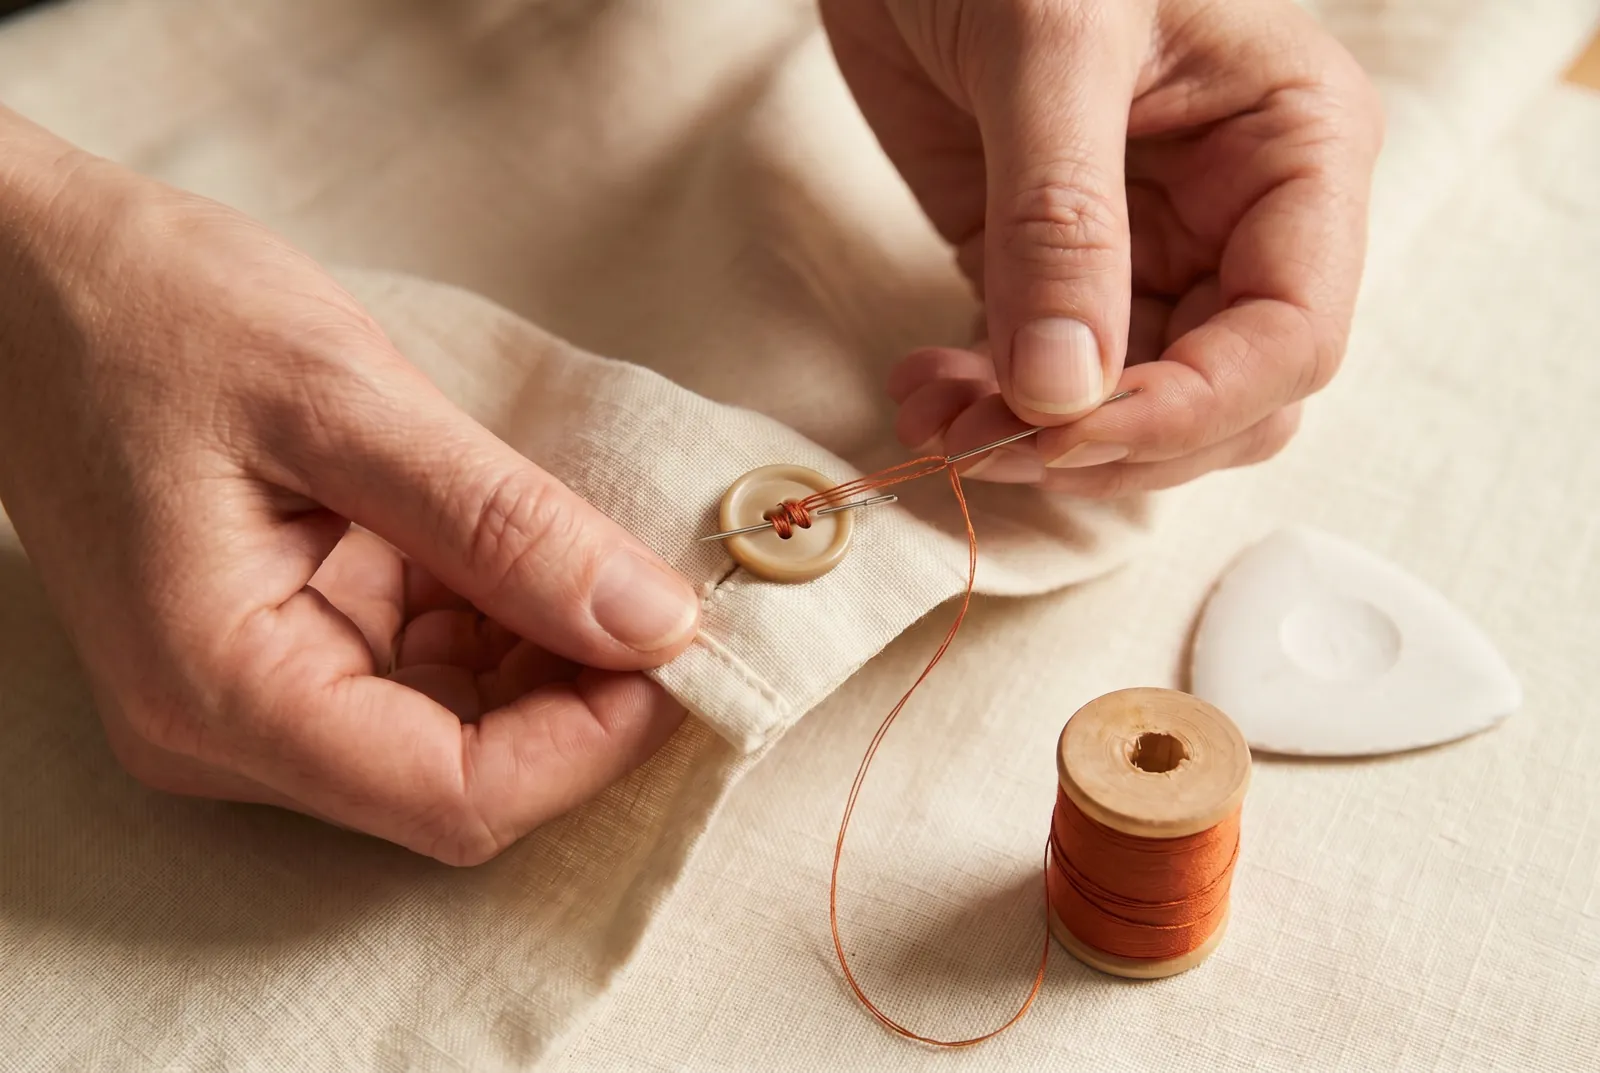
STEP 5/7Sew the bar: take the needle down through the second hole and through the cloth, then up again through the first hole, each pass crossing over the pin, until six or eight stitches lie in the bar. Keep the bar of thread running the same direction as the buttonhole slit, so the strain comes along the whole bar and the button rides in the hole without twisting.
Step 6
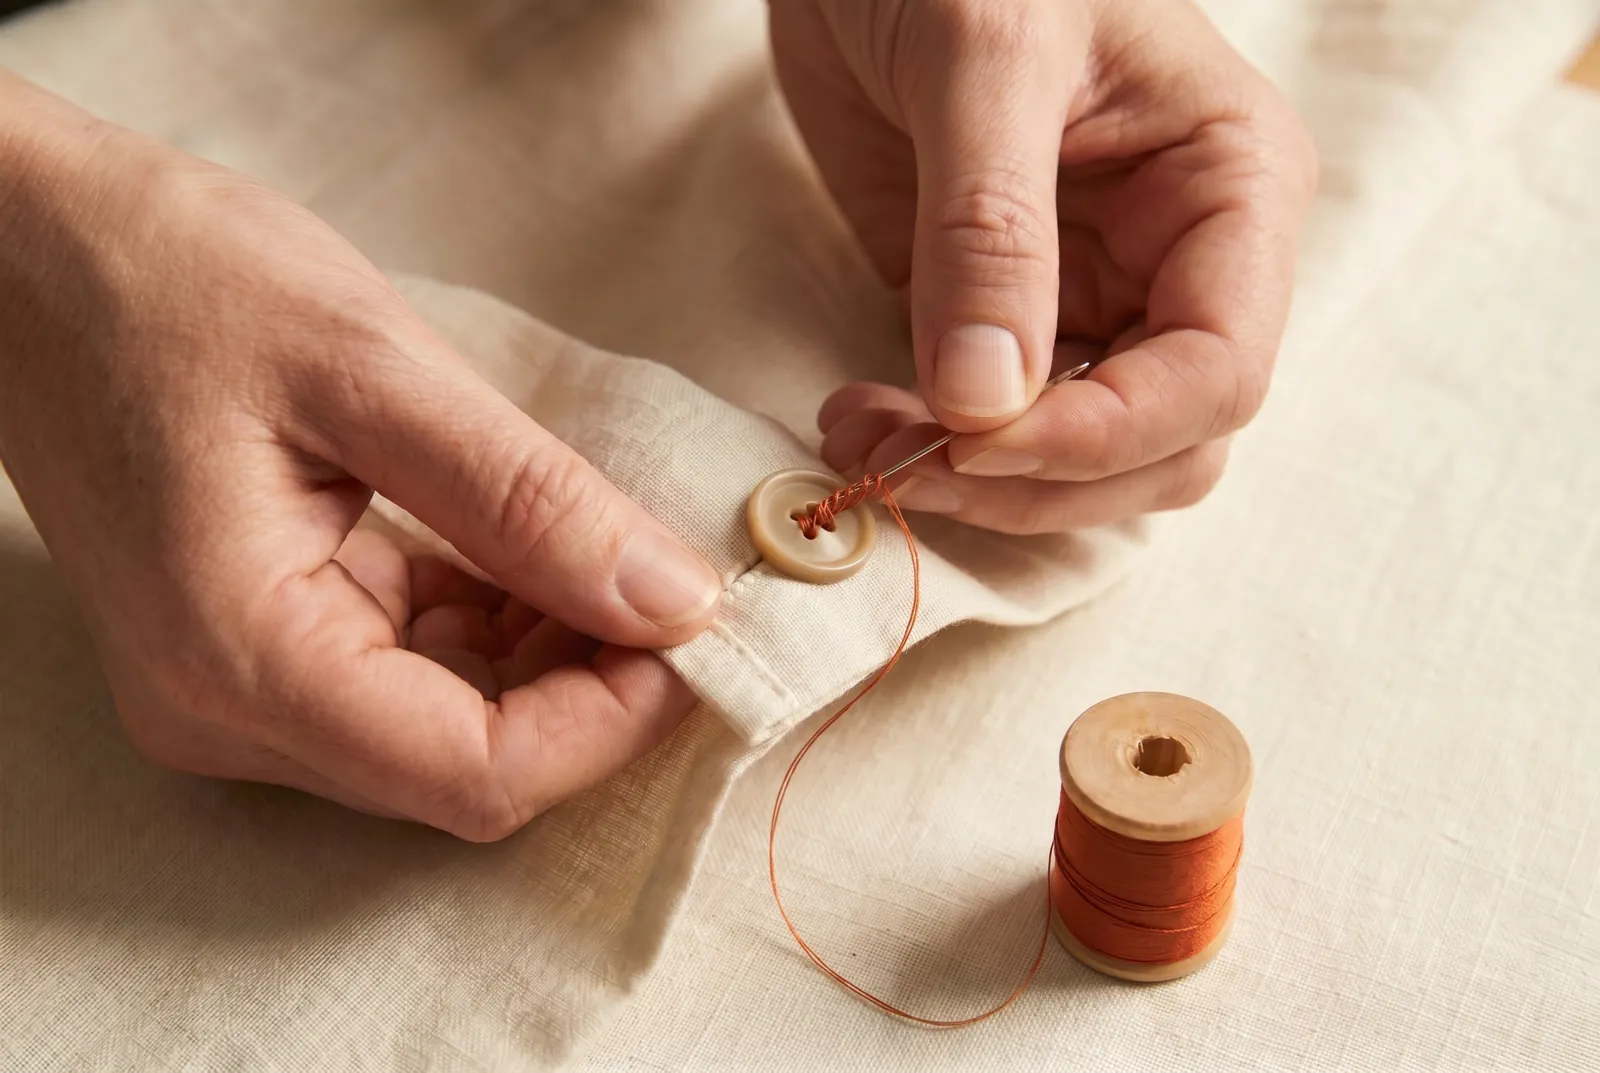
STEP 6/7Wind a thread shank under the button, matching its length to the thickness of the buttonhole lap. This short stalk of thread holds the button off the cloth so the lap has room to lie over it when the closing is fastened.
Step 7
STEP 7/7After the shank is wound, do not finish with a knot on the outside of the cloth: knots wear through, show under the iron, and come out in the wash. Whenever the garment comes from the wash, check the button; one hanging by two threads is resewn in a minute, while a lost button too often tears the buttonhole lap as well.