Everyday Mending · piece Nº 38 · 42 min
Sew on a shank button
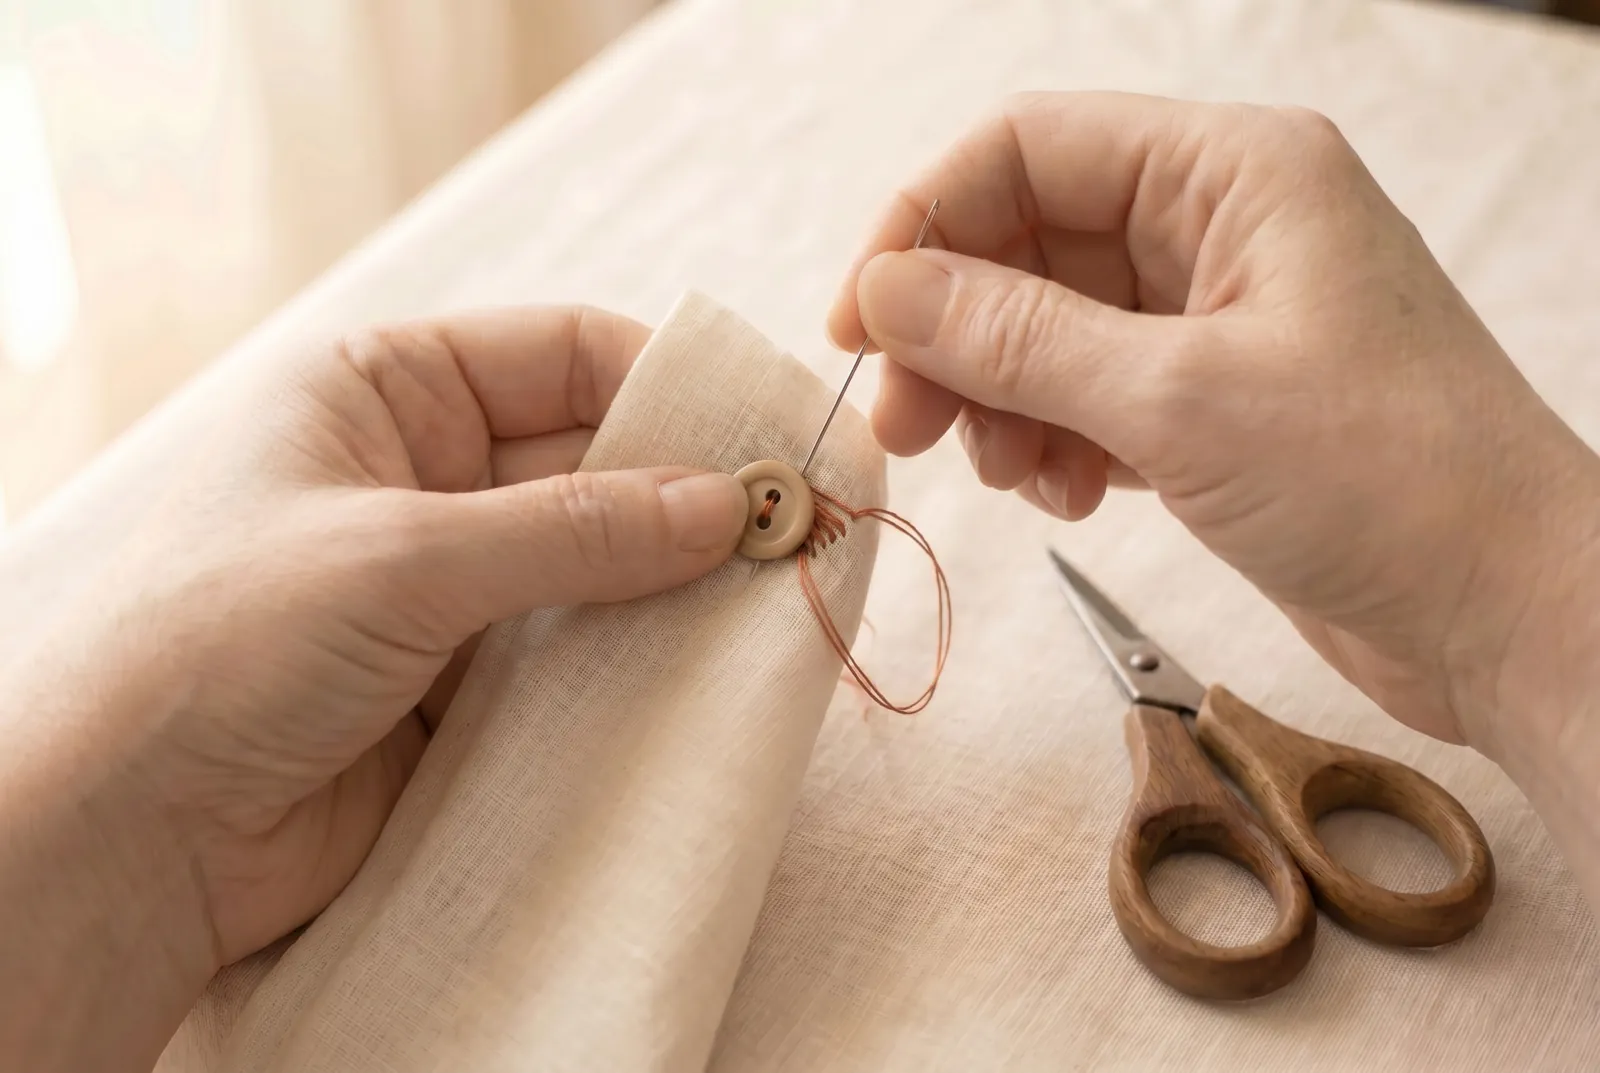
Attach or replace a shank button — the kind with its own metal loop — so it holds through real wear and washing. You will locate the button from its buttonhole, anchor the thread, work eight to ten passes through the loop, and fasten off where the stitches stay hidden.
The seam · 7 steps
Step 1
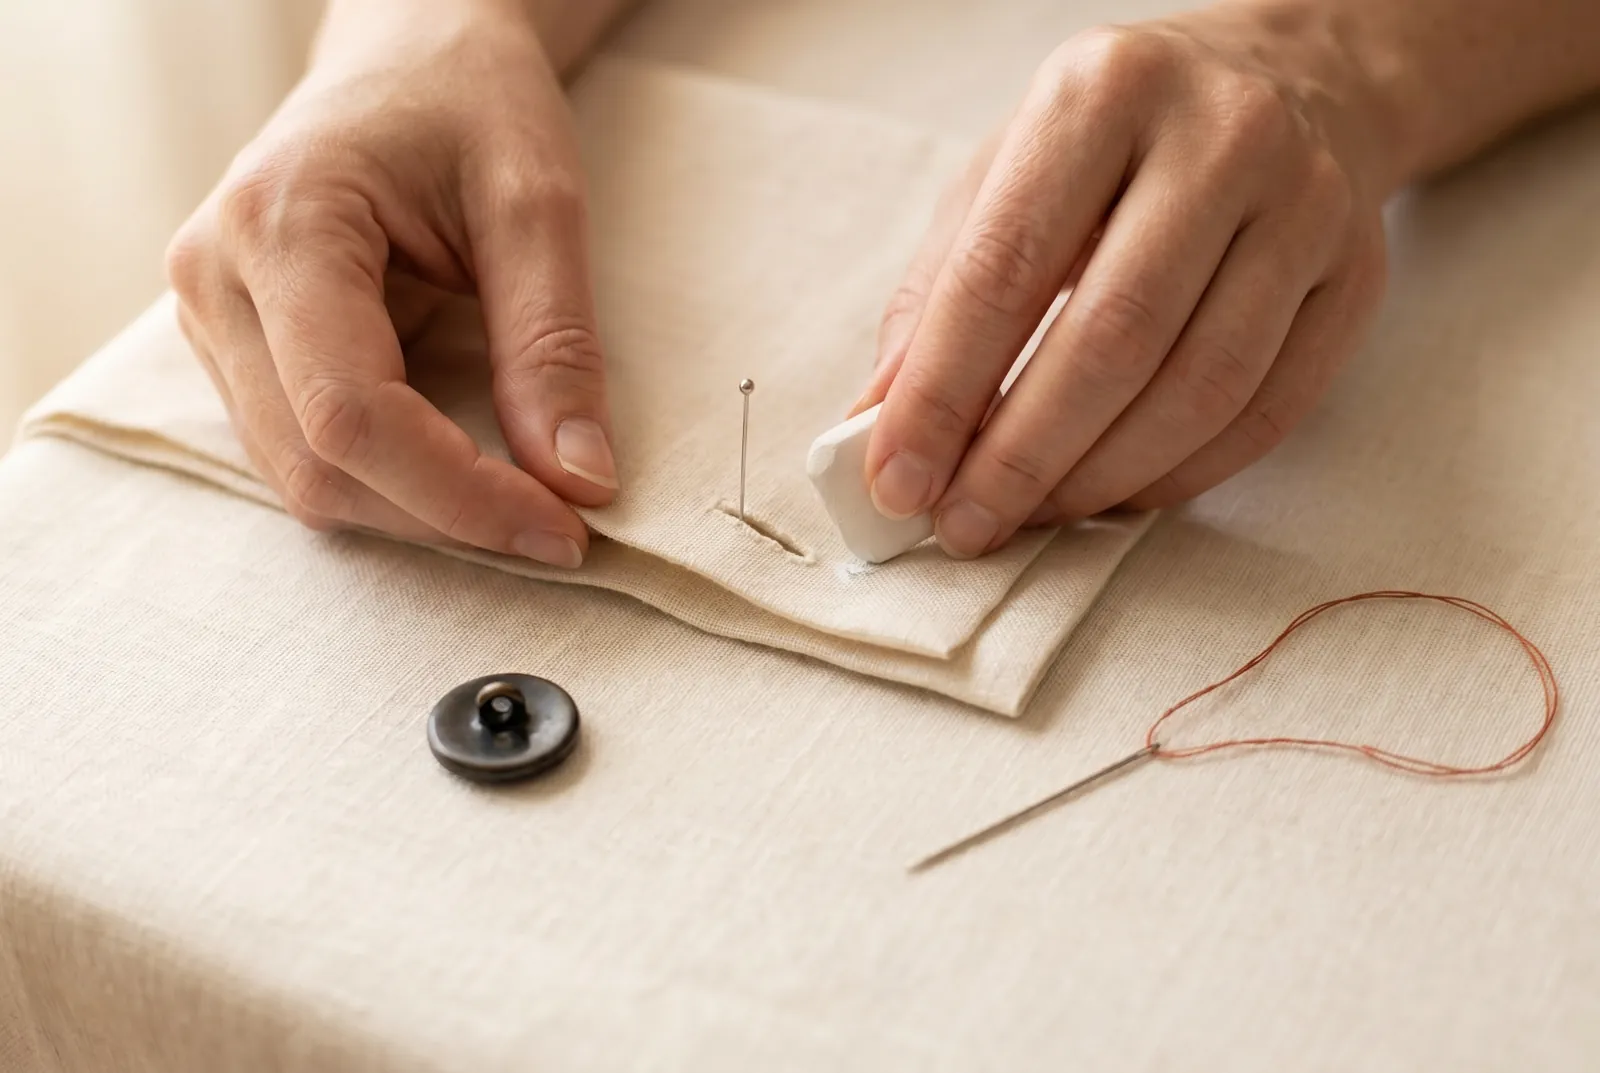
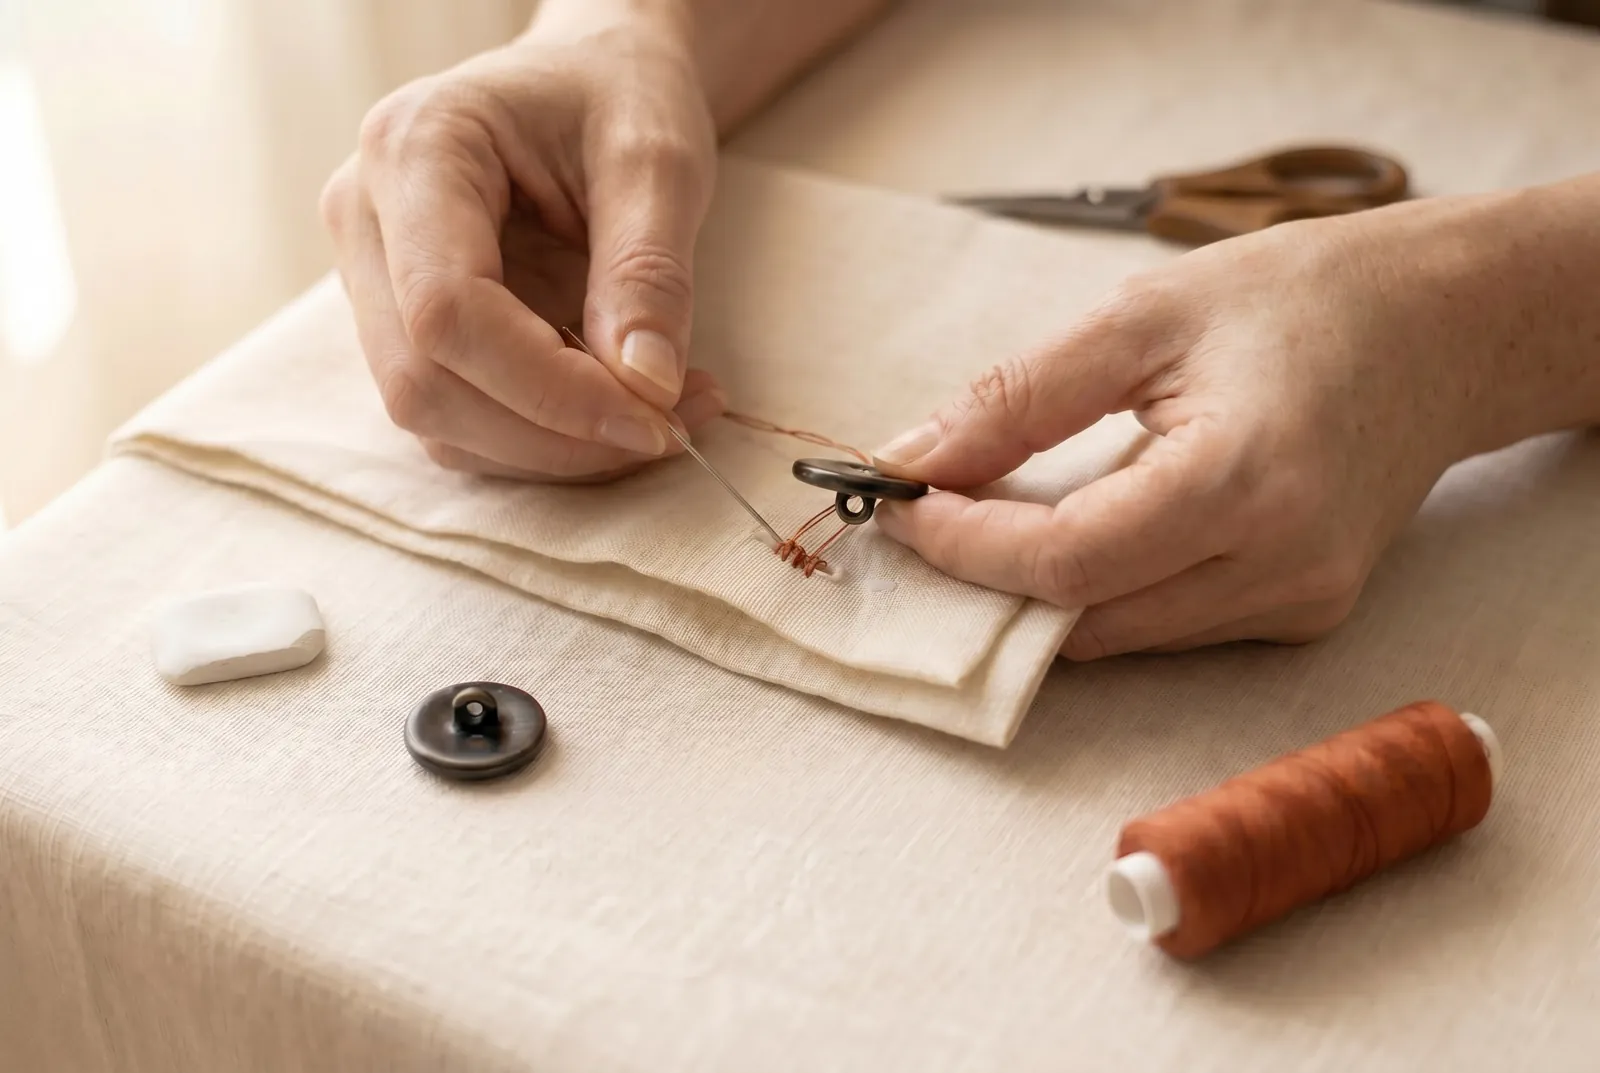
STEP 1/7Find the button's place from the buttonhole. Close the garment and pin it as it will be worn, with the front edge of the upper side sitting exactly on the mark of the under side. Push a pin through the outer end of the buttonhole — the end nearest the finished edge — and mark where the pin pricks the under lap with chalk. That mark is where the button's loop will sit.
Step 2
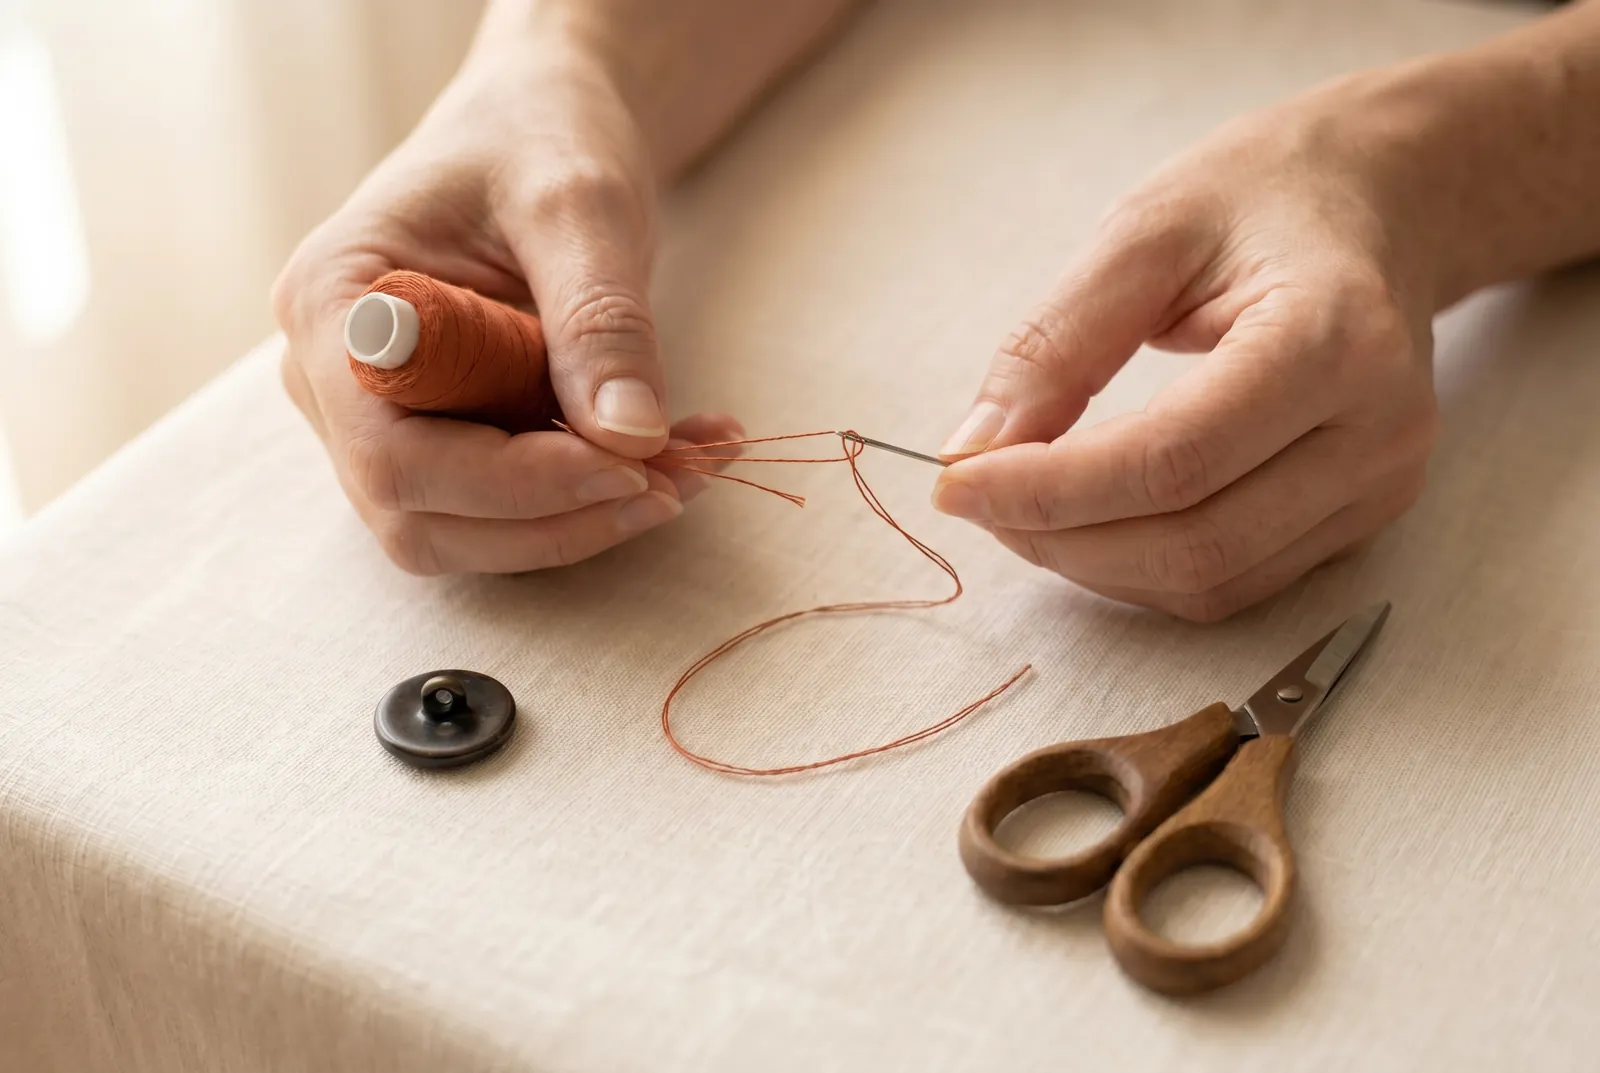
STEP 2/7Cut and double your thread. Cut about 60 cm (24 in) of thread, and use soft cotton on anything that gets washed, since silk cuts wet cloth. Thread the needle and bring the two cut ends level, so you sew with the thread doubled.
Step 3
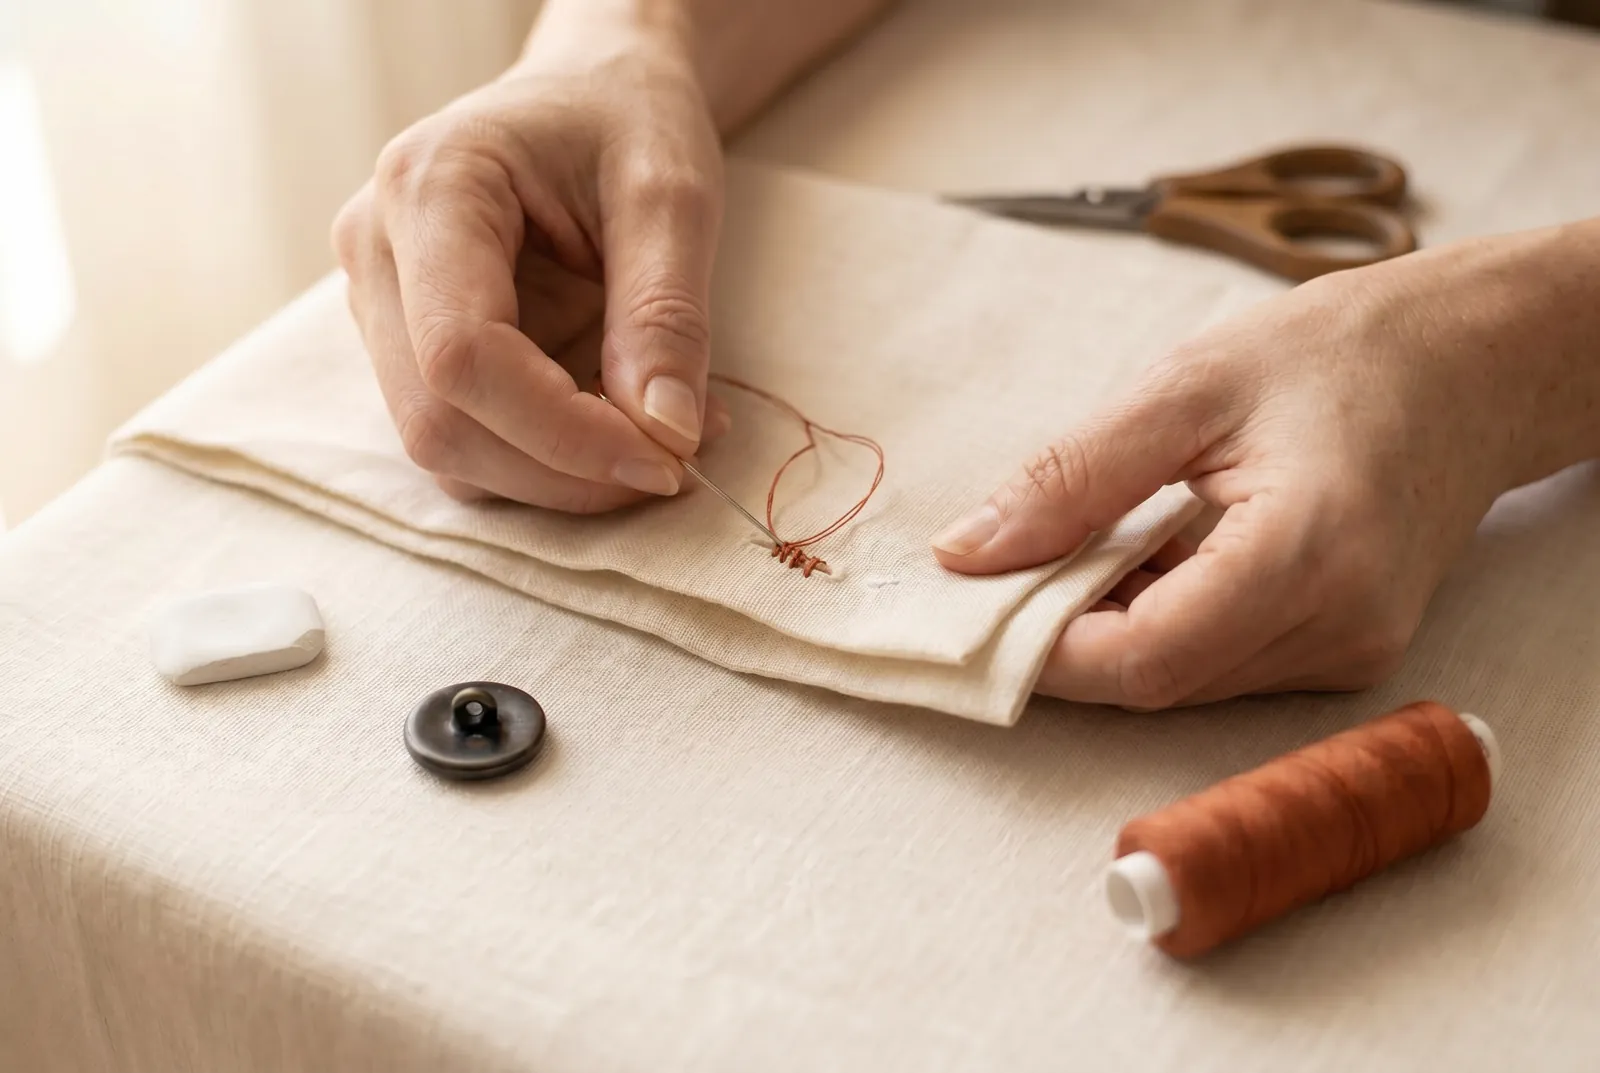
STEP 3/7Anchor the thread where the button will sit, before the first pass through the loop. Take two or three small stitches, one worked over another, right at the mark, keeping them inside the small circle the button will cover so they stay hidden. These locking stitches hold the thread so the first pass through the button's loop cannot pull back out.
Step 4
STEP 4/7Set the shank button and make the first pass. Hold the button with its metal loop over the mark, bring the needle up through the cloth and through the loop, then back down through the cloth, laying the stitch parallel with the direction of pull. The button's own loop holds it off the cloth, so you wind no thread shank of your own.
Step 5
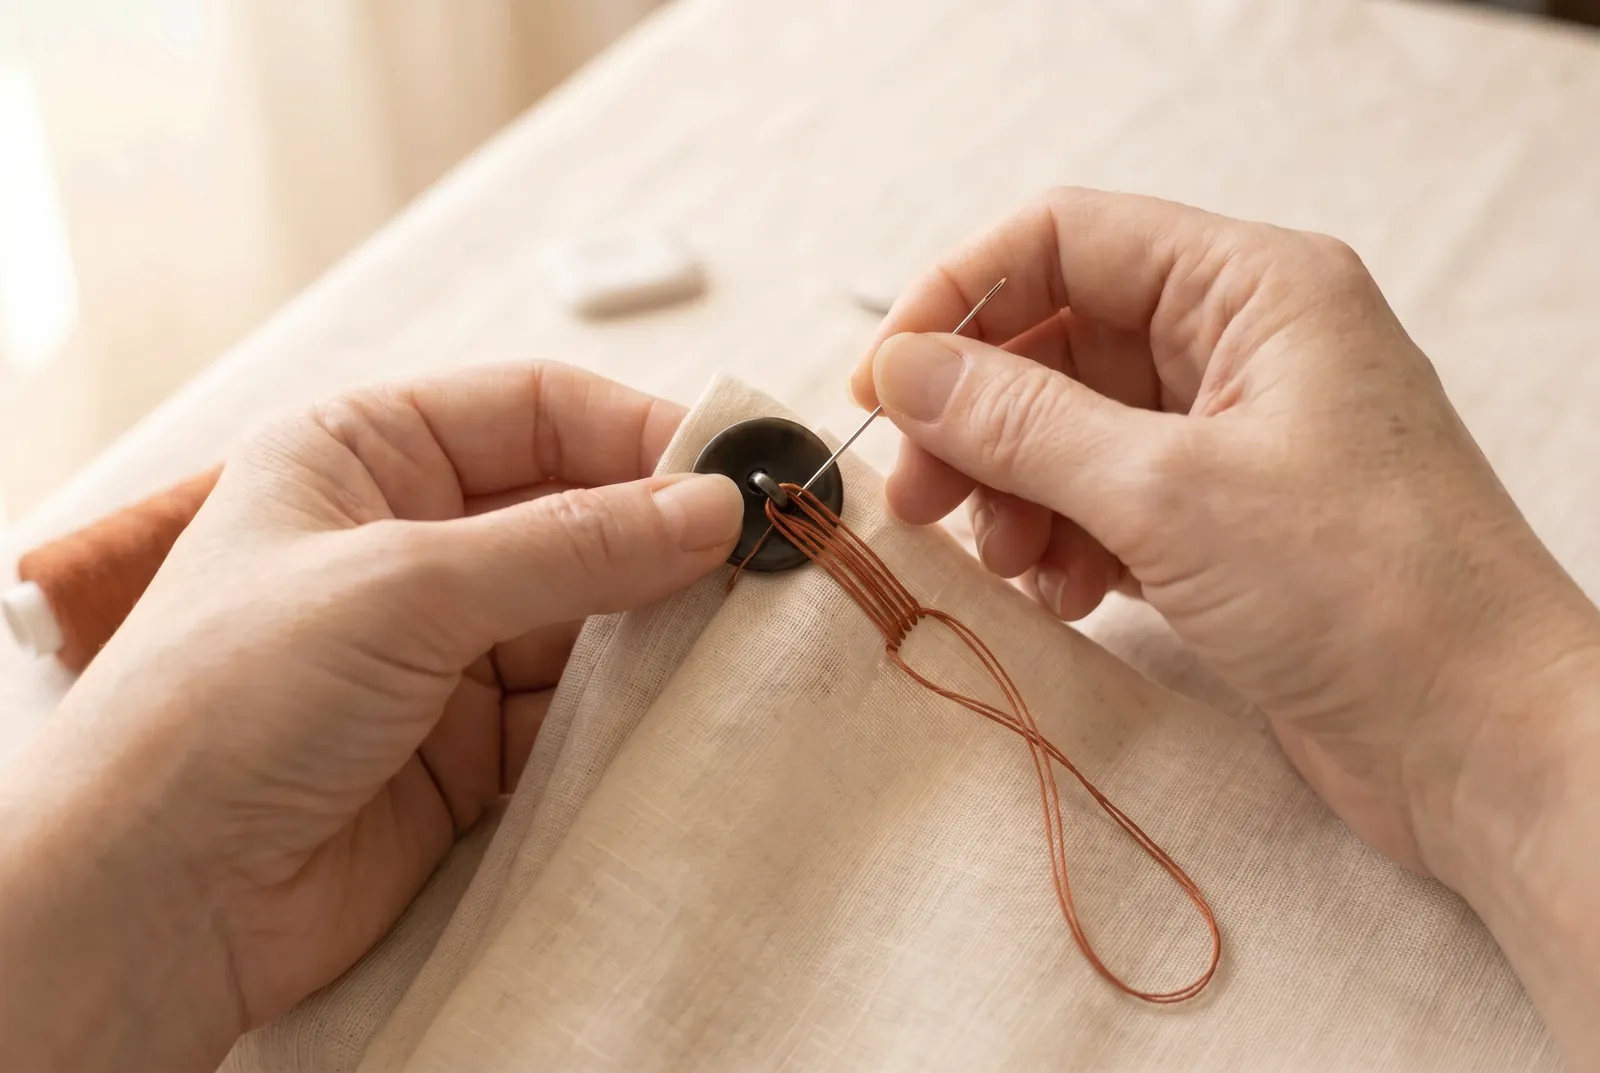
STEP 5/7Repeat until the button is held by eight to ten passes. Work the needle up through the cloth and the loop and down again, eight to ten times, each stitch lying the same way as the first — parallel with the strain, not crossed. Draw the doubled thread all the way through and let it hang loose every few passes so it untwists and does not knot on itself.
Step 6
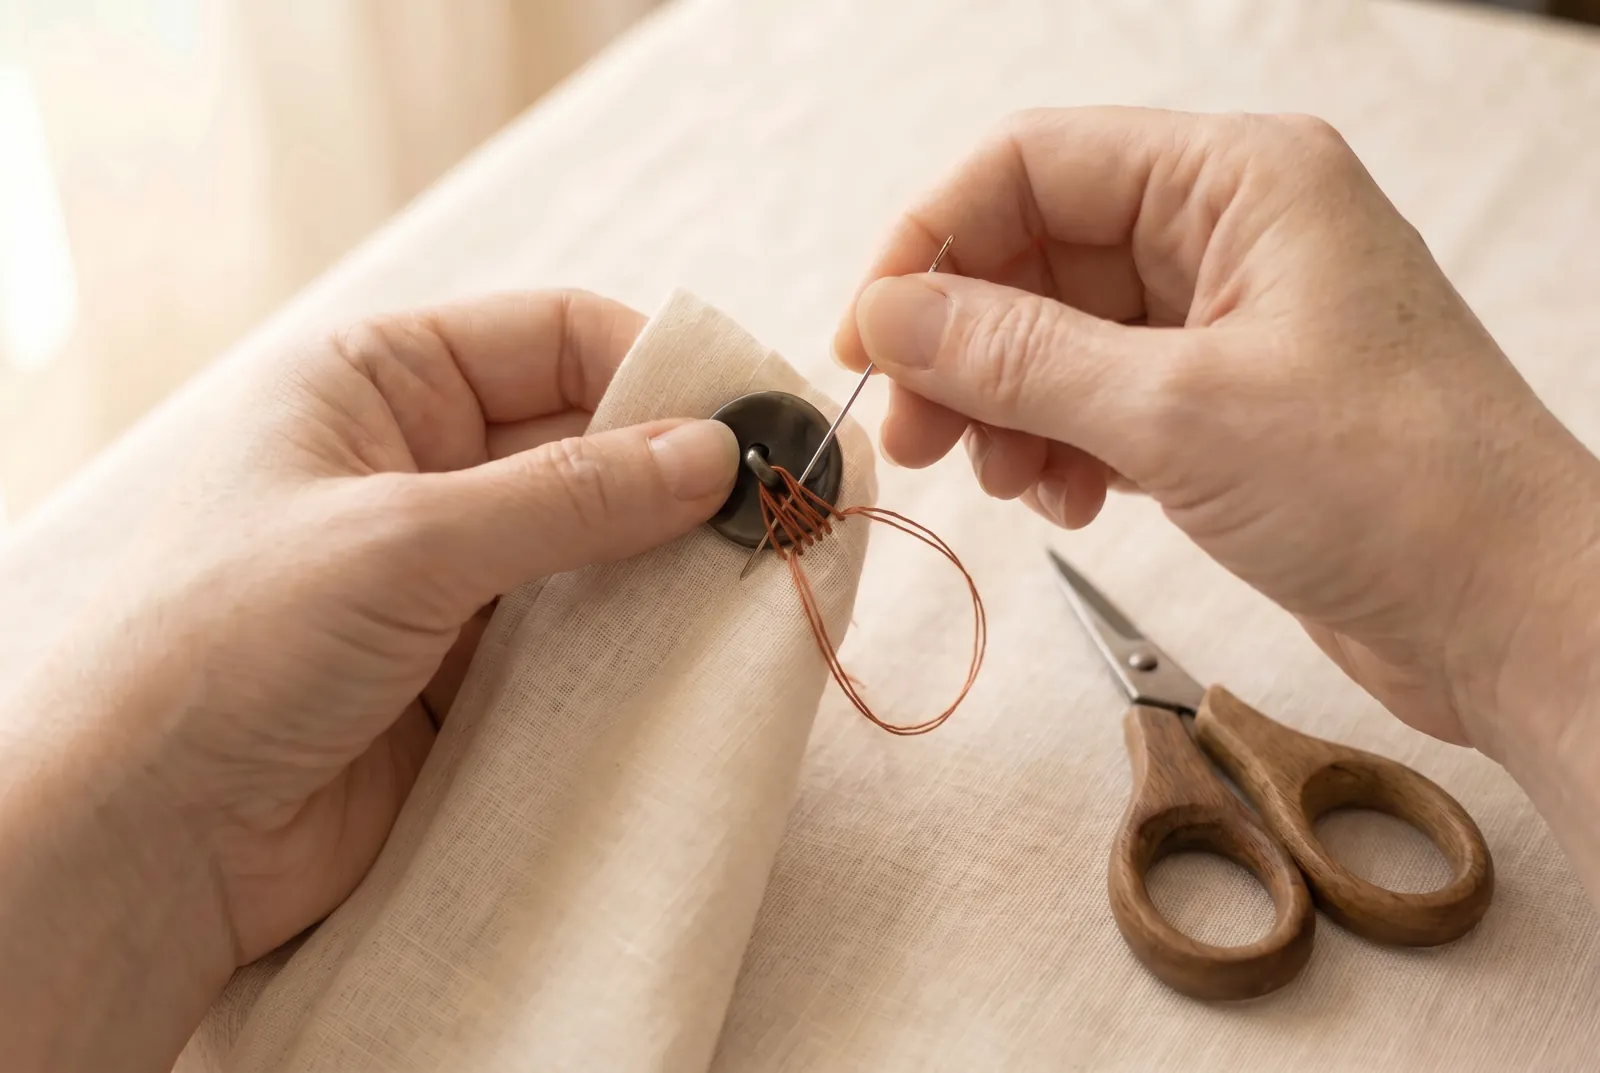
STEP 6/7Fasten off under the button. Bring the needle to the wrong side and make several small stitches there, close together, under the button where they stay covered; do not tie a knot on the face of the cloth. Trim the thread close to the last stitch.
Step 7
STEP 7/7For a coat or jacket, stay the button. The cloth alone will not hold against hard wear, so set a small flat button or a square of firm tape or linen on the wrong side directly beneath the button, and let every pass go through the garment and the stay together. The stay spreads the strain so the sewing holds.