Everyday Mending · piece Nº 37 · 48 min
Sew on a four-hole button
Attach a four-hole button so it sits in the right place and holds through wear and washing. You will mark the spot, sew the button on over a pin to leave a little slack, then wind that slack into a thread shank so the button rides on a short neck of thread instead of straining the cloth.
The seam · 8 steps
Step 1
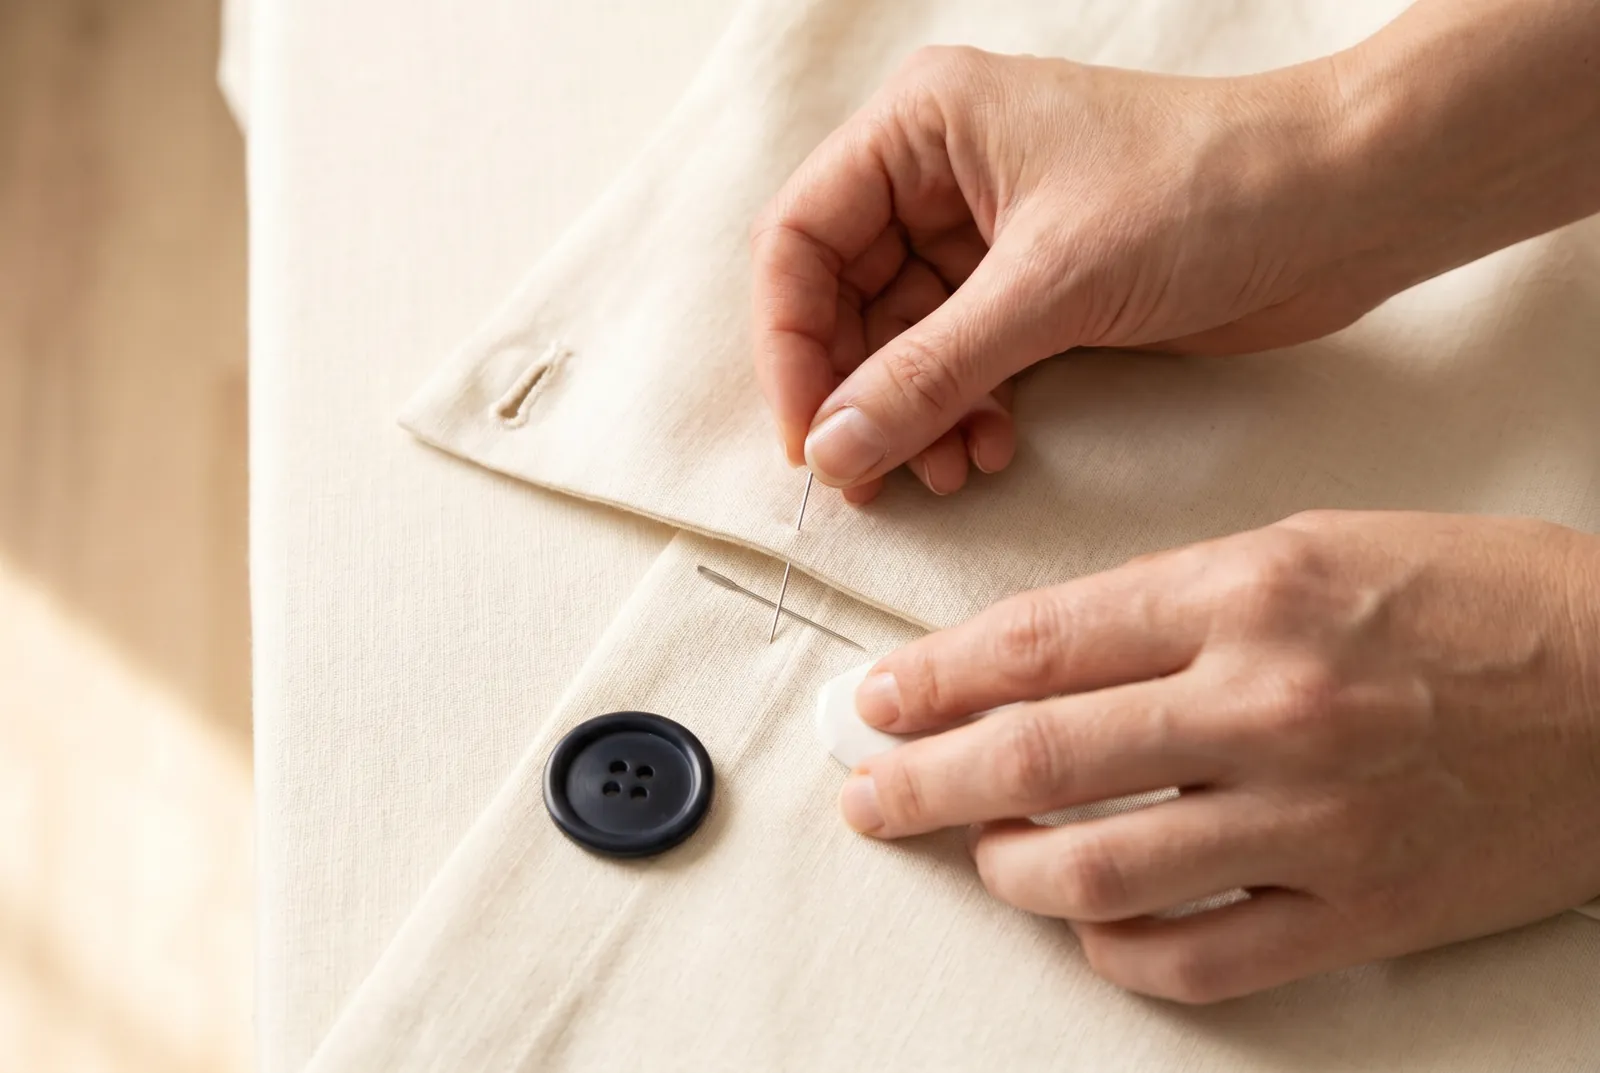
STEP 1/8Lap the closing the way it will be worn and push a pin straight down through the outer end of the buttonhole into the cloth beneath. Where the pin comes through the under lap, make a dot with tailor's chalk or set a cross of two pins to mark the exact spot. Sew the button there and the closing hangs straight; a button set by guess draws the closing crooked.
Step 2
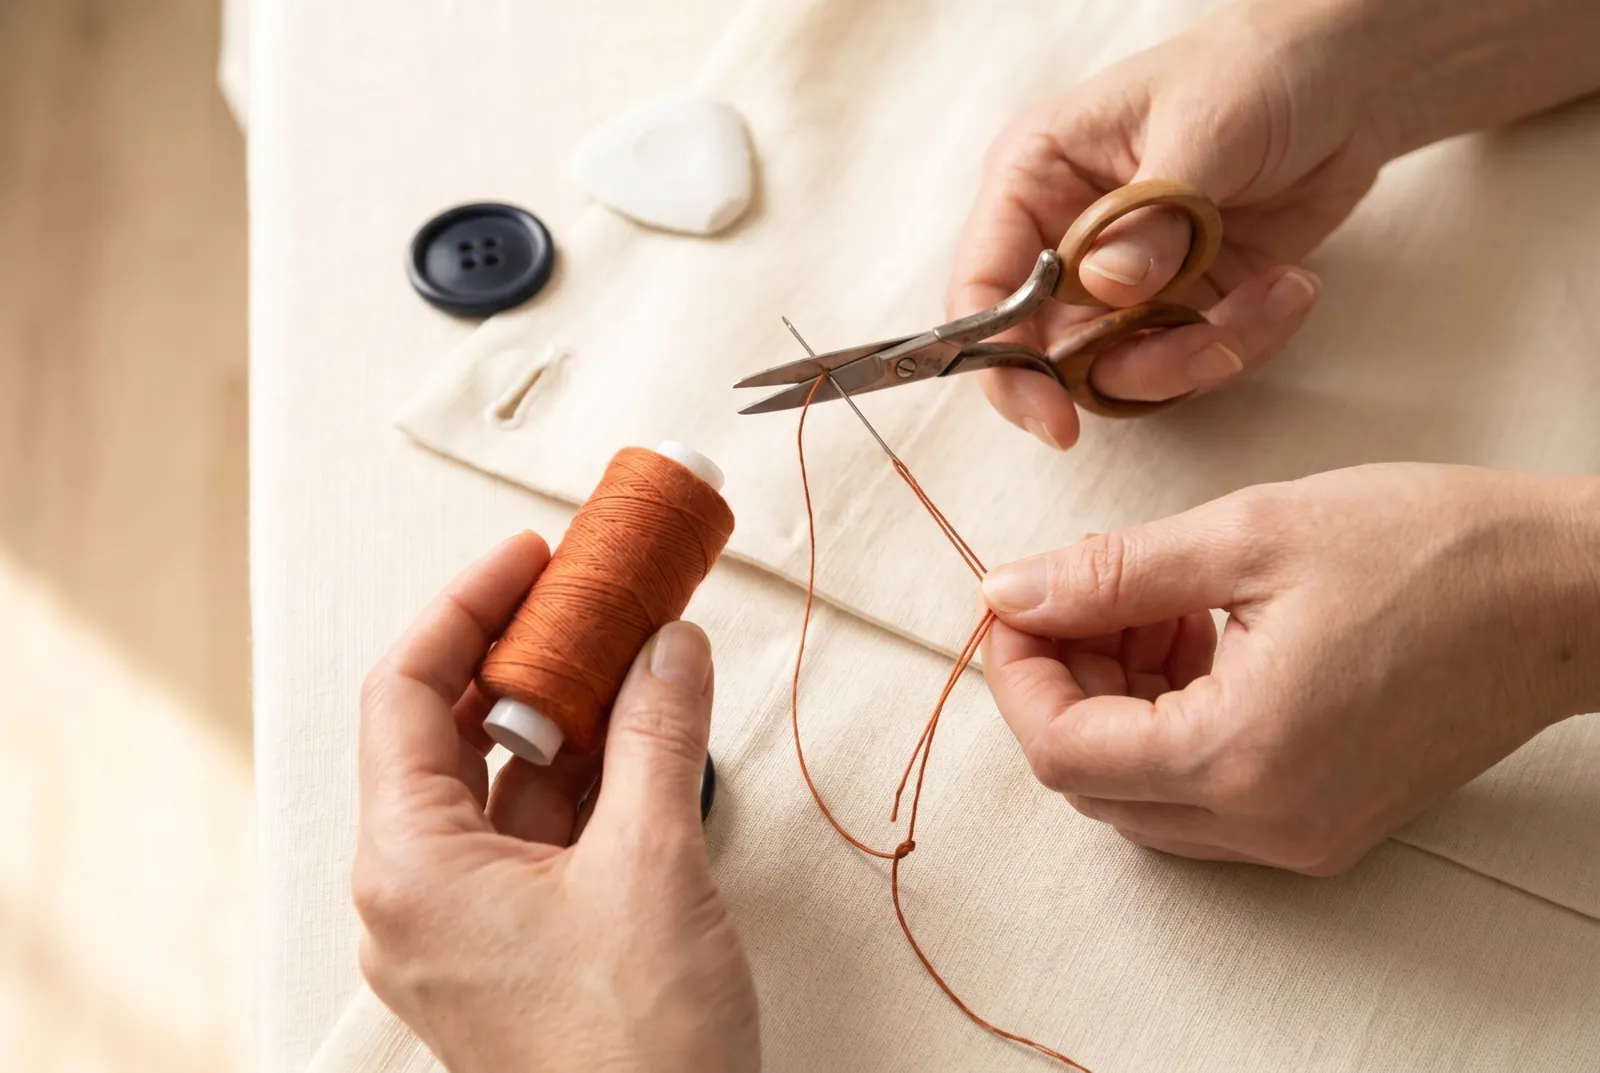
STEP 2/8Cut a workable length of strong No. 36 to 40 cotton thread, about 50 cm (20 in), pass it through the needle, and bring the ends together so you sew with the thread doubled. Knot the two ends. For a garment that will be washed, use soft cotton rather than silk, since silk cuts the wet cloth.
Step 3
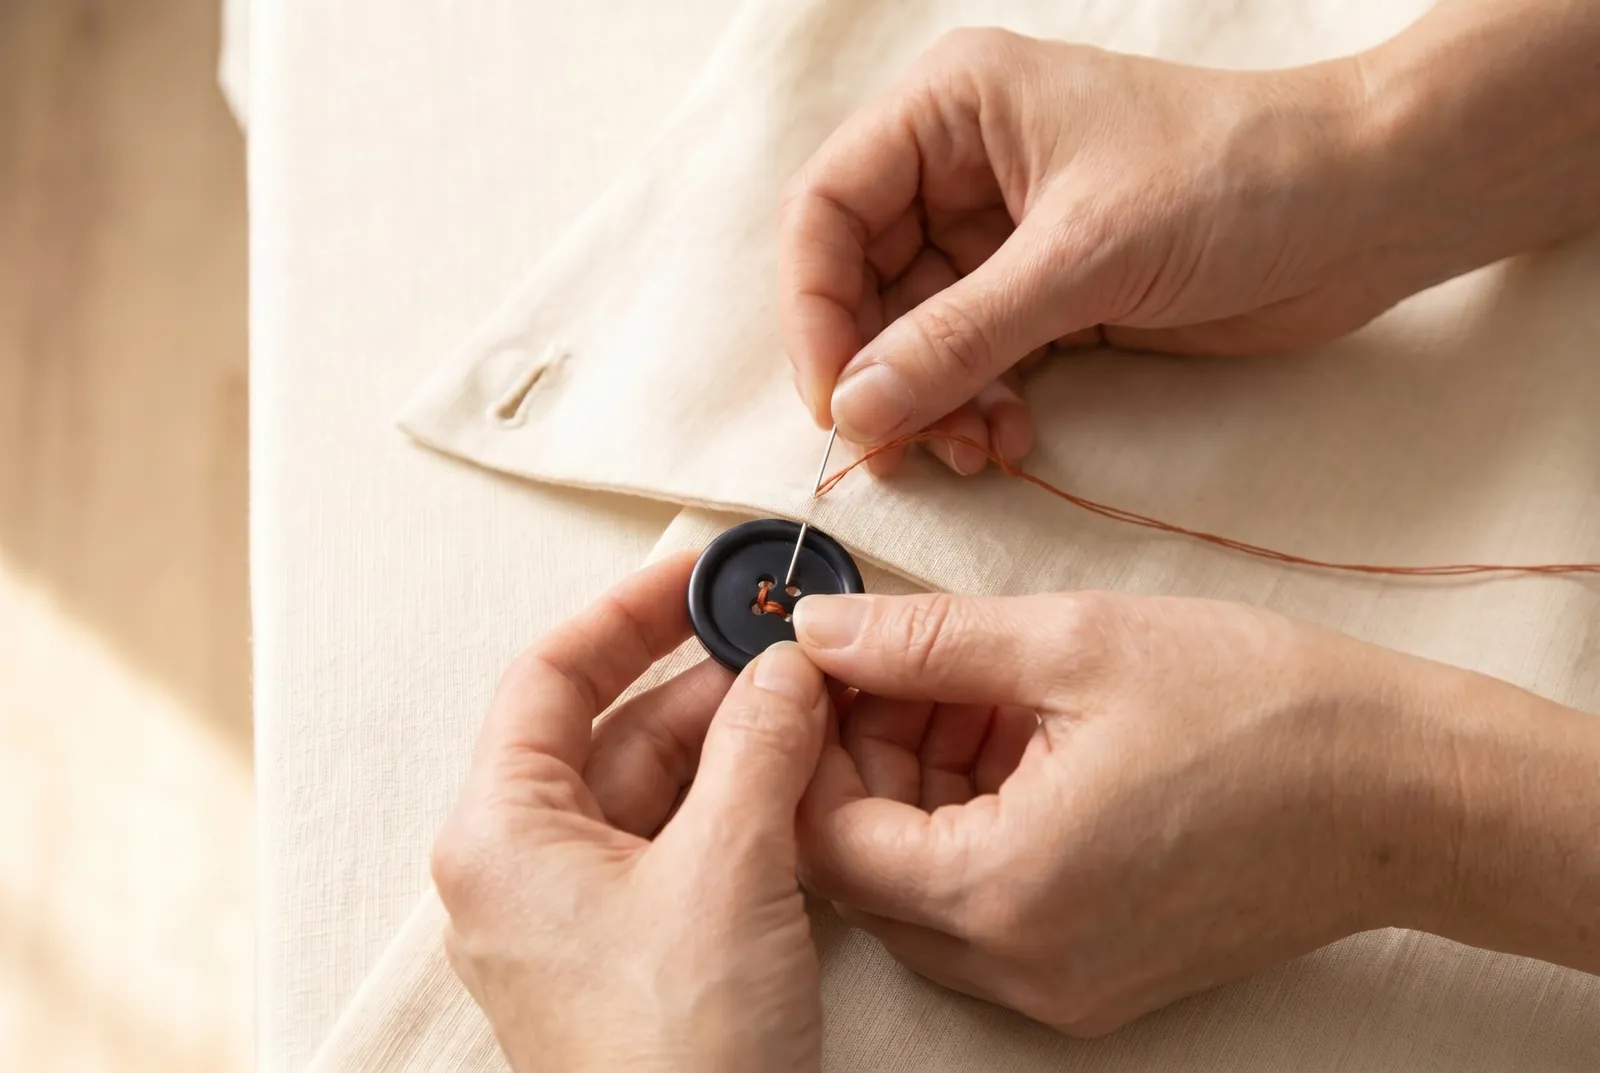
STEP 3/8Starting on the right side of the cloth, take one small stitch right at the marked spot so the knot will lie under the button and stay hidden. Bring the needle up through the cloth and on up through one hole of the button.
Step 4
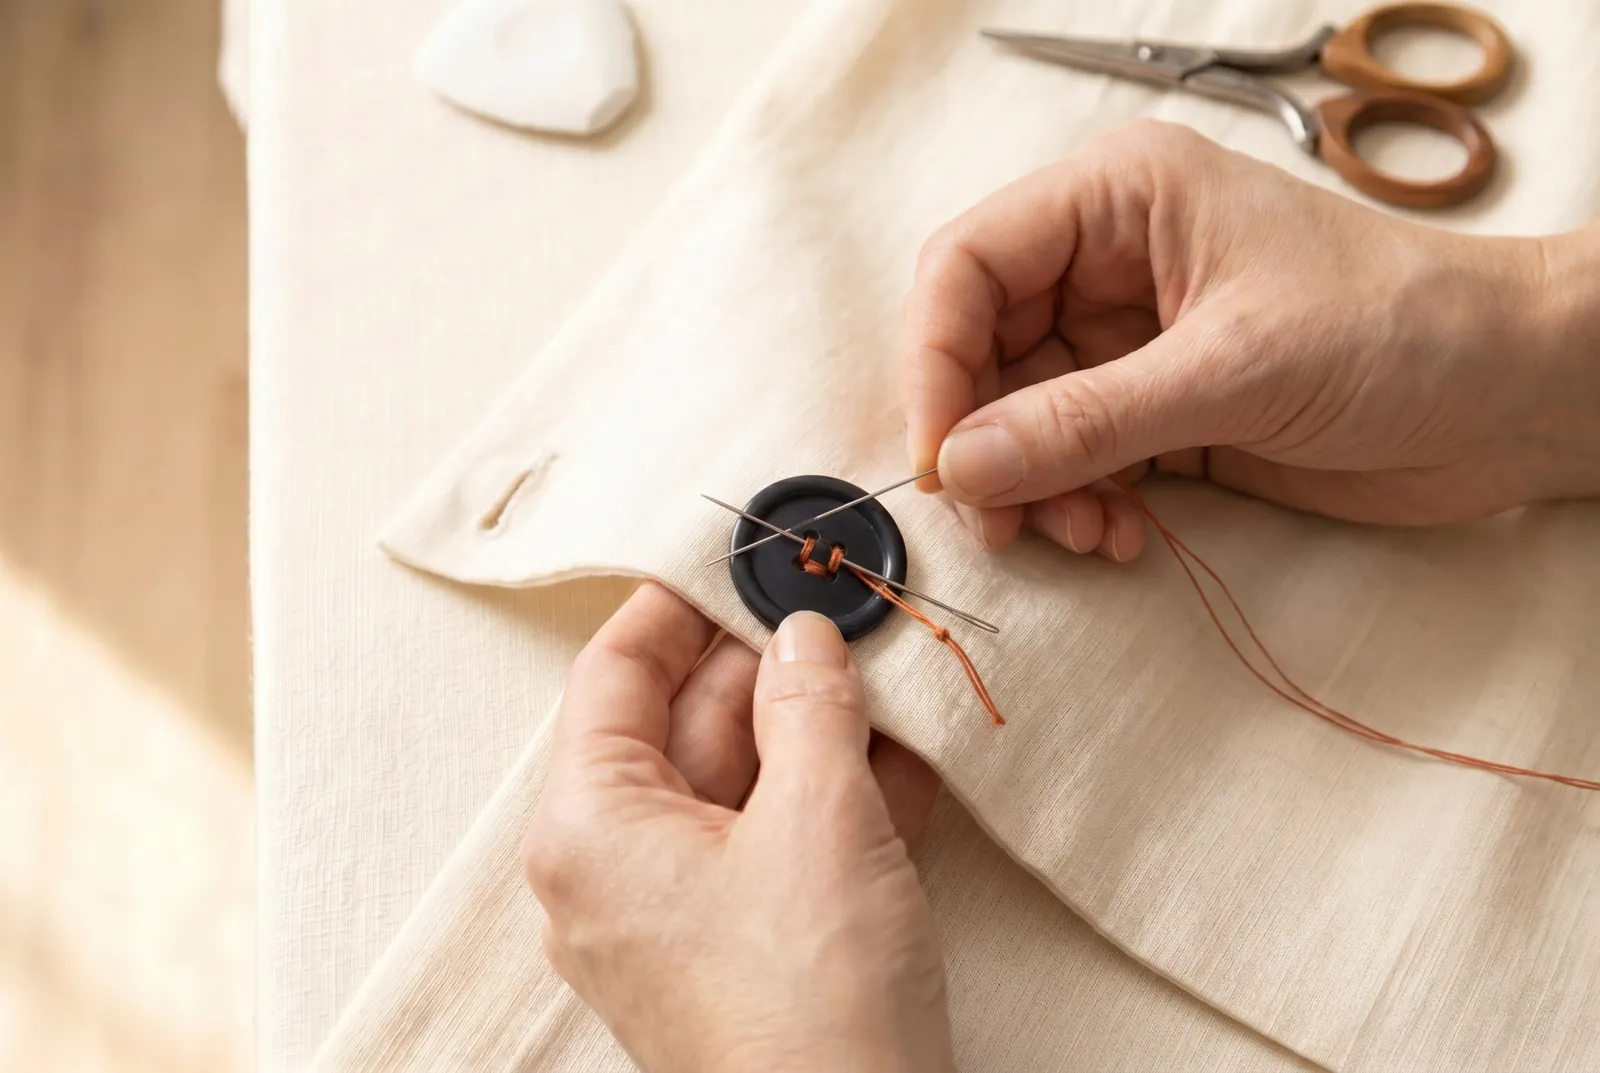
STEP 4/8Lay a pin flat across the top of the button, crossing over both pairs of holes, so that every stitch you are about to make passes over the pin rather than beside it. That pin holds a little slack in each stitch — the slack that becomes the shank — so leave it in place until all the stitching is done.
Step 5
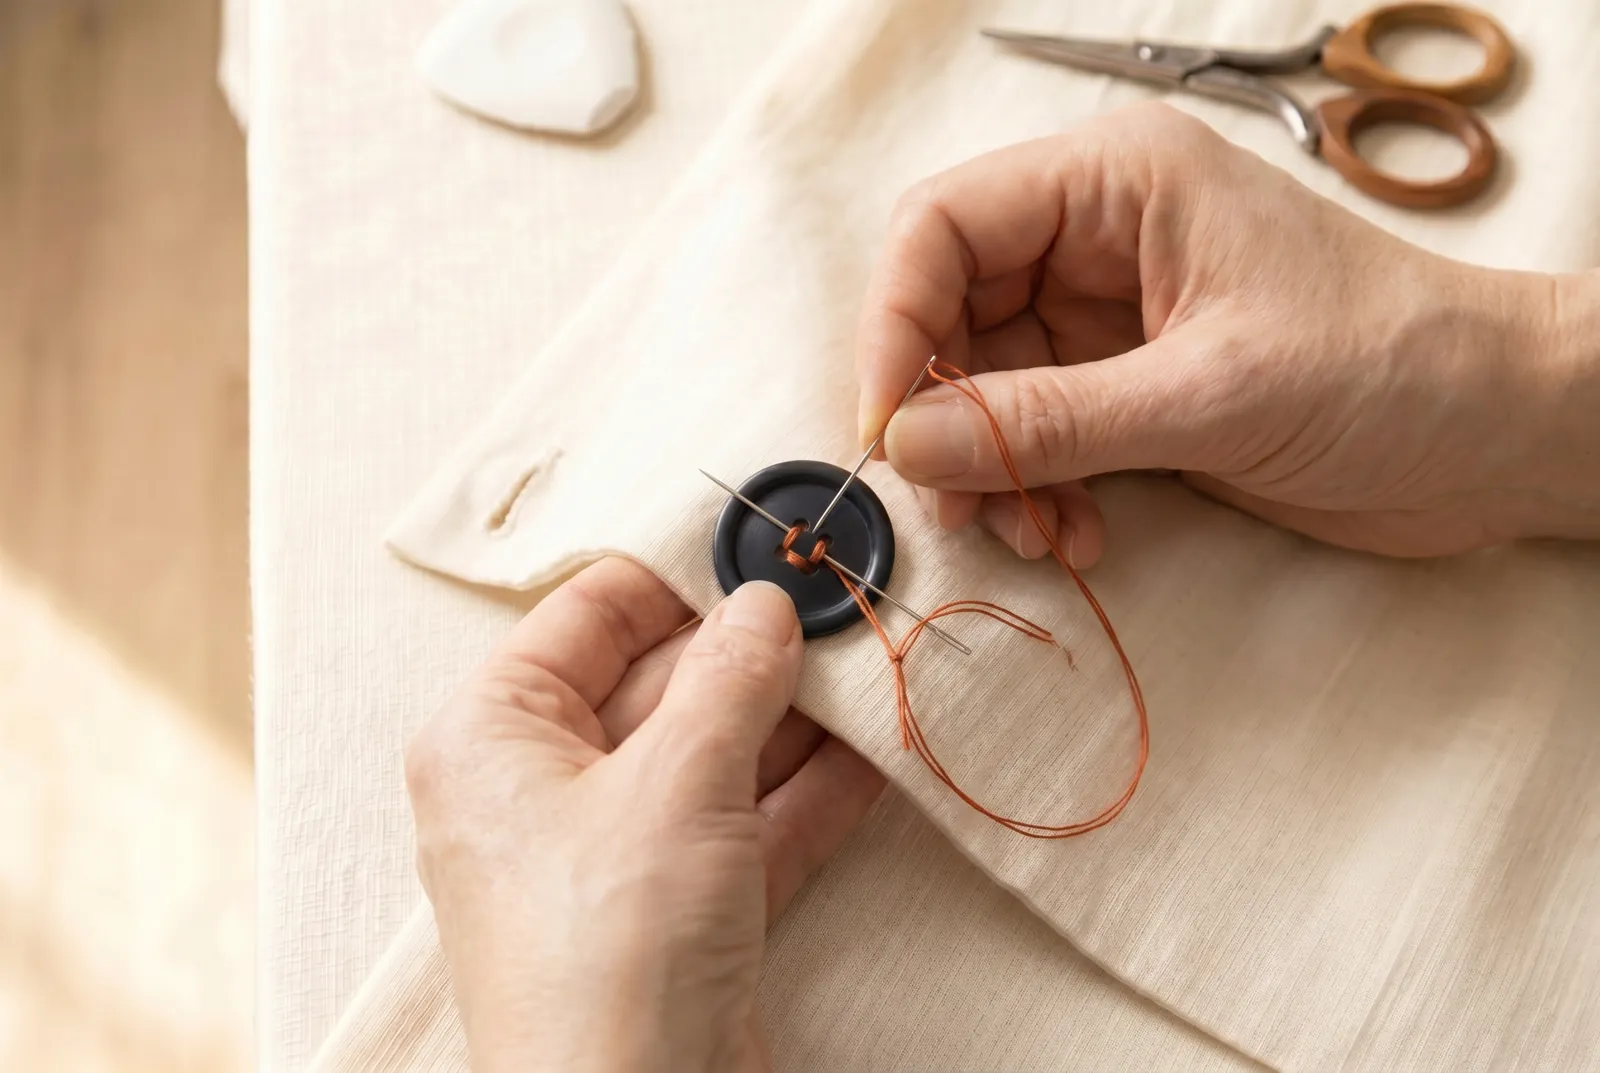
STEP 5/8Take the needle down through the neighbouring hole and through the cloth, then up again through the first hole, drawing the thread over the pin each time. Work six to eight stitches this way through the one pair of holes, building a firm bar of thread across the button.
Step 6
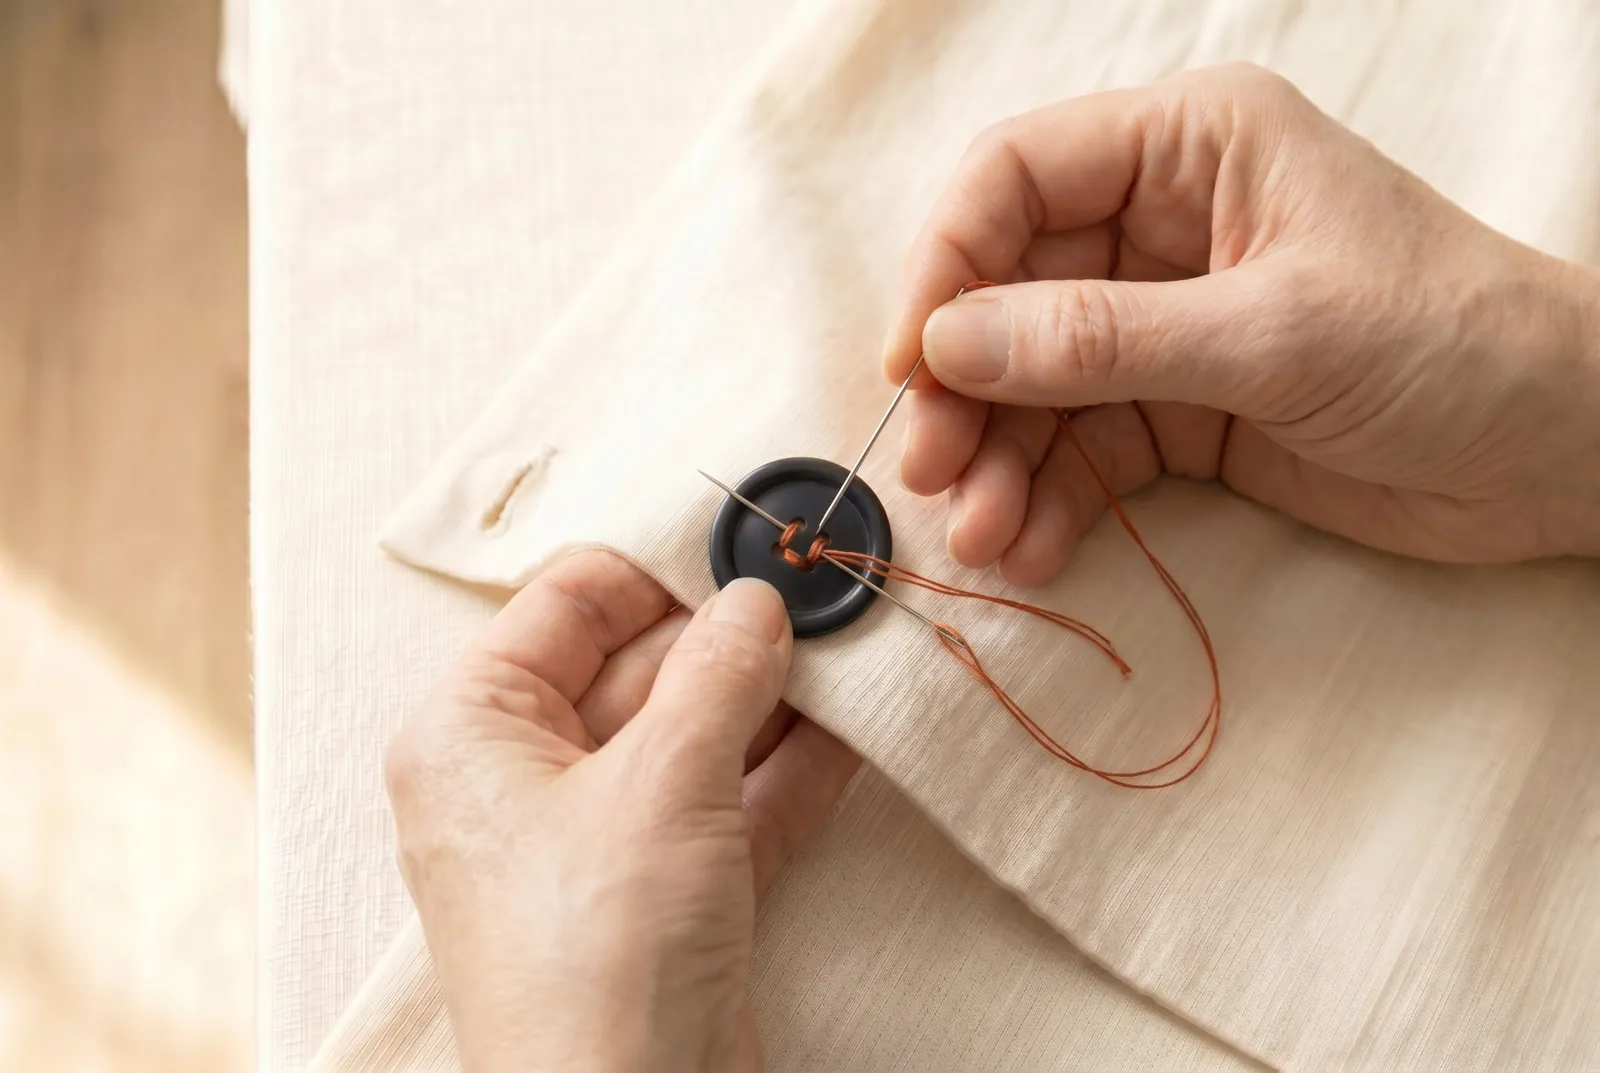
STEP 6/8Bring the needle up through one of the two holes you have not used and work another six to eight stitches across to its neighbour, over the same pin, the same way. The button now carries two parallel bars of thread, each pair of holes joined by its own firm bar.
Step 7
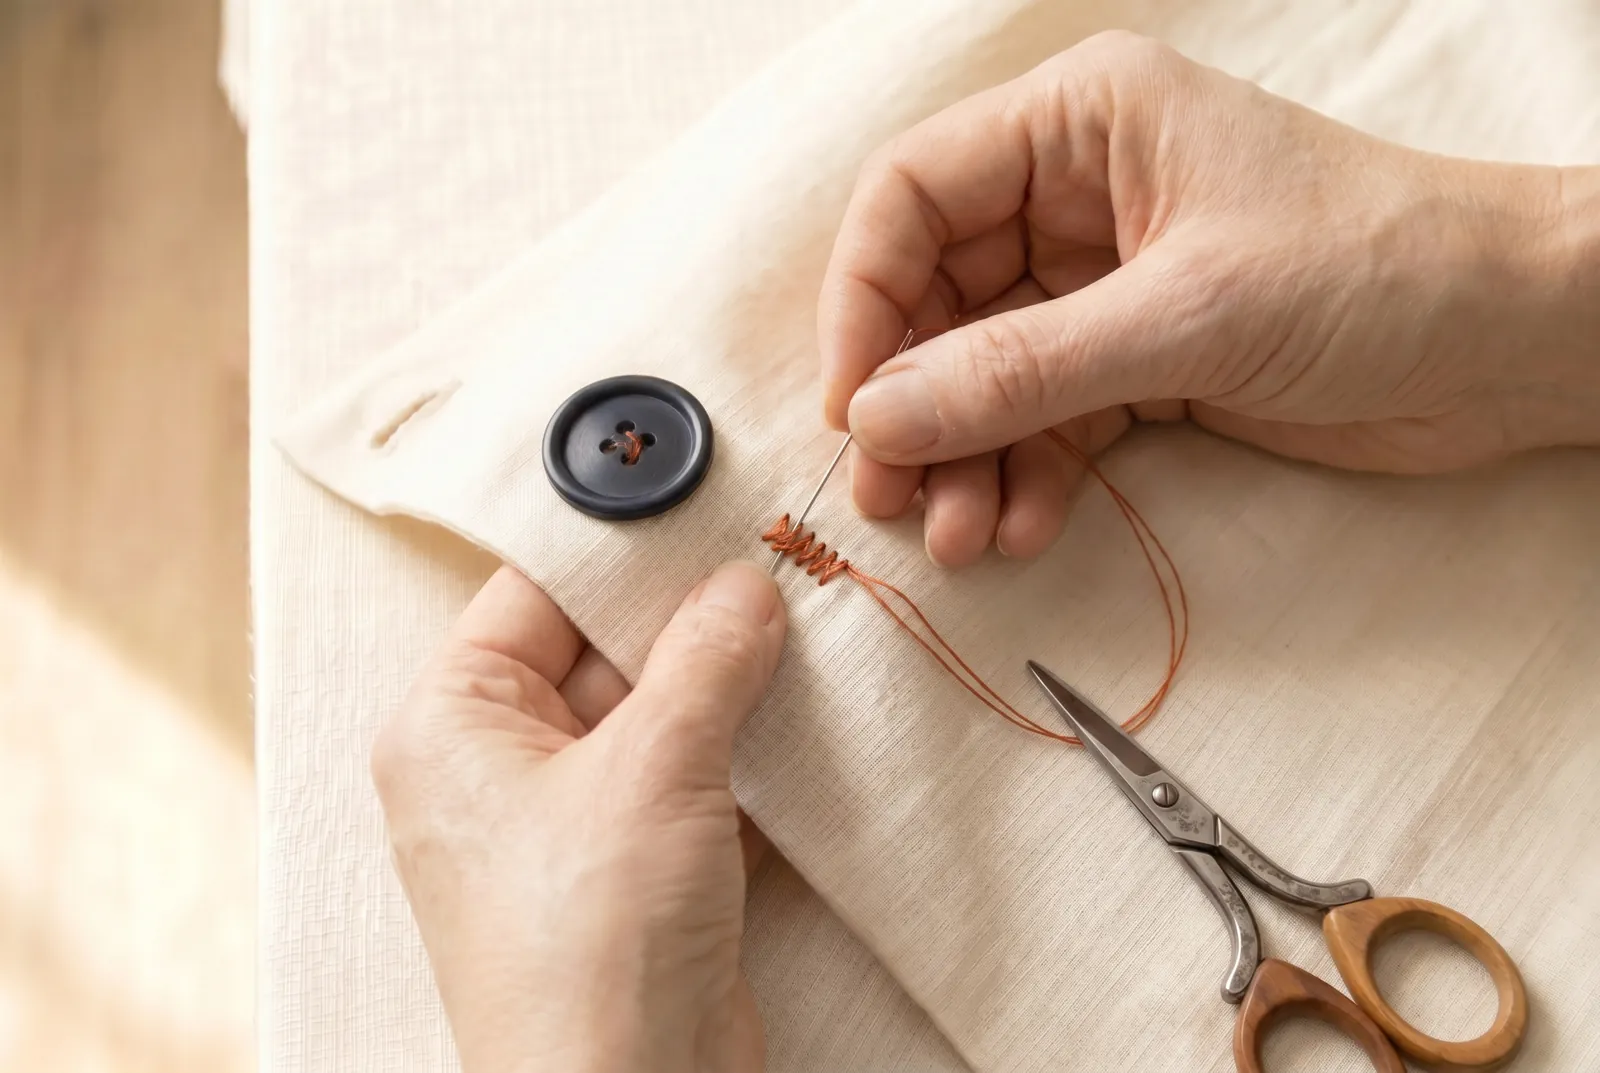
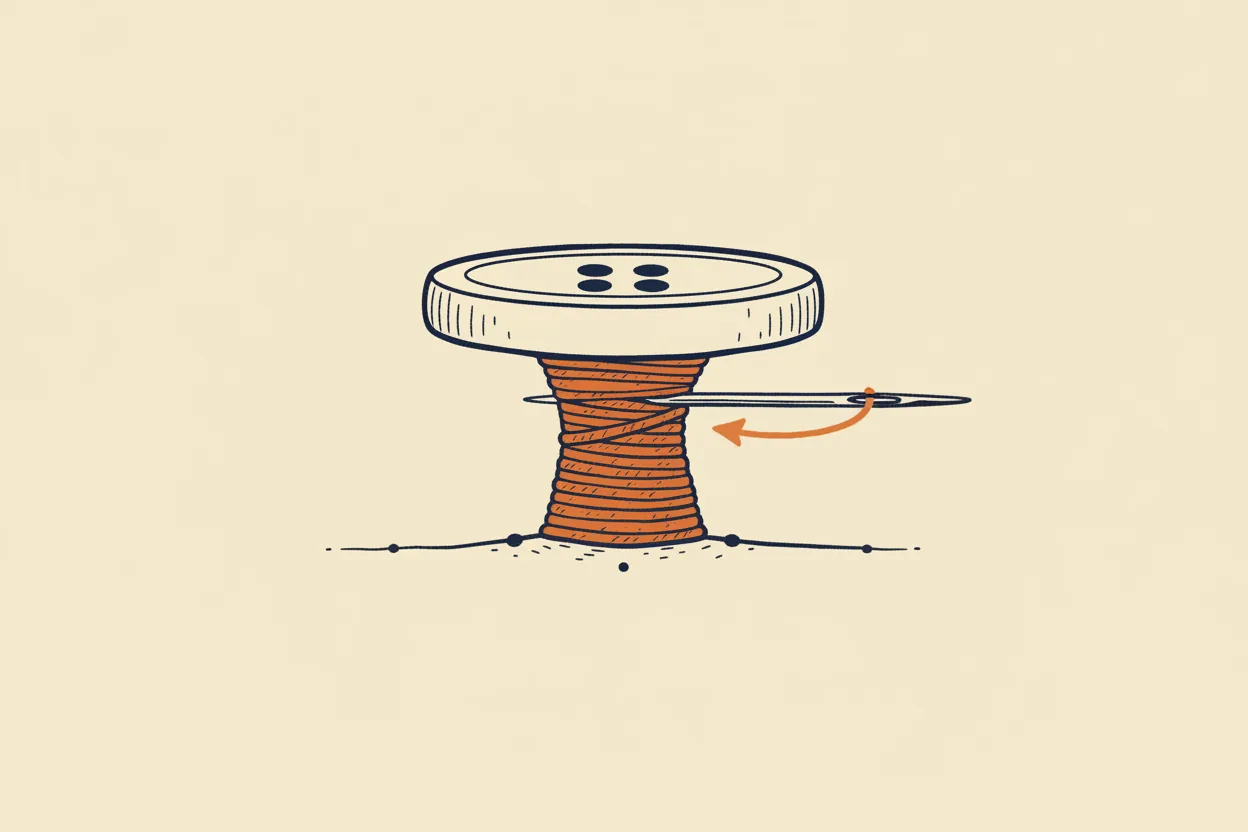
STEP 7/8Slide the pin out and lift the button away from the cloth: the stitches you drew over the pin now stand as a short stalk of thread — that stalk is the shank. Bring the needle up through the cloth into the gap under the button, not through a hole, and wind the thread firmly around the stalk, packing the turns close, until the wound shank is as long as the buttonhole lap is thick. The button now rides on this neck of thread and beds into the buttonhole without dragging on the cloth.
Step 8
STEP 8/8Pass the needle down through the cloth to the wrong side, under the button, and finish with two or three small stitches worked over each other into the cloth on the same spot, then cut the thread close. Do not end with a knot on flat work — knots wear through, show under the iron, and come out in the wash.