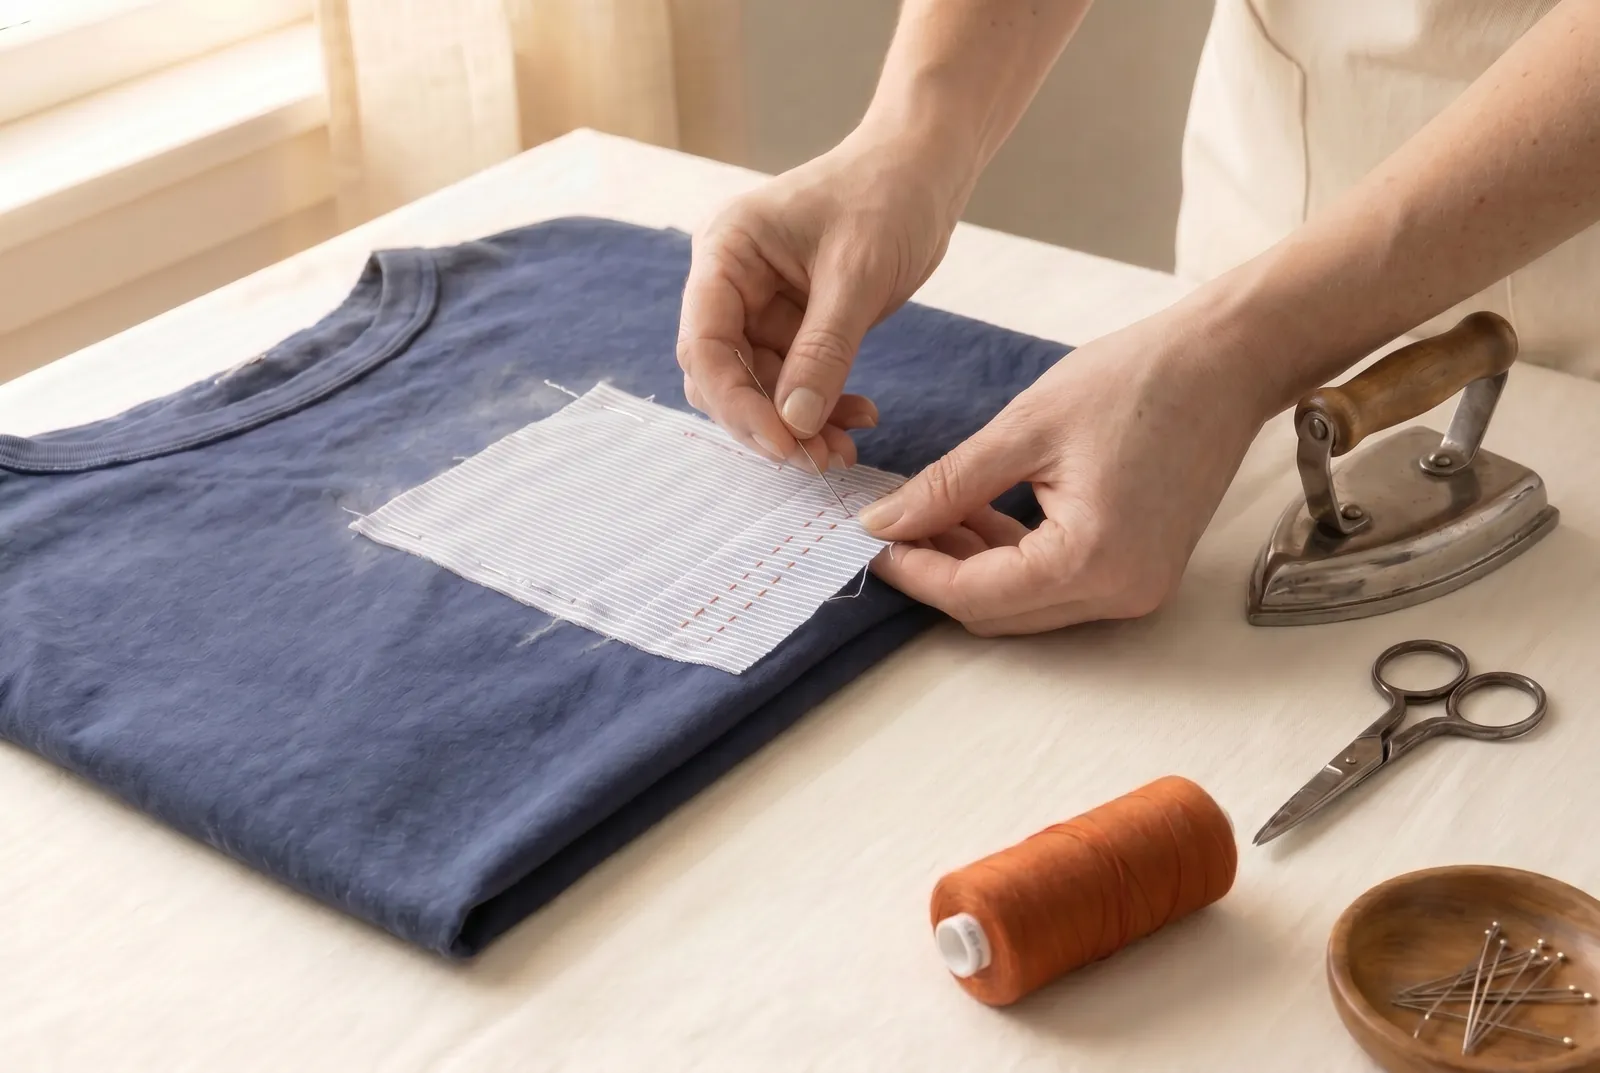
Visible & Decorative Mending · piece Nº 36 · 54 min
Sew a Visible Contrasting Patch with Sashiko Running Stitch
Lay a contrasting cotton patch over a worn or thin spot and hold it down with close rows of running stitch, in the Japanese sashiko tradition where the stitching is both repair and ornament. The rows bind the layers so they wear as one, and the visible pattern makes the mend a decorative feature as well as a repair.
The seam · 9 steps
Step 1
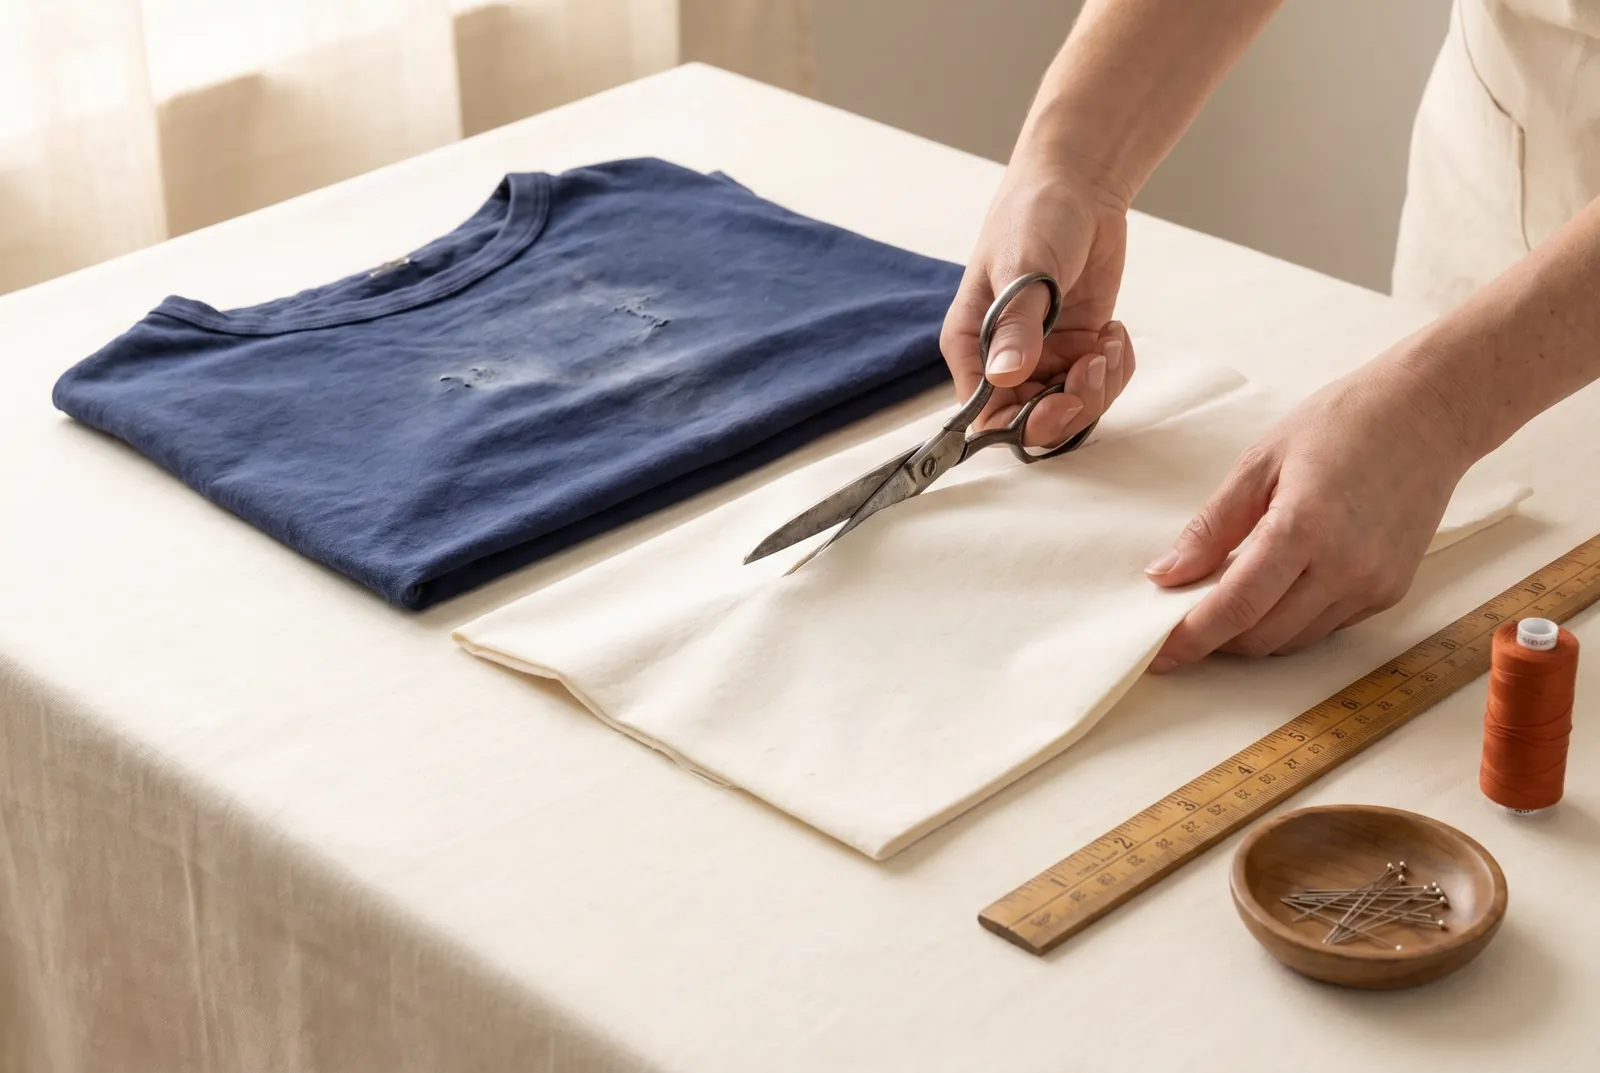
STEP 1/9From your saved-cloth bag, pick a cotton scrap that contrasts with the garment and is the same weight or lighter. Cut it generously so it reaches well beyond the worn or thin spot on every side — a patch cut skimpy works loose at the edges.
Step 2
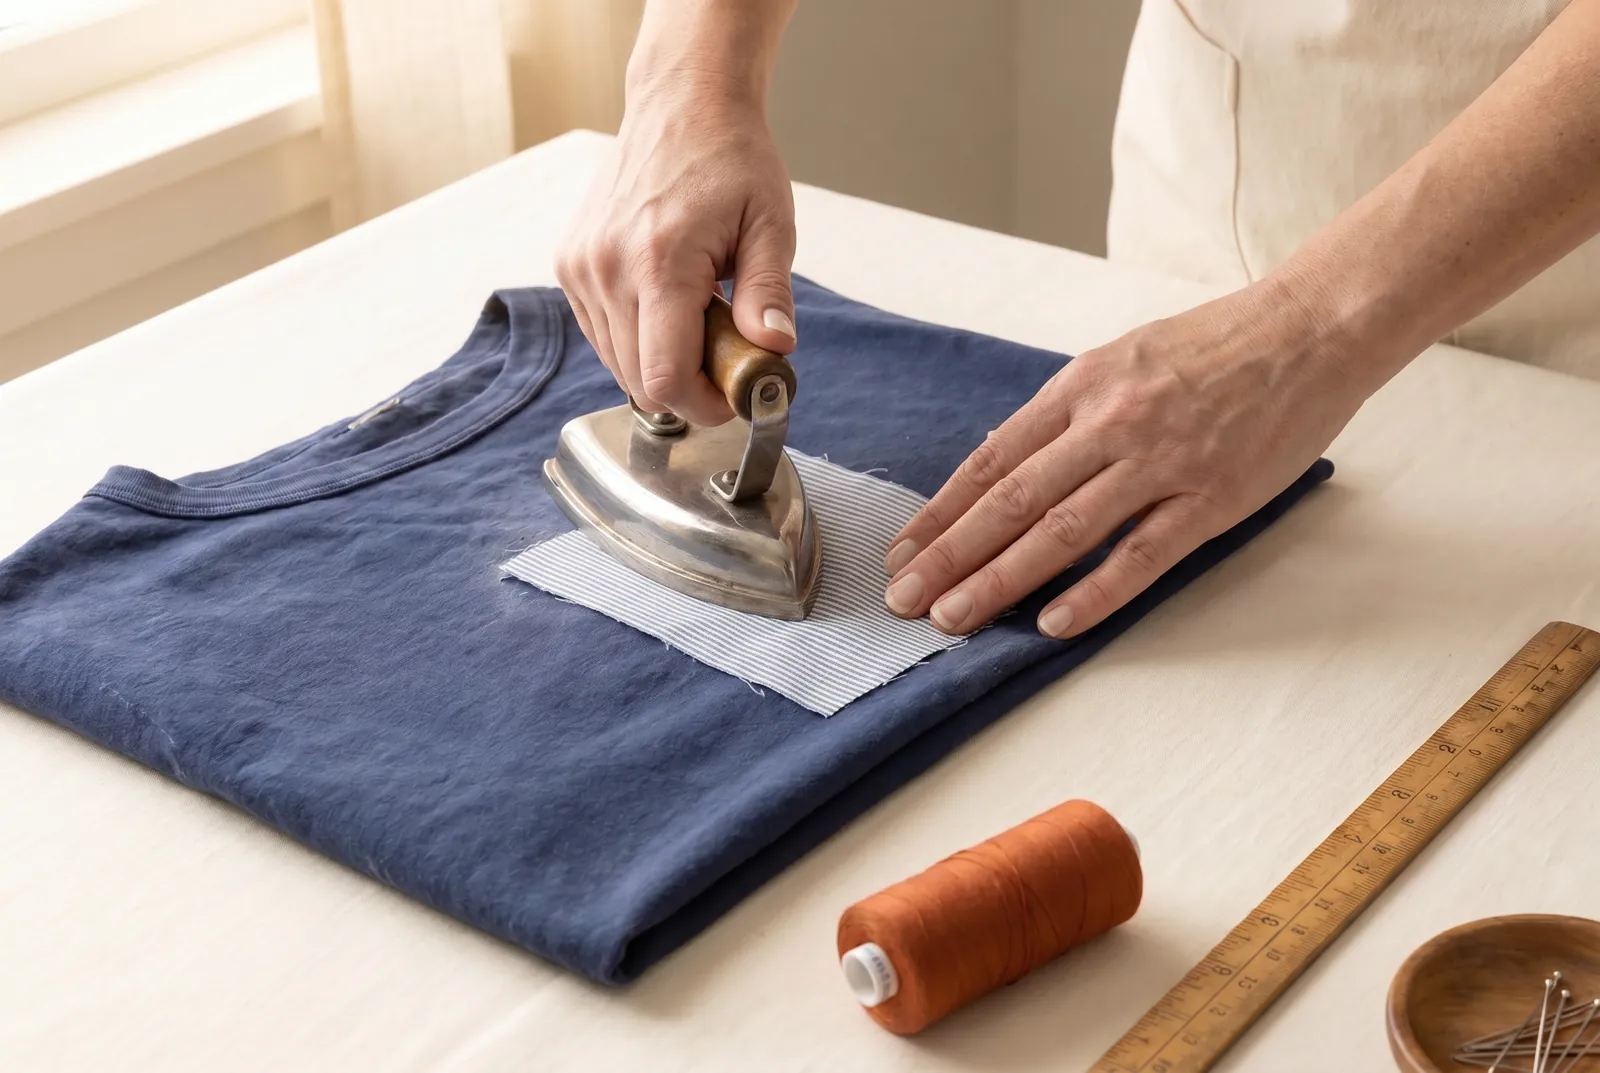
STEP 2/9Lay the patch and the cloth around the worn spot on the board and press both flat; cotton bears a hot iron and may be pressed damp. Flat cloth bastes down square, while cloth left rippled pulls crooked under the needle.
Step 3
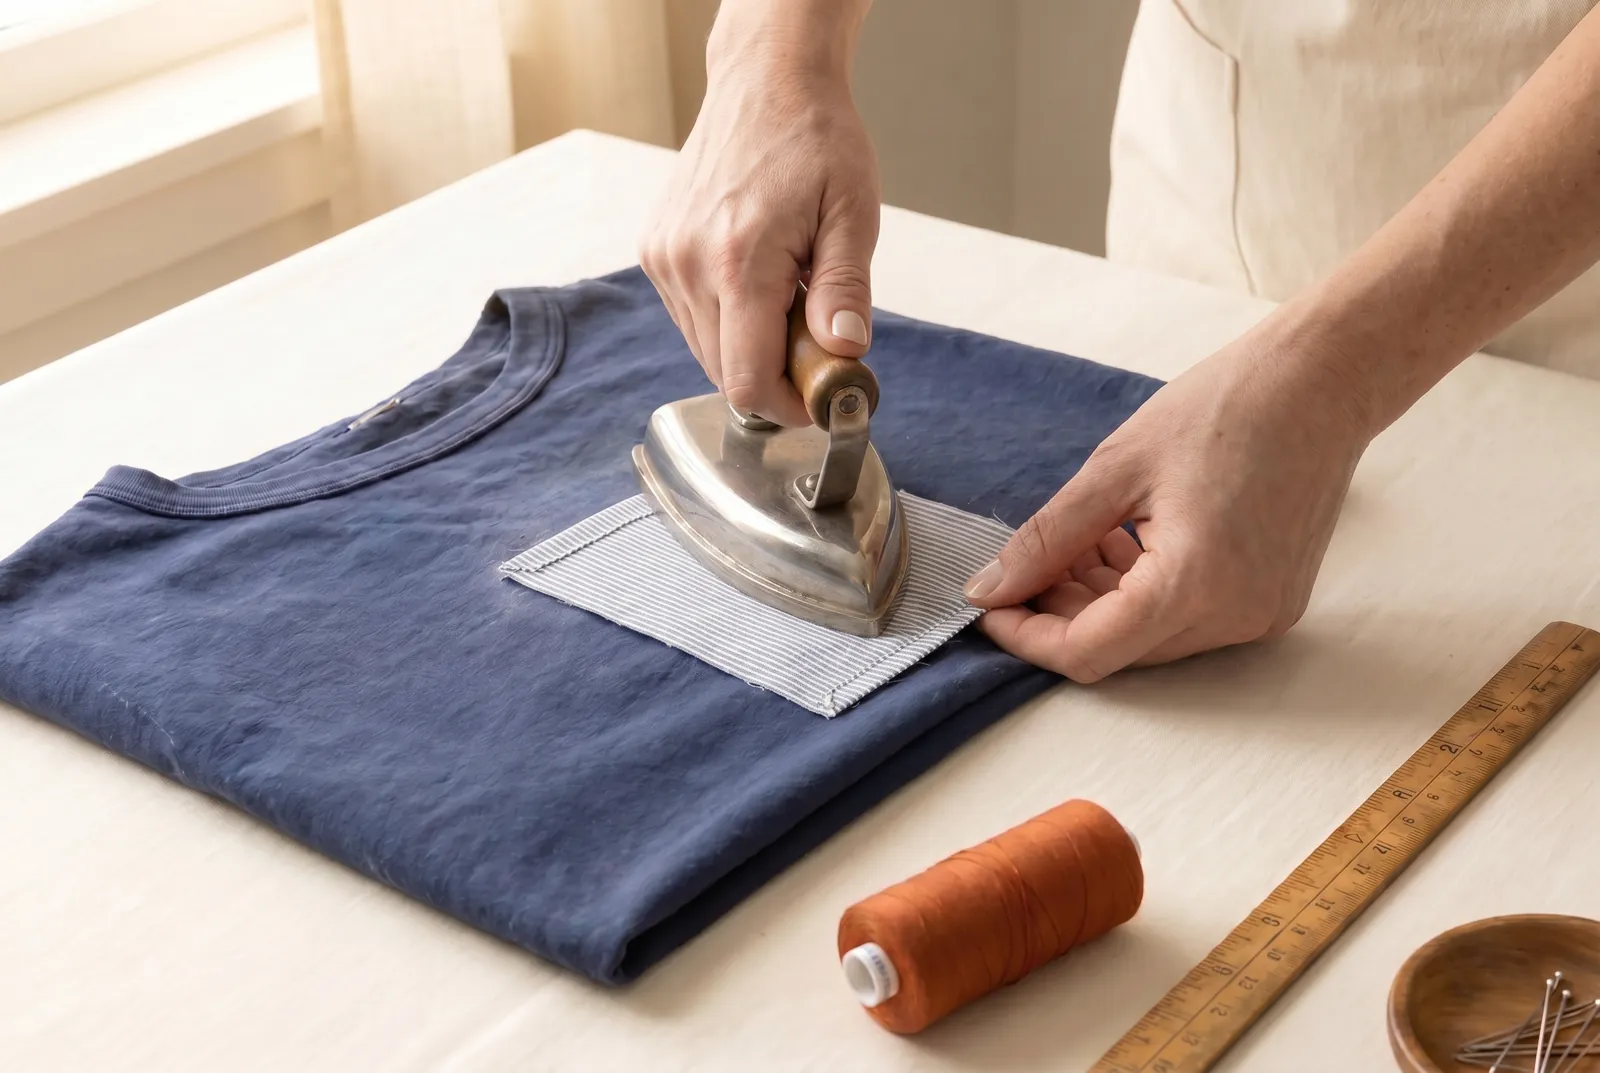
STEP 3/9Decide the patch edges. Cotton that frays little can be left flat, which keeps the mend thin; if your scrap ravels, turn each edge under about 3 mm (1/8 in) and press the fold so it lies down when stitched.
Step 4
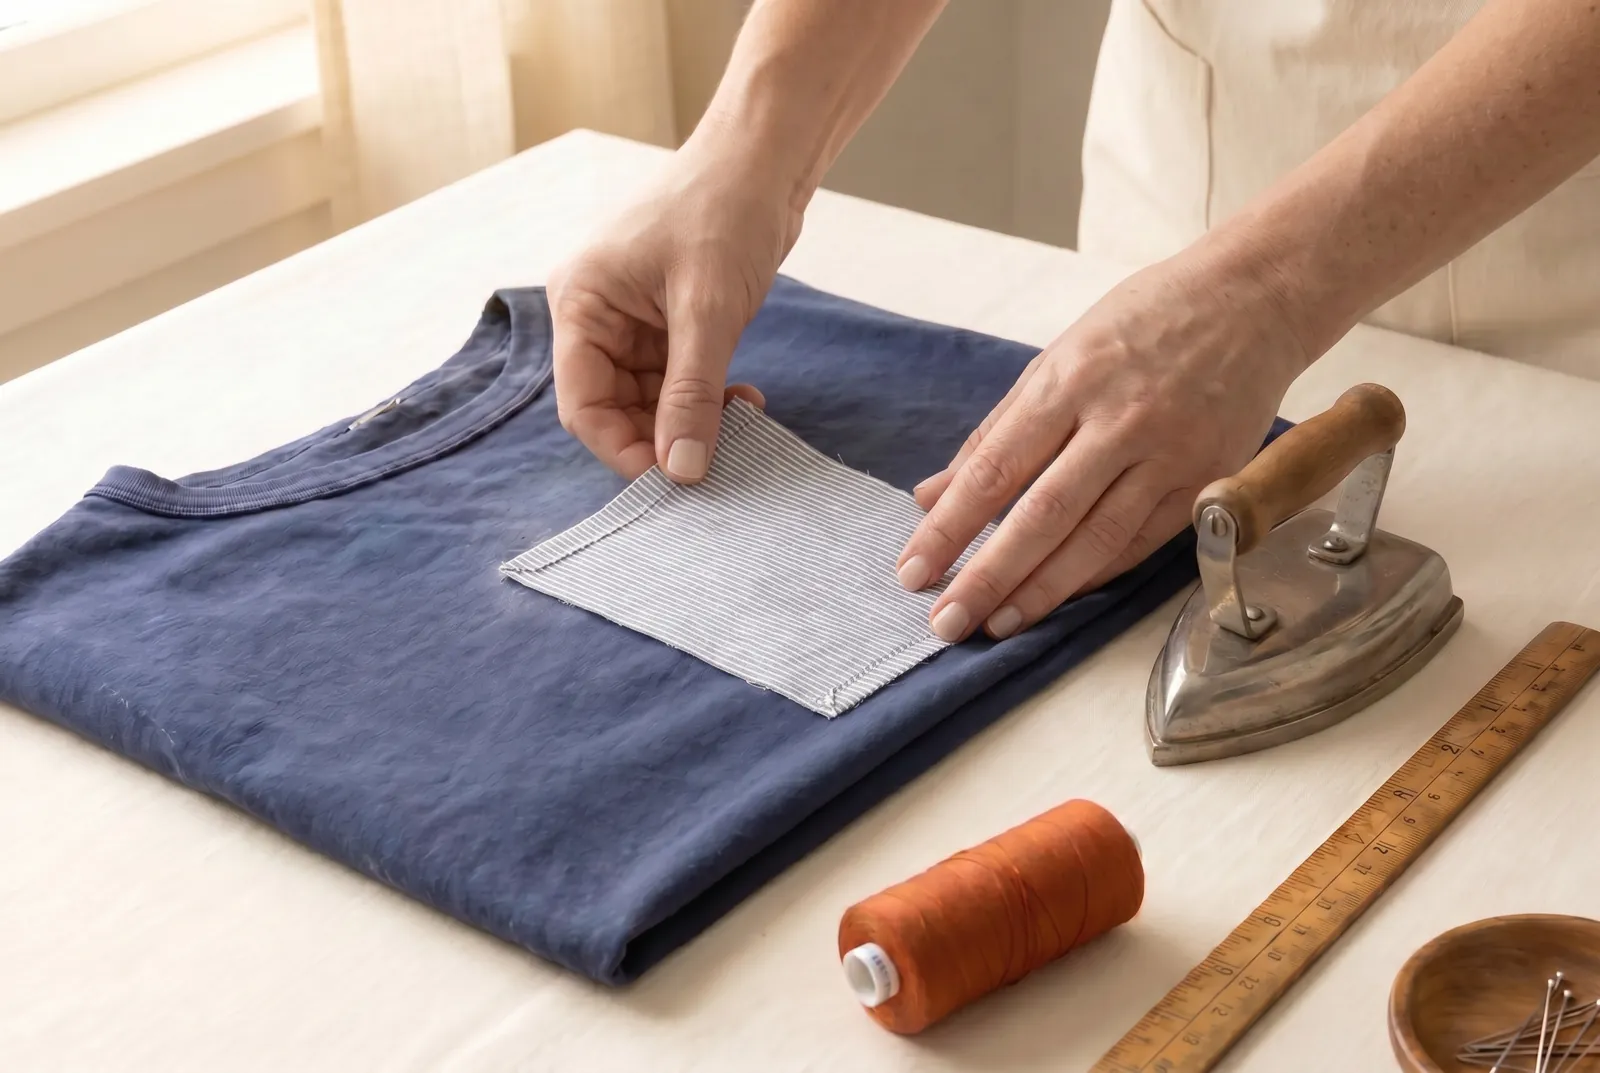
STEP 4/9Set the patch right-side up over the worn spot on the outside of the garment, centered so the thin cloth sits well inside the patch edges. This face will show, so lay it square to the weave or to a nearby seam.
Step 5
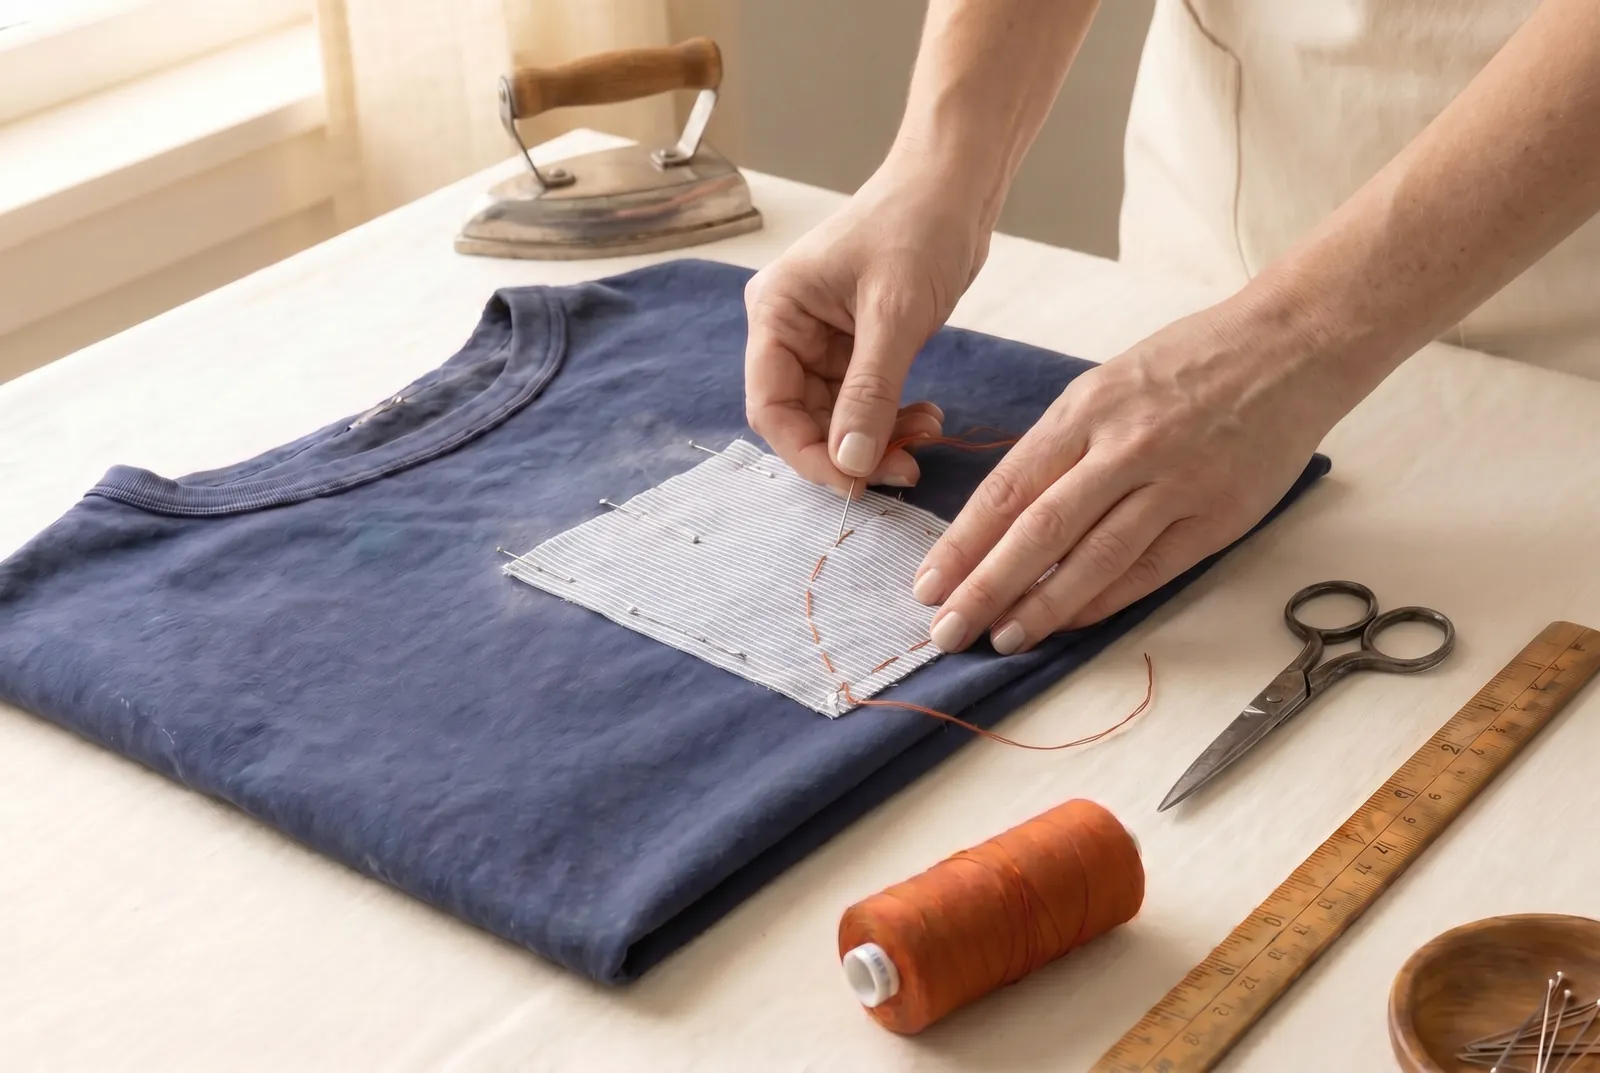
STEP 5/9Pin the patch flat, then baste it to the garment with long stitches around all four edges and once or twice across the middle. Skip the basting and the rows of stitching will shift the layers and pucker the mend.
Step 6
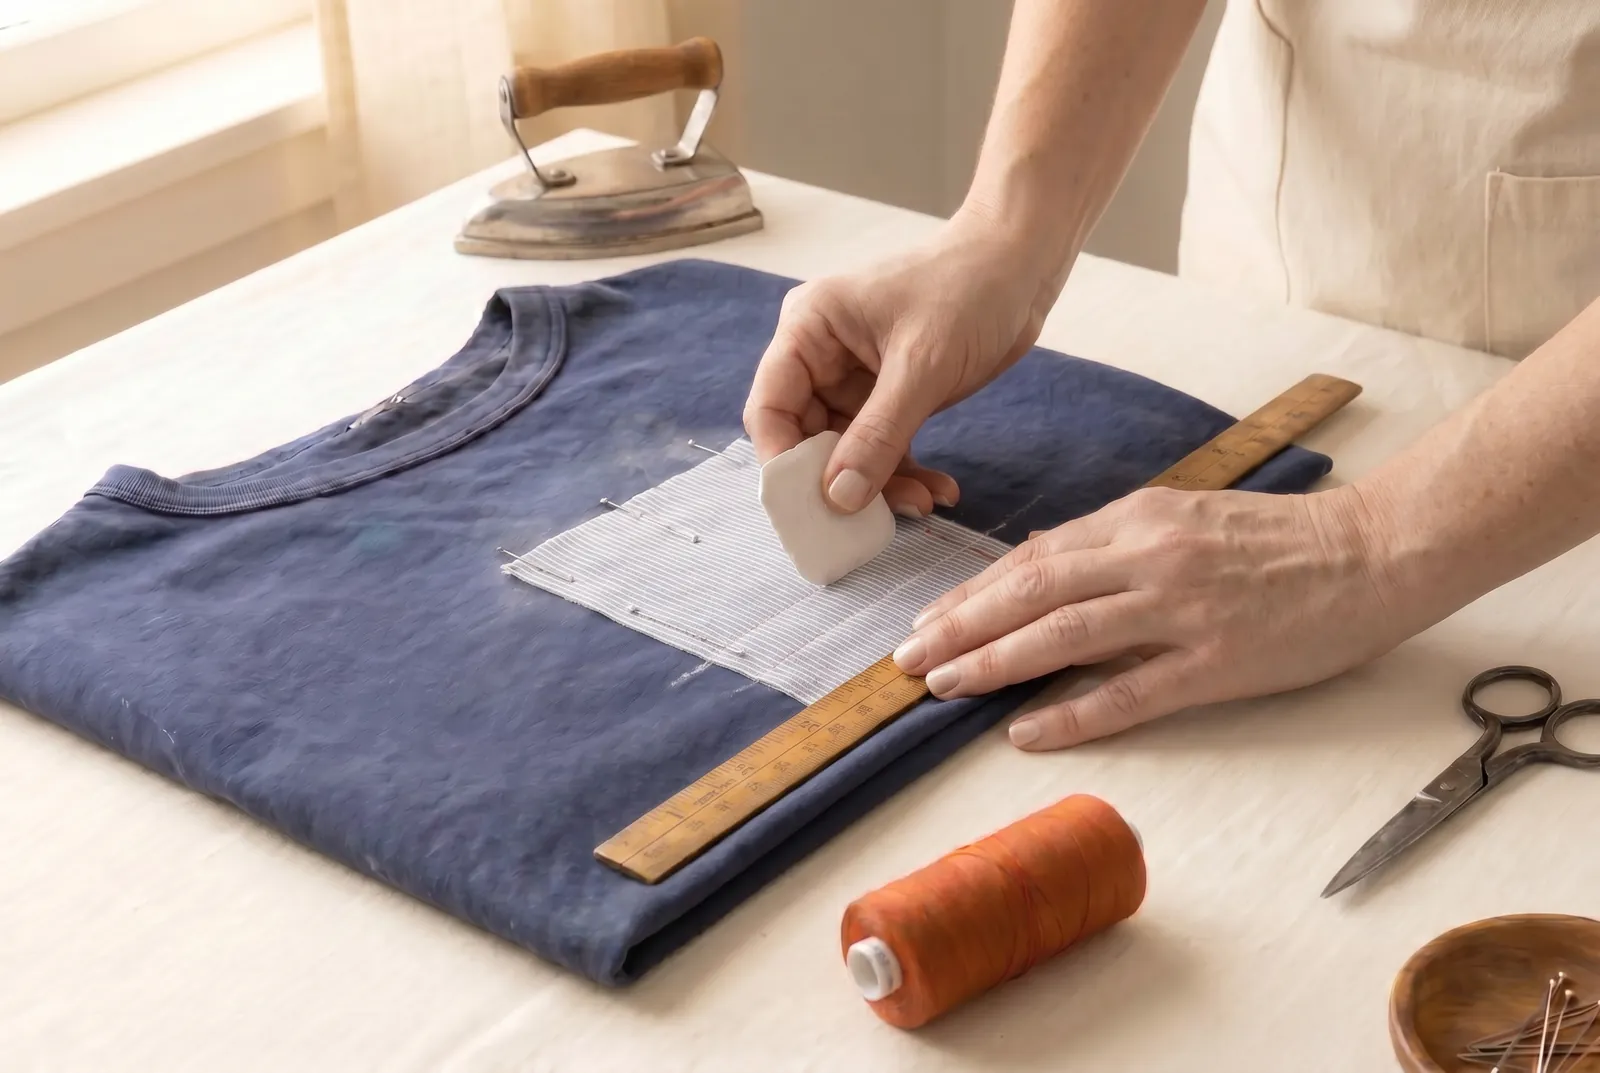
STEP 6/9On the right side, mark parallel stitching lines across the patch with tailor's chalk and a ruler, 6 to 10 mm (1/4 to 3/8 in) apart. Straight lines are the plainest to follow; a grid or rows of diamonds hold the layers as well and show more pattern.
Step 7
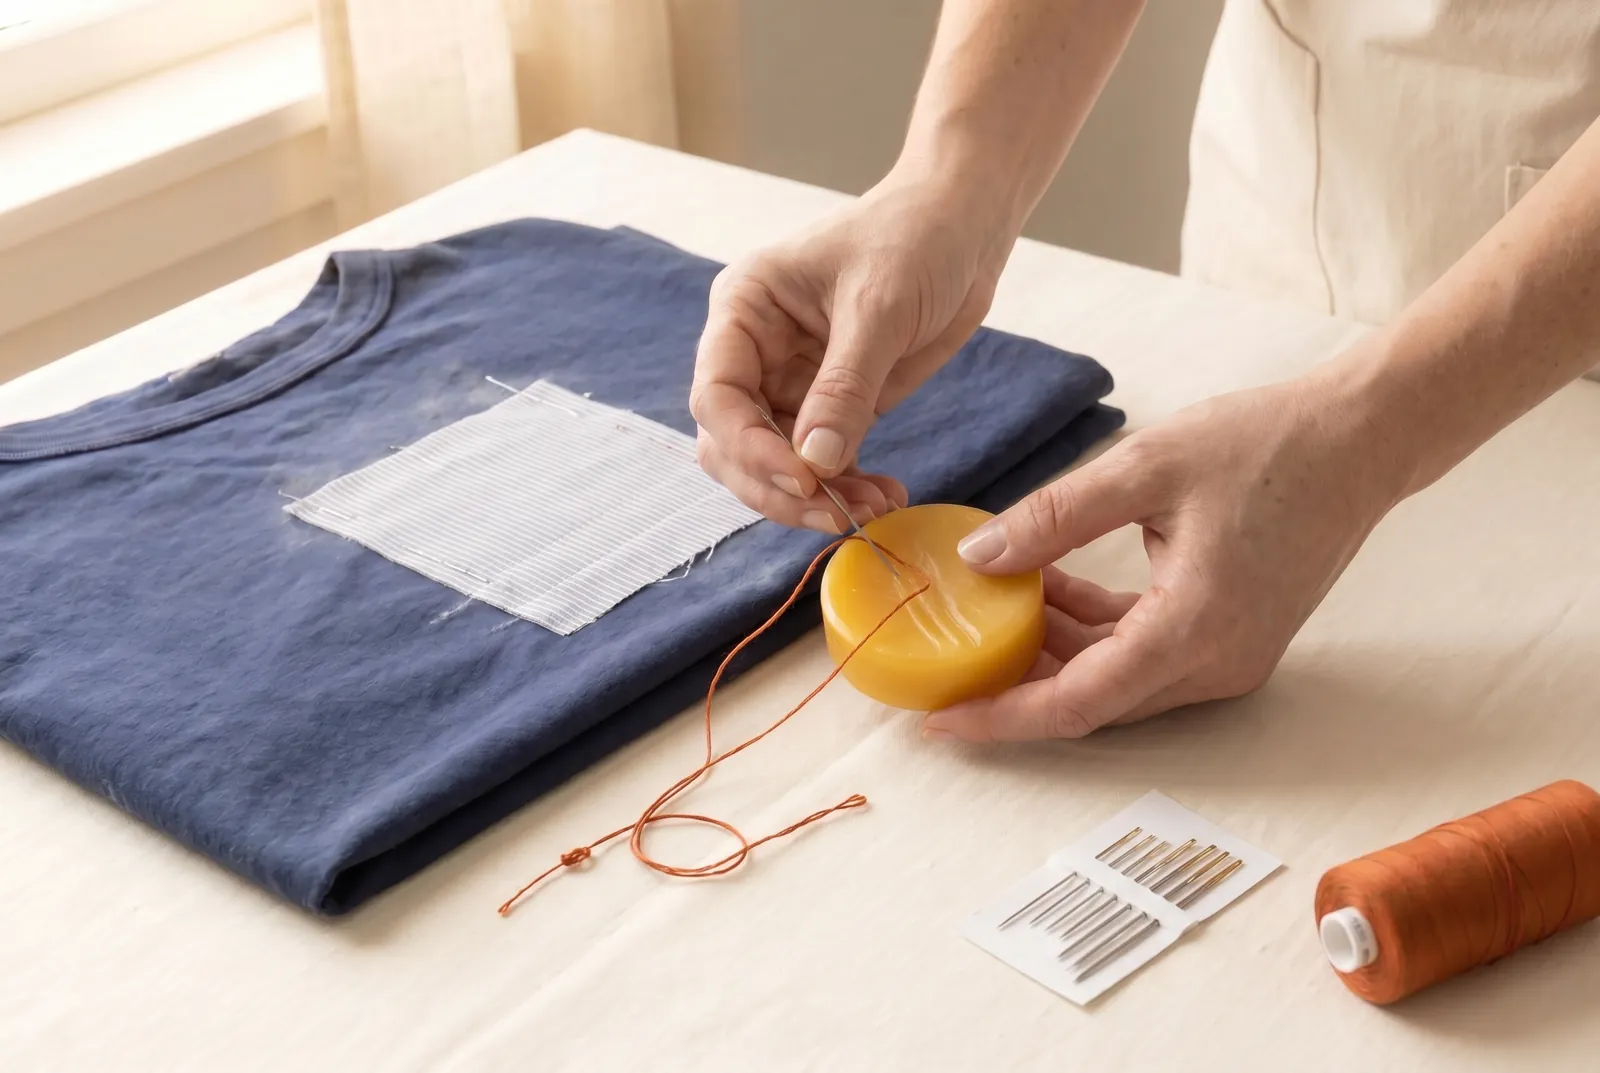
STEP 7/9Thread a sharps needle, No. 5 to No. 10, with the contrasting cotton — white on indigo is the traditional sashiko choice — and draw the thread across a lump of beeswax so it stands up to wear. Knot the far end.
Step 8
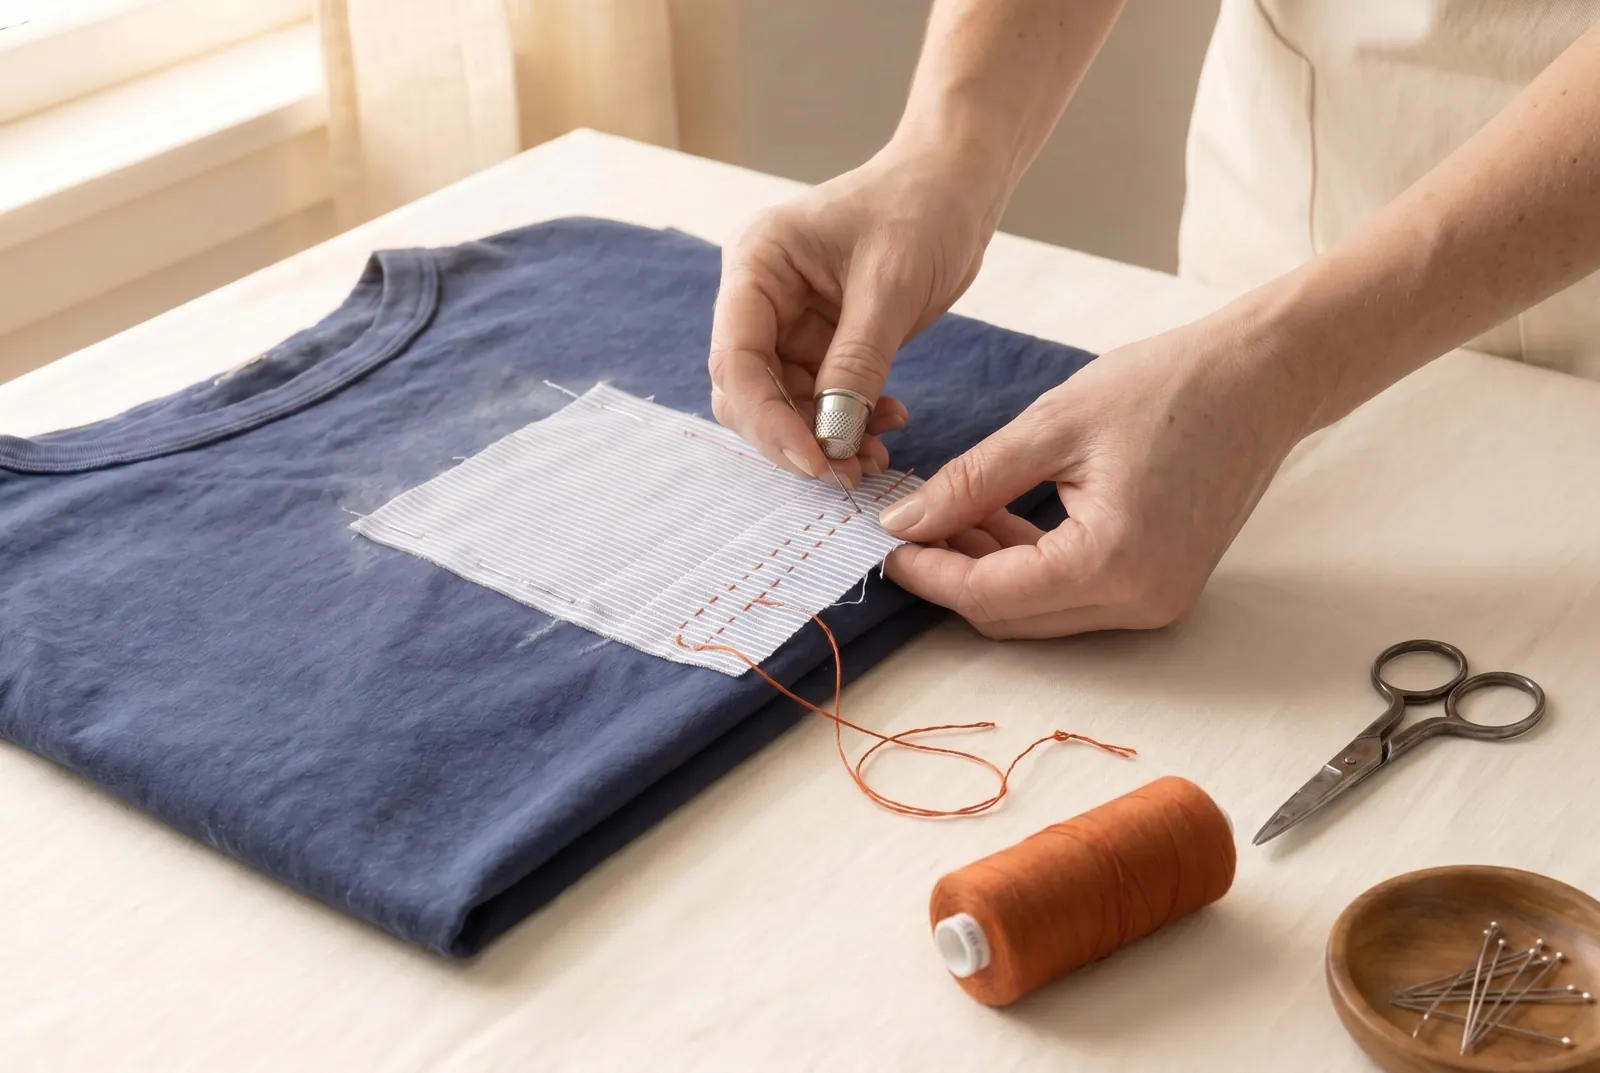
STEP 8/9Stitch along each marked line with small, even running stitches — the 'little stabs' that name sashiko — passing the needle through both the patch and the garment each time. Work the lines one after another until the whole patch is covered, so the rows bind the layers to wear as one and hold every patch edge down.
Step 9
STEP 9/9Pull out the basting threads and press the finished mend flat. The contrasting rows now read as ornament as much as repair.