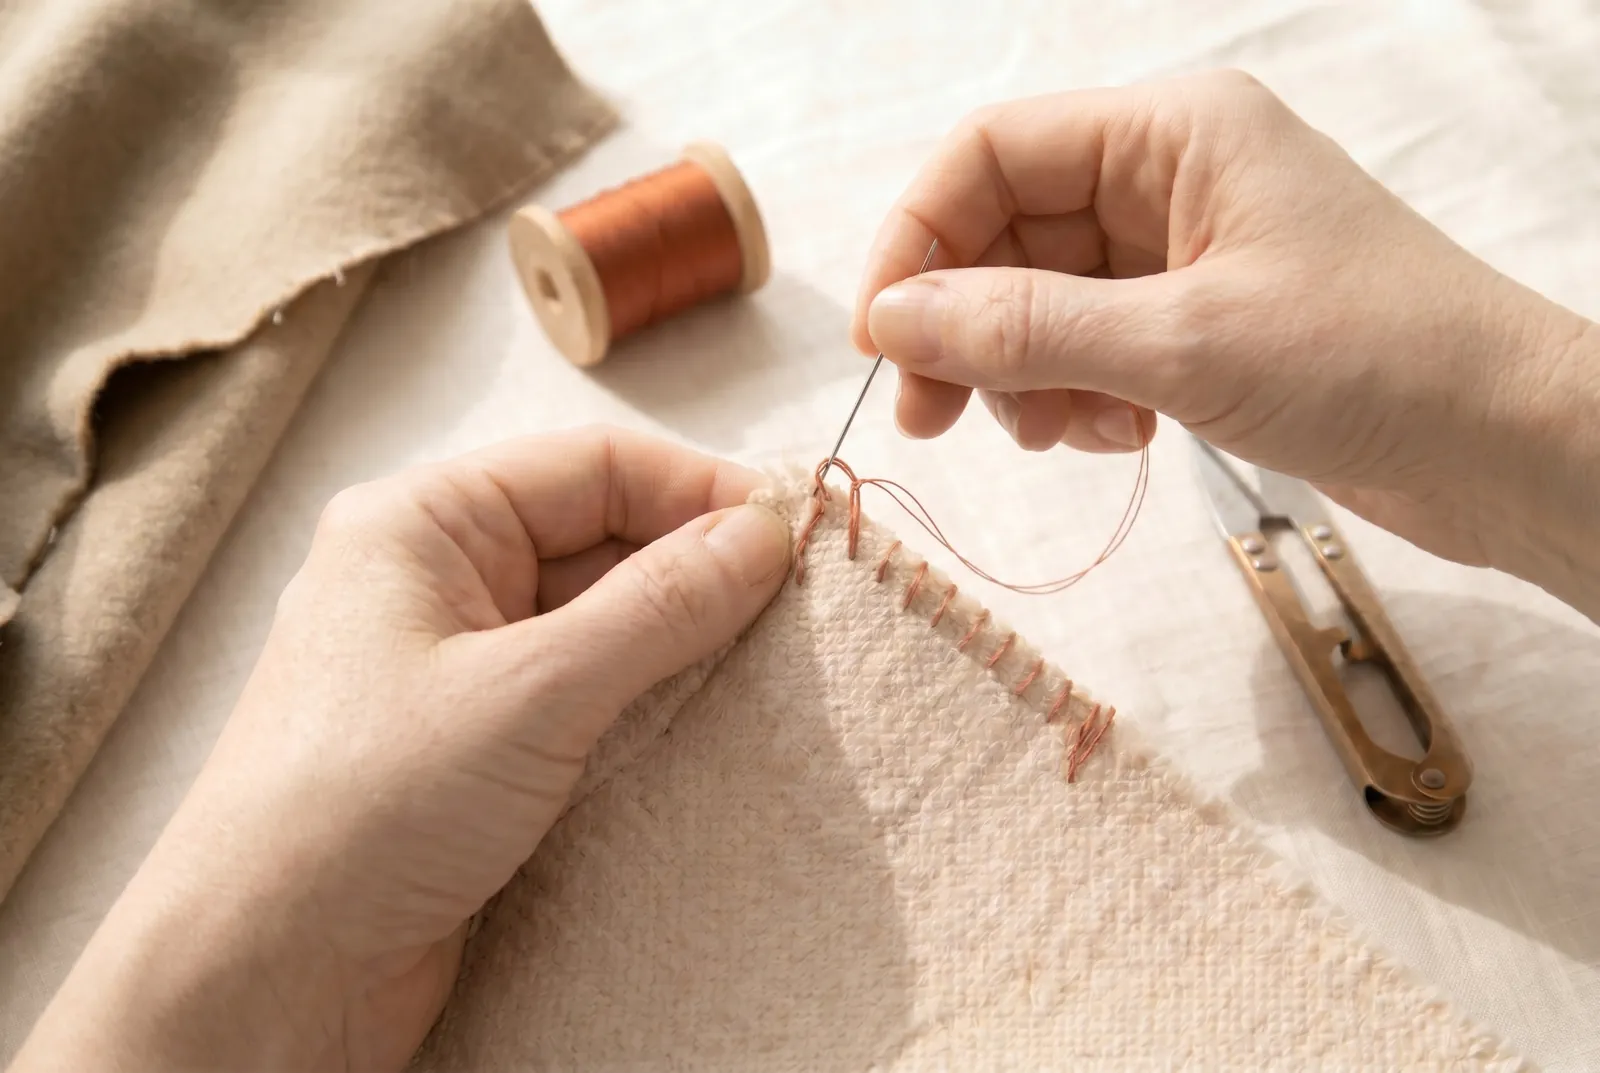
Hand-Sewing Fundamentals · piece Nº 03 · 54 min
Overcasting raw edges and the blanket stitch
Raw cut edges of woven fabric ravel in wear and washing until a seam or patch gives way. In this lesson you will practice two hand stitches that stop that: overcasting, a row of slanting stitches for the seam allowances inside a garment, and the blanket stitch, a firmer purled edge for blankets, flannel edges, and the border of an applied patch.
The seam · 9 steps
Step 1
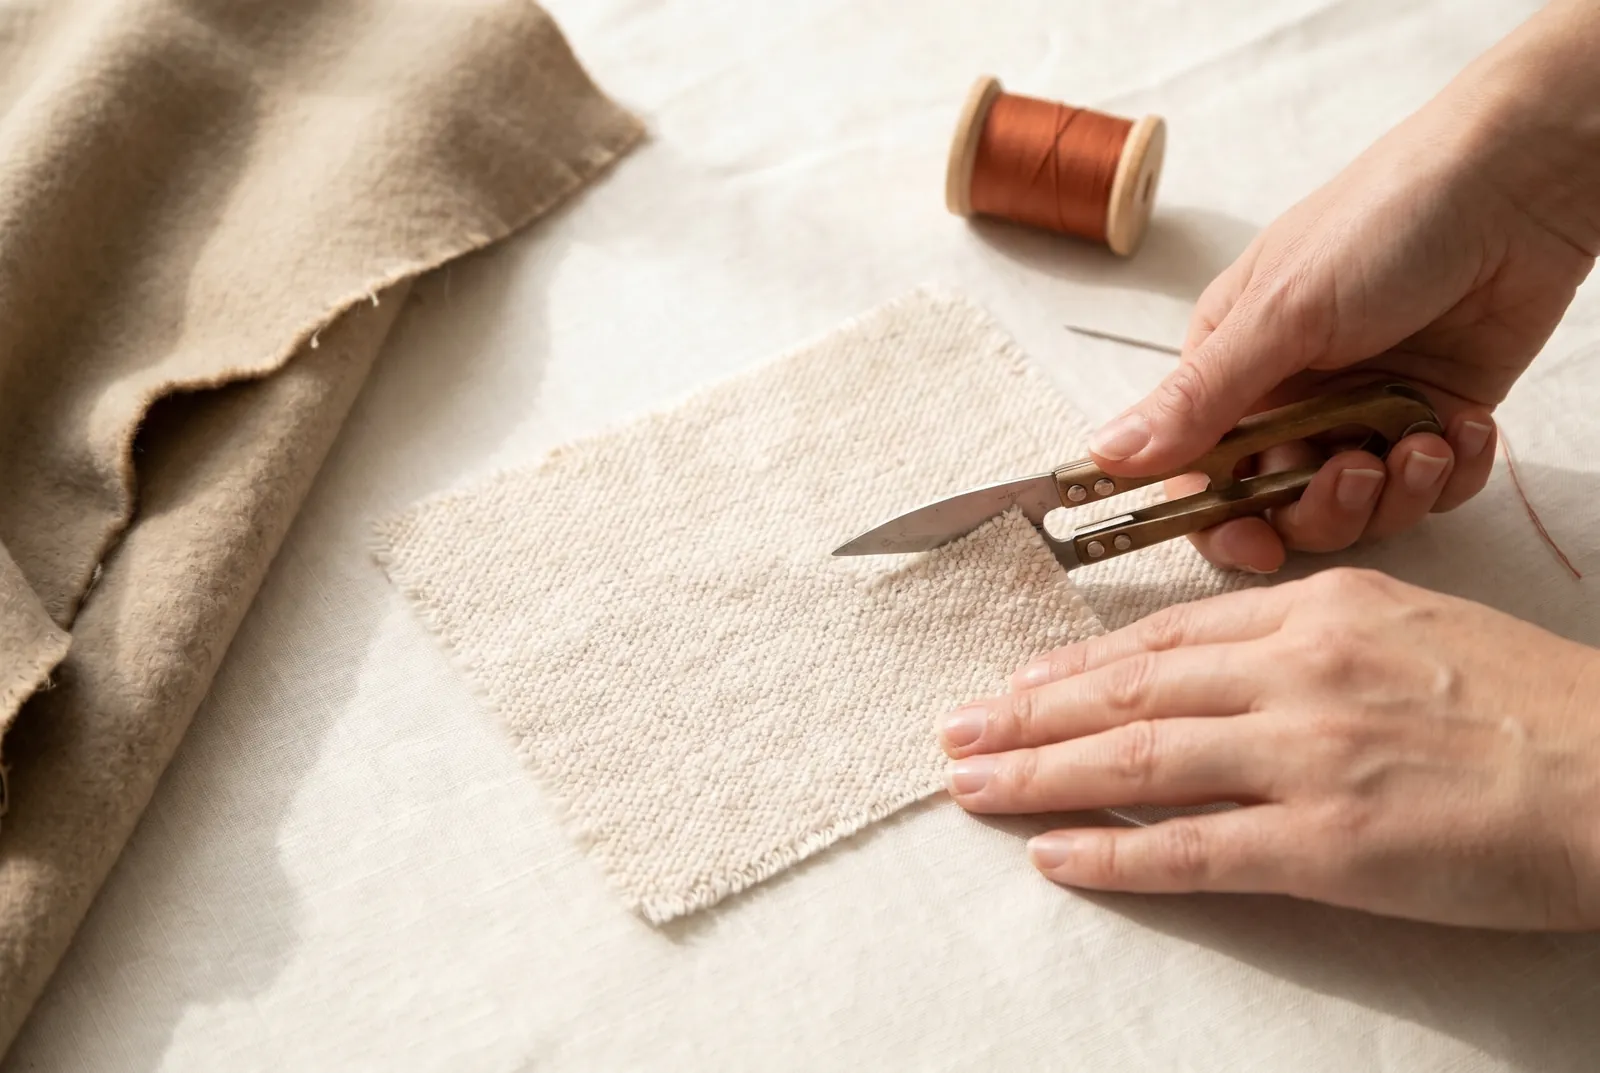
STEP 1/9Cut or find a straight raw edge on a scrap of woven fabric about 10-15 cm (4-6 in) long, and lay it flat in front of you with the raw edge running left to right. A scrap that frays a little lets you see each stitch catch the loose threads and hold them.
Step 2
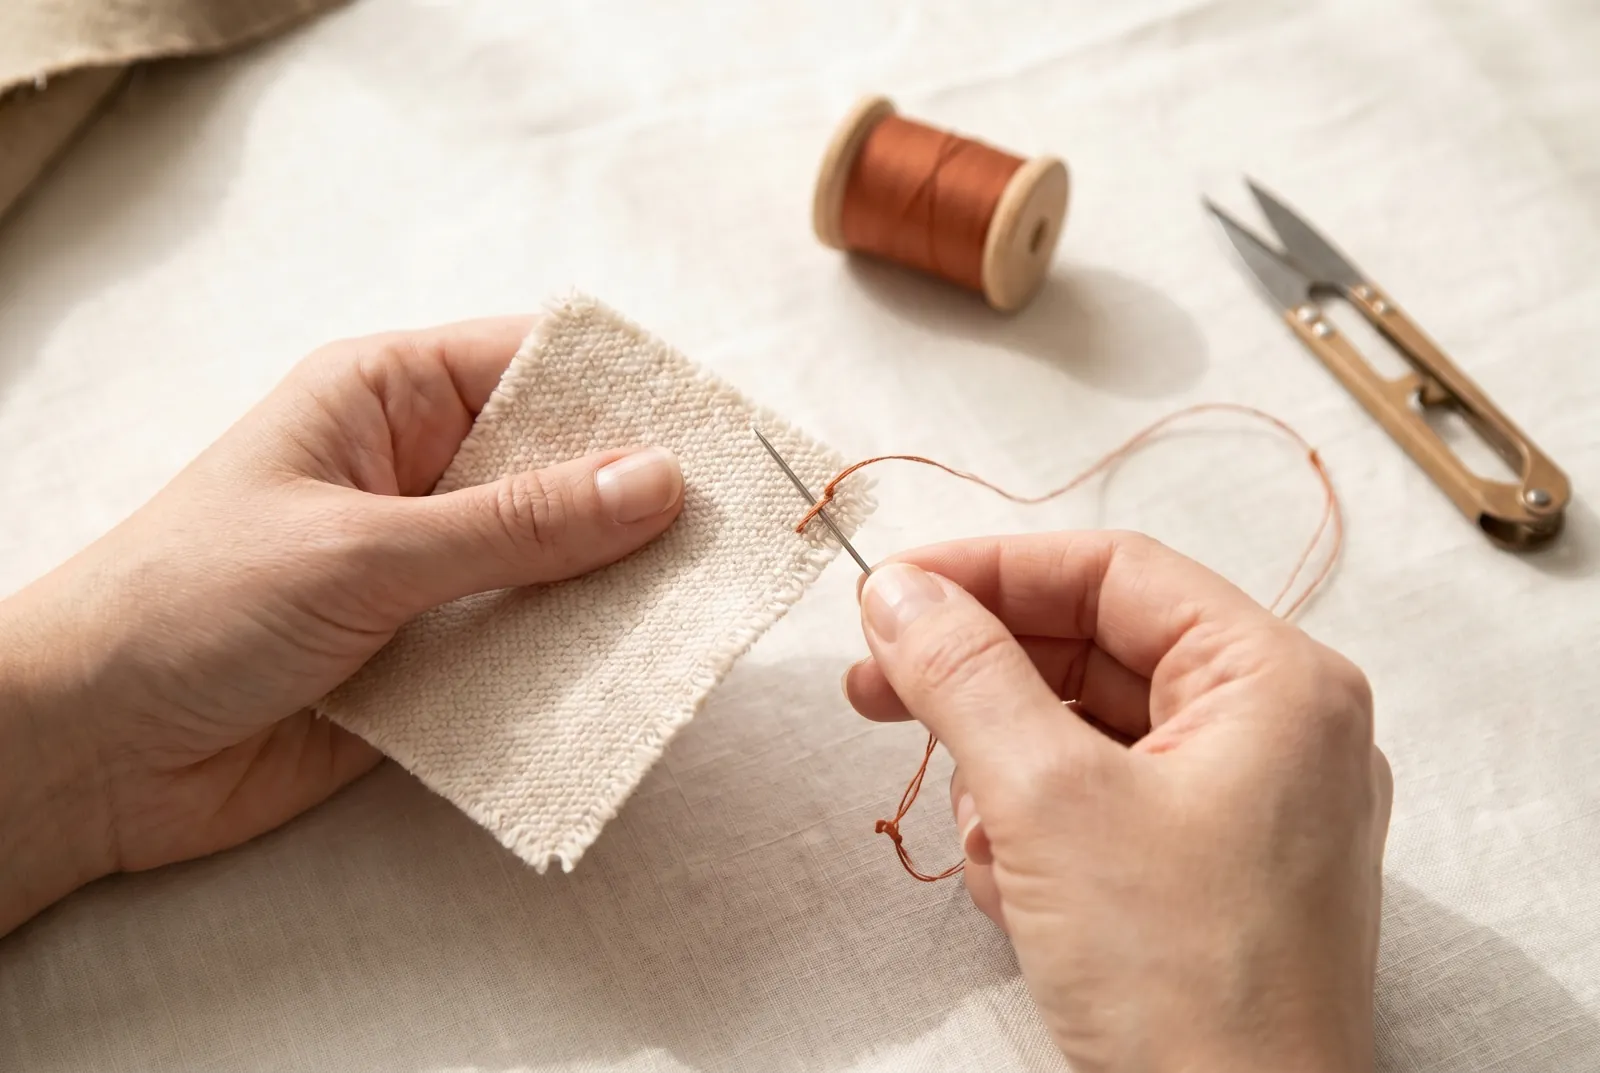
STEP 2/9Thread the needle with about 45 cm (18 in) of thread and tie a small knot in the long end. Before the first edge stitch, anchor the thread: bring the needle up from the back and take two tiny stitches over each other in one spot, so the row you are about to work has something to hold it. Without this anchor the first stitch pulls straight out.
Step 3
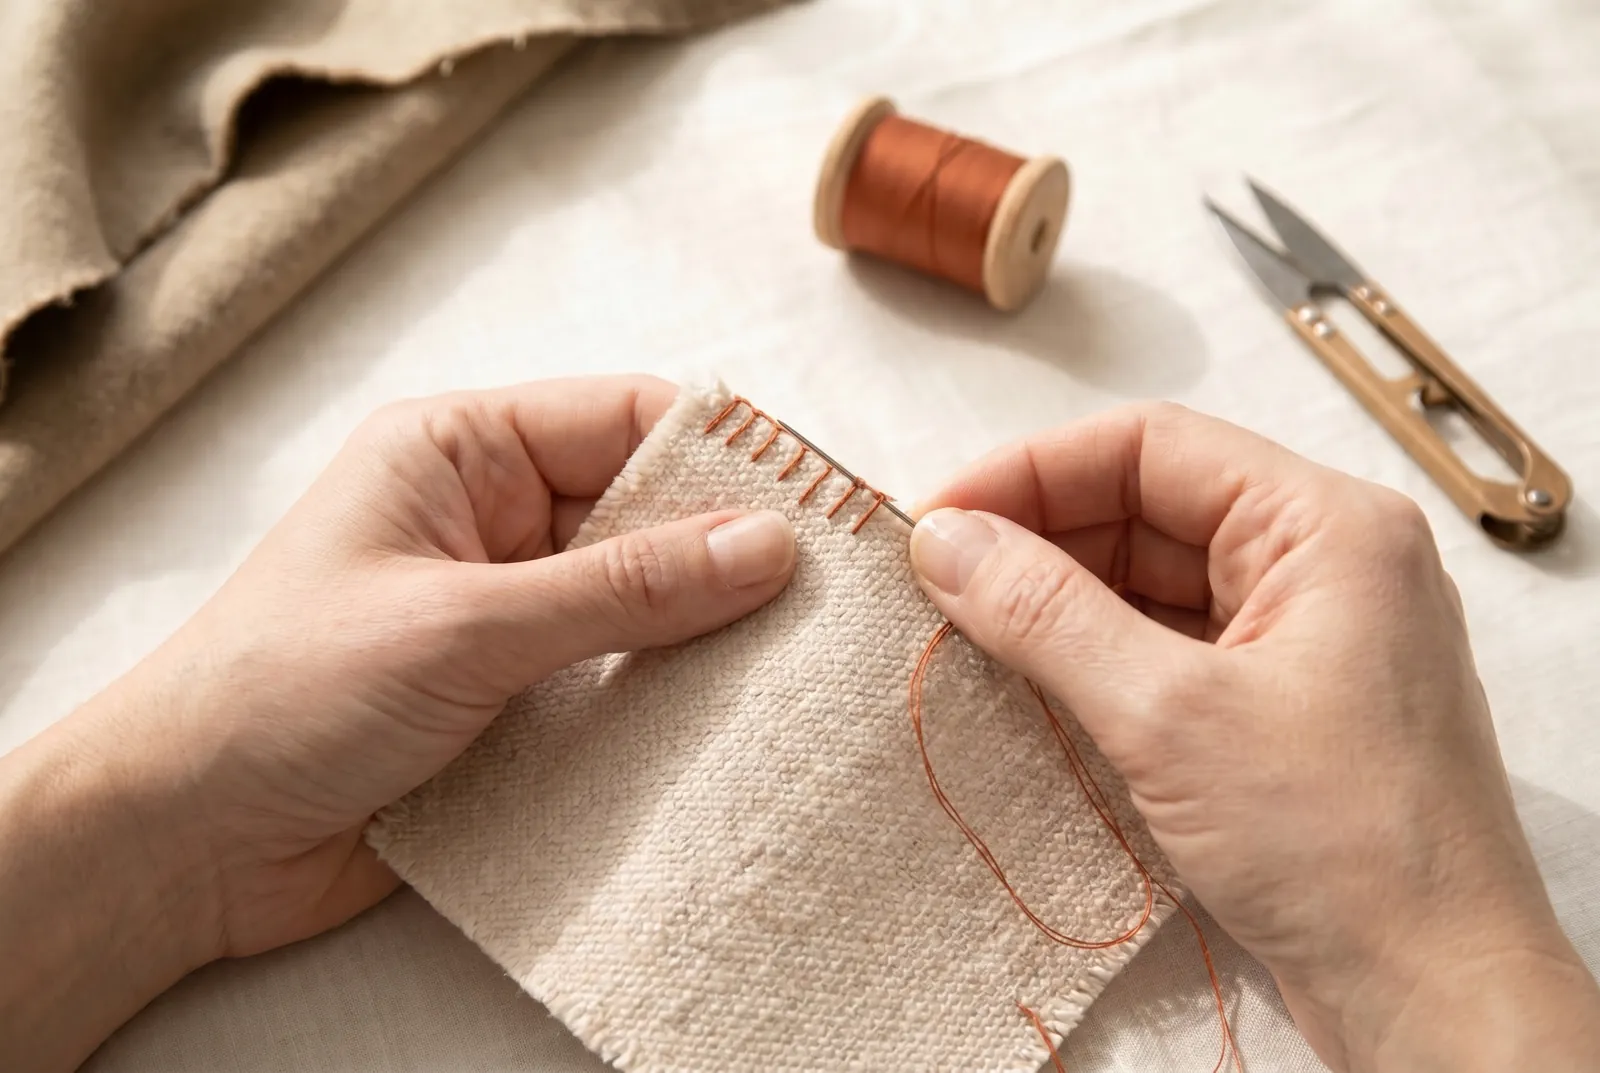
STEP 3/9Work a row of overcasting along the raw edge: carry the thread over the edge and bring the needle down through the fabric a short way in, making a slanting stitch about 3 mm (1/8 in) deep, then repeat, spacing the slanting stitches evenly, 3 to 4 mm (about 1/8 in) apart. This is the finish for goods that fray. Keep the thread loose enough that the edge stays flat, since stitches pulled tight gather the edge and it puckers.
Step 4
STEP 4/9When you overcast a real seam that has been pressed open, treat the two raw edges separately, overcasting one and then the other so each lies flat on its own side. A seam that turns to one side instead, as in underwear, has its two edges finished together rather than separately.
Step 5
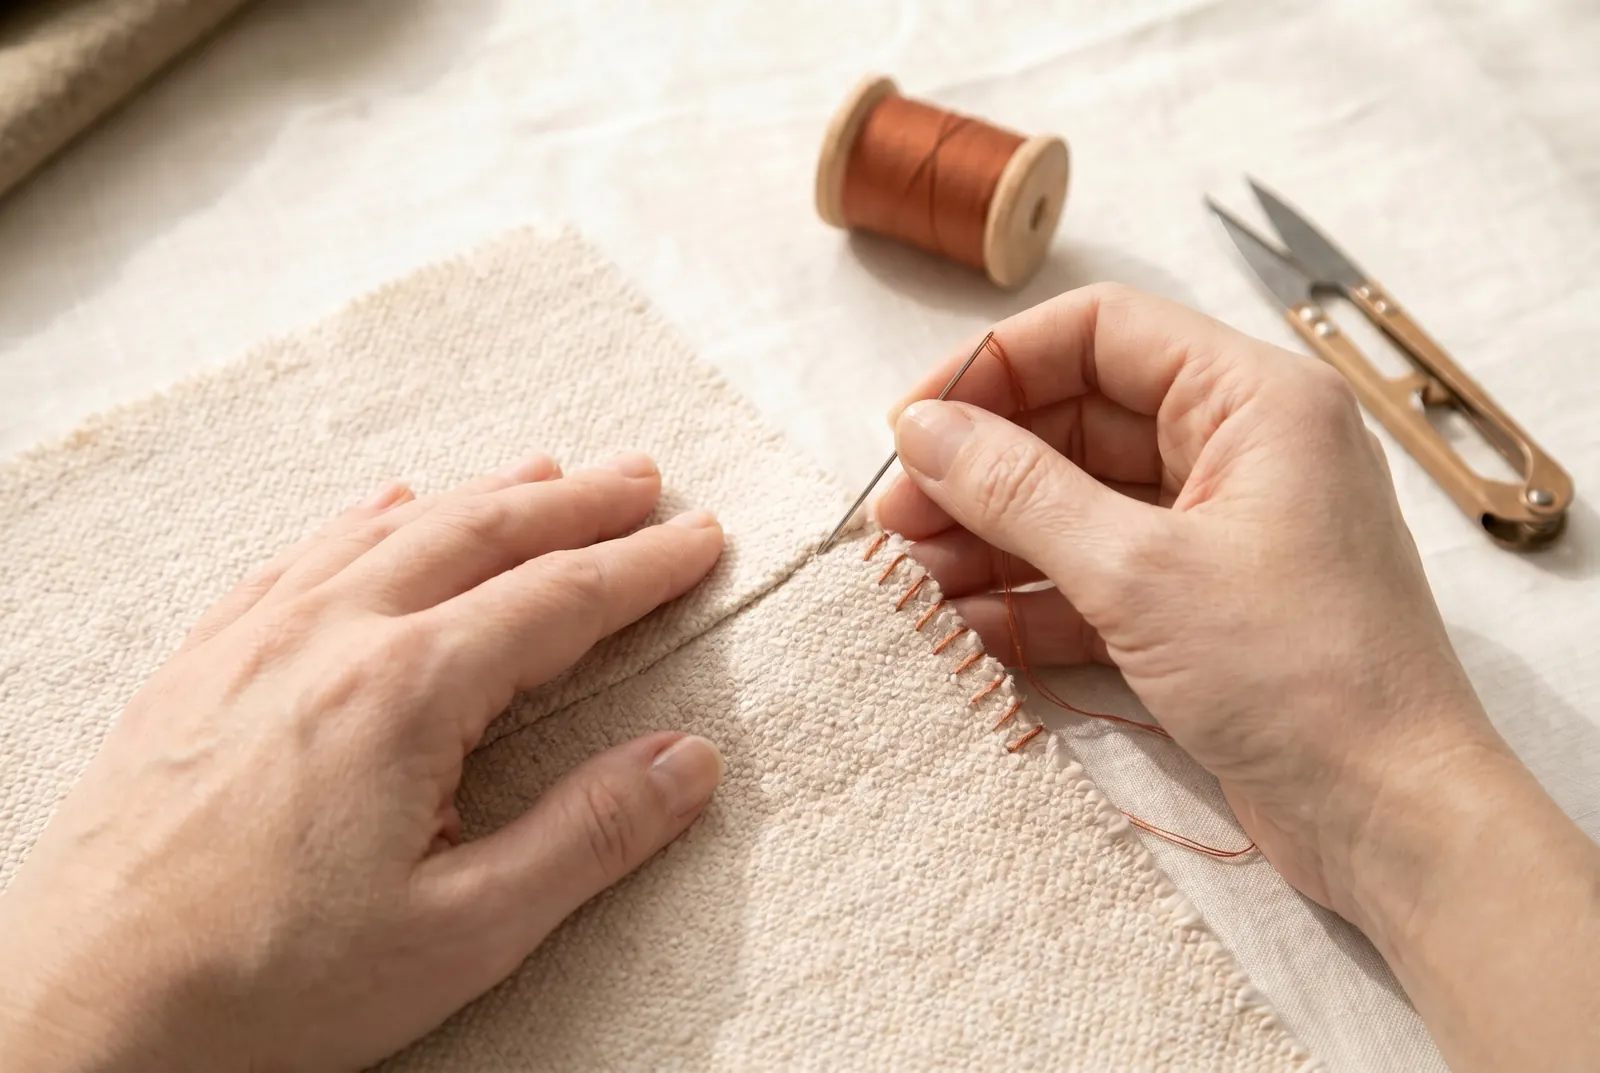
STEP 5/9At the end of the row, fasten off: take two or three small stitches over one another on the wrong side, pass the needle through the last loop to lock it, and trim the thread 2 to 3 mm (about 1/8 in) from the cloth. A row left unfastened works loose from the end and the overcasting unravels with the fabric.
Step 6
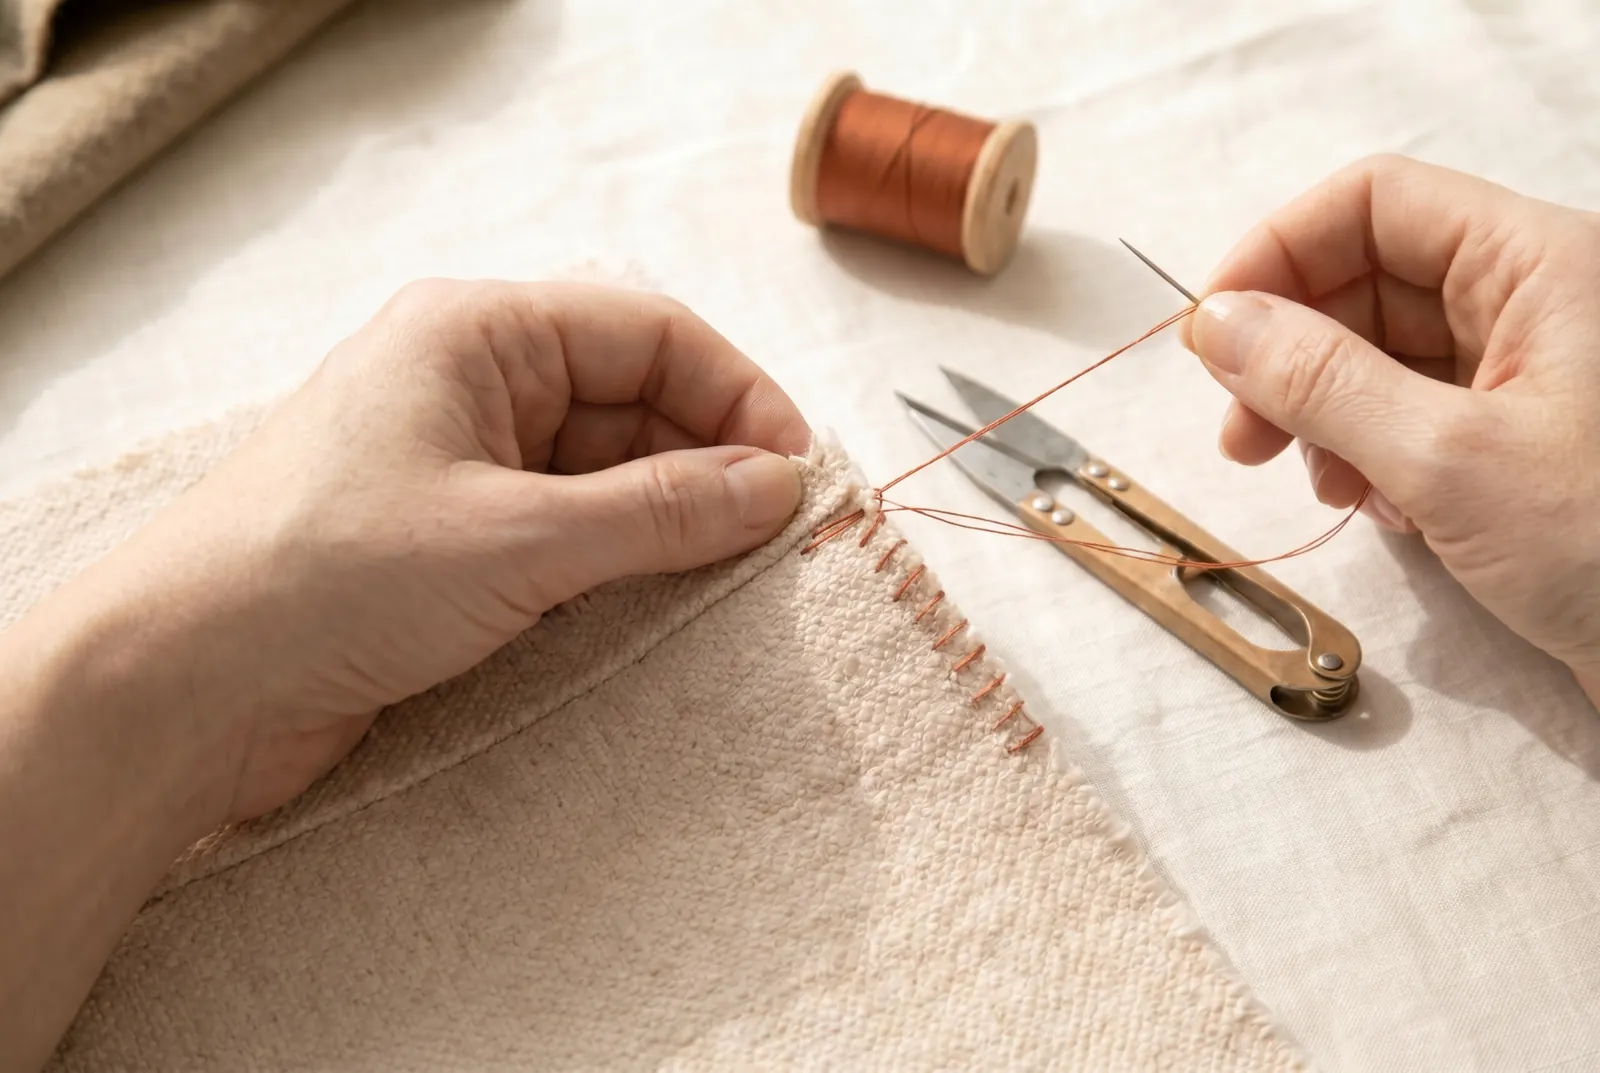
STEP 6/9Set up the blanket stitch next: it finishes a raw or folded edge with a purled line and is used on flannel edges, blankets, and the edges of applied patches. Start a fresh thread anchored as in step 2, hold the fabric with the edge toward you, and work from left to right.
Step 7
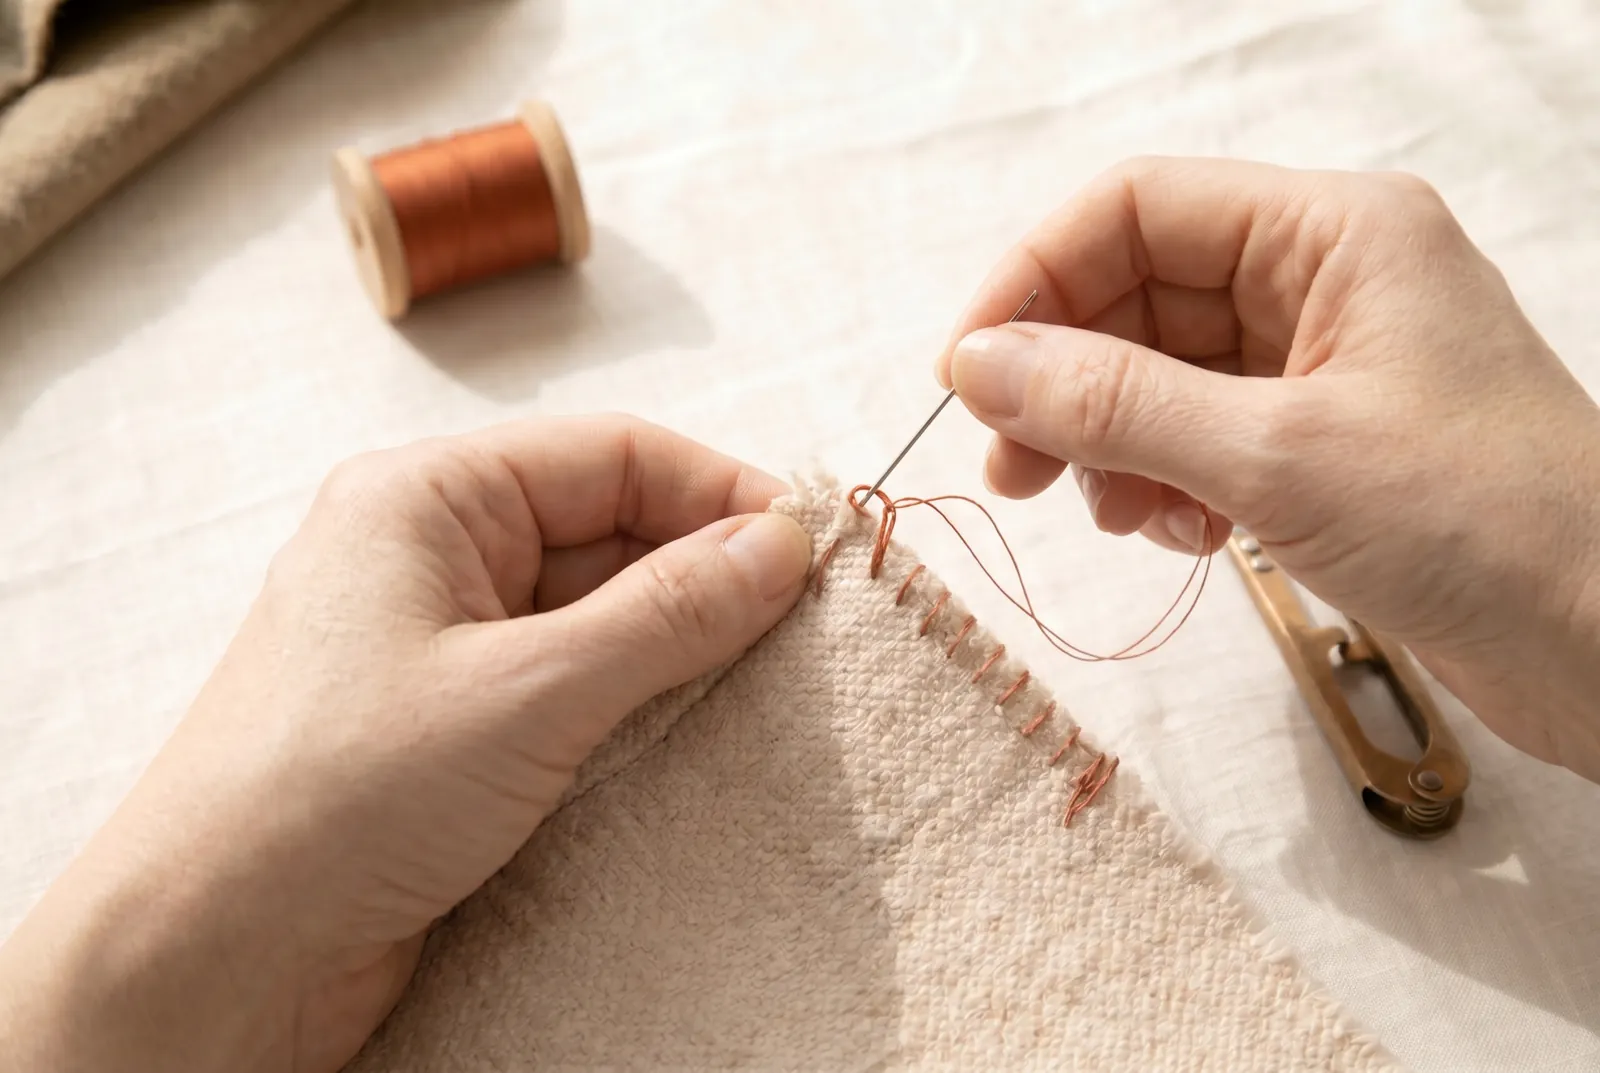
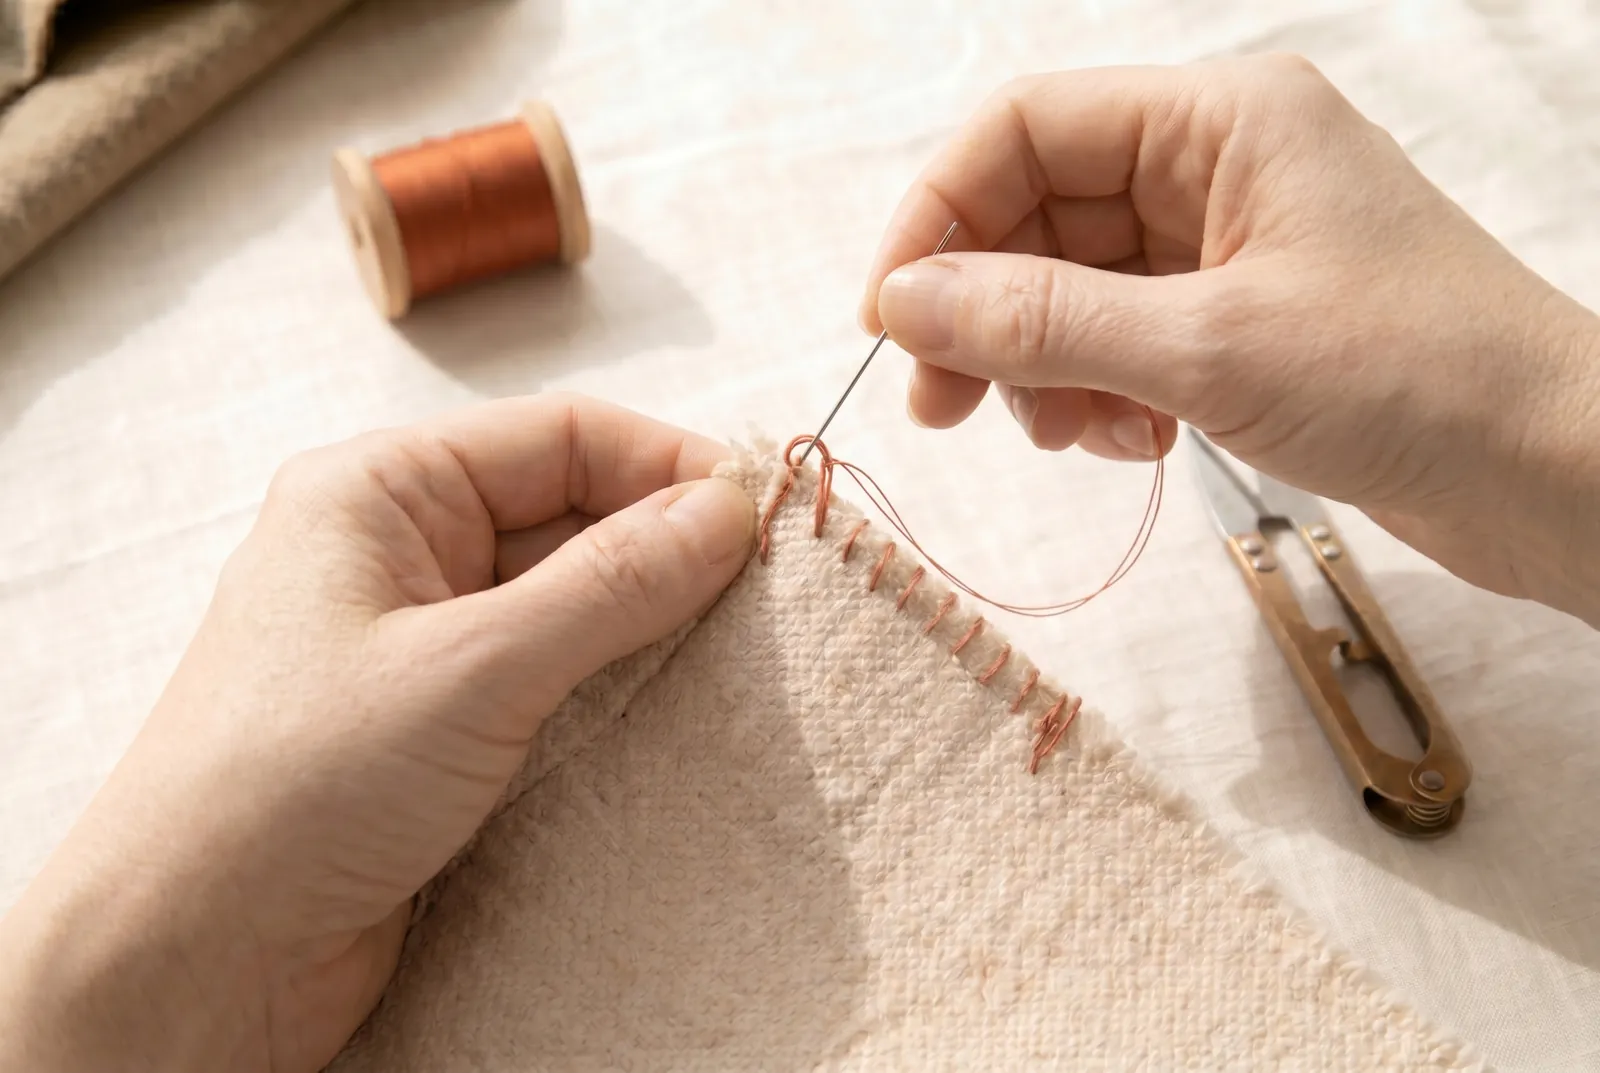
STEP 7/9Form the first stitch: put the needle into the fabric 6 mm (1/4 in) above the edge and bring its point out at the edge over the working thread, so the thread lies under the point. Draw it up and a twist forms on the edge itself; that purl is the blanket stitch.
Step 8
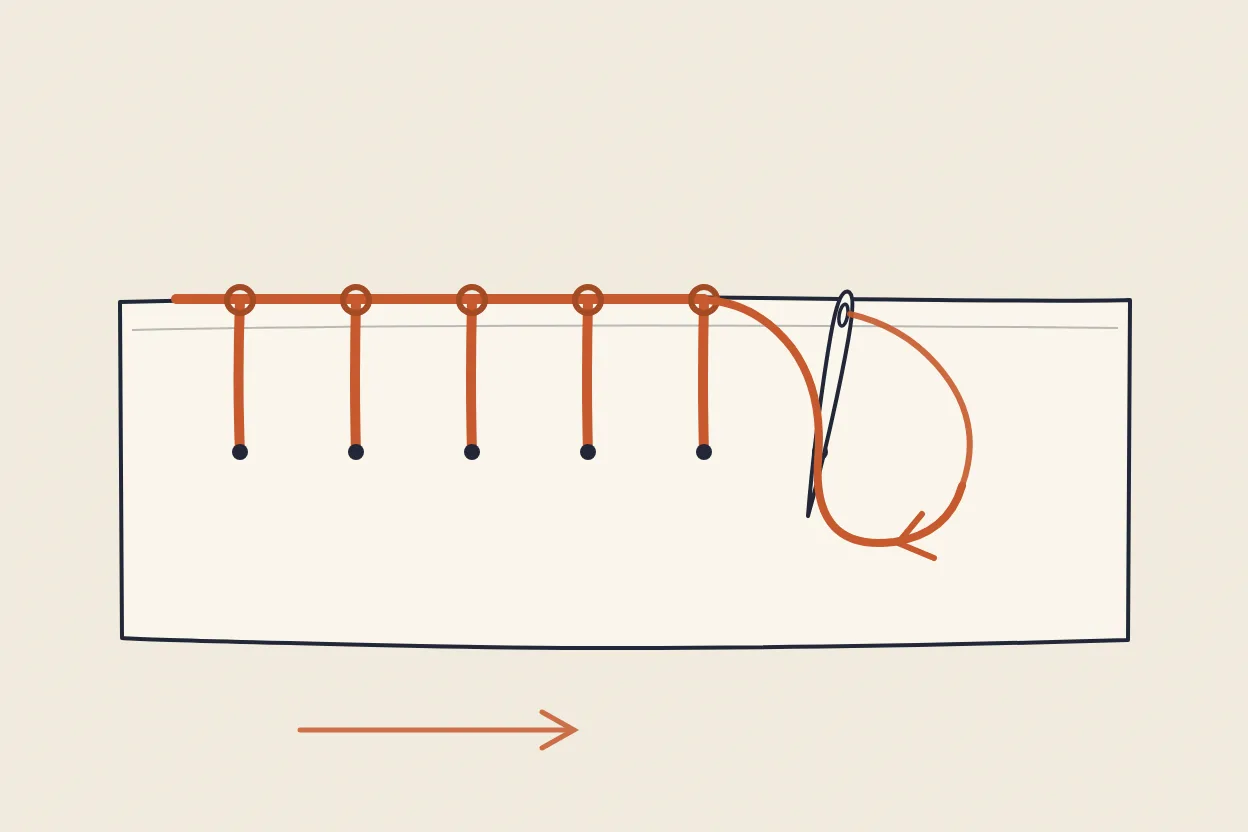
STEP 8/9Work each following stitch the same way, moving to the right with the spacing matched to the depth — 6 mm (1/4 in) apart — so the purled twists sit in a straight line along the edge. The depth and spacing may be kept even, or varied in groups for ornament.
Step 9
STEP 9/9Finish the last blanket stitch, then fasten off on the wrong side with two or three small stitches over one another and trim the thread. Check the row: the twists should sit evenly on the edge, and the stitching should not pull out when you tug the fabric gently.