Hand-Sewing Fundamentals · piece Nº 27 · 36 min
Basting: what it is and when to use it
Before a seam or a patch is sewn for good, the cloth has to be held so it cannot shift out of place. This lesson explains what basting is — a temporary line of long stitches that keeps two layers in position until the permanent stitching is worked — and walks through choosing your needle and thread, positioning the pieces, and pinning them steady. It stops at getting the cloth ready; forming the stitch itself comes in the running-stitch lesson.
The seam · 6 steps
Step 1
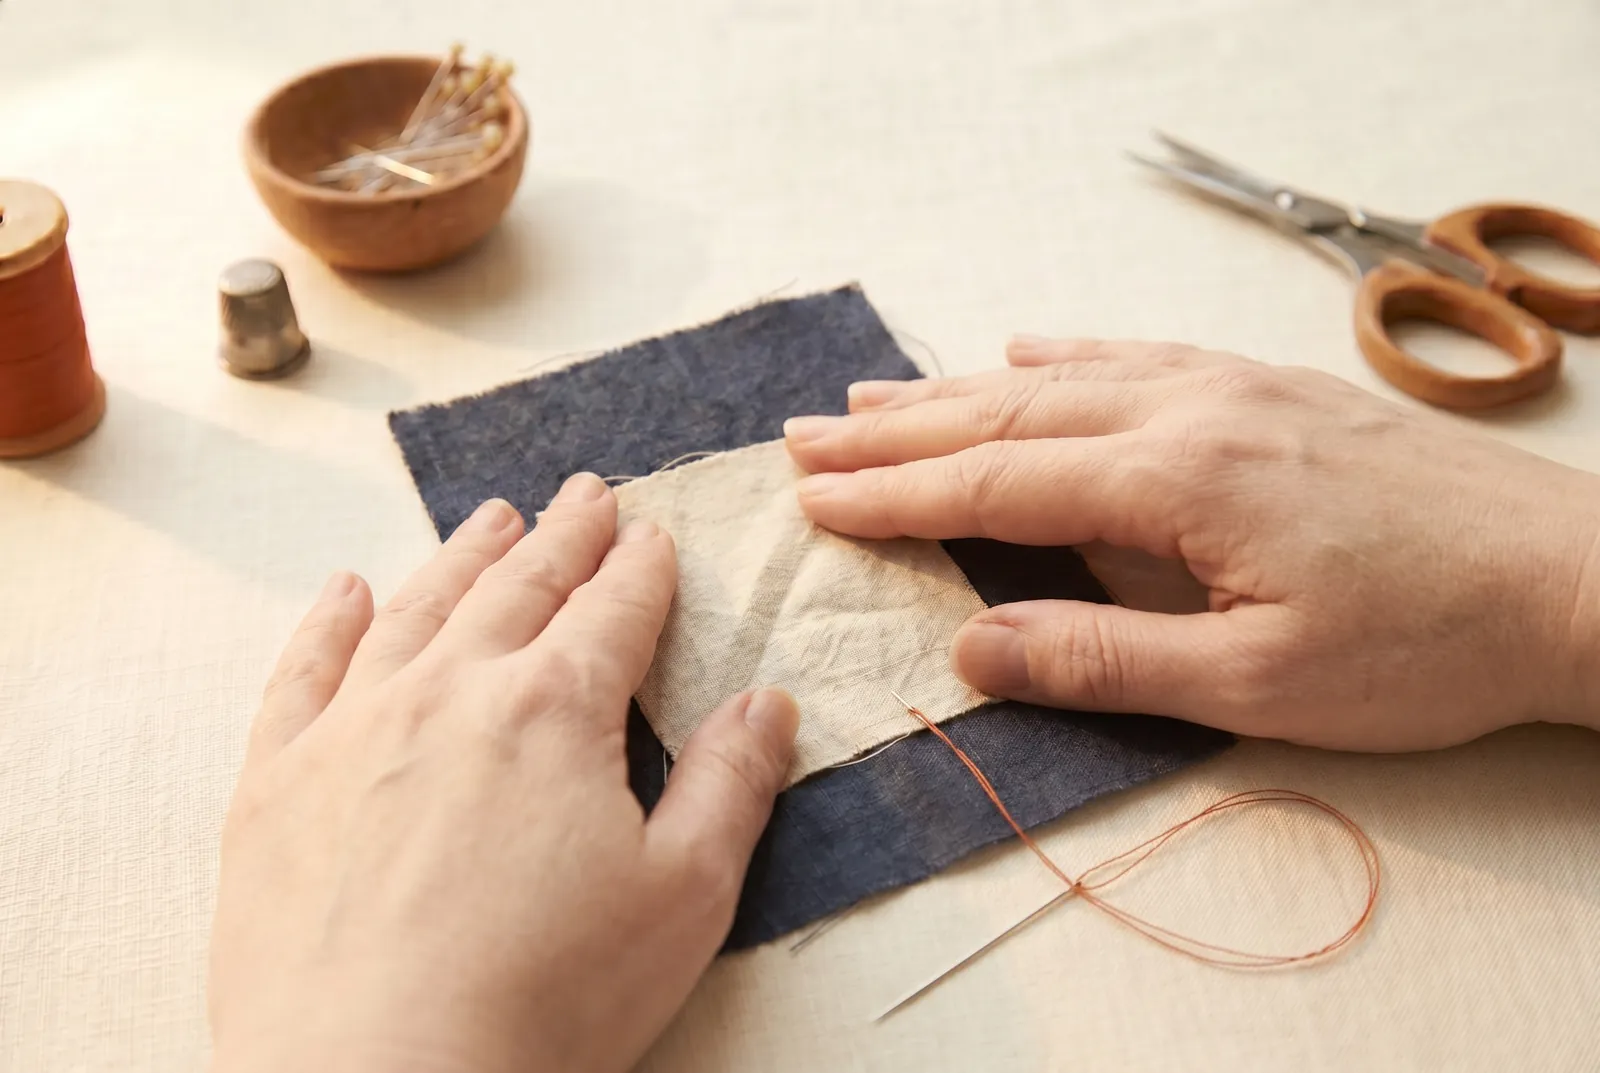
STEP 1/6Basting is a temporary line of long stitches that holds two pieces of cloth in position while the permanent stitching is worked. Because the stitches are long they have no strength on their own — the same reason a machine seam sewn with too long a stitch has no strength. To feel this, hold two scraps with a single long stitch and pull gently: it gives at once. Basting holds the pieces steady; the strong stitching that follows does the real work.
Step 2
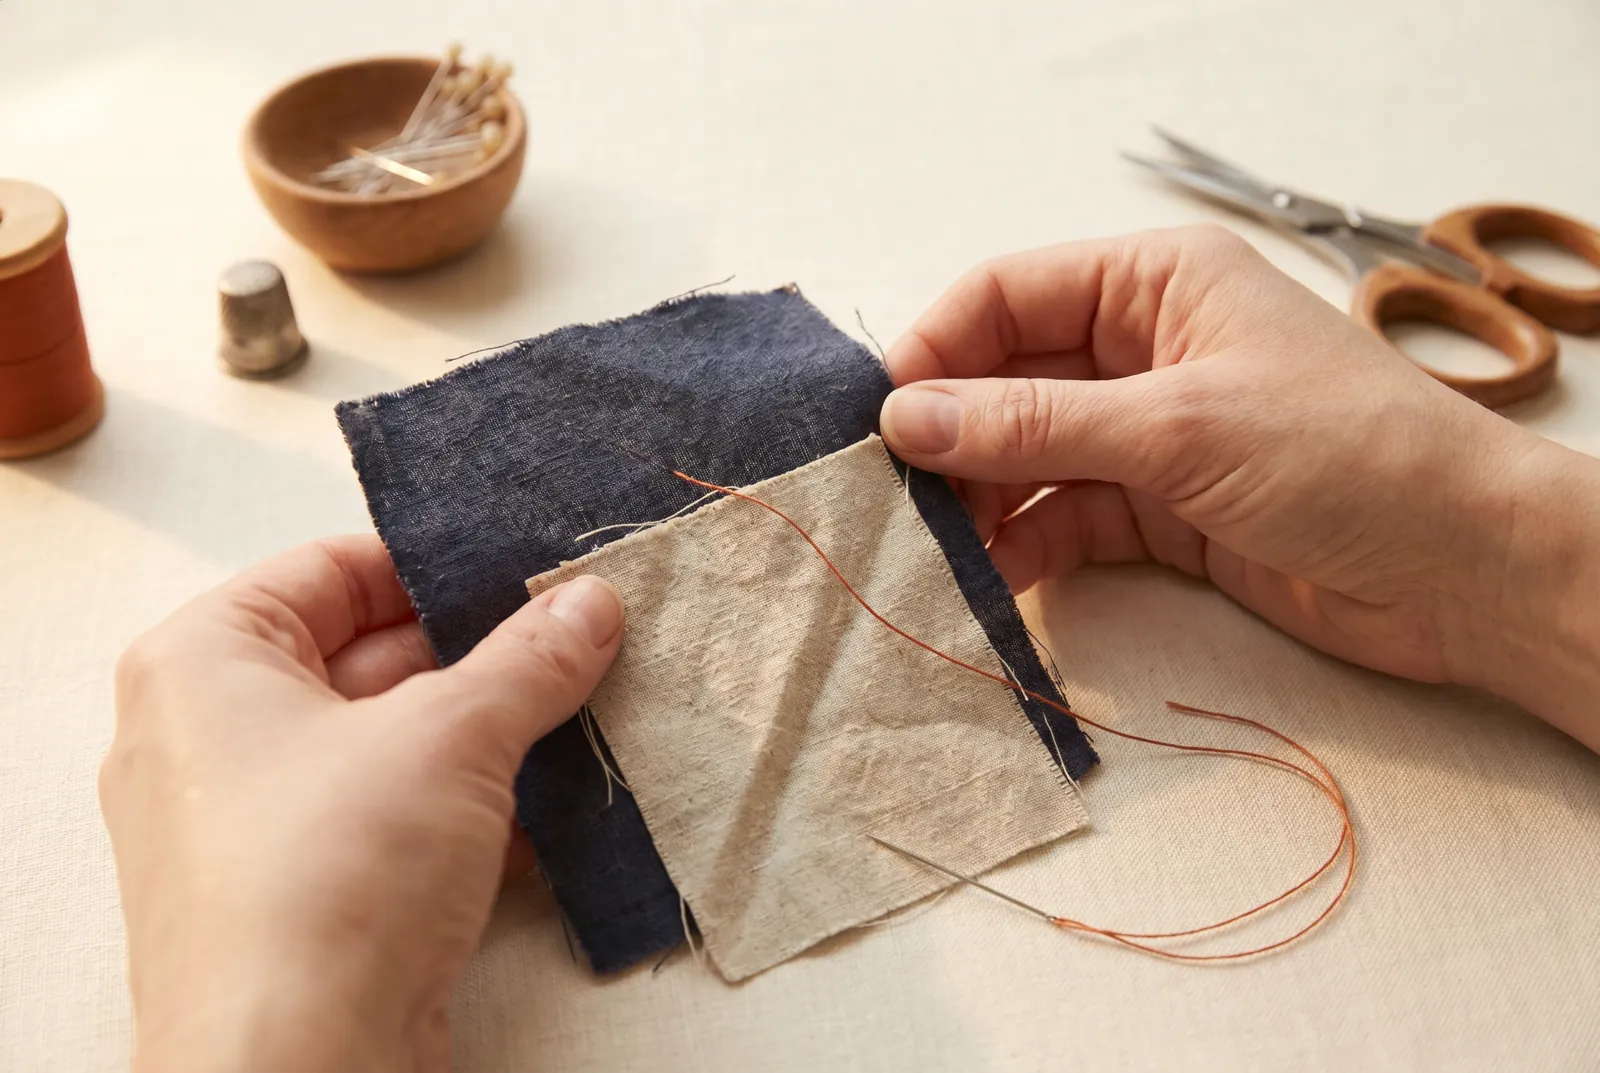
STEP 2/6Choose a sharps hand needle between No. 5 and No. 10, and cotton thread in No. 40 to No. 70, matching the thread to your cloth and the needle to that thread. Check the point is straight and smooth before you start: a needle too fine for its thread frays and breaks it, and a bent or blunt needle cuts the cloth along the whole seam.
Step 3
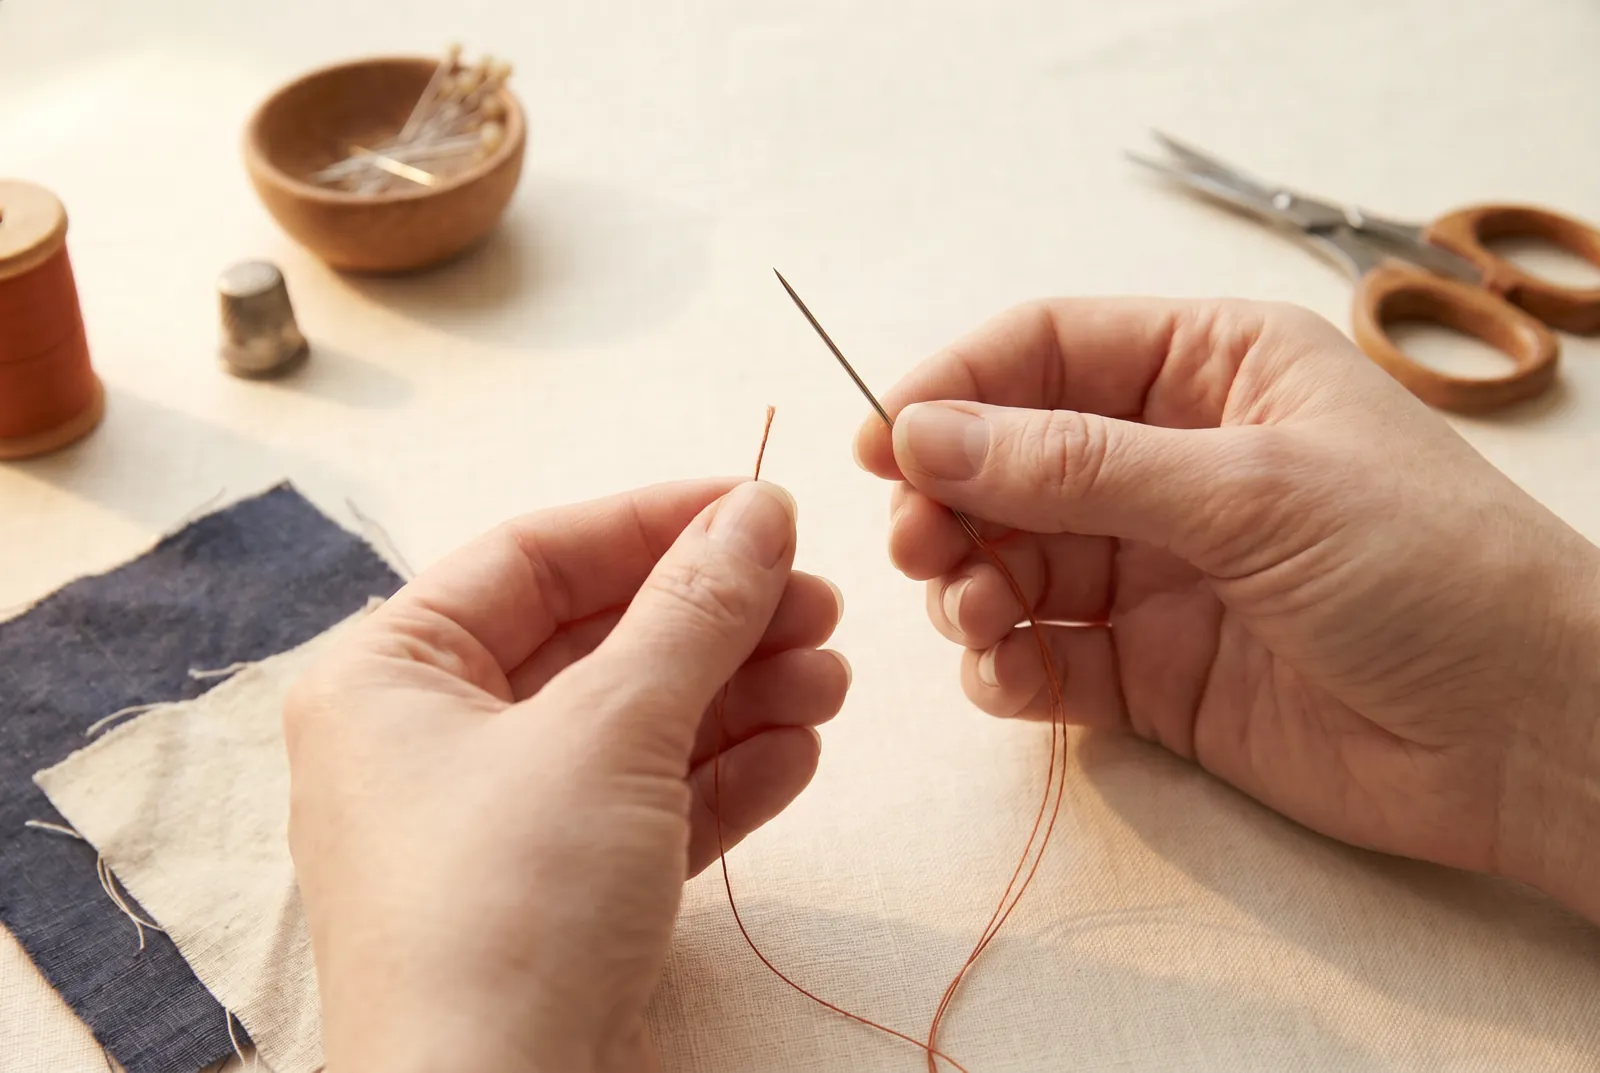
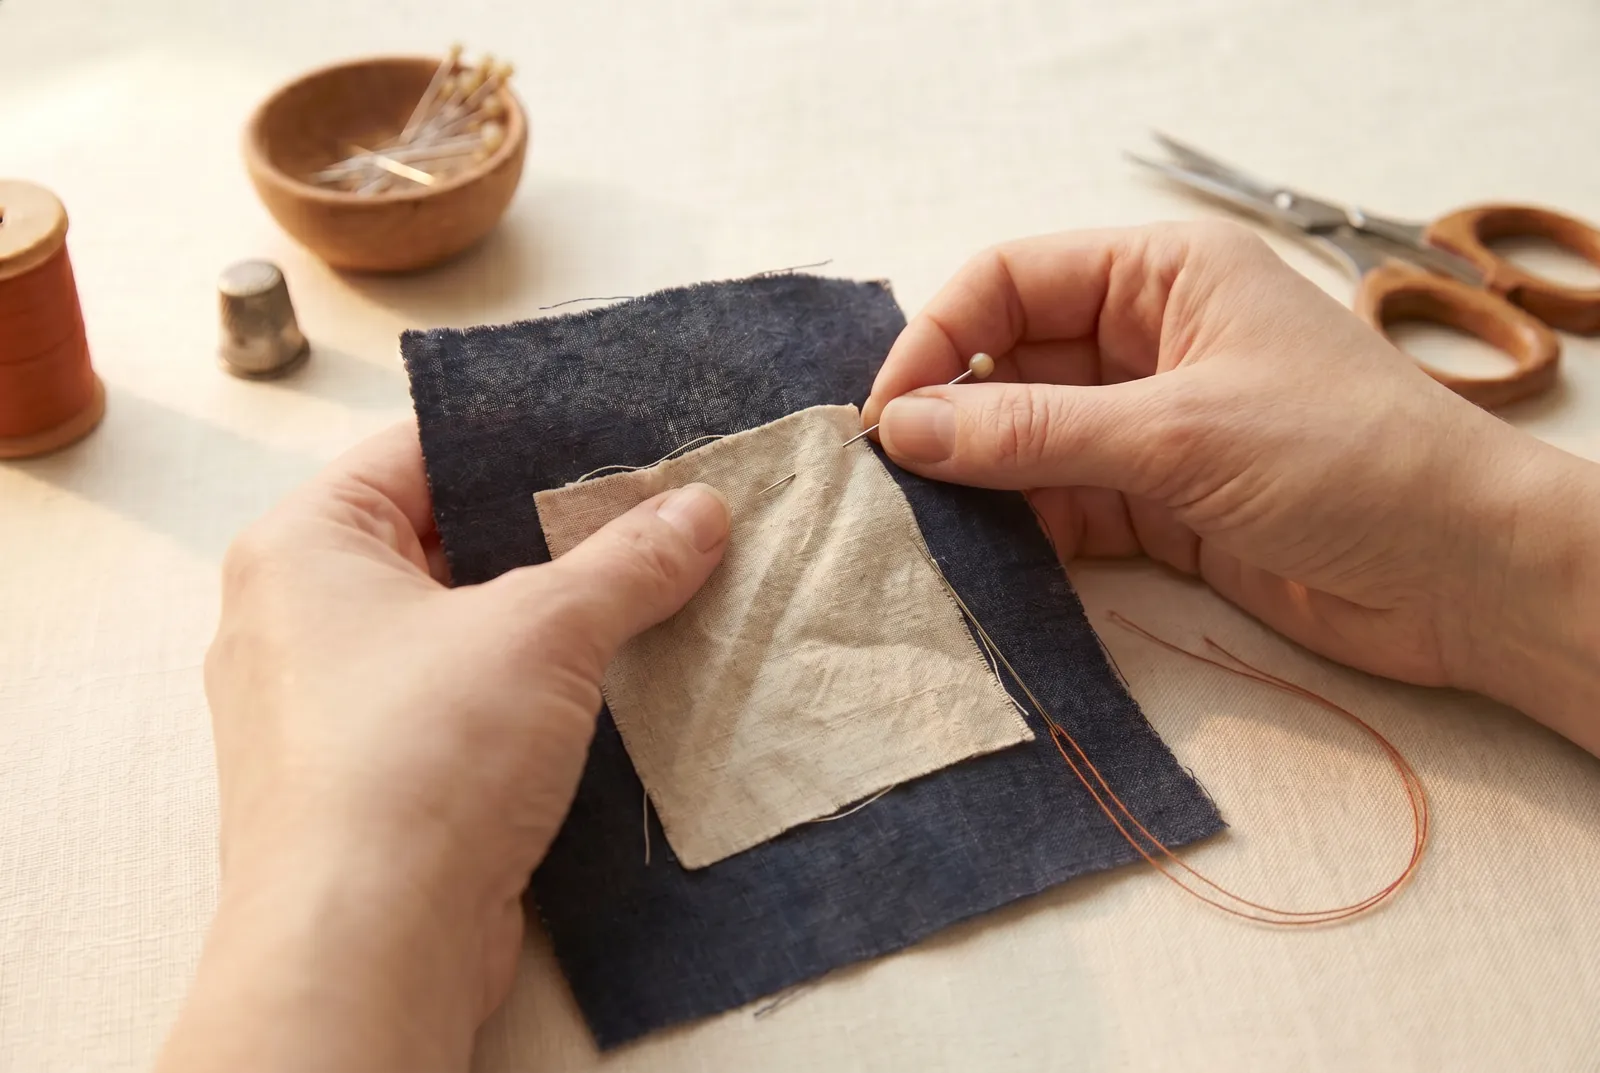
STEP 3/6Bring the two layers together exactly as they will be sewn — a ripped seam laid back together on its old seam line, or a patch centered over the hole or thin place it covers. Smooth them flat so there is no drag or pucker before anything holds them in place.
Step 4
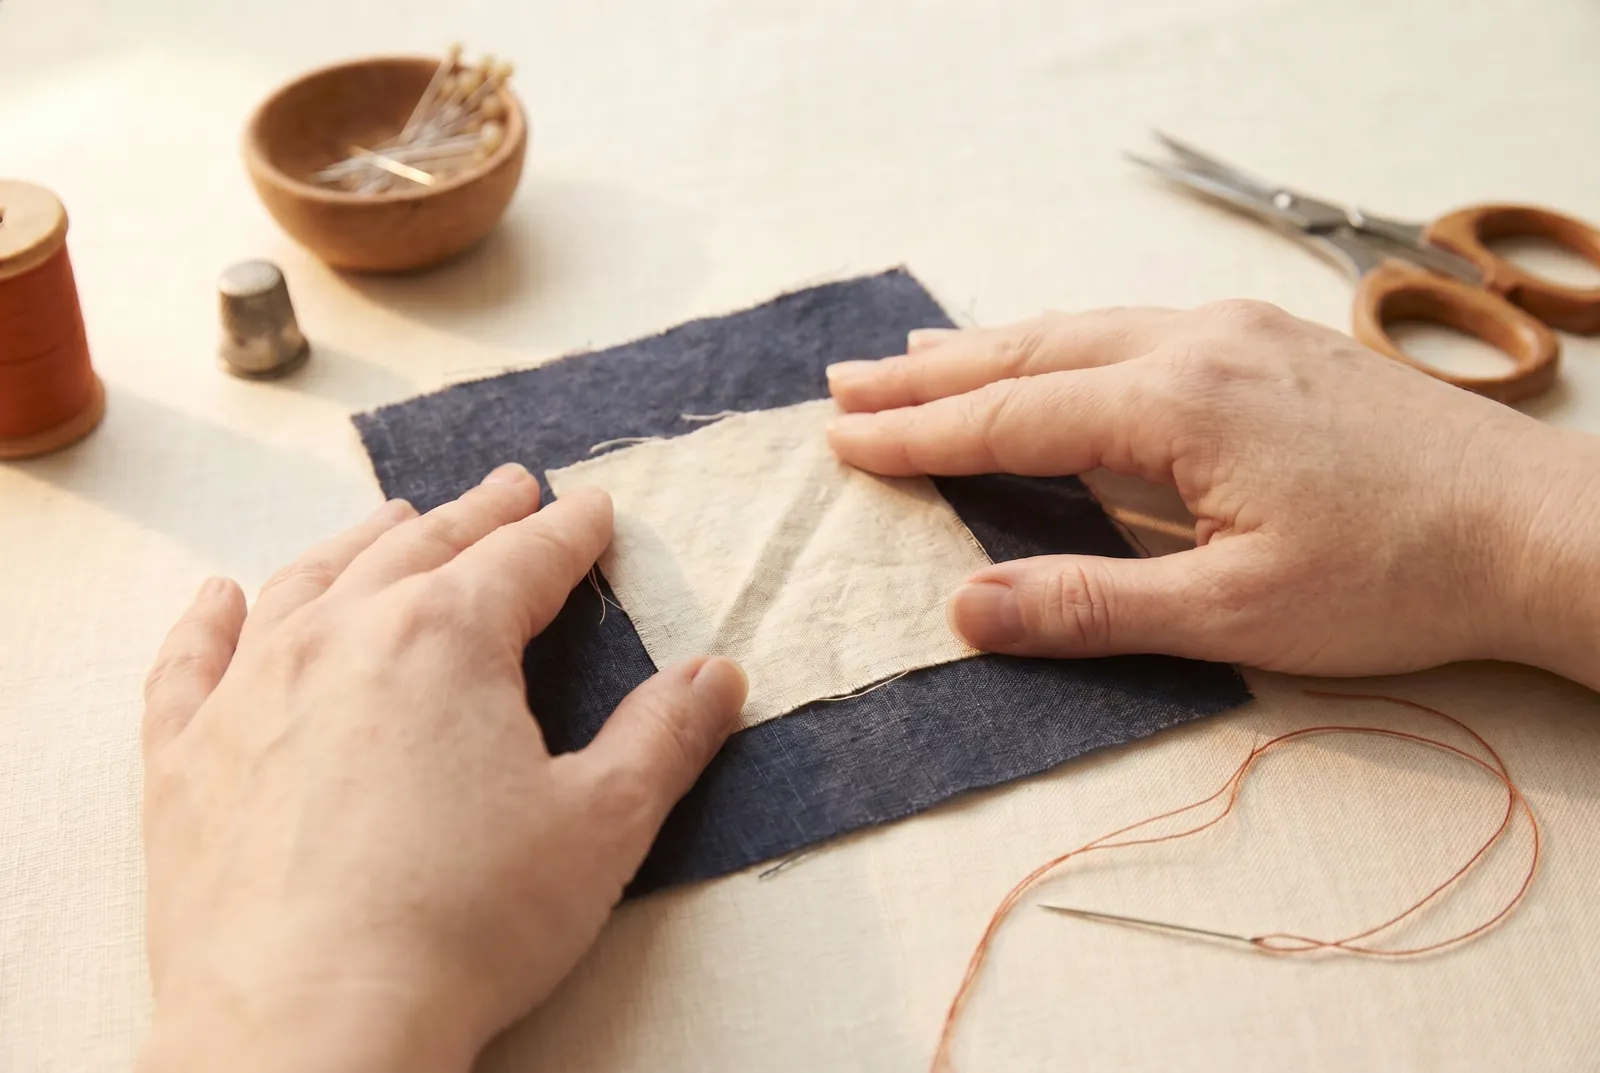
STEP 4/6Pin the two layers together along the line where they will be sewn so they cannot slide apart while you handle the cloth. For a ripped seam, turn the garment wrong side out first, then pin the seam as it was sewed, ready to restitch on the old line; the pins, thimble, and small sharp scissors all come straight from the mending basket.
Step 5
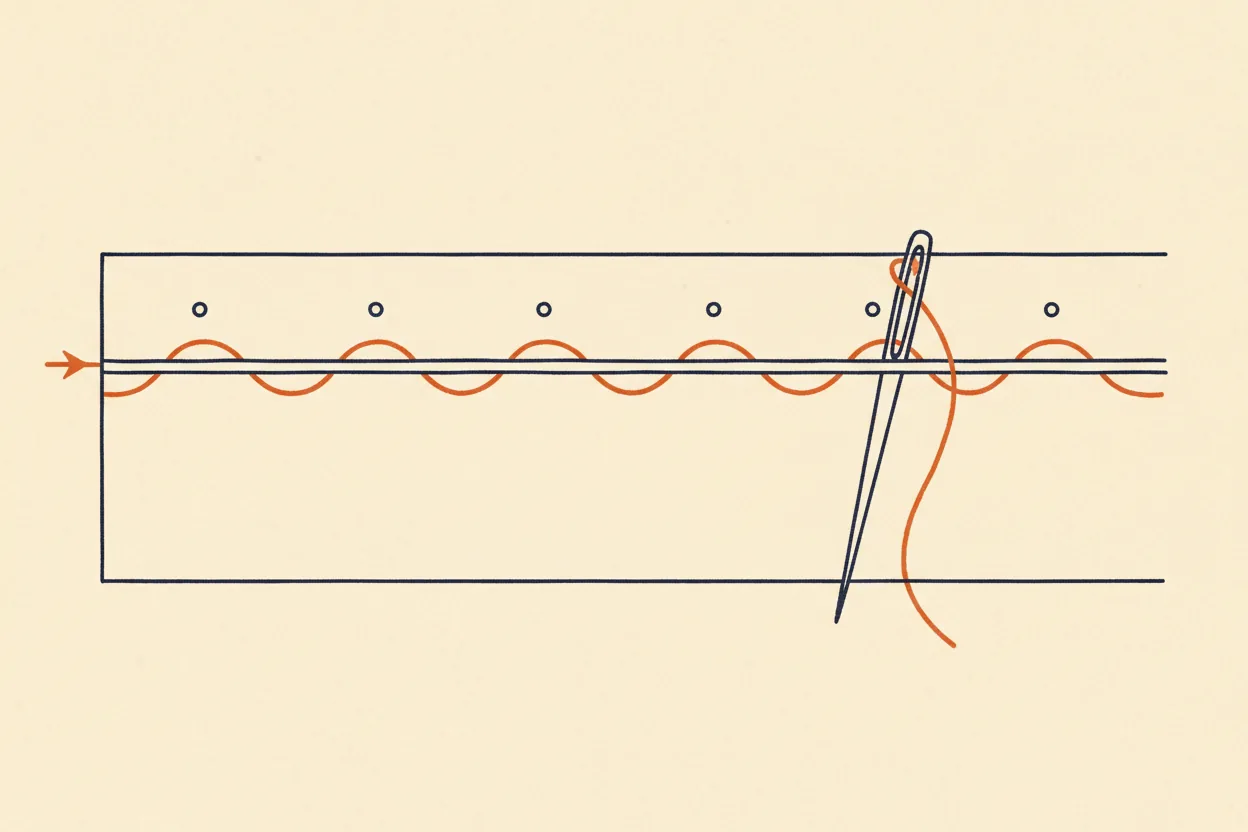
STEP 5/6Baste the pinned line: knot the thread and work a line of long tacking stitches through both layers along the line where the permanent sewing will go — the way a patch is basted to the wrong side, centered over the hole, before its edge is stitched down for good. Pull each pin out as the basting reaches it. Pins hold a short seam you can sew at once; anything that must be turned, eased, or set aside is held better by basting, with your hands left free.
Step 6
STEP 6/6Check the prepared work against the full sequence — position, baste to hold, then the permanent stitching, which is what actually holds the seam. Smooth the basted piece flat and confirm nothing shifts or creeps. The permanent line that follows is, for a flannel patch, the catch-stitch that binds its raw edges (cotton patches are turned in and hemmed instead), or for a ripped seam, restitching along the old line — those stitches are their own lessons.