Visible & Decorative Mending · piece Nº 26 · 48 min
Repair a three-cornered tear by darning
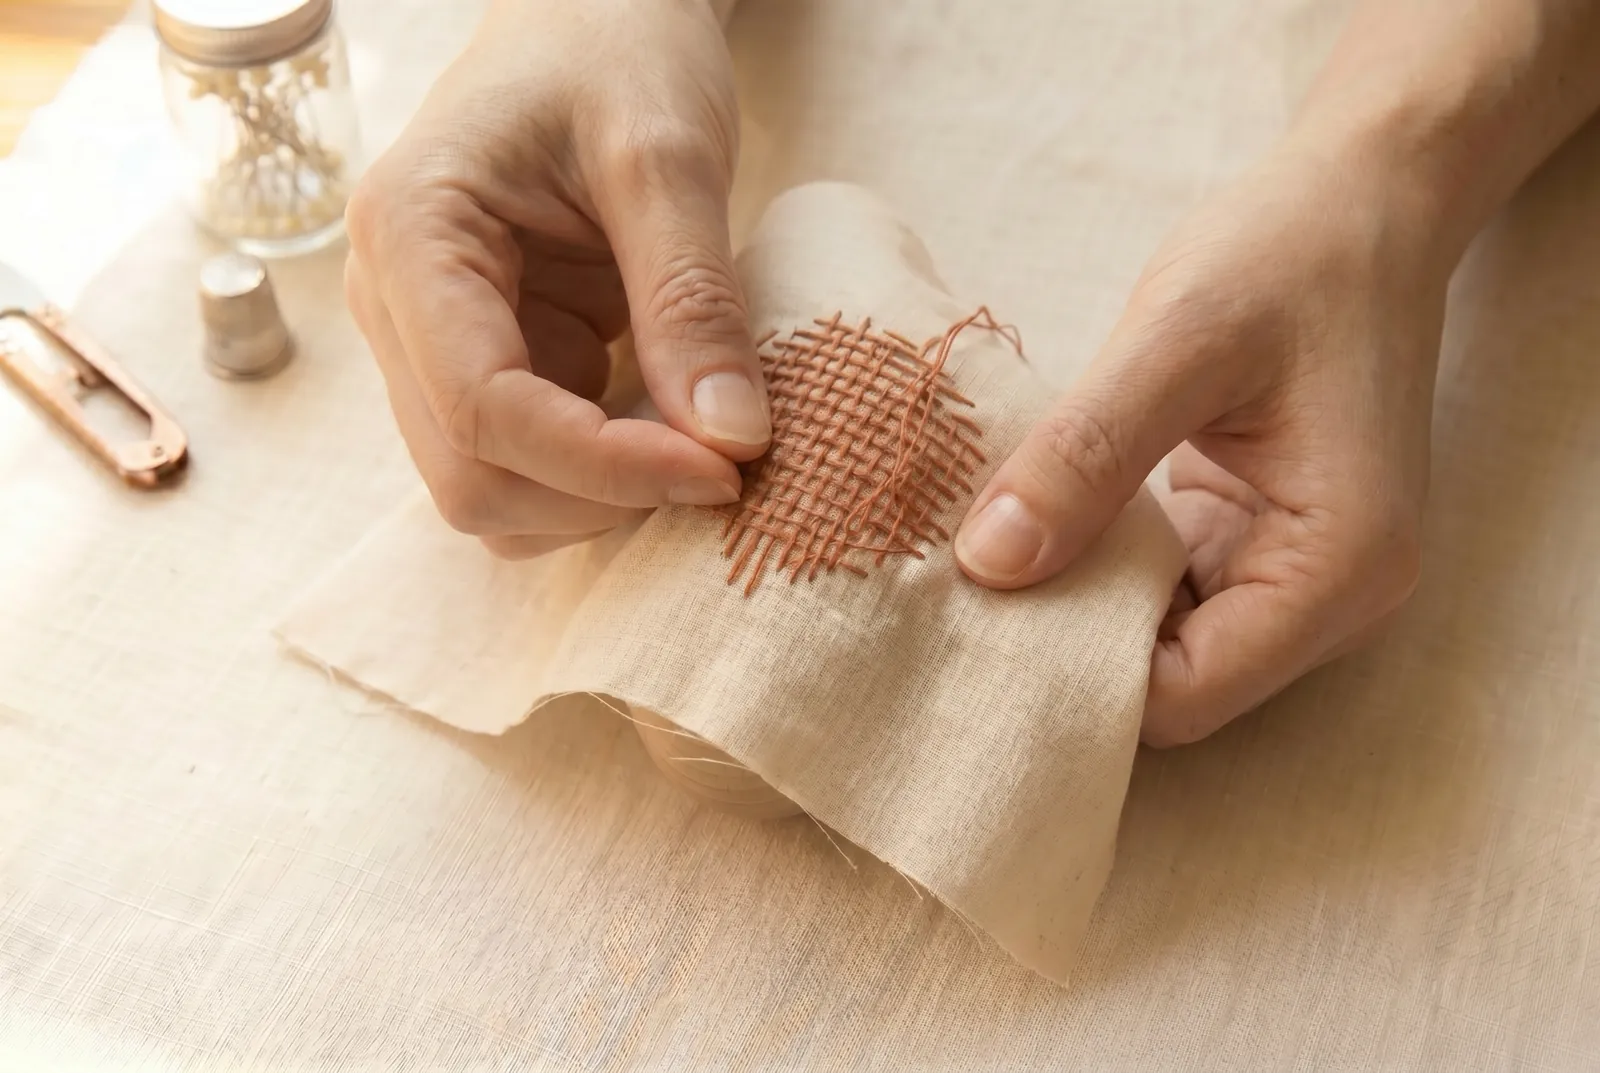
A three-cornered tear — the L-shaped rip cloth gets when it catches on a nail or a branch — is repaired by darning: replacing the broken threads with rows of fine running stitches worked across each leg of the tear. This lesson covers matching your thread to the cloth, darning both legs so the corner is held, and reinforcing the spot with a backing stay if it takes hard wear.
The seam · 8 steps
Step 1
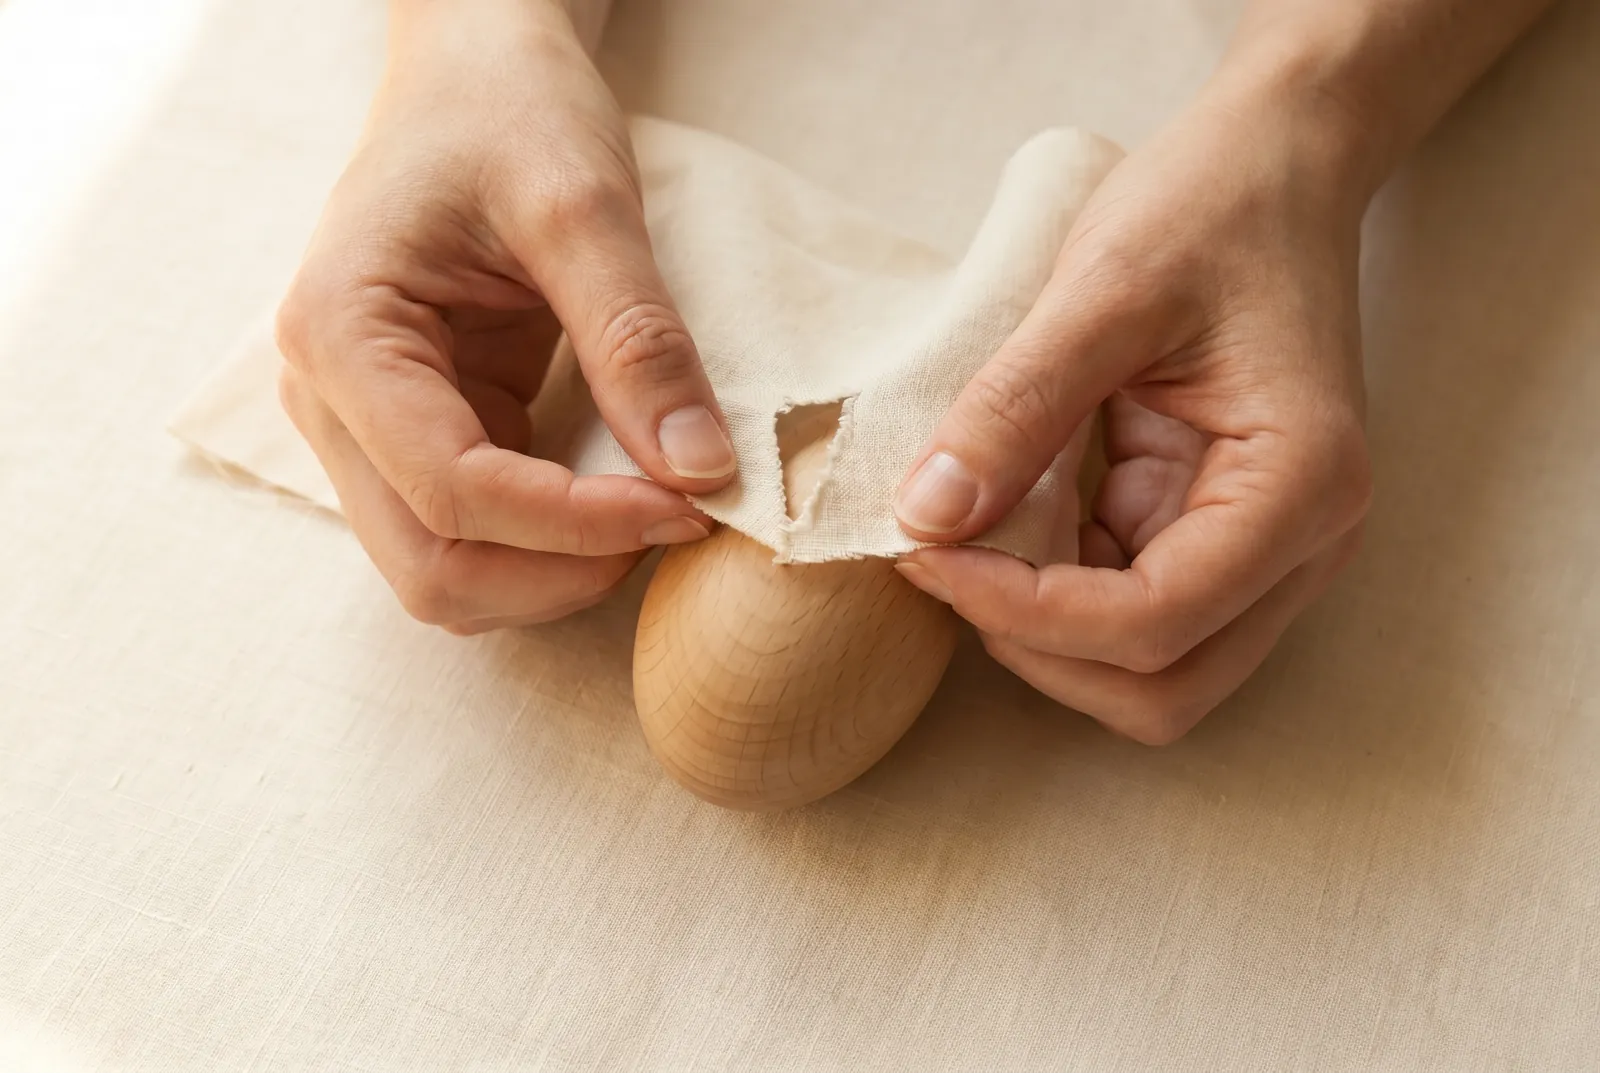
STEP 1/8Turn the garment wrong side out and lay the torn spot flat, over a darning egg or a smooth rounded surface if you have one. With your fingers, bring the two torn edges together so they meet as they grew, without lapping one edge over the other.
Step 2
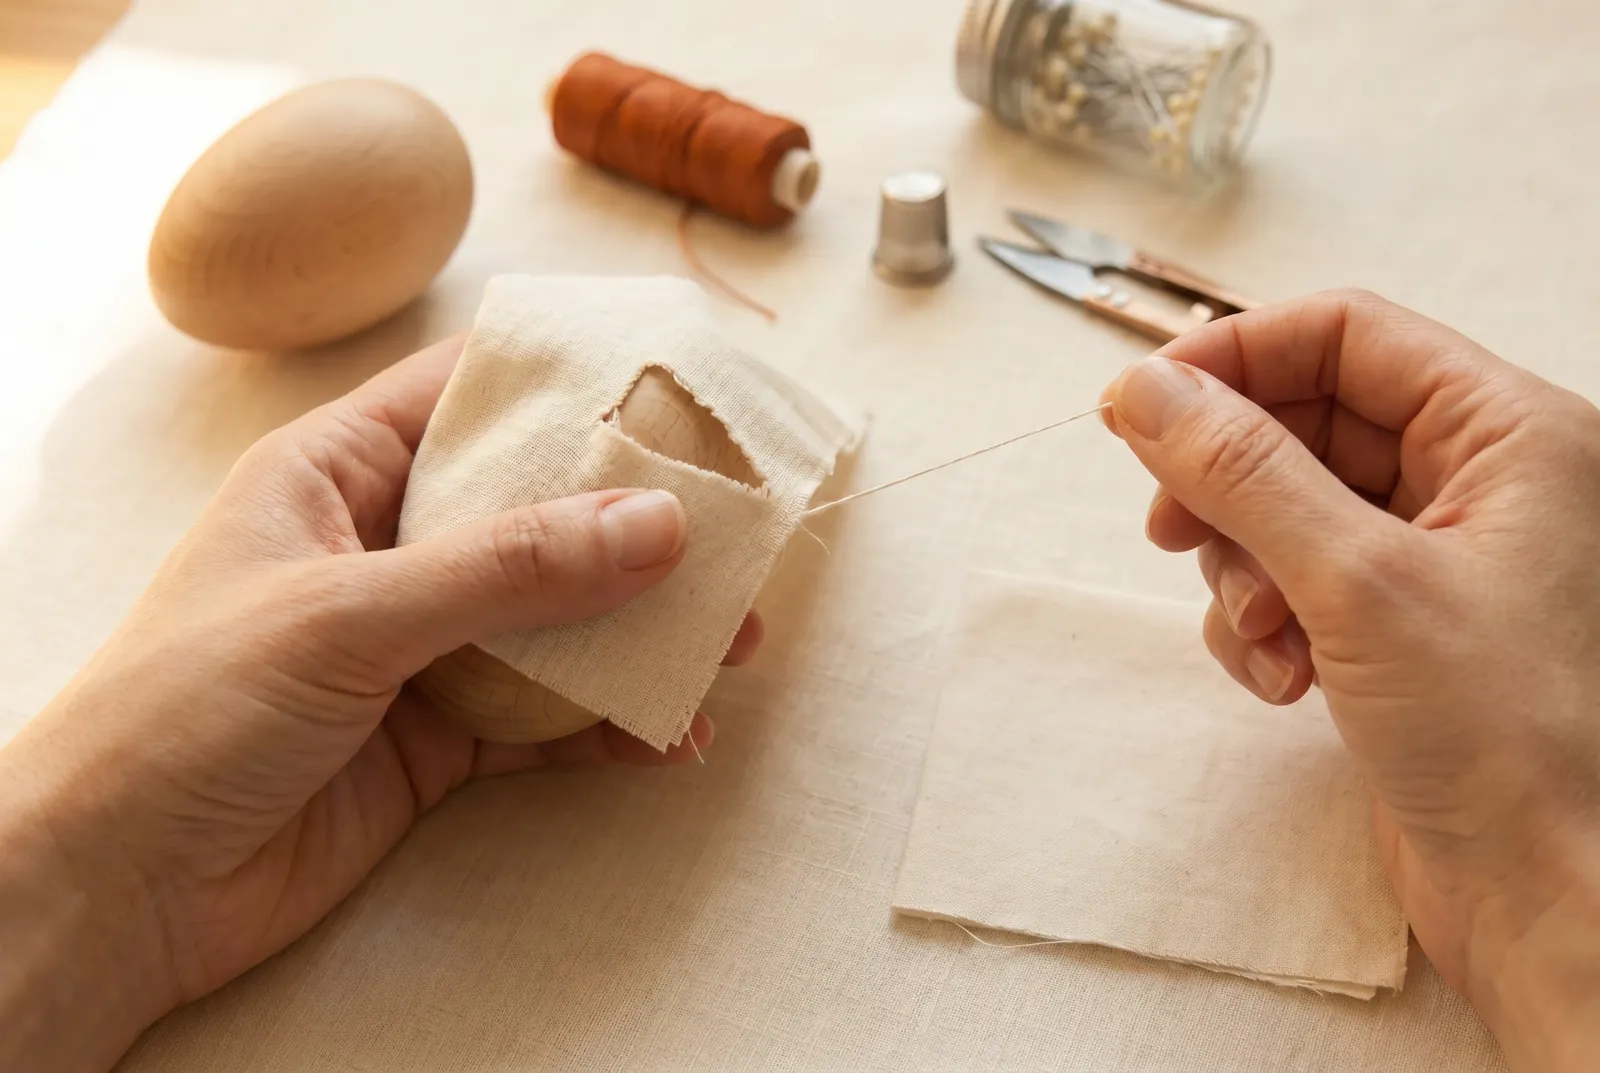
STEP 2/8Match your darning thread to the cloth. For wool, ravel a thread from a hem, an inside seam, or a scrap of the goods; for cotton, use fine soft cotton; for silk, use silk or a raveling. A raveling of the goods matches in color and shrinks with the garment as bought thread cannot.
Step 3
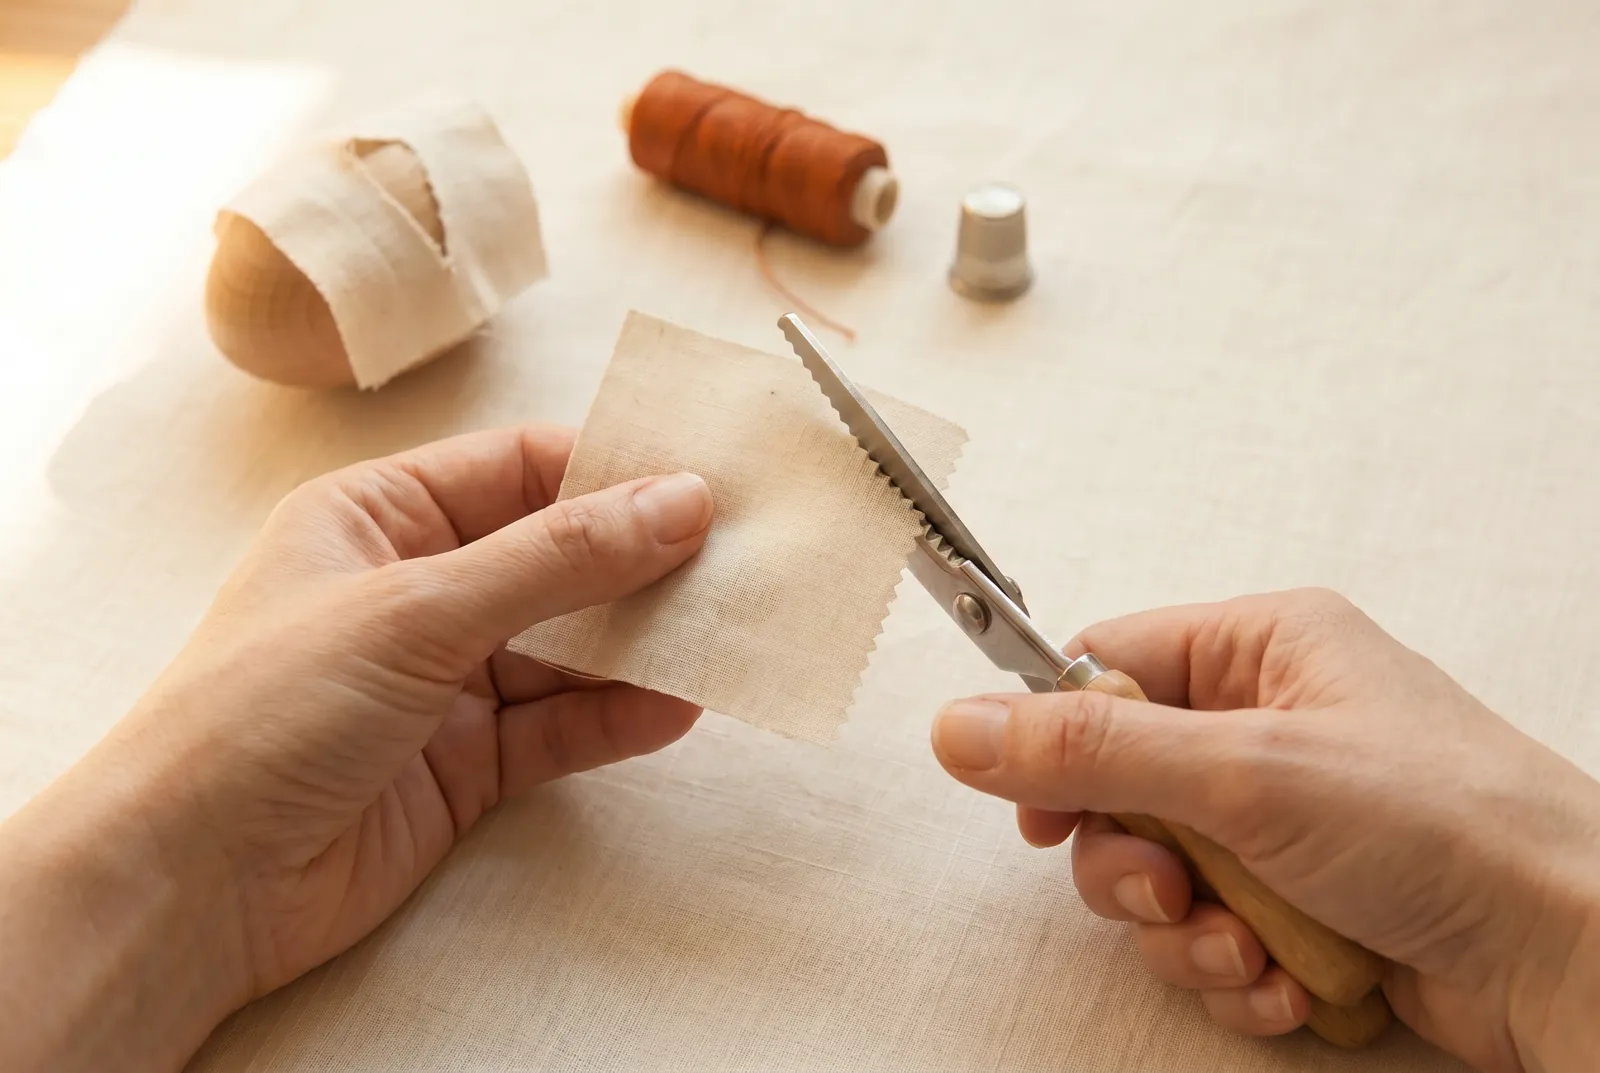
STEP 3/8If the tear falls at a hard-wear spot such as an elbow, knee, or seat, reinforce it with a backing stay. Cut a stay of the same or lighter cloth 2 cm (3/4 in) larger than the tear on every side, then finish its cut edges so they will not ravel: a cloth that frays is overcast along each edge, or turned under 3 mm (1/8 in) and clean-stitched, while only a firm wool that does not fray should be pinked. If the garment is washed and you bind the stay's edge with tape, shrink the tape first, or the raw strip will pucker the cloth.
Step 4
STEP 4/8Baste the stay to the wrong side of the garment, centered under the tear and lying flat, so your darning stitches will catch it as you work. Keep the torn edges still meeting as you pin and baste.
Step 5
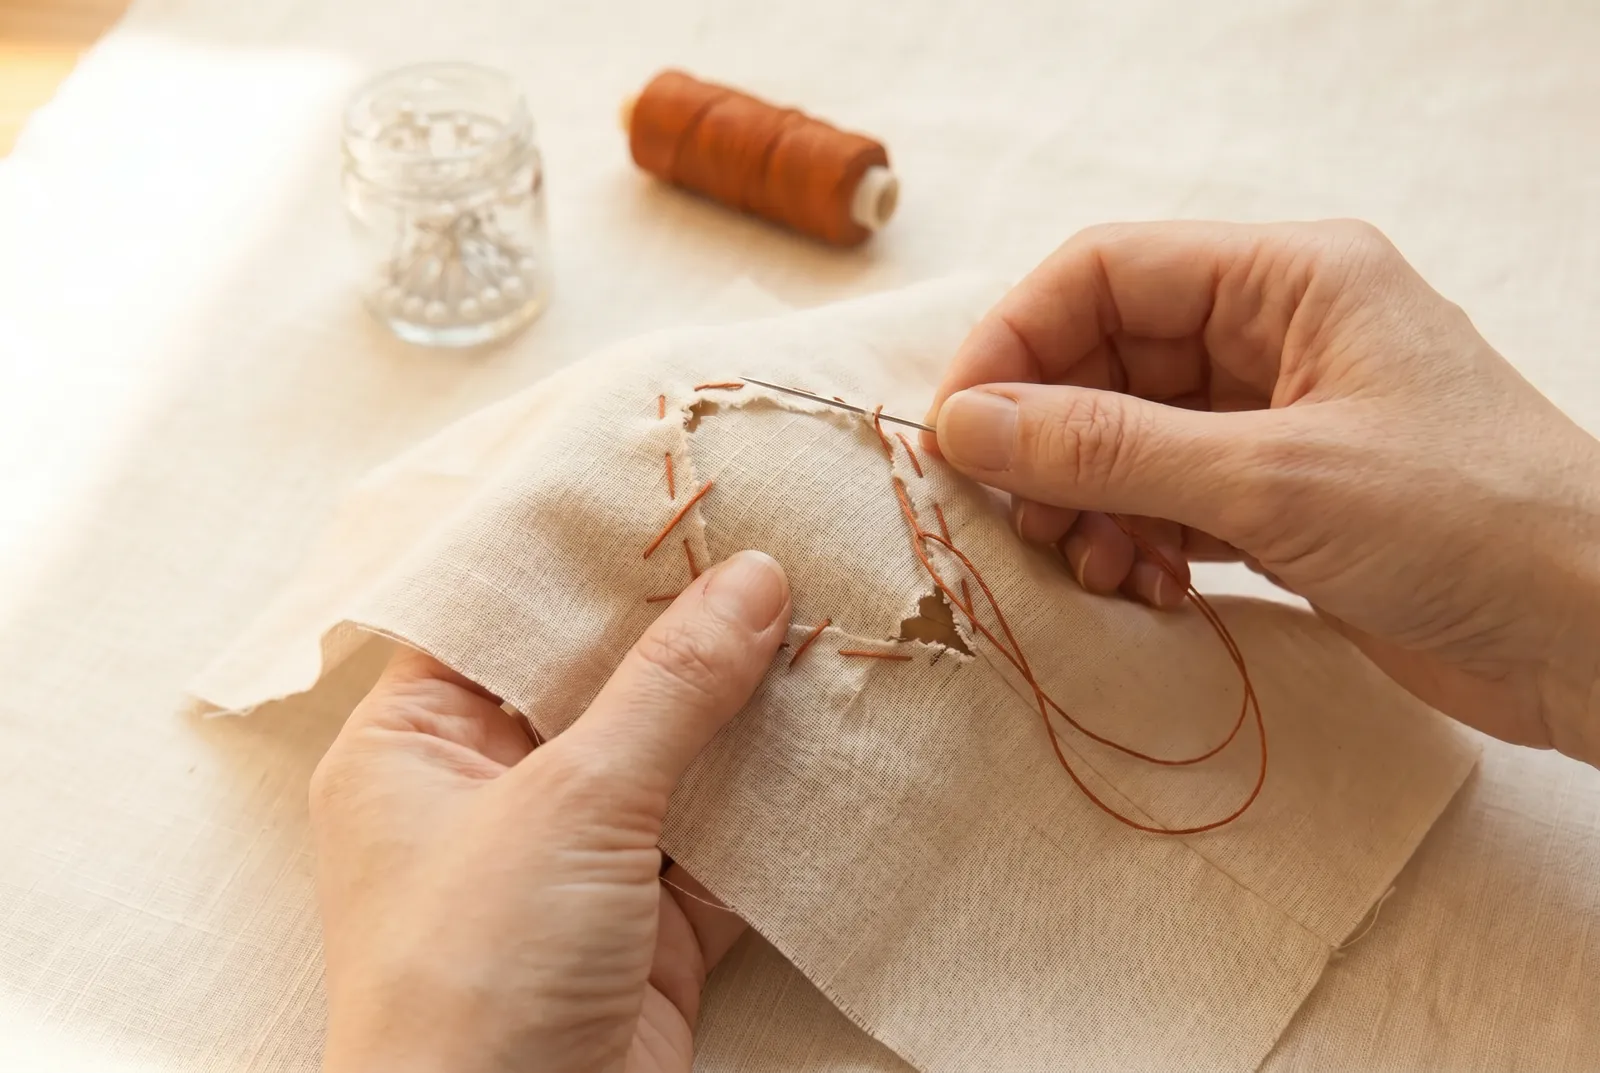
STEP 5/8Darn the longer leg of the tear first. Work rows of fine running stitches across it at right angles to the tear, each row passing over the break and reaching 6 mm (1/4 in) or more into the sound cloth on both sides. Set the rows close, a few threads apart, and keep the stitches loose; pulling them tight will pucker the cloth and the darn will not lie flat.
Step 6
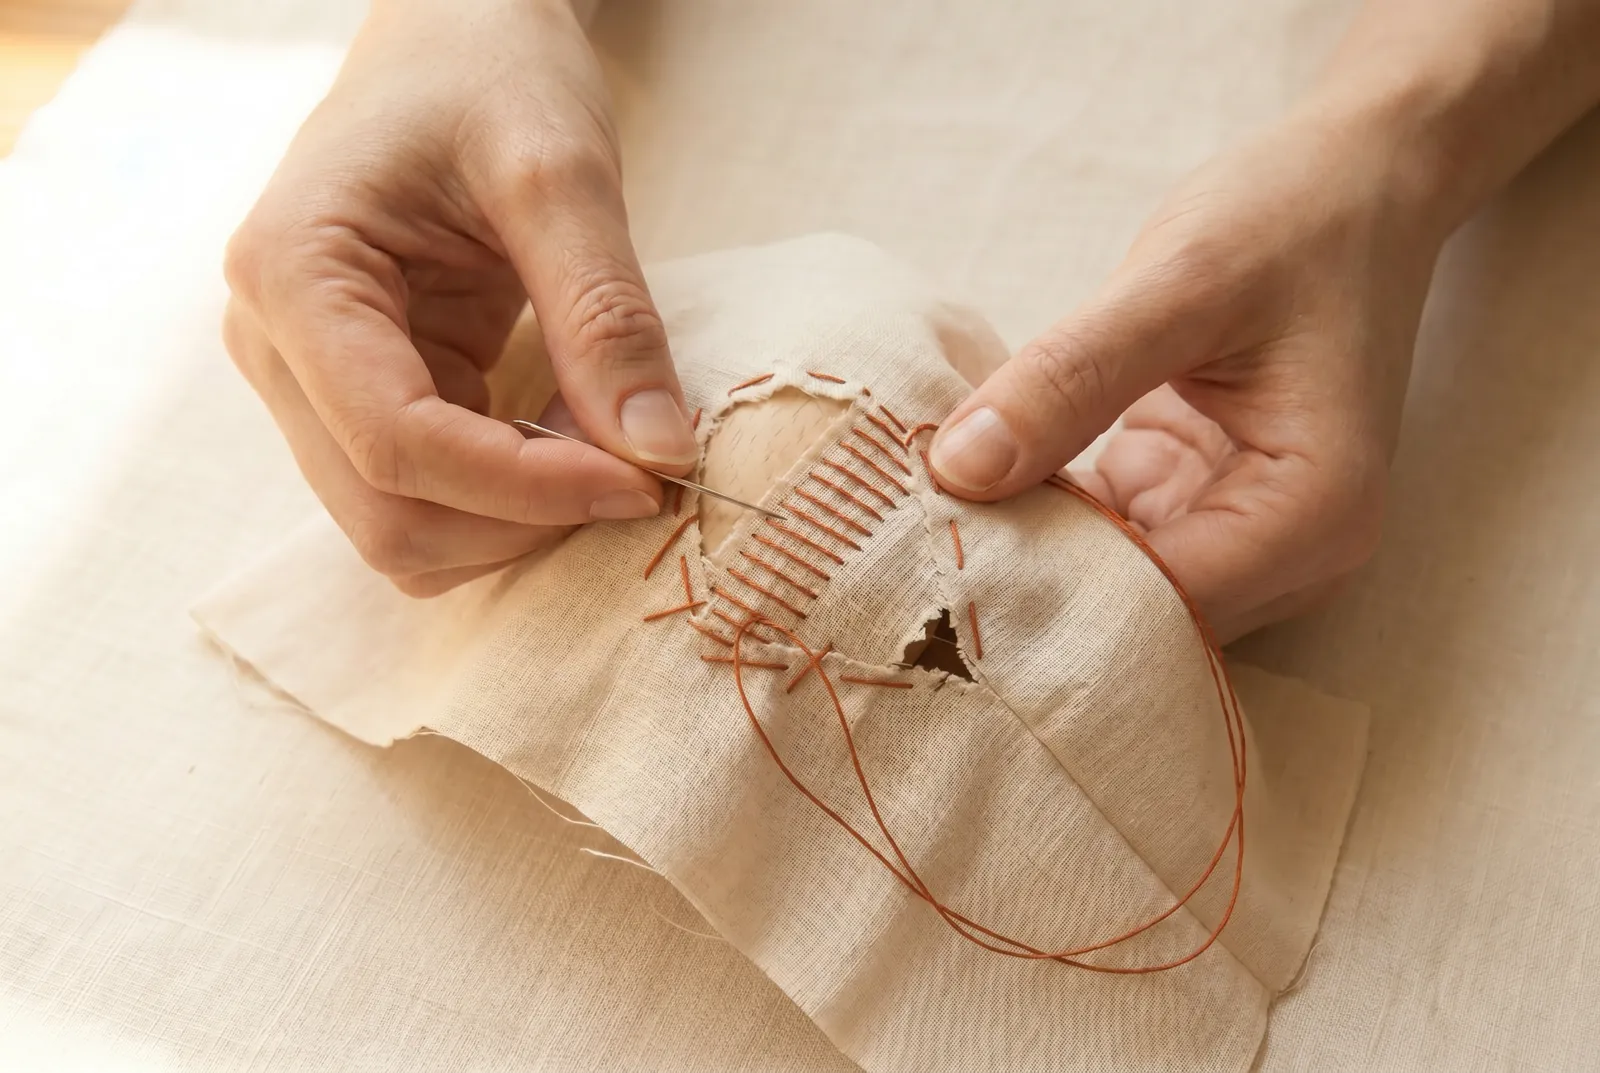
STEP 6/8Darn the shorter leg the same way, turning your work so the new rows run at right angles to that leg; near the corner, the second darn's rows overlap the first. When both legs are done, look at the corner before anything else — it takes the most strain of the whole repair — and fill any gap there with a few extra rows of the same fine running stitches.
Step 7
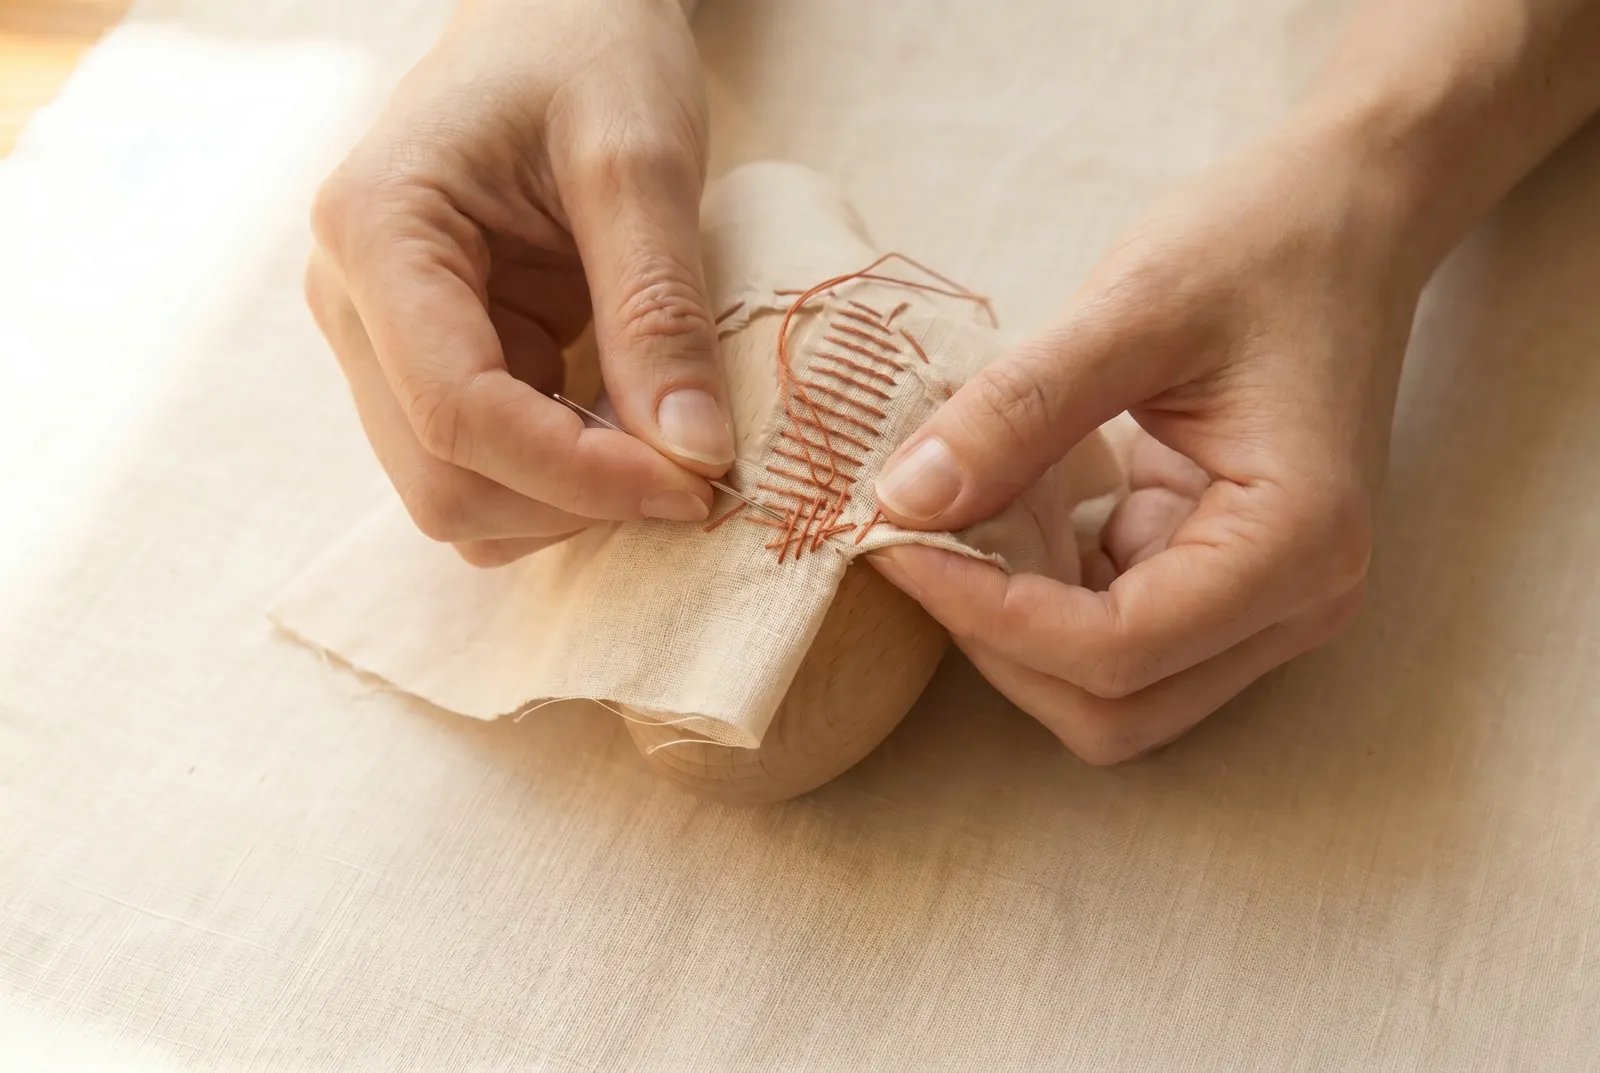
STEP 7/8Let the rows of both darns end unevenly, some longer and some shorter, so the outer edge of the darn does not lie along a single thread of the cloth. A darn that ends in a straight line makes a new line of weakness where it stops.
Step 8
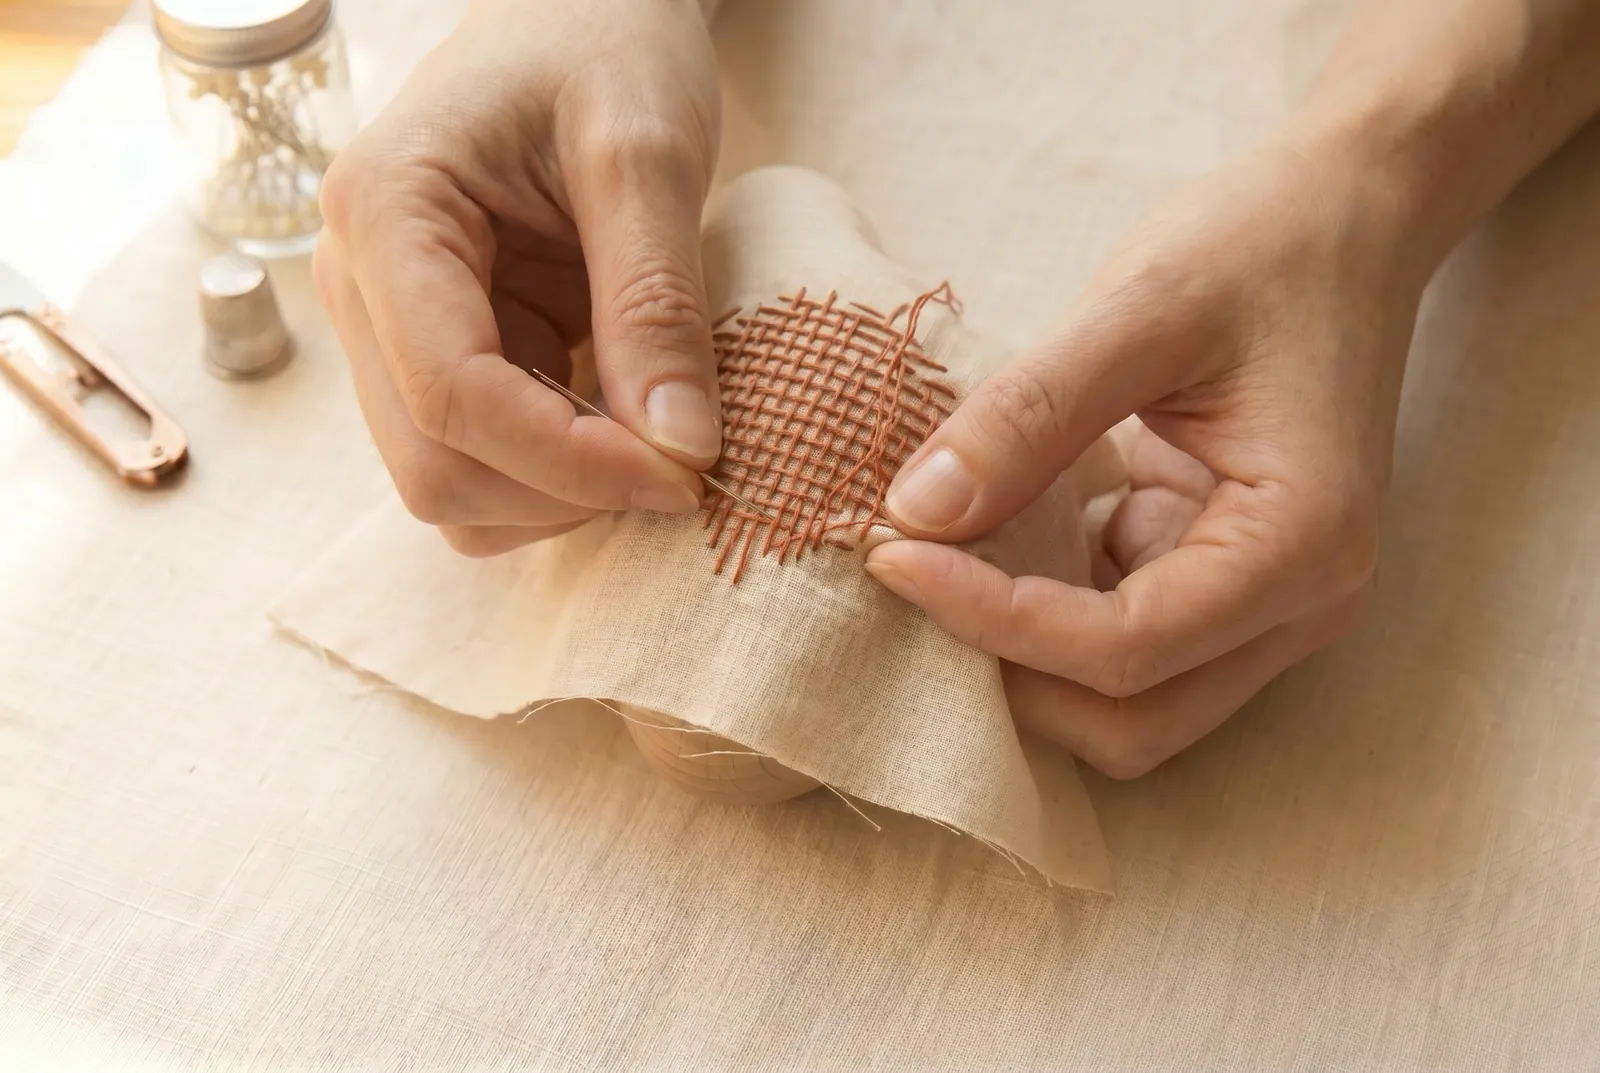
STEP 8/8Check the finished darn: it should be as supple as the cloth around it, with the torn edges meeting flat and no stitch drawn tight. If the area puckers or feels stiff, the stitches were pulled too hard — ease them before you fasten off the thread.