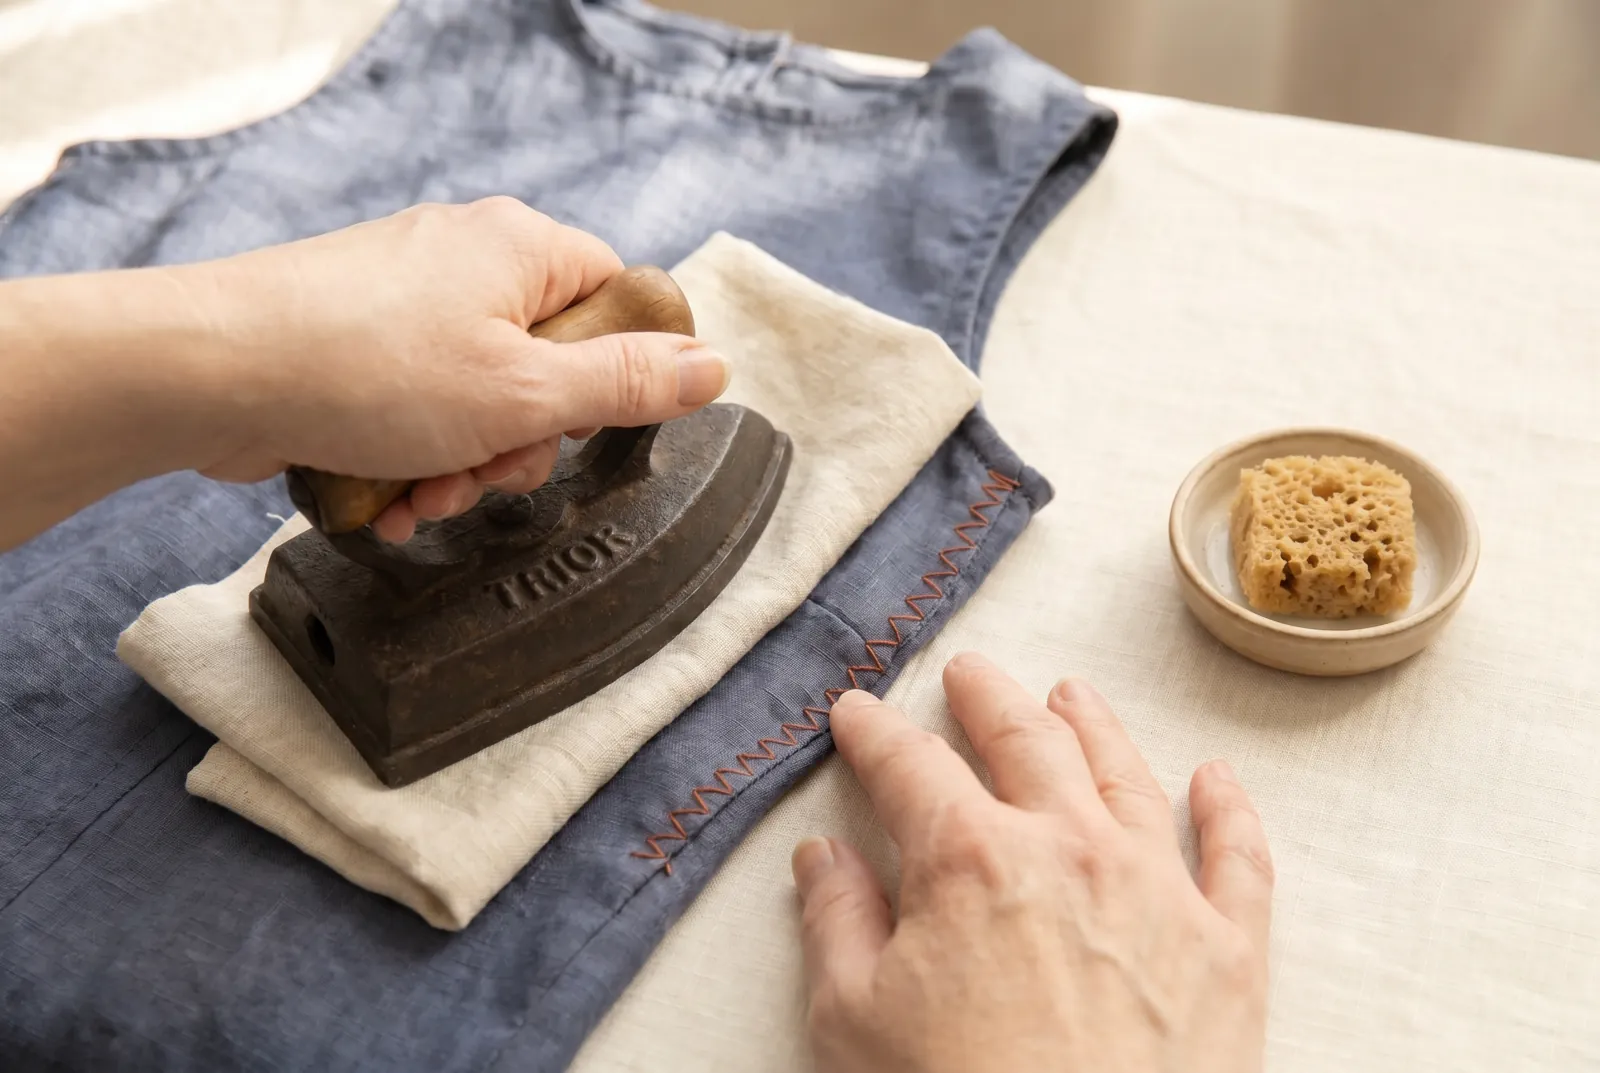
Upcycling & Thrift Flips · piece Nº 17 · 48 min
Let out a snug waistband by opening the side seams
Let out the side seams of a snug skirt or pair of trousers to gain room at the waist, using the seam allowance the garment was cut with. You will open the tight section, press out the old seam line, and restitch on a new line so the garment fits again instead of going unworn.
The seam · 8 steps
Step 1
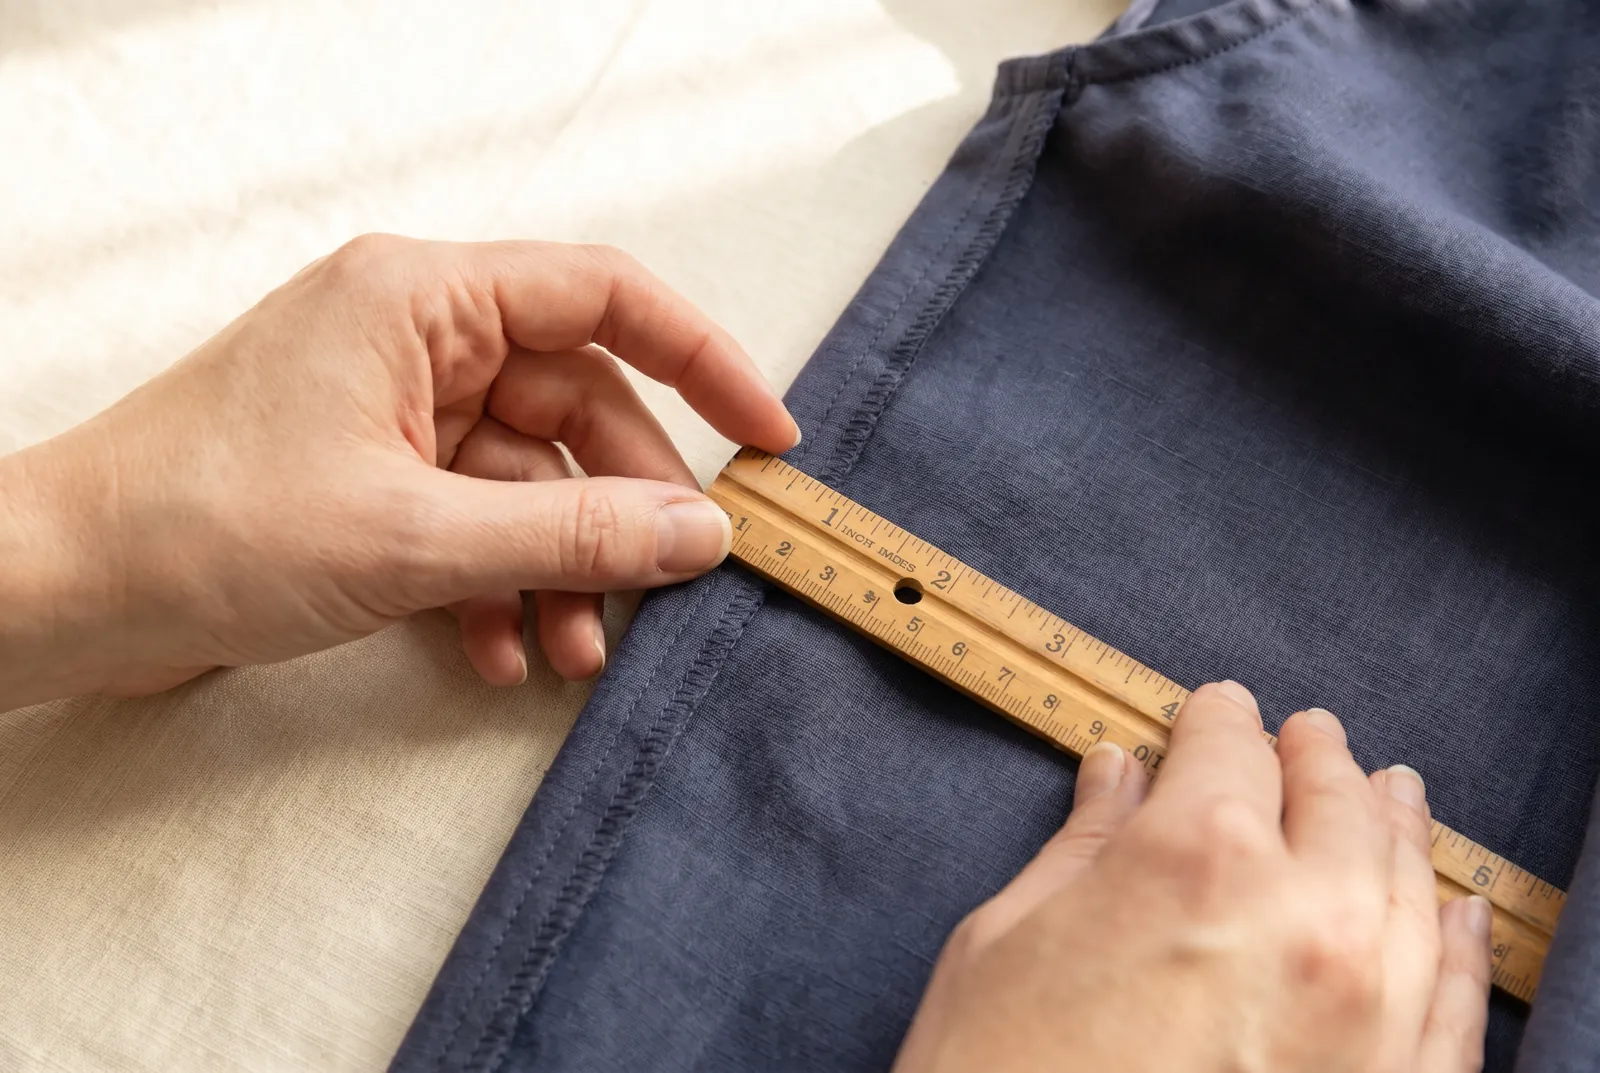
STEP 1/8Turn the garment inside out and find the side seams that run down through the waist. Measure the seam allowance, the strip of cloth beyond the stitching, with a ruler. A seam allowance of 2 to 2.5 cm (3/4 to 1 inch), kept whole and not trimmed away, is the cloth you have to let out; skimped seams may not give enough to matter, so check this before you open anything.
Step 2
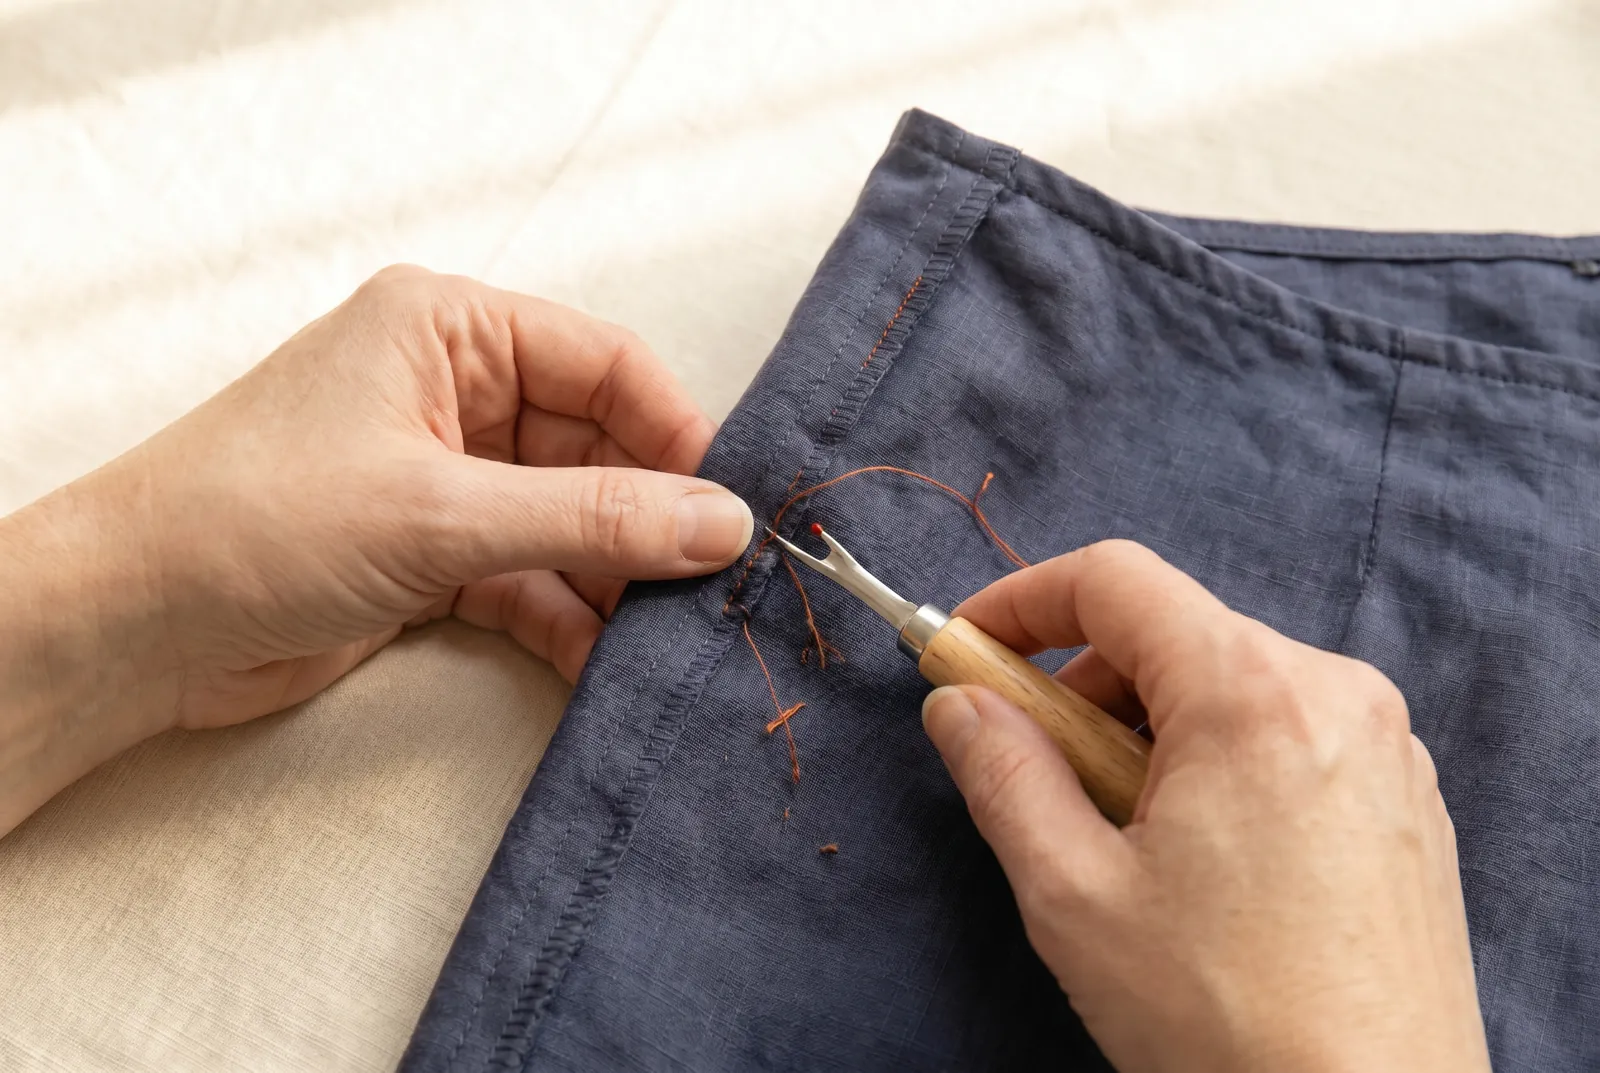
STEP 2/8Open the old stitching through the waist section of BOTH side seams, splitting the room you need evenly — half at each side keeps the garment hanging straight on its grain. Slide the seam ripper or blade under the stitches and cut against the thread, not against the cloth, then pick out the loose bits of thread. Stop where the seam still fits, so you open no more than the waist needs.
Step 3
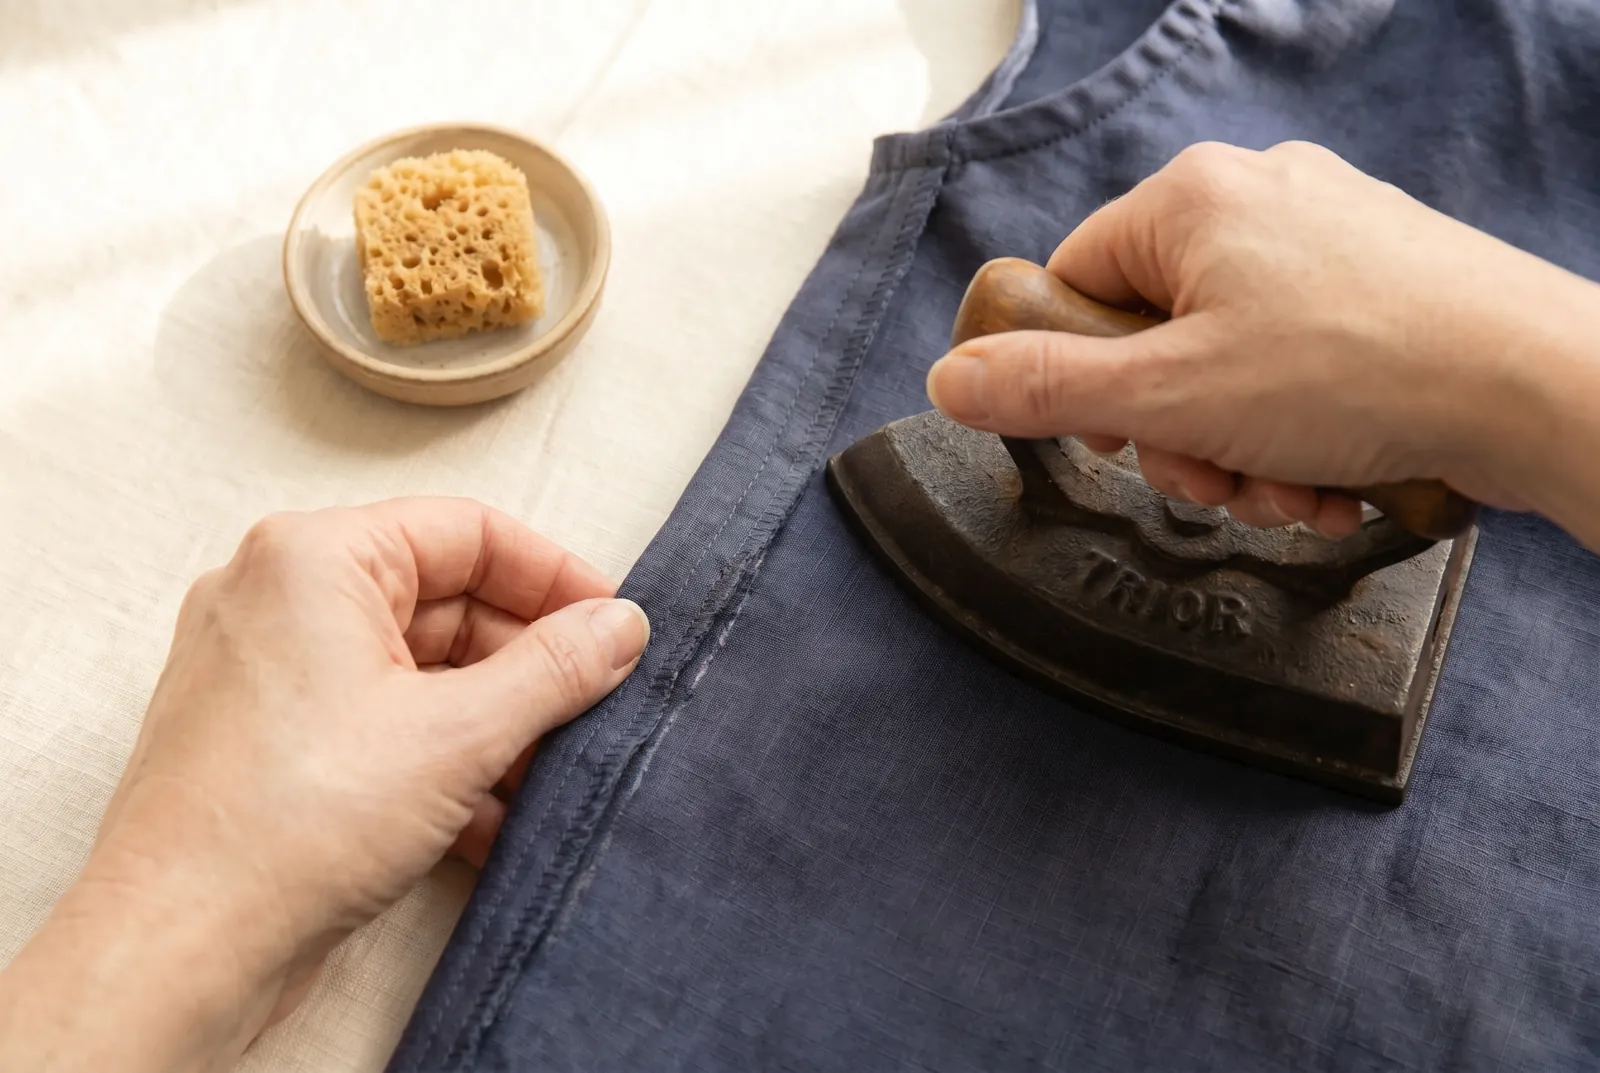
STEP 3/8Opening the seam leaves the old stitching as a crease, often a line of trapped dust and sometimes a faded or needle-marked line. Brush the line, sponge it with a damp cloth, and press it out on the wrong side before you restitch. Pressing it out now keeps it from setting into a permanent ridge beside your new seam.
Step 4
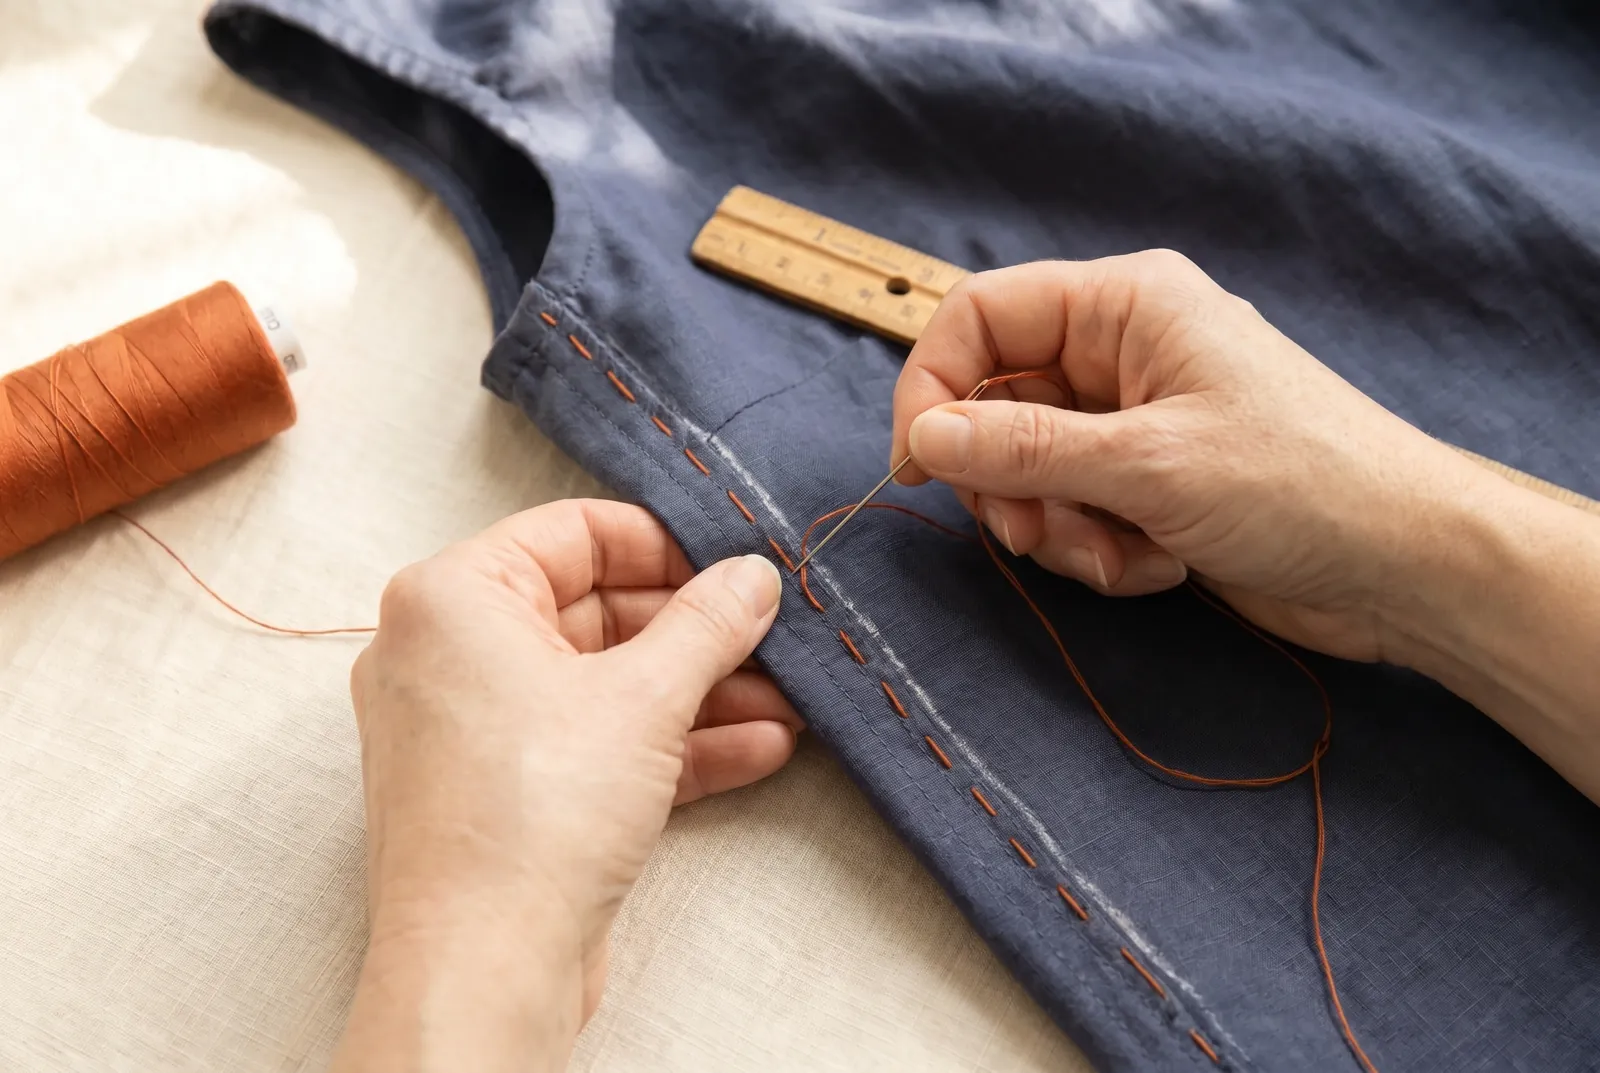
STEP 4/8On each opened seam, mark the new seam line closer to the raw edge with chalk, moving each line out by half the total room you need. Hold the two layers together along it with even basting, stitches 6 mm (1/4 in) long with spaces the same length. Set the basting a thread's width outside the line the permanent stitches will lie on, so it draws out later without tearing the seam.
Step 5
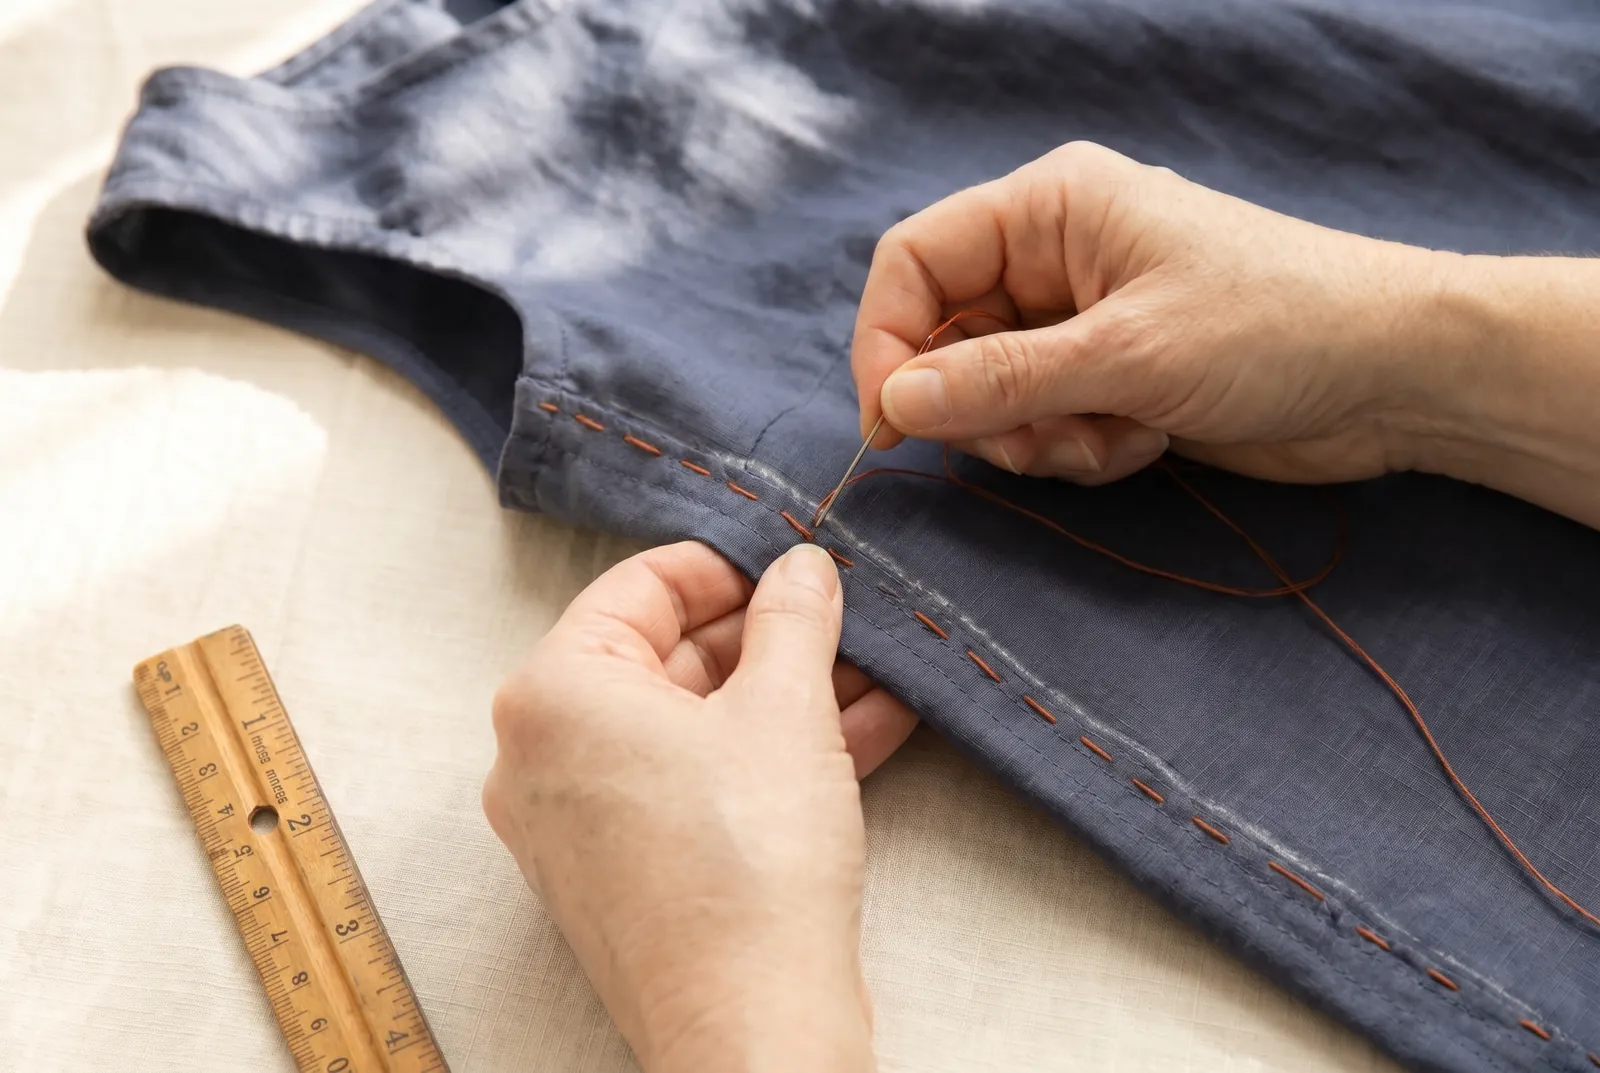
STEP 5/8Knot the thread, then stitch the new seam along the basted line with small, even running stitches 1.5 to 3 mm (1/16 to 1/8 in) long, taking one backstitch every two or three stitches — a waist seam bears real strain and plain running stitch alone can open there. Taper the new line into the old stitching at both ends, so there is no weak gap or sudden step where old meets new, and fasten off with two or three backstitches worked over each other.
Step 6
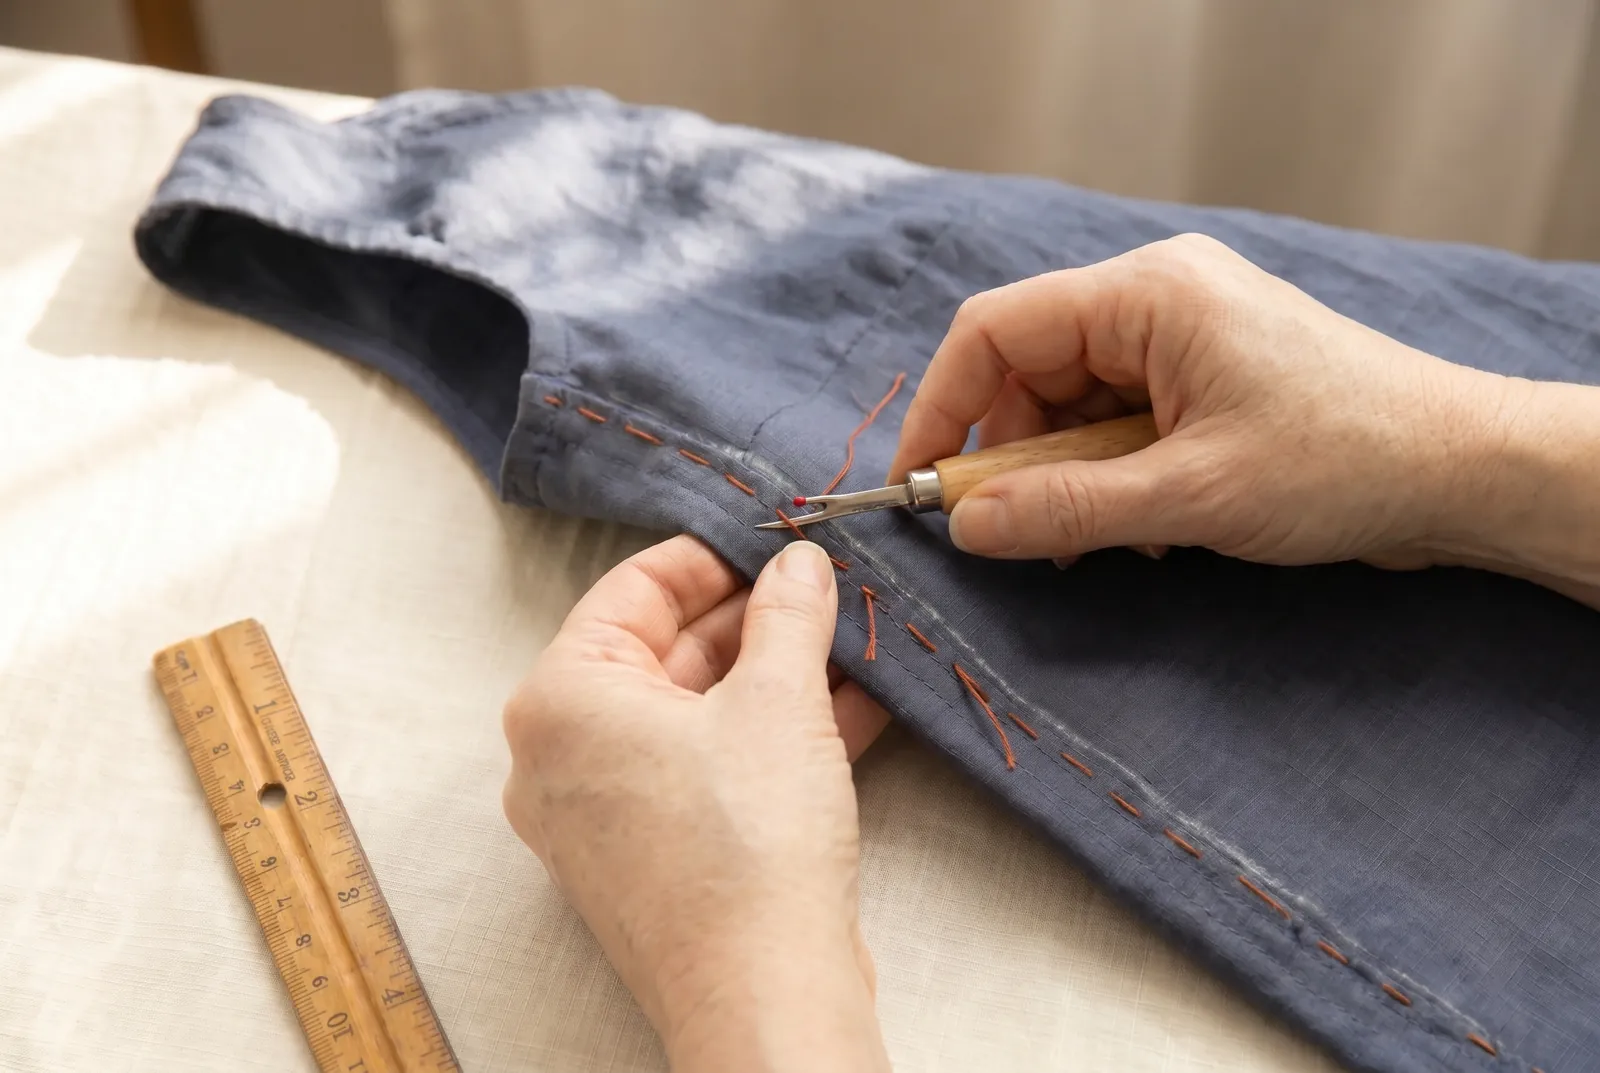
STEP 6/8Take out the basting: cut its thread every few inches and draw out the short lengths. A long basting thread pulled from one end puckers the seam, so do not yank it out in one piece.
Step 7
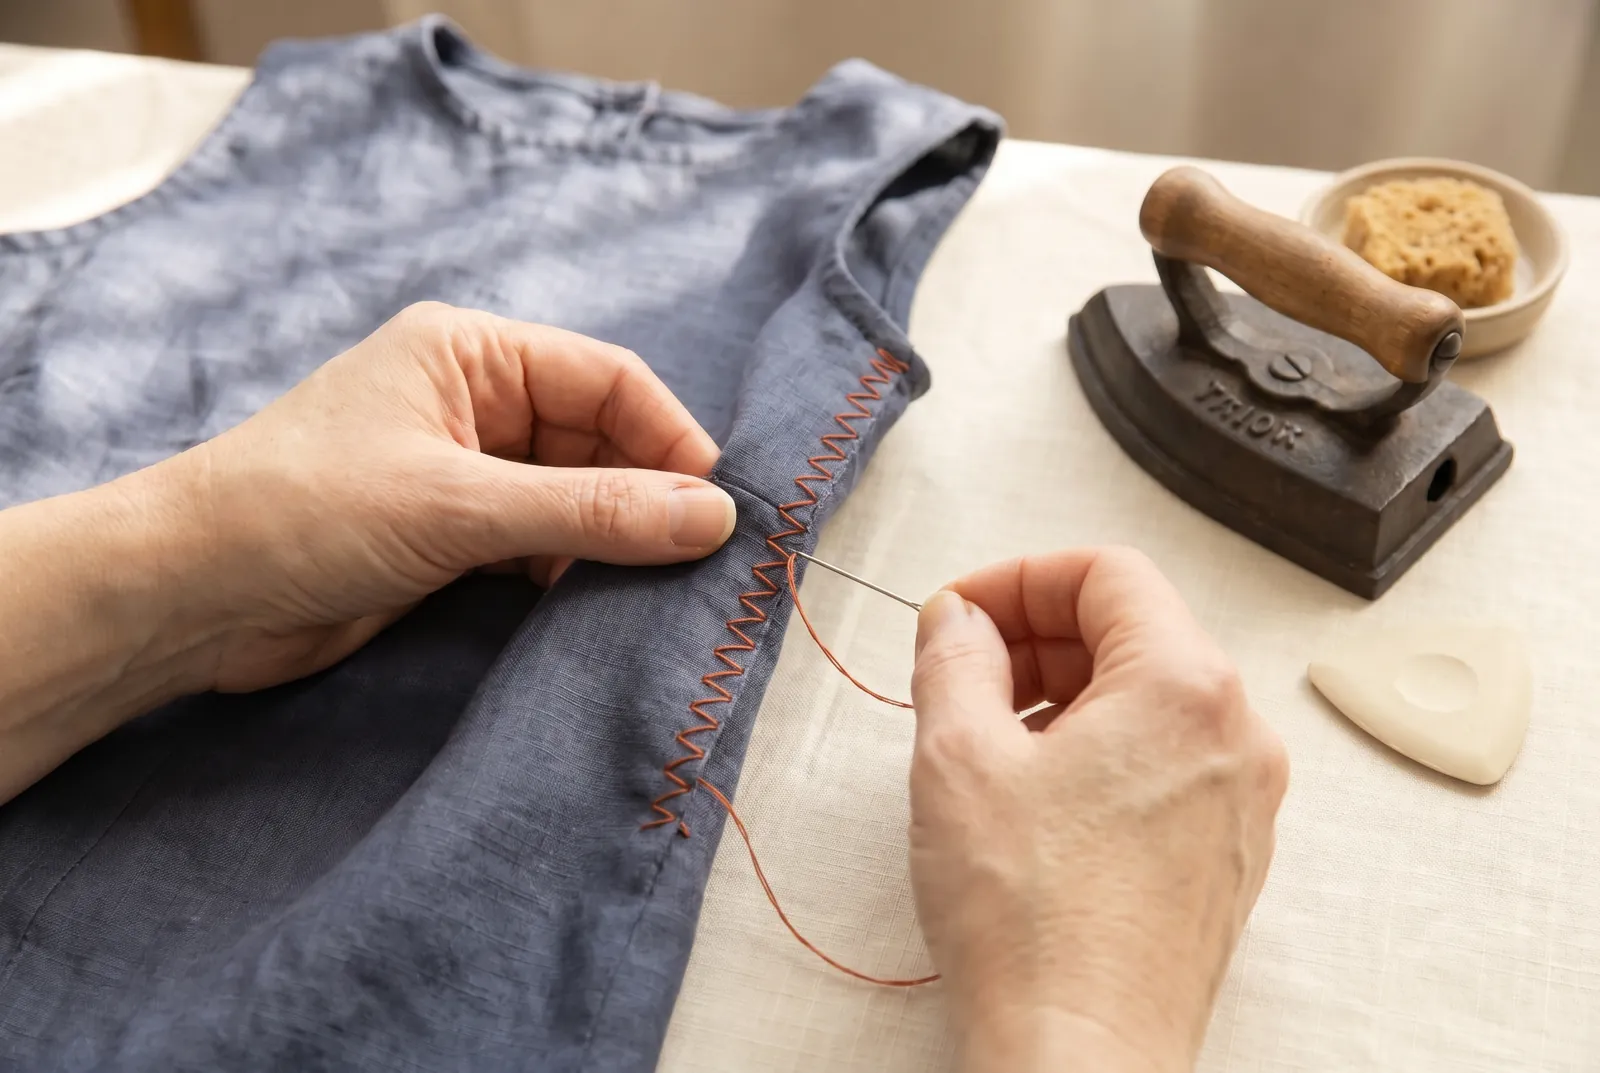
STEP 7/8Finish the raw edges of the seam allowance with overcasting — slanting stitches about 3 mm (1/8 in) deep, evenly spaced — so they will not ravel, then press the new seam as the garment requires, open or to one side. Press on the wrong side to keep shine off the face of the cloth.
Step 8
STEP 8/8Check the outside of the garment: after letting out, the old crease line lies on the body side of the new seam, so a faded or needle-marked line can show. Press it again under the damp cloth until it is as faint as it will go — at the side of the body, wear and the garment's hang hide most of what remains. Repeat the check on the second side seam, and confirm both sides gained the same amount so the waist sits level.