Hand-Sewing Fundamentals · piece Nº 15 · 36 min
Hemming Stitch and Slip Stitch: Finishing a Hem by Hand
Finish a hem by hand with the two stitches that do the work: the hemming stitch, which fastens a folded edge down to the cloth, and the slip stitch (blind hemming), which holds a hem so no stitching shows on either side — a clean way to take up a thrifted or hand-me-down garment. Begin with the hem already folded and pressed and your needle threaded and knotted, and fasten the thread off at the end; this lesson teaches the two stitches themselves and assumes you can already thread, knot, and fasten off.
The seam · 6 steps
Step 1
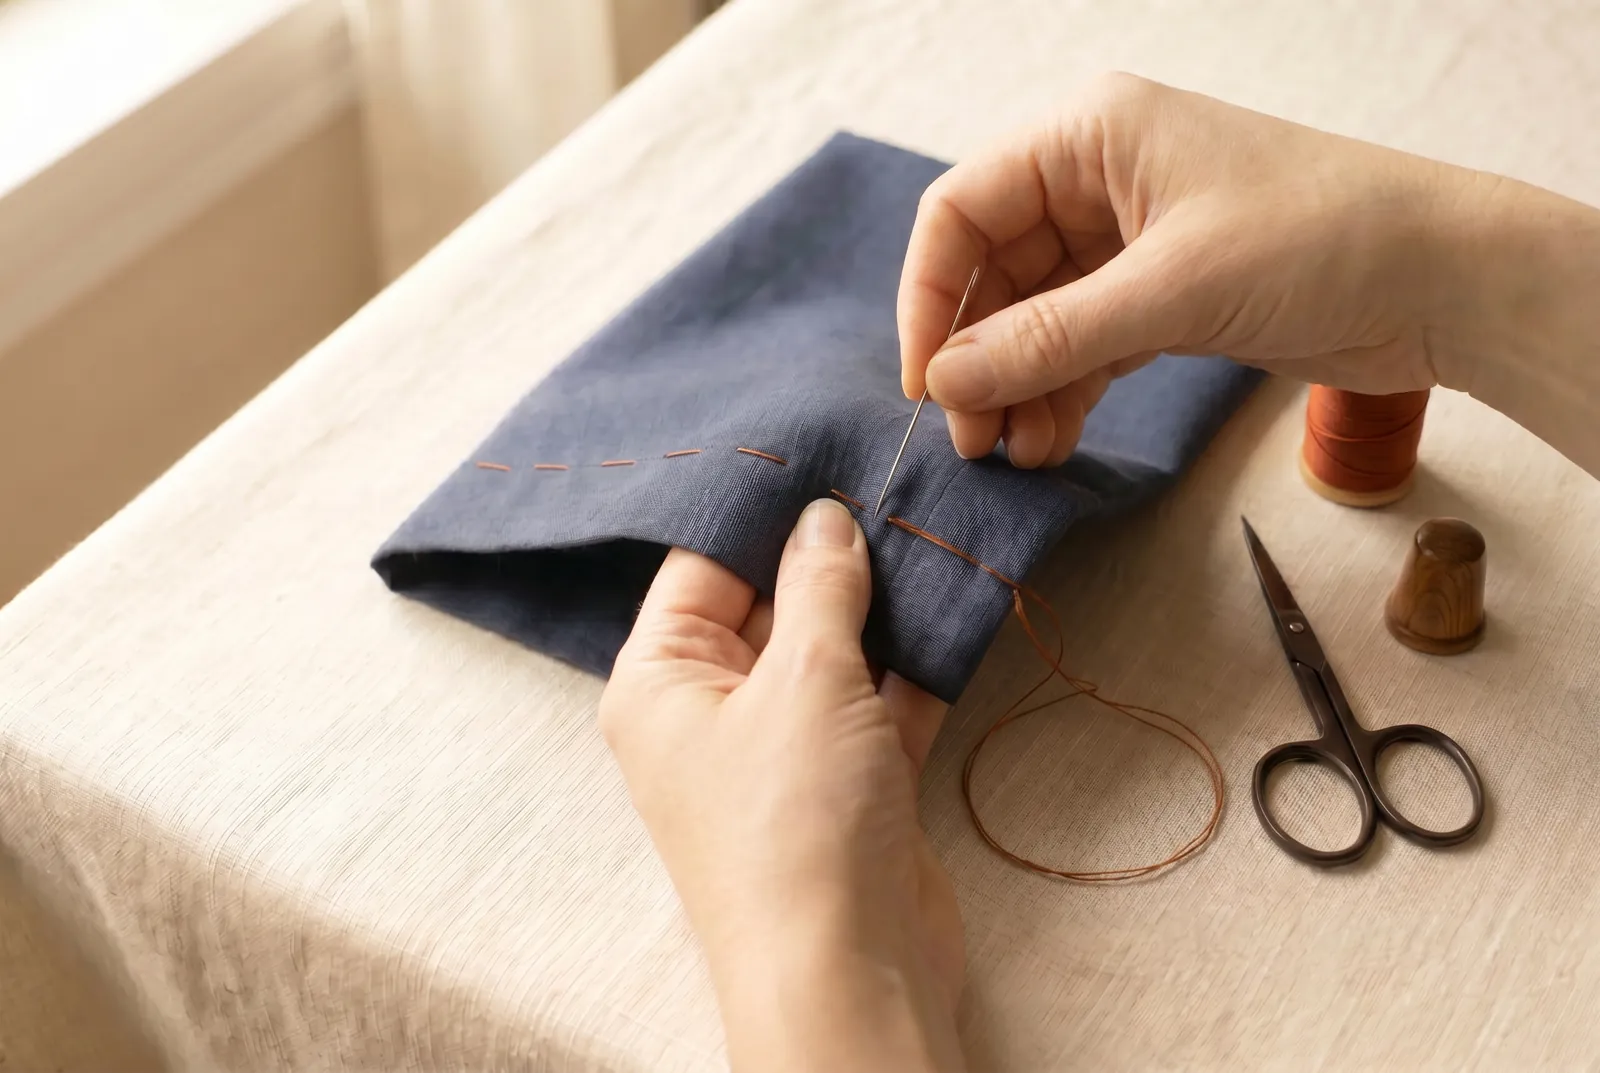
STEP 1/6Hold the folded hem edge across the cushion of your left forefinger, kept in place by your thumb, and work from right to left. (Left-handed? Mirror the hold and work from left to right.)
Step 2
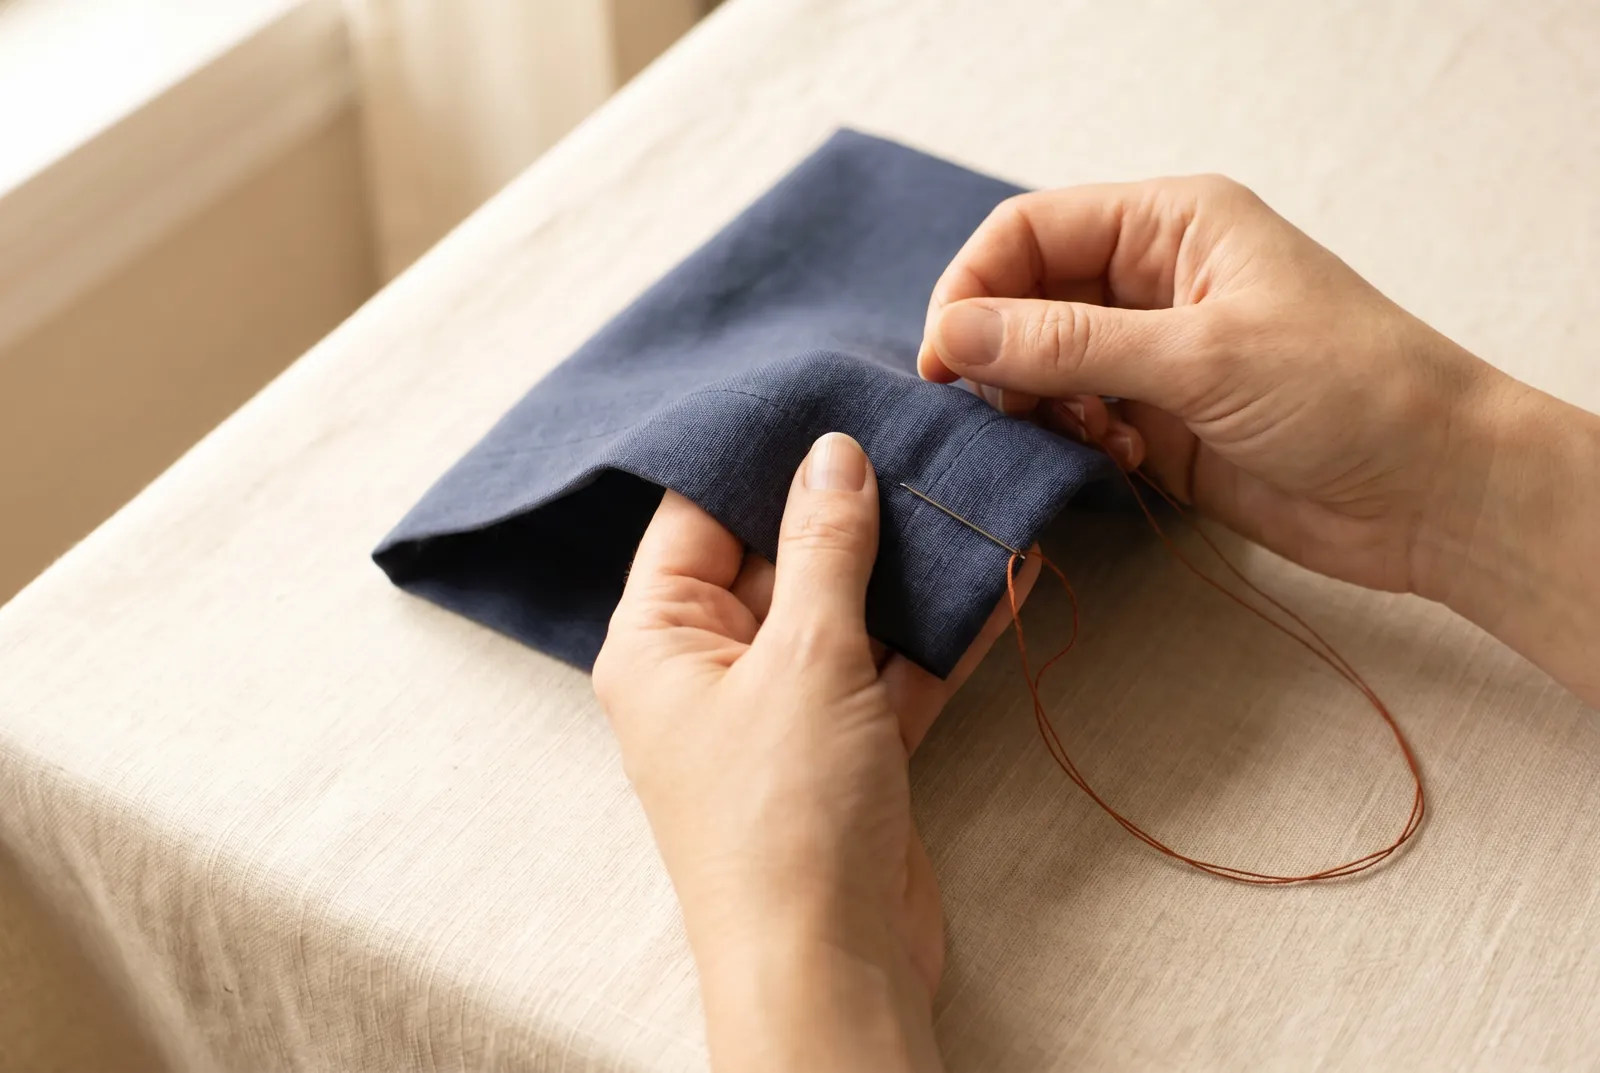
STEP 2/6For the hemming stitch, point the needle toward your left shoulder, take up one or two threads of the garment immediately below the fold, and in the same motion bring the needle up through the edge of the fold itself.
Step 3
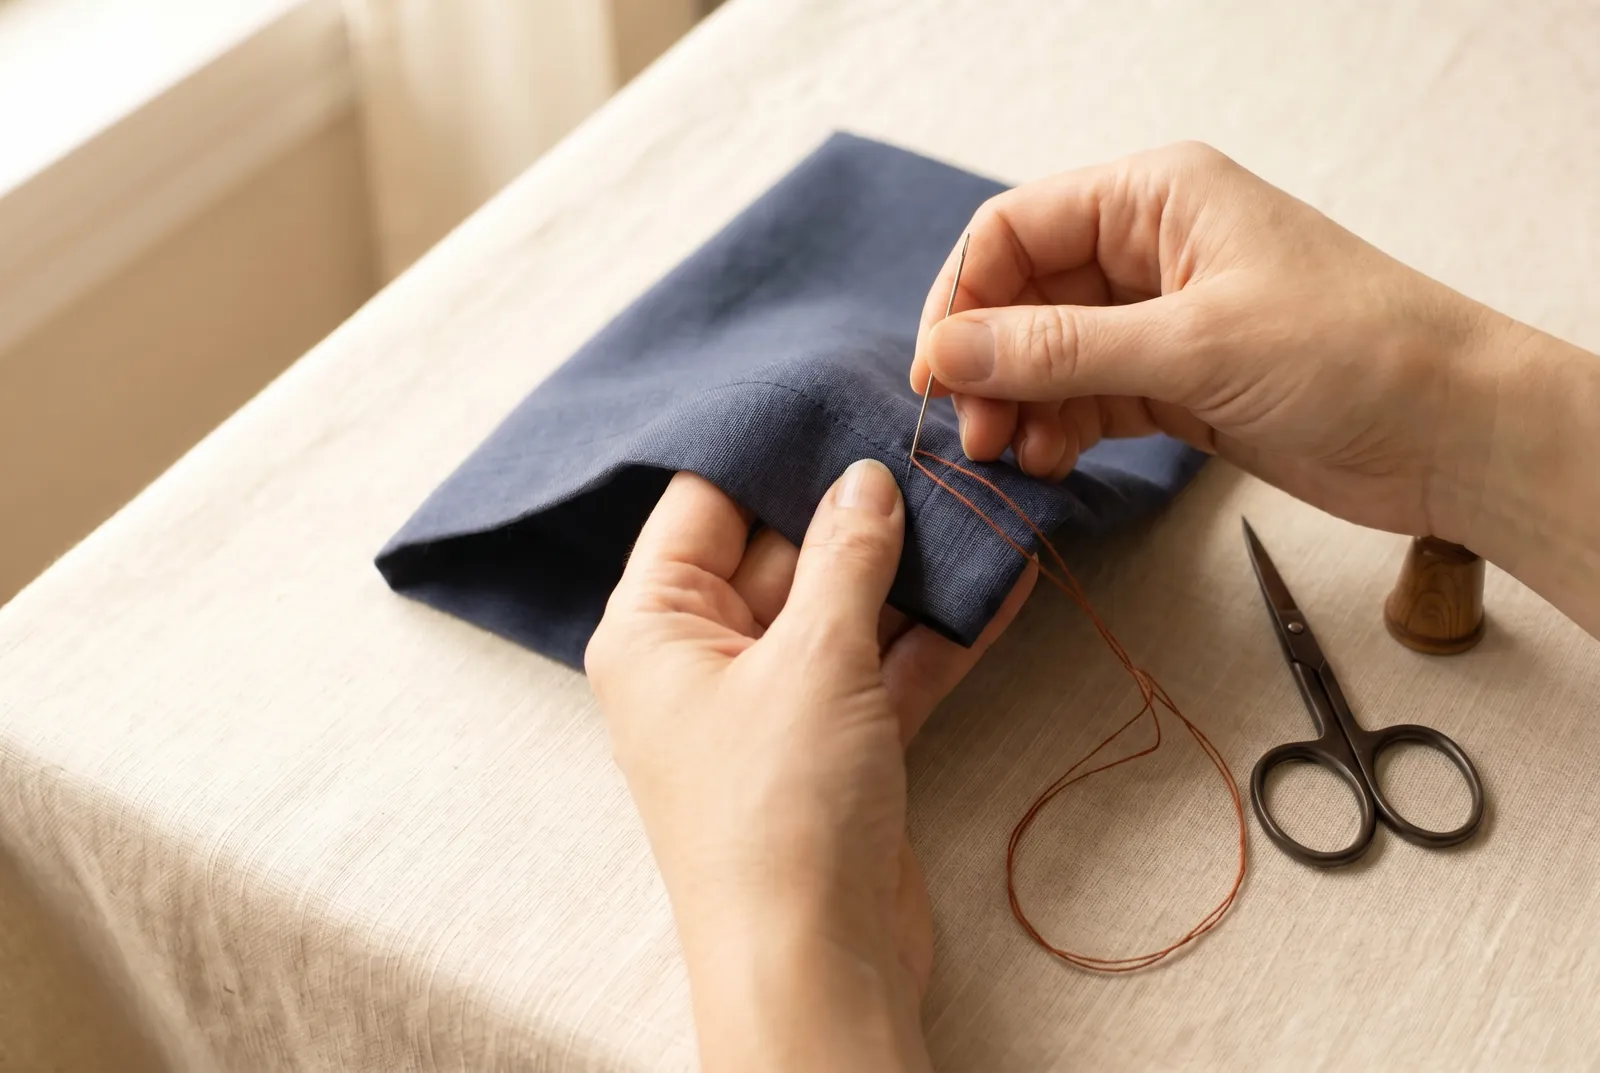
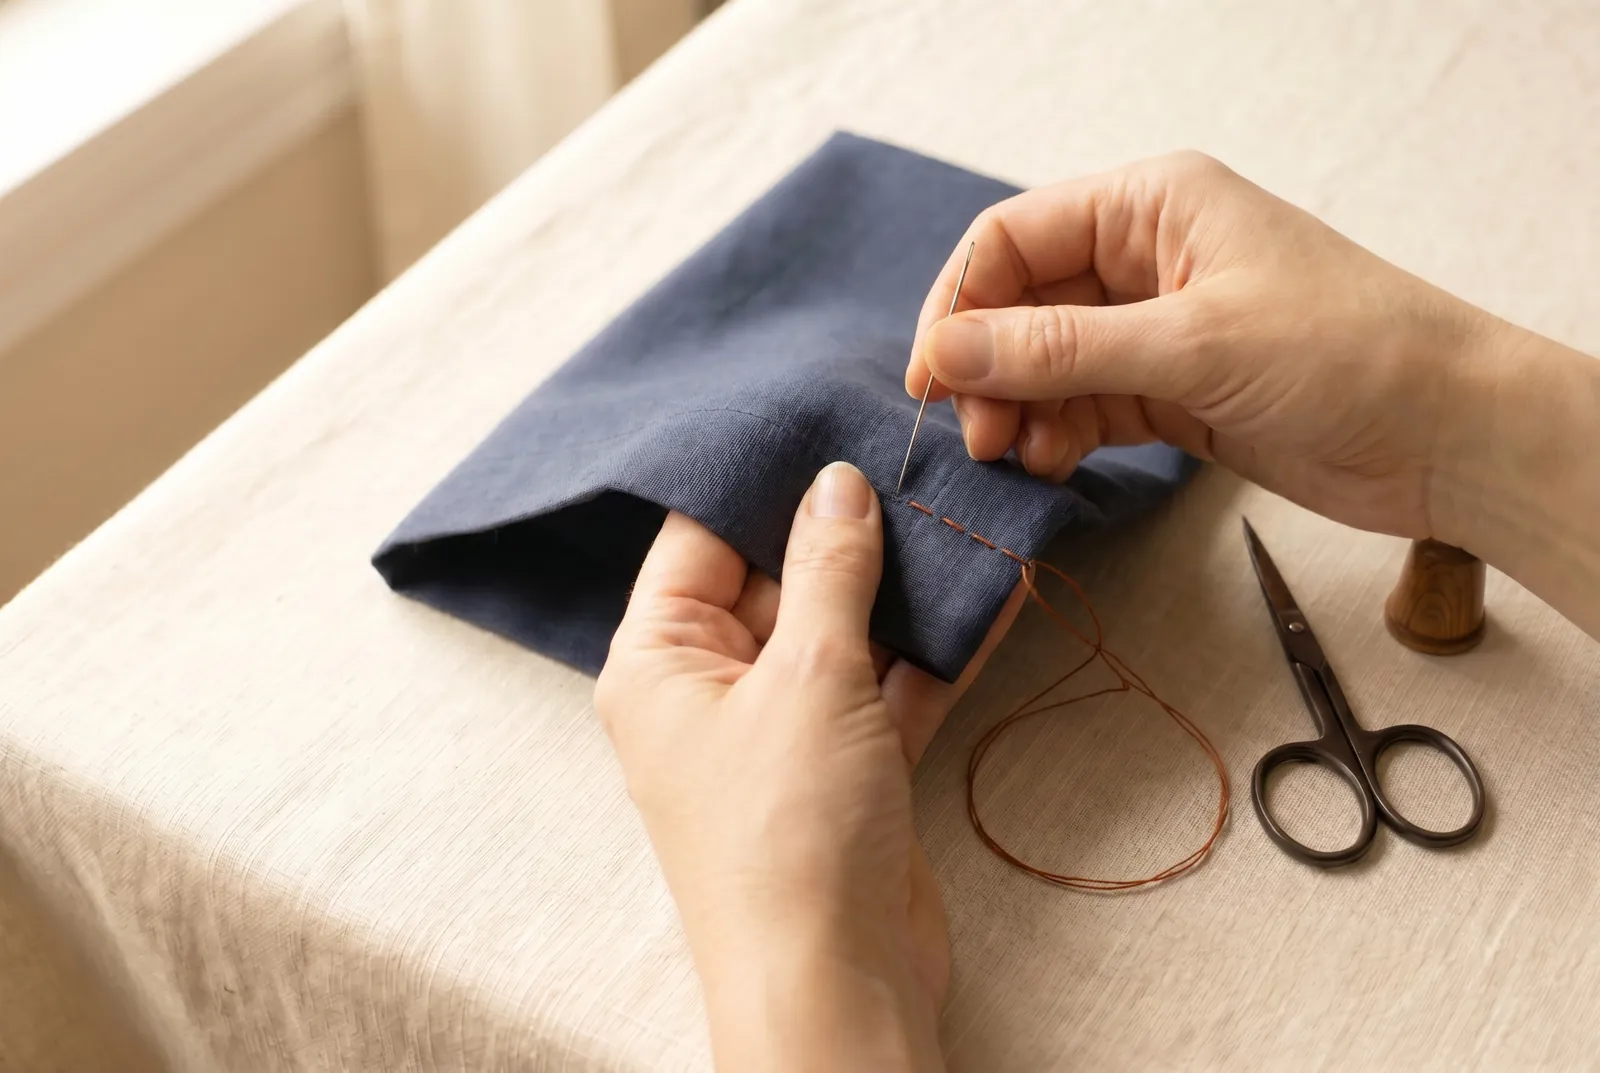
STEP 3/6Work stitch after stitch this way along the hem, letting them slant on both sides and keeping them small and close in fine work — about eight to ten stitches in 2.5 cm (1 in). Do not pull the thread tight, or the hem will pucker.
Step 4
STEP 4/6When you want a hem with no stitching showing on either side, use the slip stitch, also called blind hemming — the two stitches are alternative finishes, so pick one per hem. The slip stitch is less strong than plain hemming, so keep it for hems and facings of dress goods, not for garments that are hard worn or often washed.
Step 5
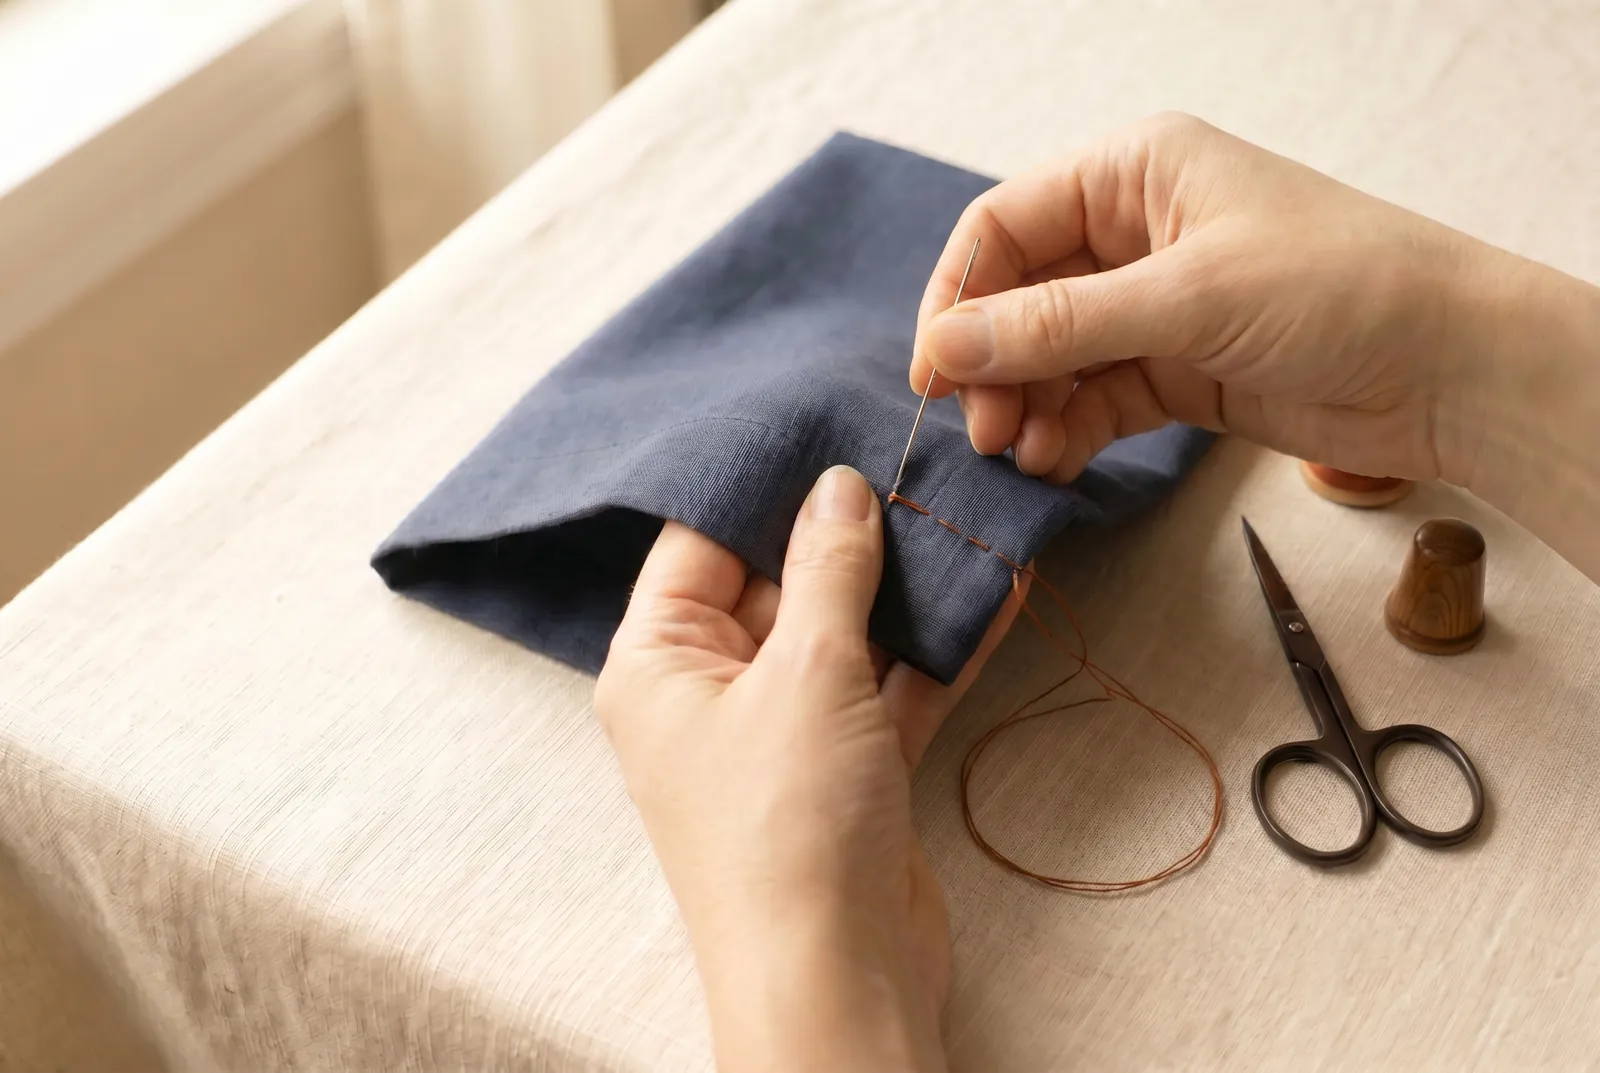
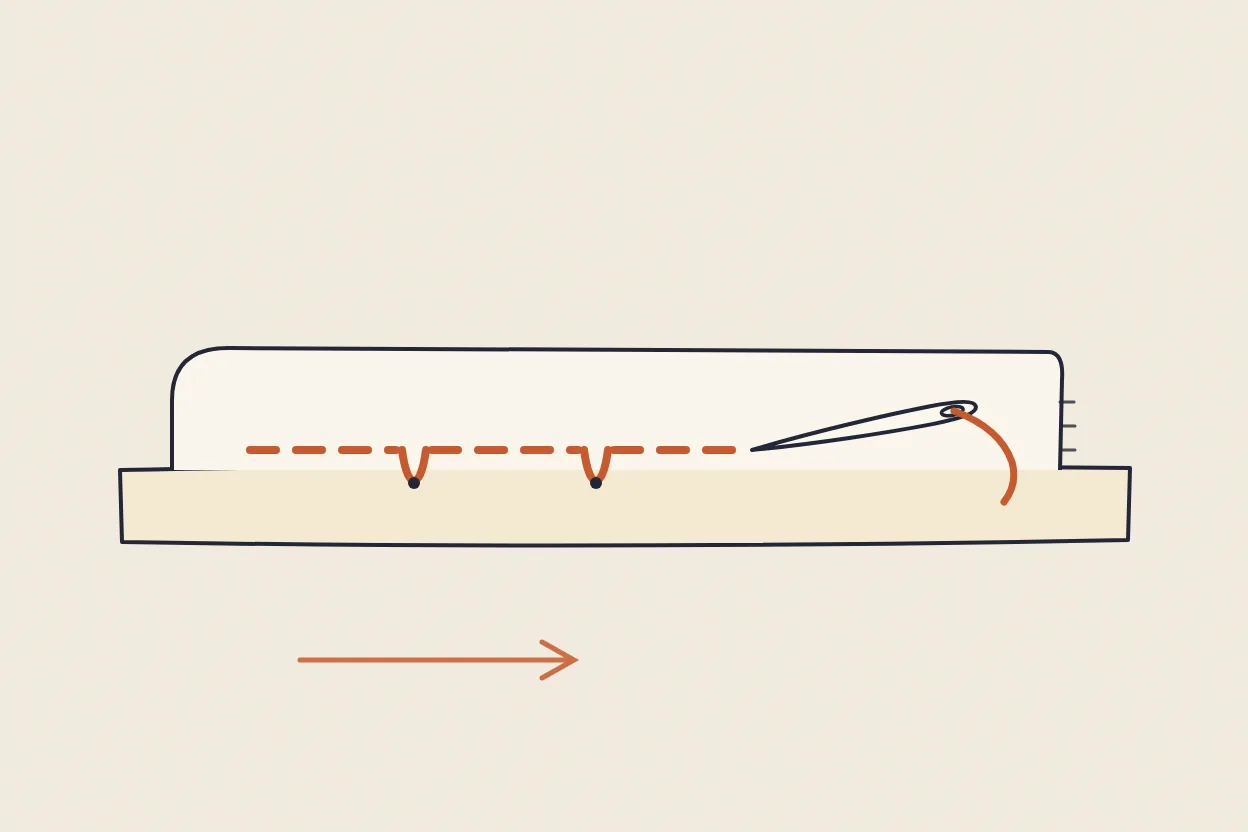
STEP 5/6For the slip stitch, take up a single thread of the garment, then slip the needle 6 to 13 mm (1/4 to 1/2 in) along inside the fold of the hem and bring it out.
Step 6
STEP 6/6Repeat down the hem so that only a single thread shows on the surface at each stitch and the working thread stays hidden within the fold. Worked this way, the slip stitch shows on neither side. When you reach the end of the hem, fasten the thread off the same way you anchor it — this is the prerequisite skill named in the materials list.