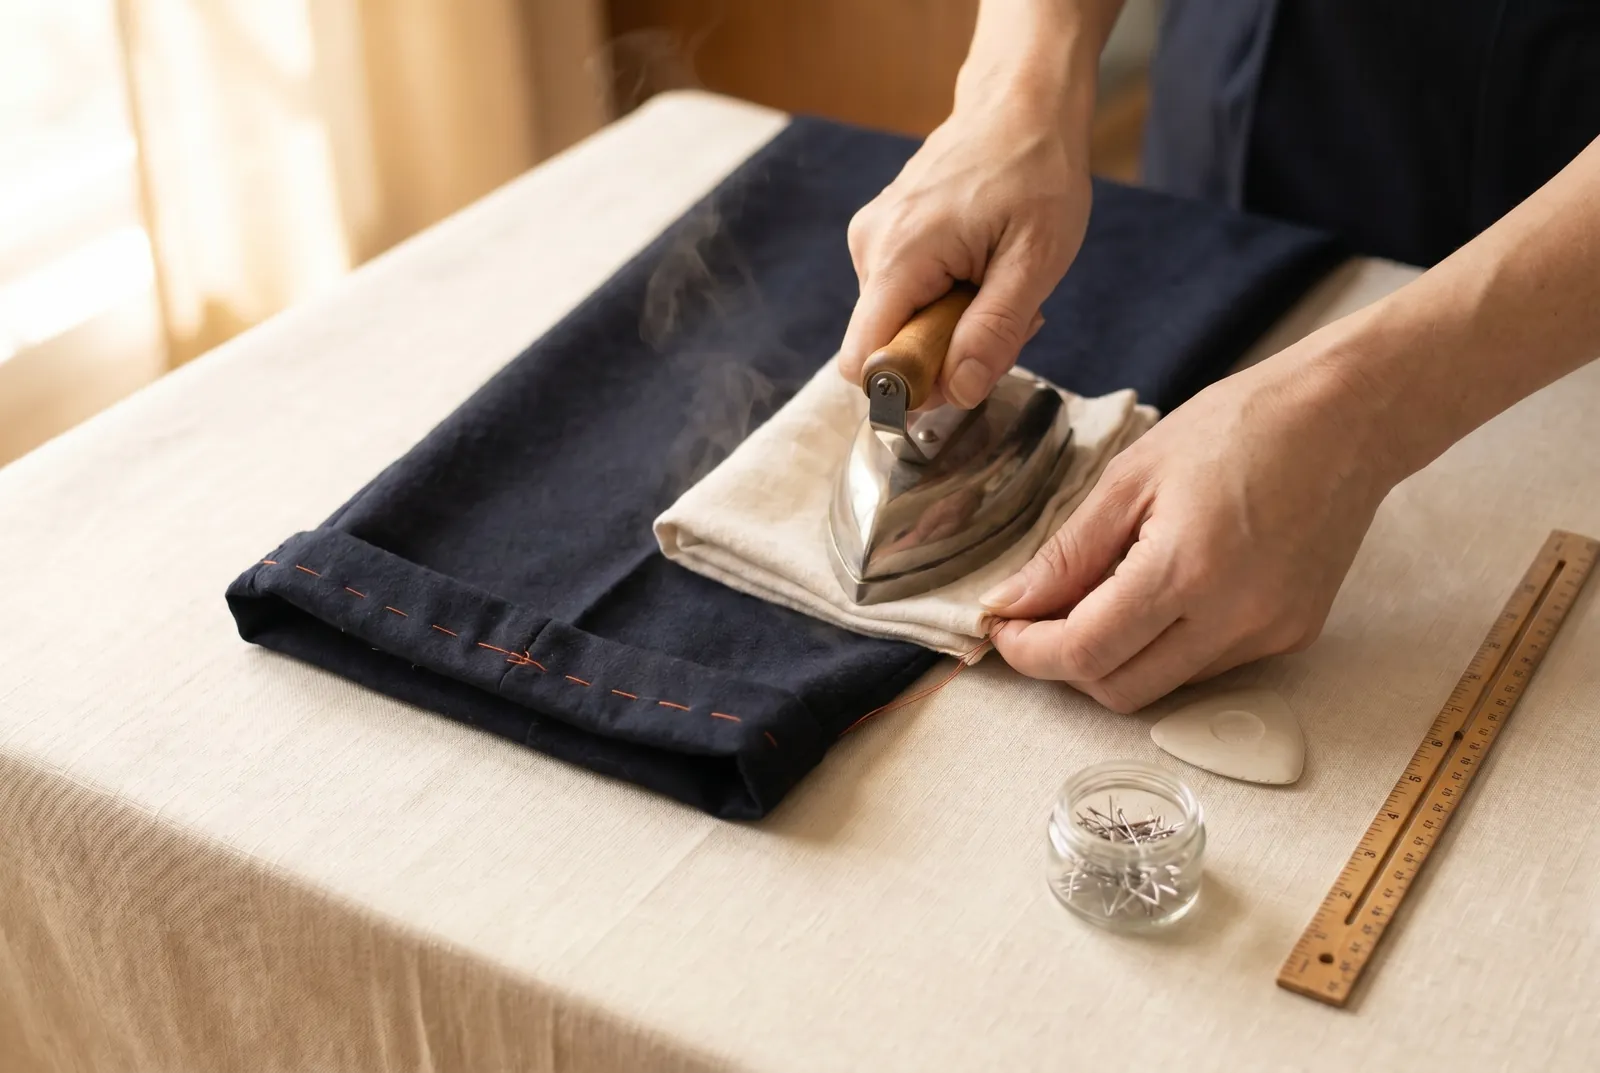
Everyday Mending · piece Nº 13 · 48 min
Fix a Fallen Trouser Hem by Hand
When the hemming thread on a pair of trousers gives way, the hem drops and hangs loose at the ankle. This lesson takes a first-time mender through removing the old thread, refolding the hem to the right length, and stitching it back by hand so the repair barely shows.
The seam · 8 steps
Step 1
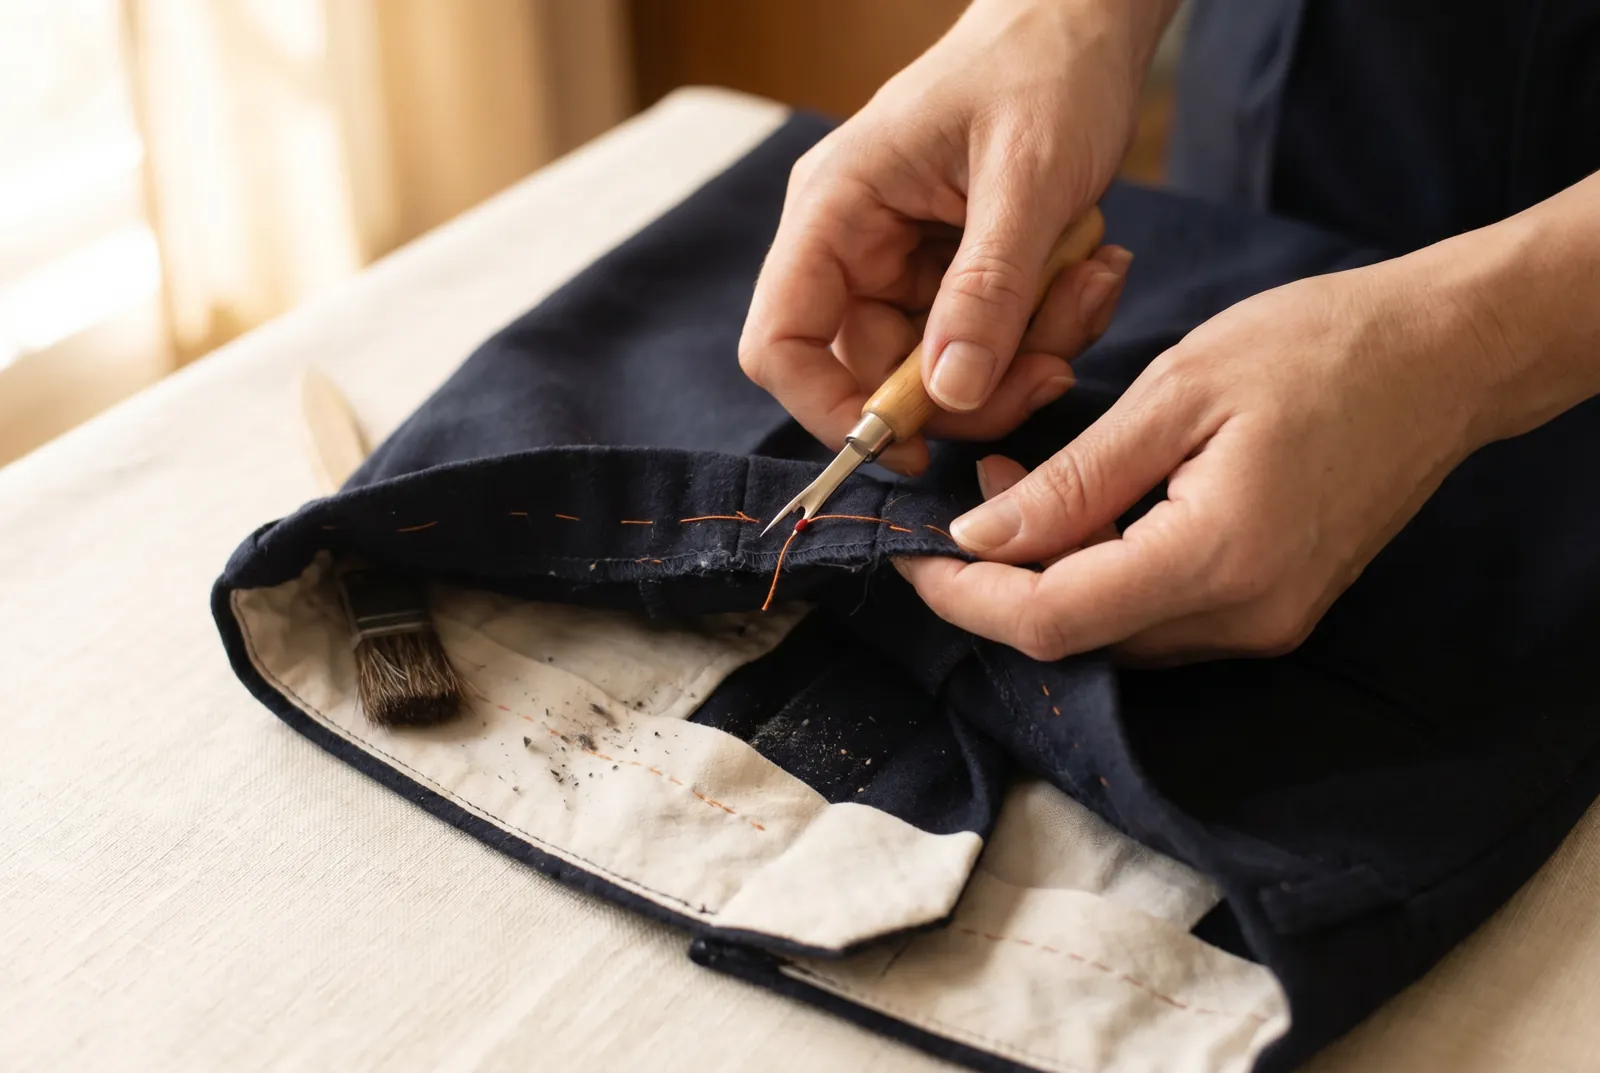
STEP 1/8Turn the trouser leg inside out and find the loose hem. Slide a seam ripper or the point of small scissors under the old hemming stitches and pick them out along the whole hem, opening the fold; brush the dust and lint from the crease, because ground-in dust cuts the threads if it is pressed back in.
Step 2
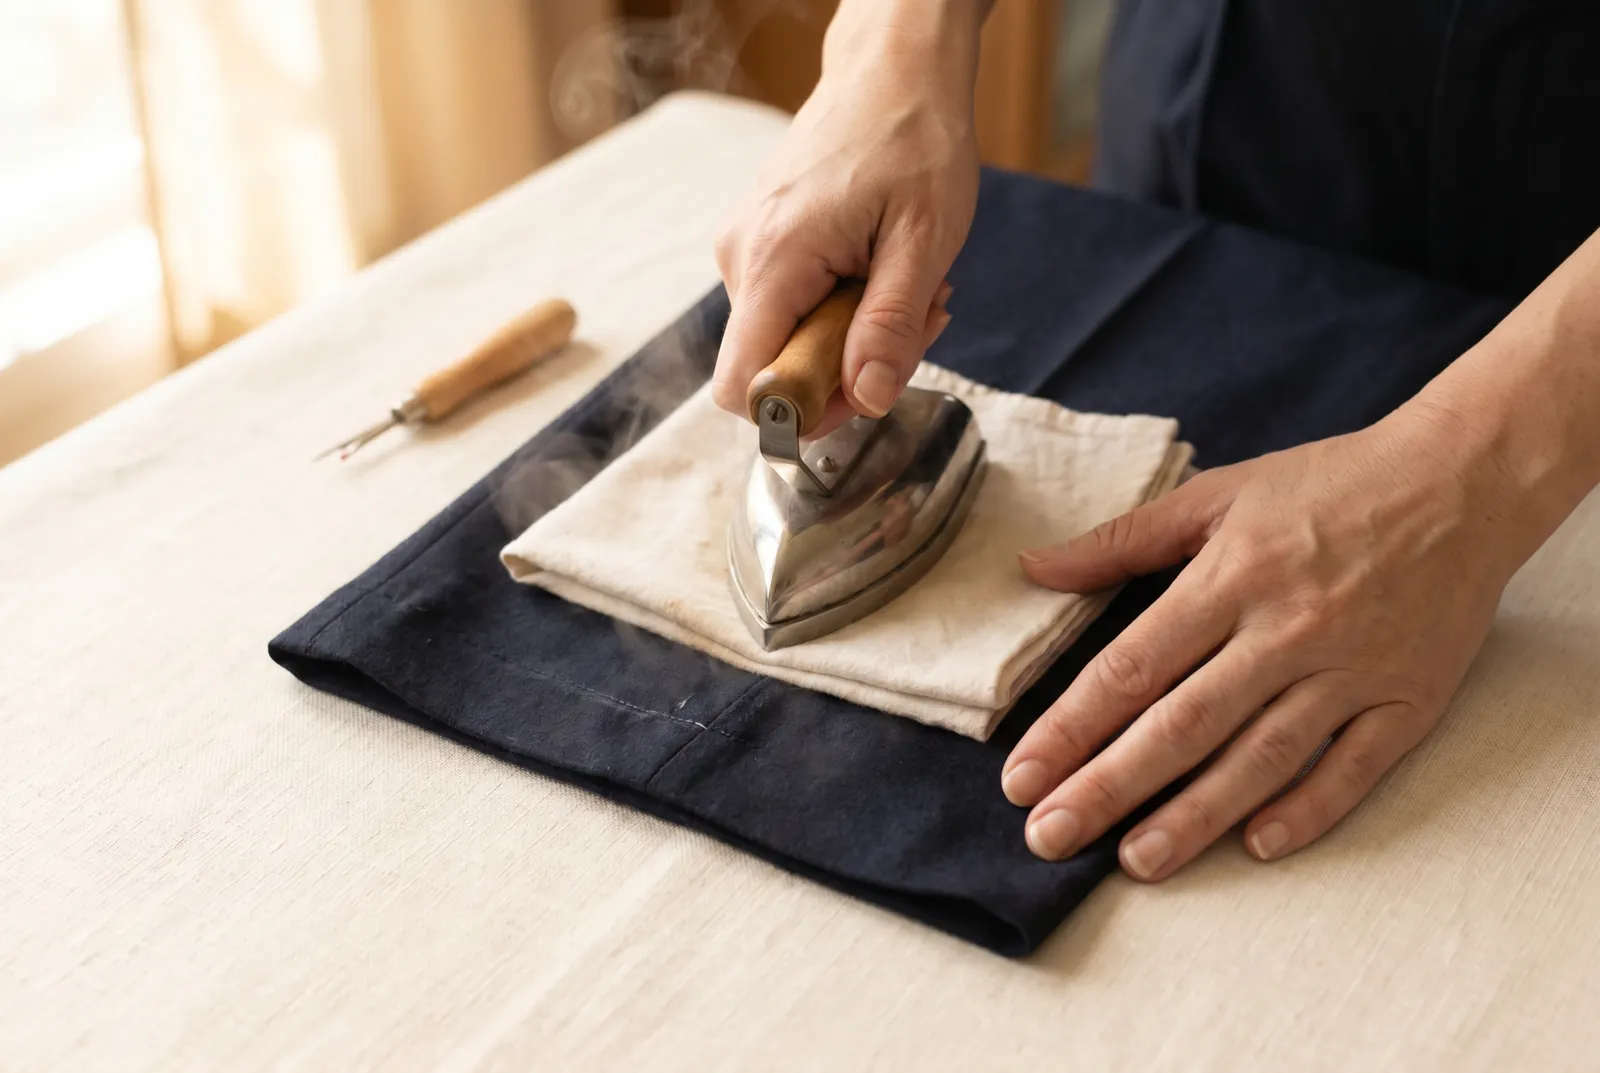
STEP 2/8Lay the opened hem flat on the wrong side, cover it with the damp cloth, and press with a hot iron until the old fold line disappears. Pressing the crease out now lets you set the fold where you want it, rather than fighting the old line.
Step 3
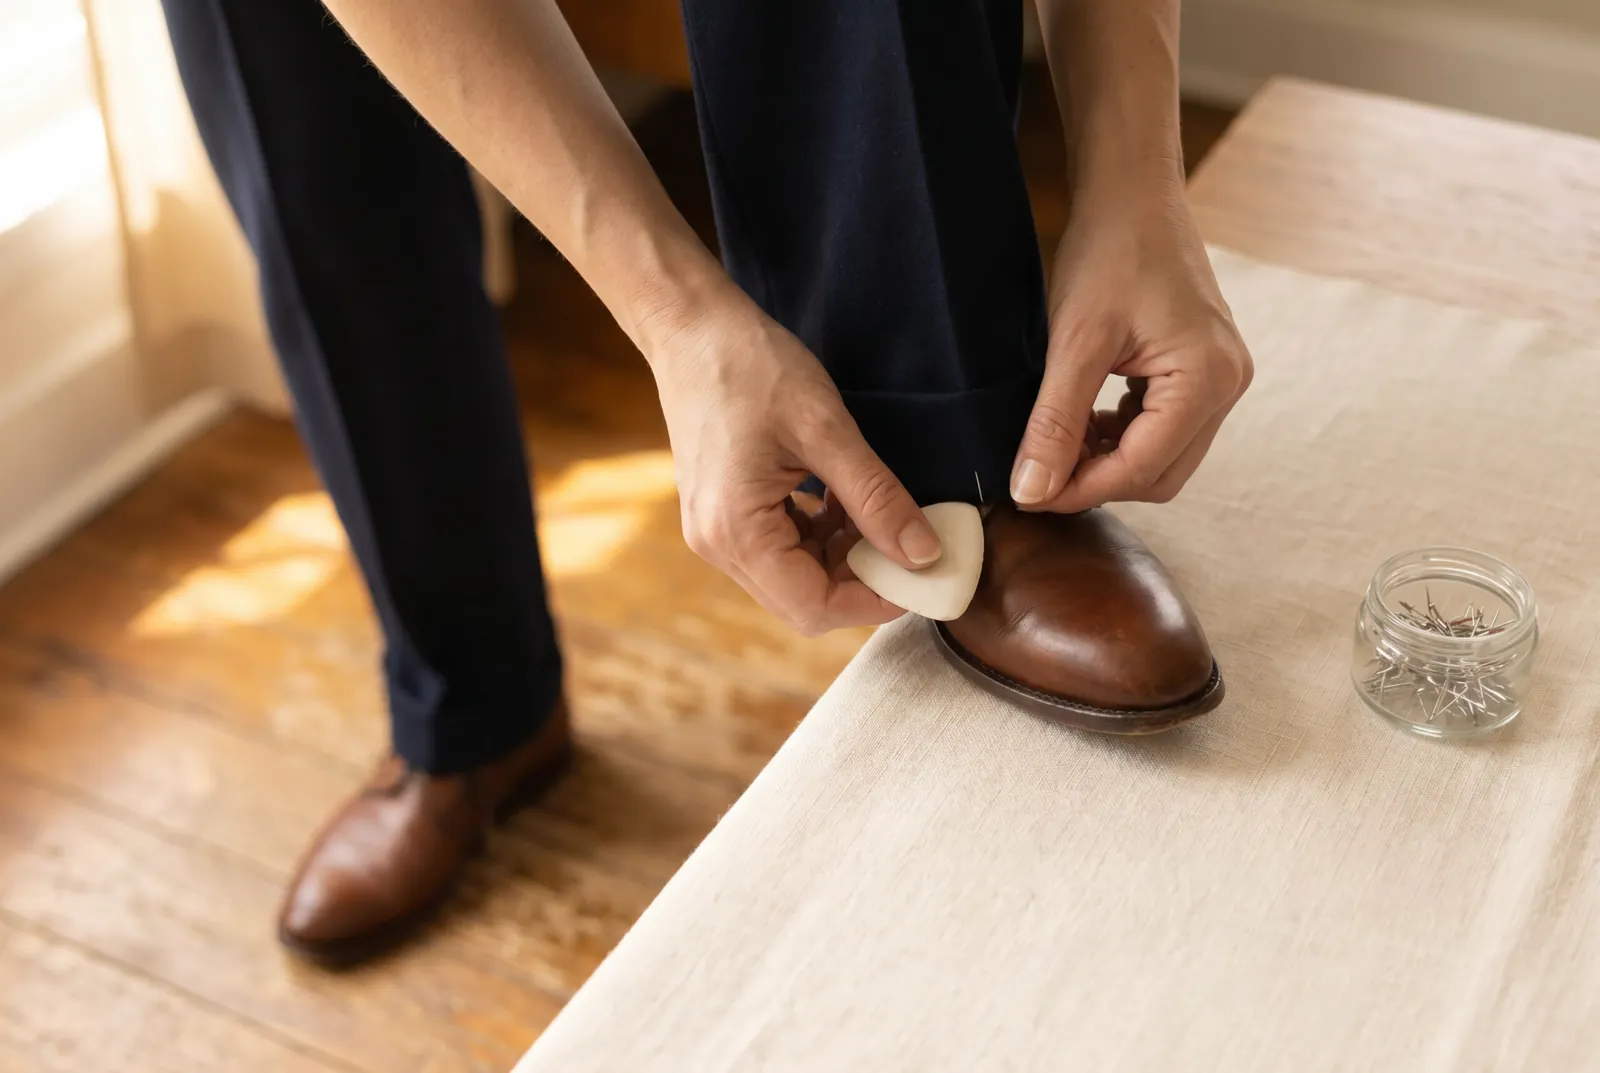
STEP 3/8Put the trousers on with the shoes you will wear with them, and mark the new length up from the shoe with chalk or a pin at the front and back of each leg. Marking on the body keeps the finished hem level, since trousers hang differently once worn.
Step 4
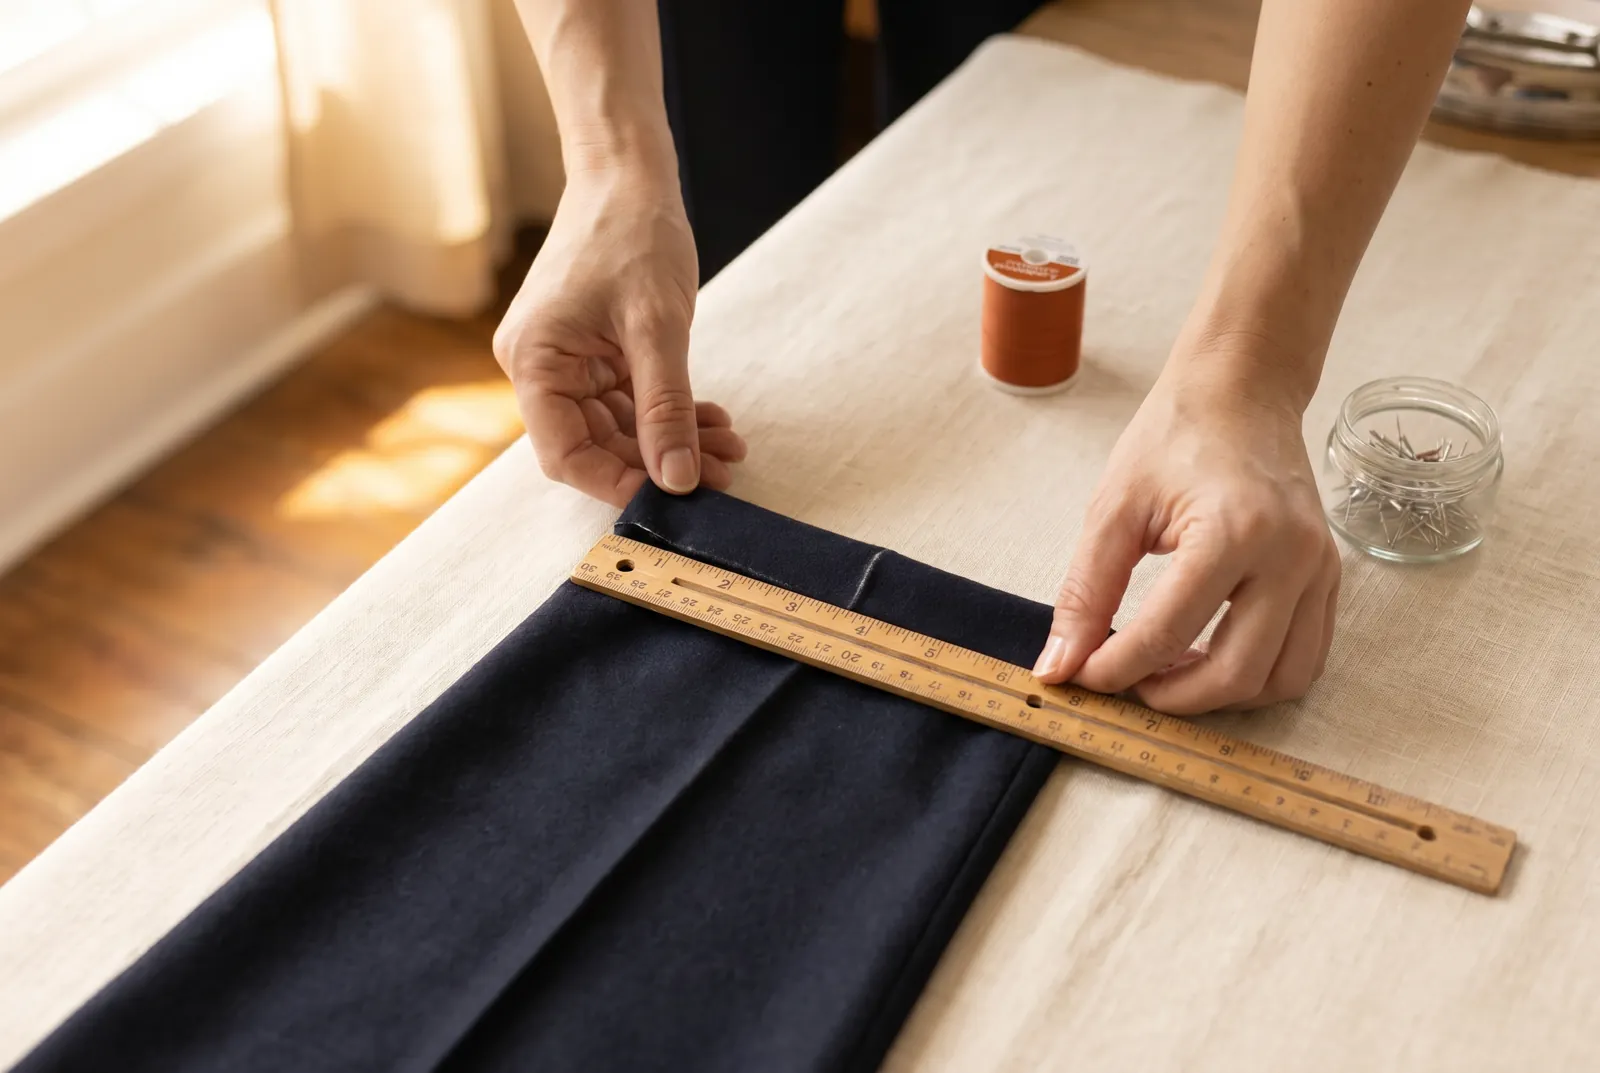
STEP 4/8Fold the raw edge to the wrong side along your marks and turn a hem 4 to 5 cm (1.5 to 2 in) deep, checking the depth with a ruler so it stays even all the way around. Trim the raw edge if it is wider than that — but leave the full depth if you think you'll lengthen the trousers later. Then turn that raw upper edge under 6 mm (1/4 in) so no cut cloth is left exposed to fray: this upper folded edge is the edge you will sew to the trouser leg.
Step 5
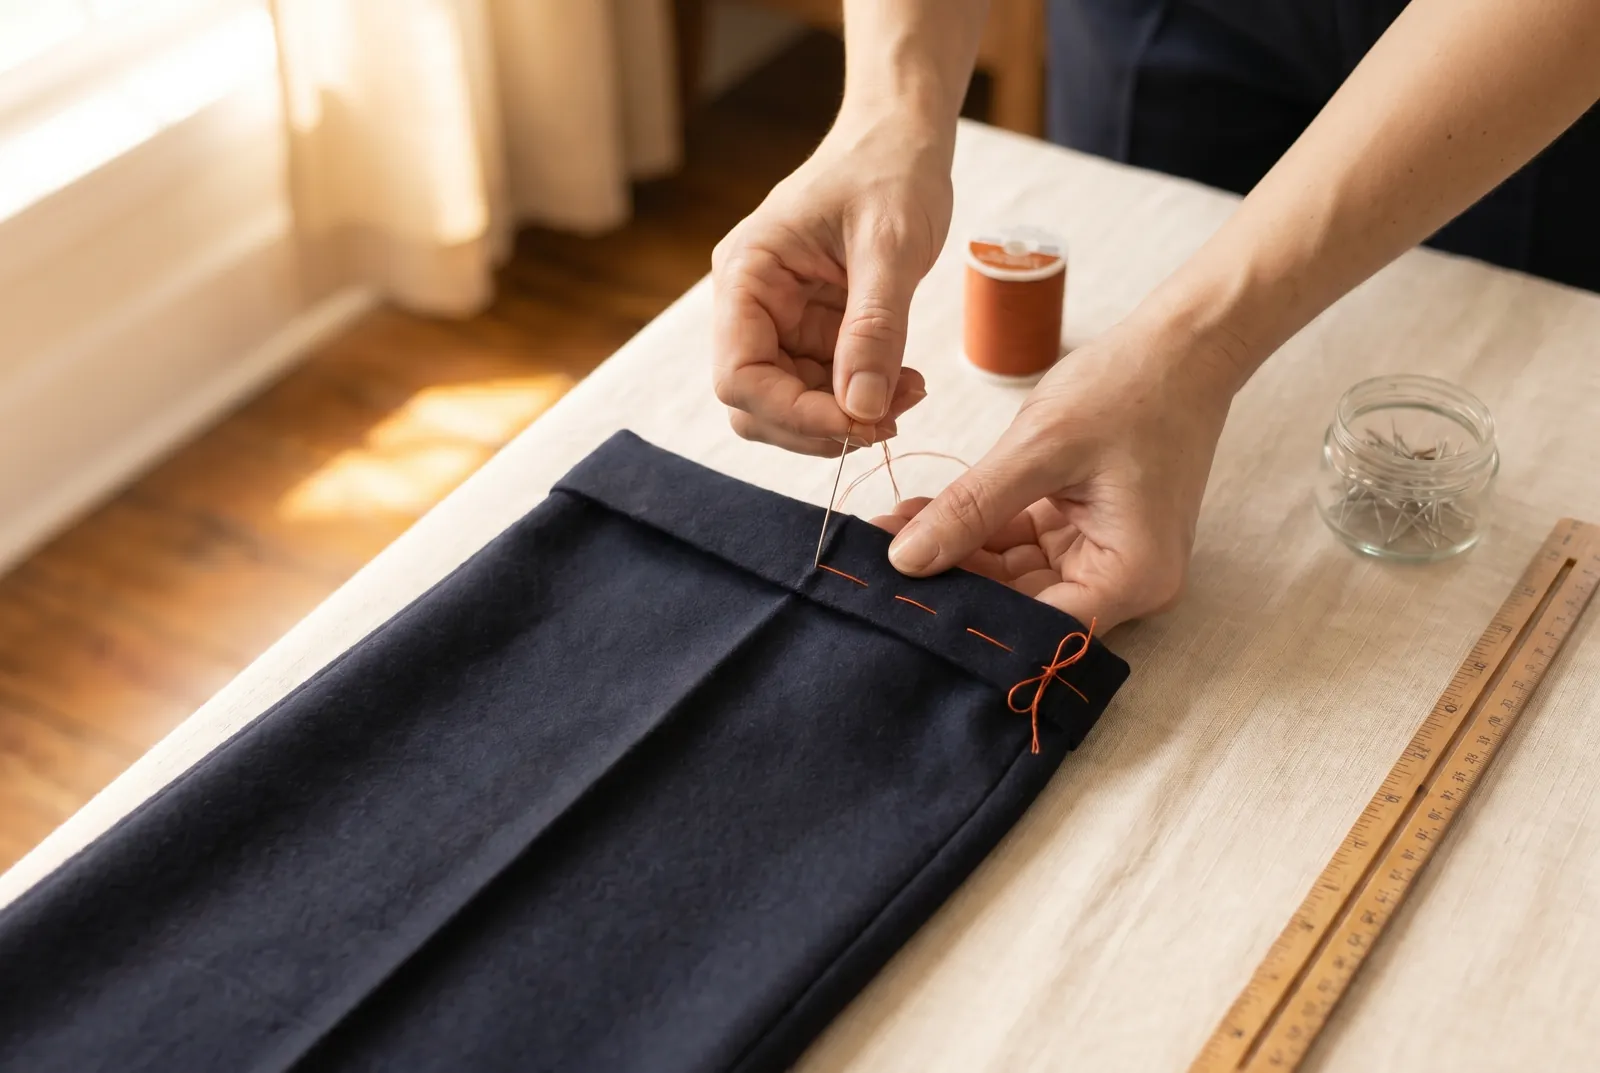
STEP 5/8Hold the fold with a line of basting — temporary running stitches that keep the layers together while you sew. Start with the knot on the outer (right) side where you can pull it out later, then pass the needle in and out through all the fabric layers close to the folded edge, taking up less cloth than you skip, so the stitches sit about 1 cm (3/8 in) apart. Try the trousers on once more to check the length before you sew the permanent stitches.
Step 6
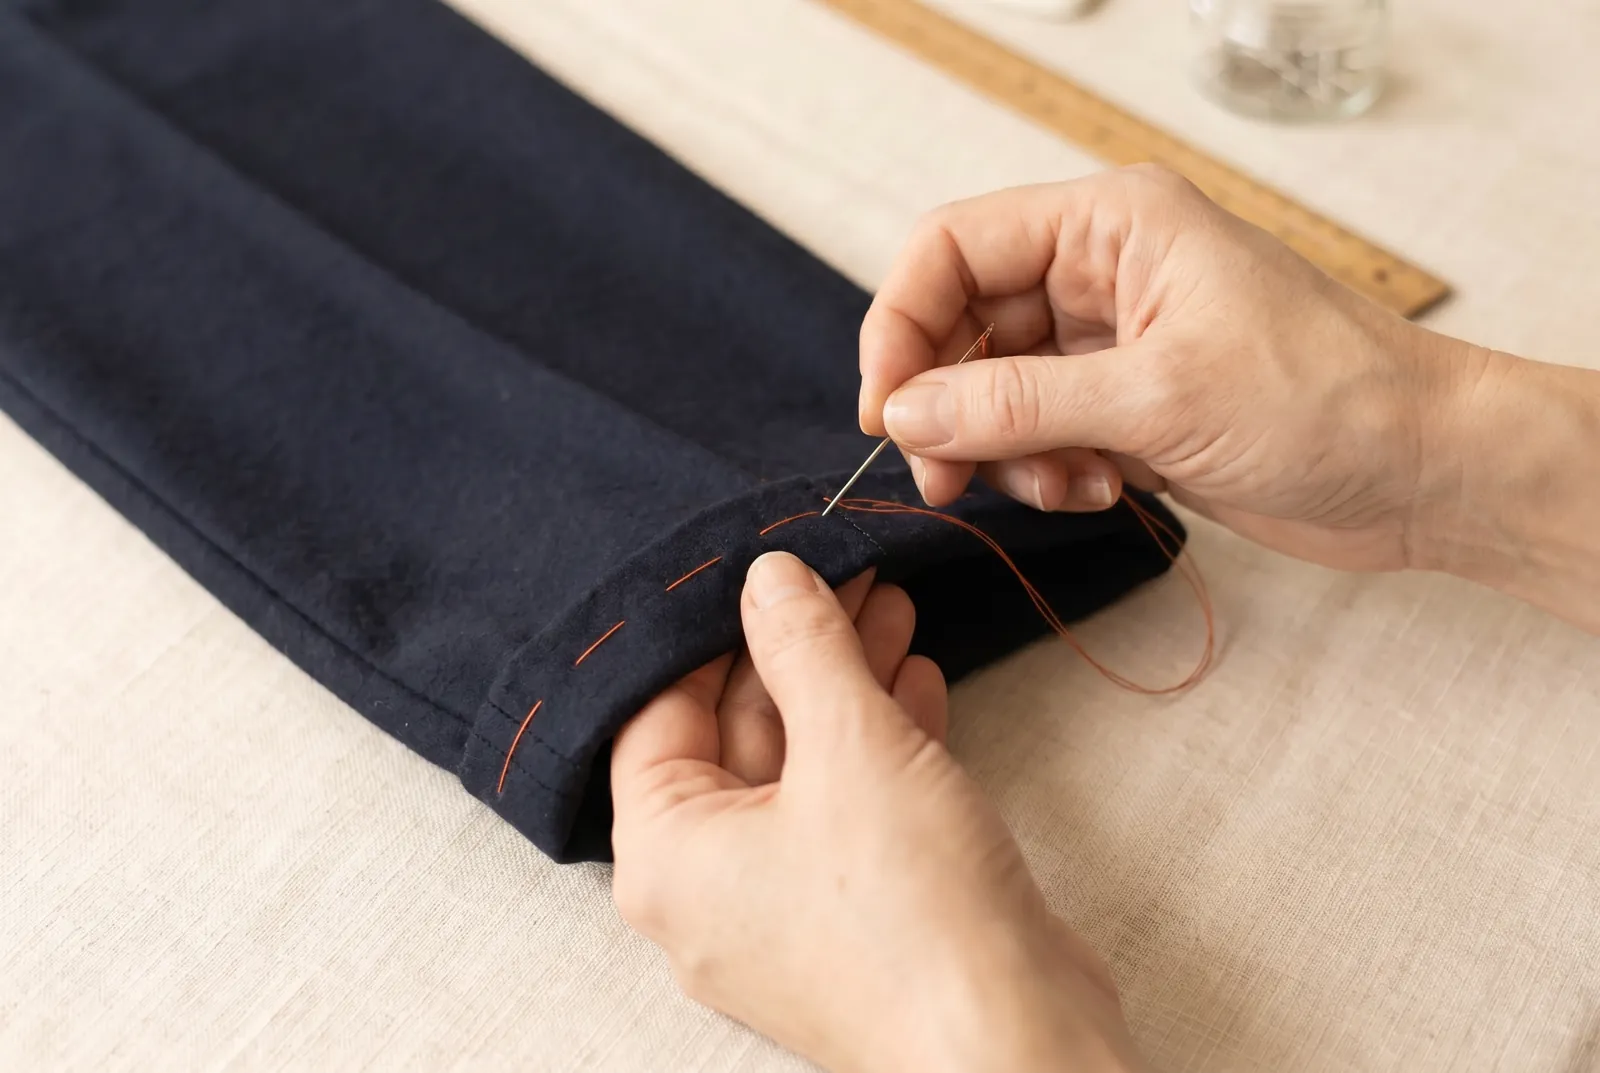
STEP 6/8Sew the hem down with the hemming stitch, working from right to left with the hem lying across your left forefinger. Catch one or two threads of the trouser cloth immediately below the hem's upper folded edge — the edge you turned under in step 4 — then bring the needle up through that folded edge in one slanting stitch, and repeat to the end. Keep the stitches fine, even, and close-set — they wear better than large ones and should barely show on the right side.
Step 7
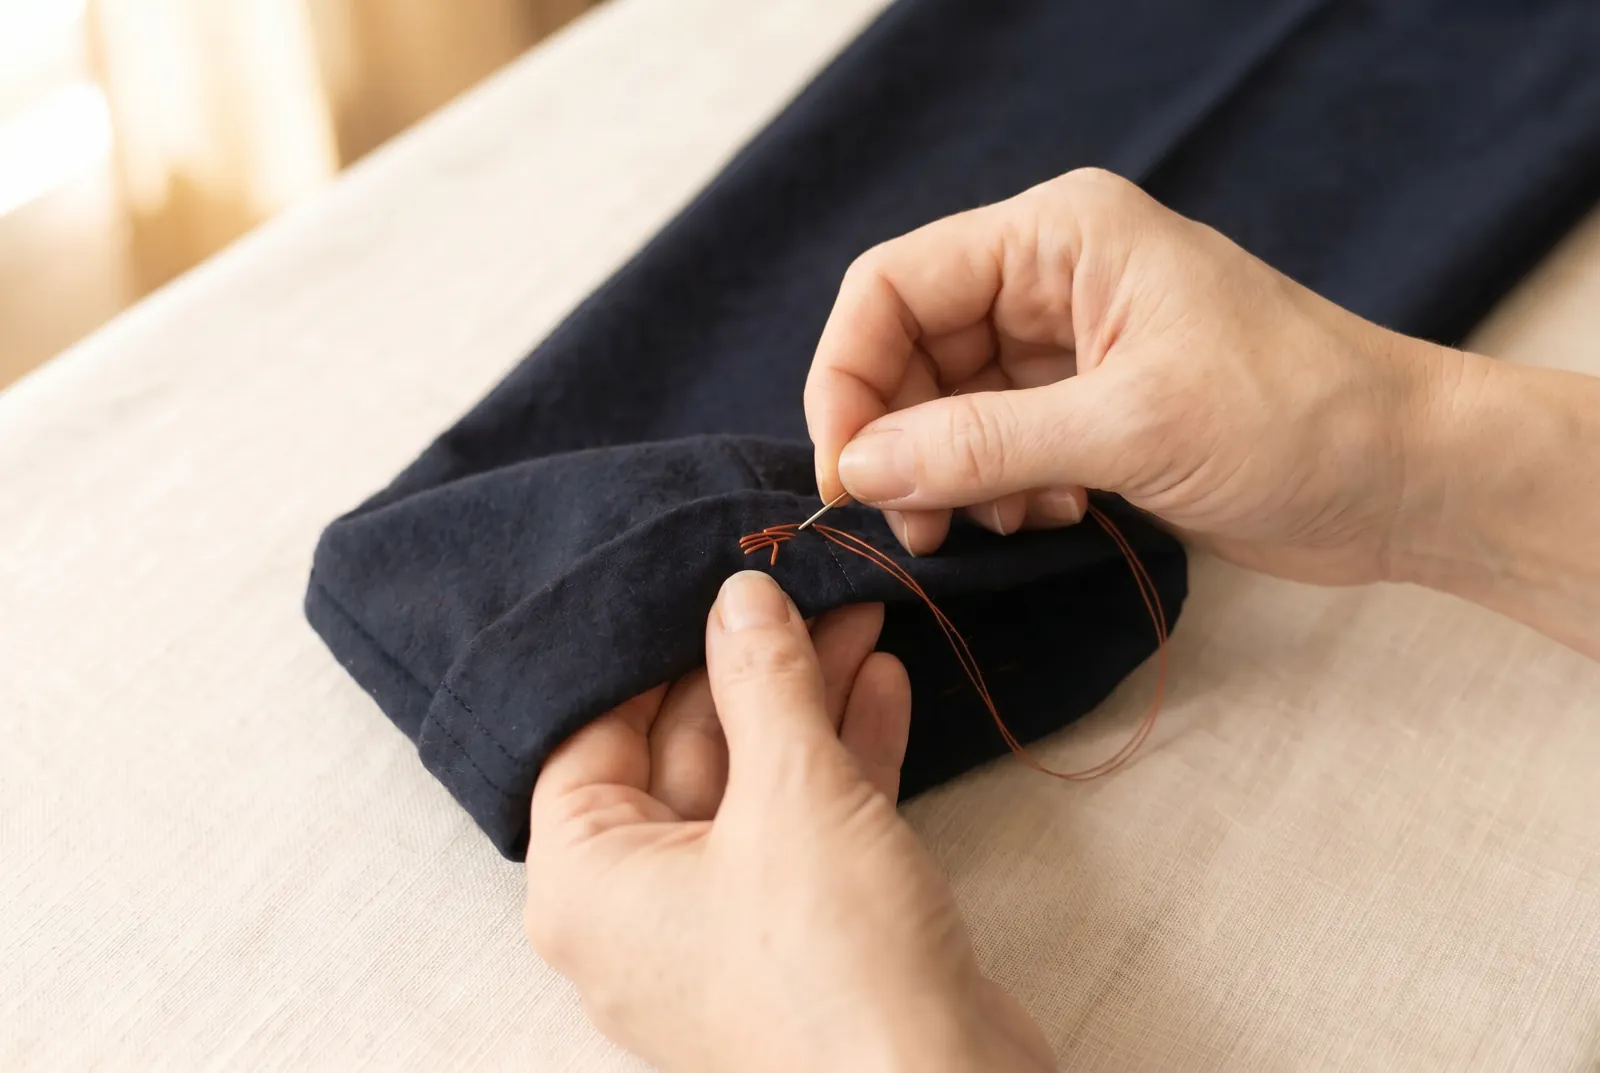
STEP 7/8When you reach the start, fasten the thread off inside the fold with two or three small stitches worked into the hem, never with a knot on the outside. Fastening within the fold keeps the finish out of sight and stops the thread pulling loose.
Step 8
STEP 8/8Press the finished hem on the wrong side under the damp cloth while the basting is still in place. Draw out the basting stitches, press the hem again, then restore the front and back creases of the trousers with the damp cloth and a hot iron.