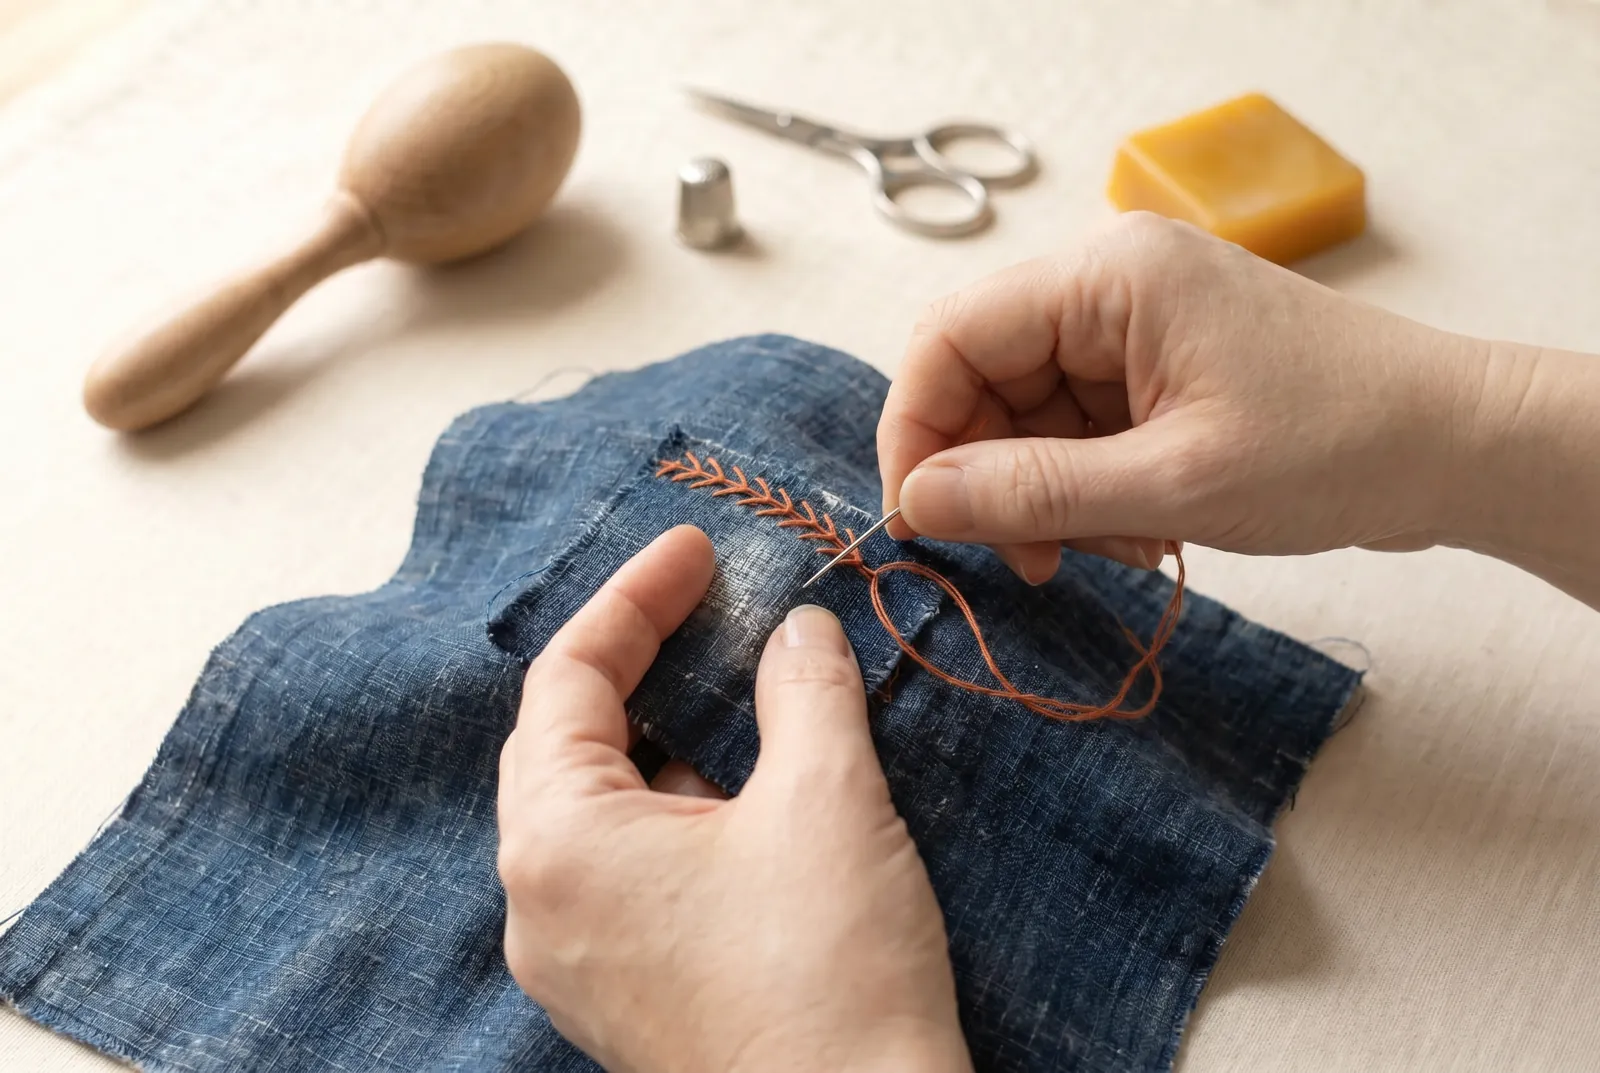
Visible & Decorative Mending · piece Nº 11 · 60 min
Darn a Thin Patch Before It Becomes a Hole
Reinforce a worn, thin spot in cotton, wool, or silk cloth by darning it with rows of fine running stitches before it opens into a hole. You work on the wrong side, carry the stitches into the sound cloth around the wear, and keep the darn loose so the cloth stays supple. An optional embroidered border turns the mend into a visible feature.
The seam · 10 steps
Step 1
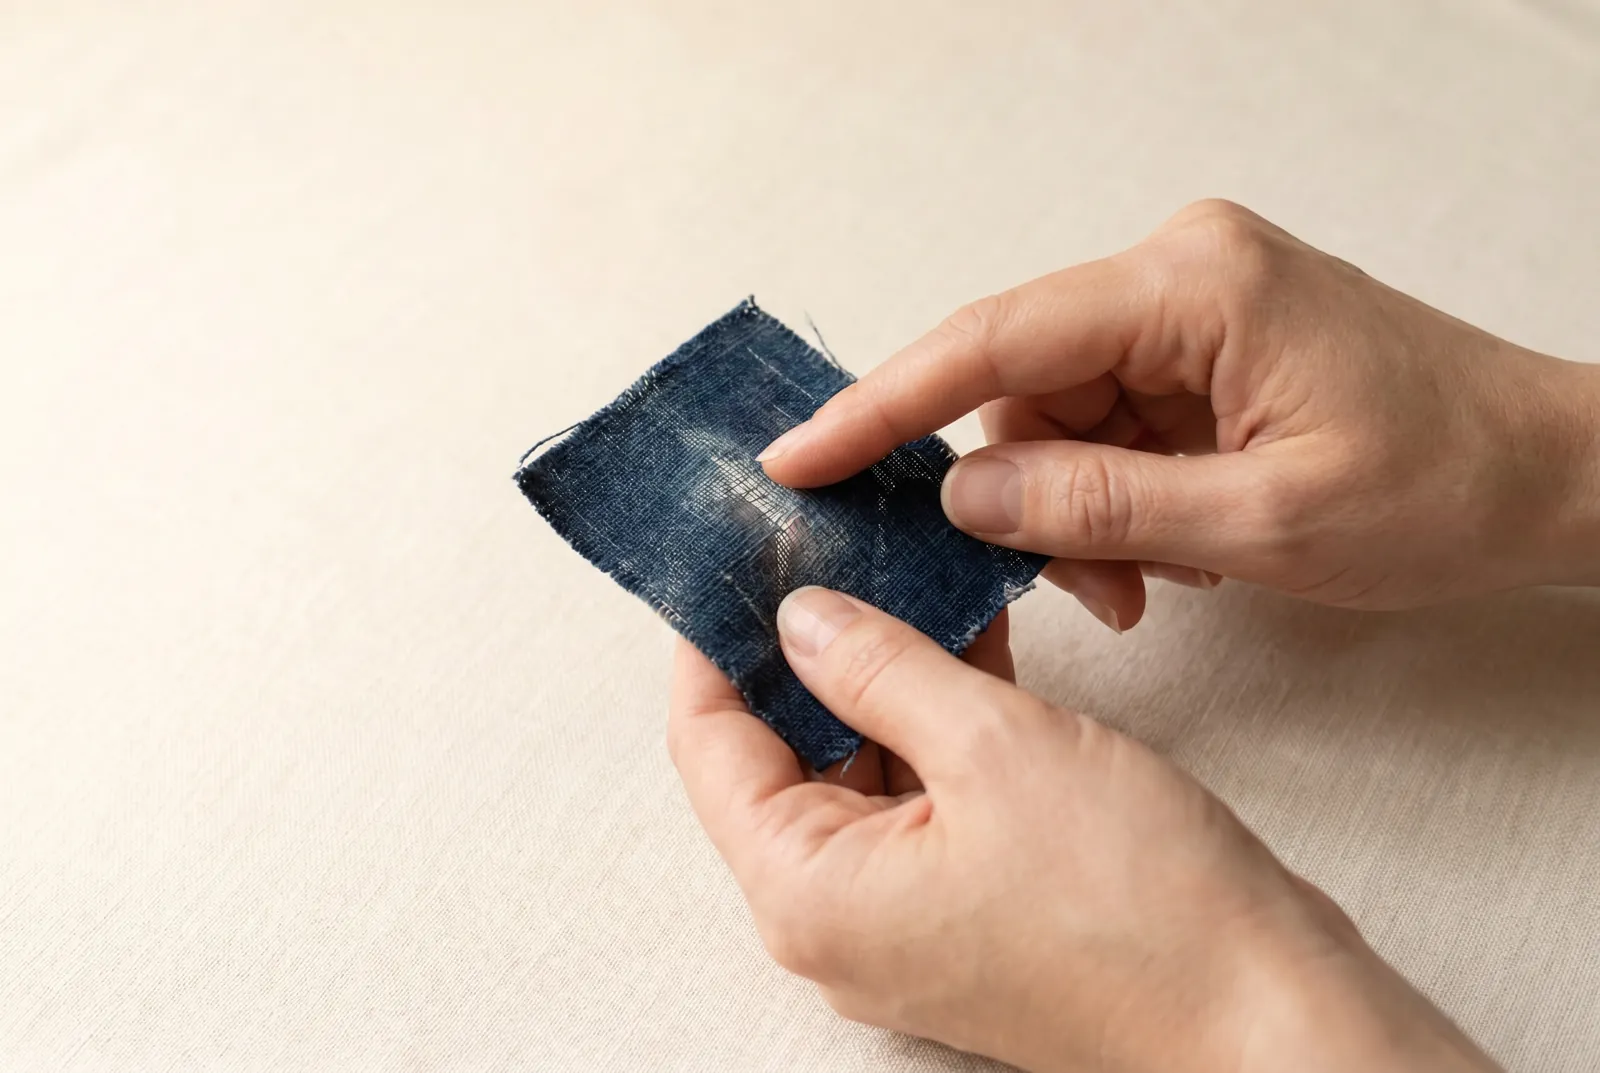
STEP 1/10Catch the wear early. Reinforcing is mending done before the break, so look for a spot where the weave has gone thin and sheer but no hole has opened yet; elbows, knees, the seat, and pocket corners wear through first. Work while the cloth around the thin patch is still sound.
Step 2
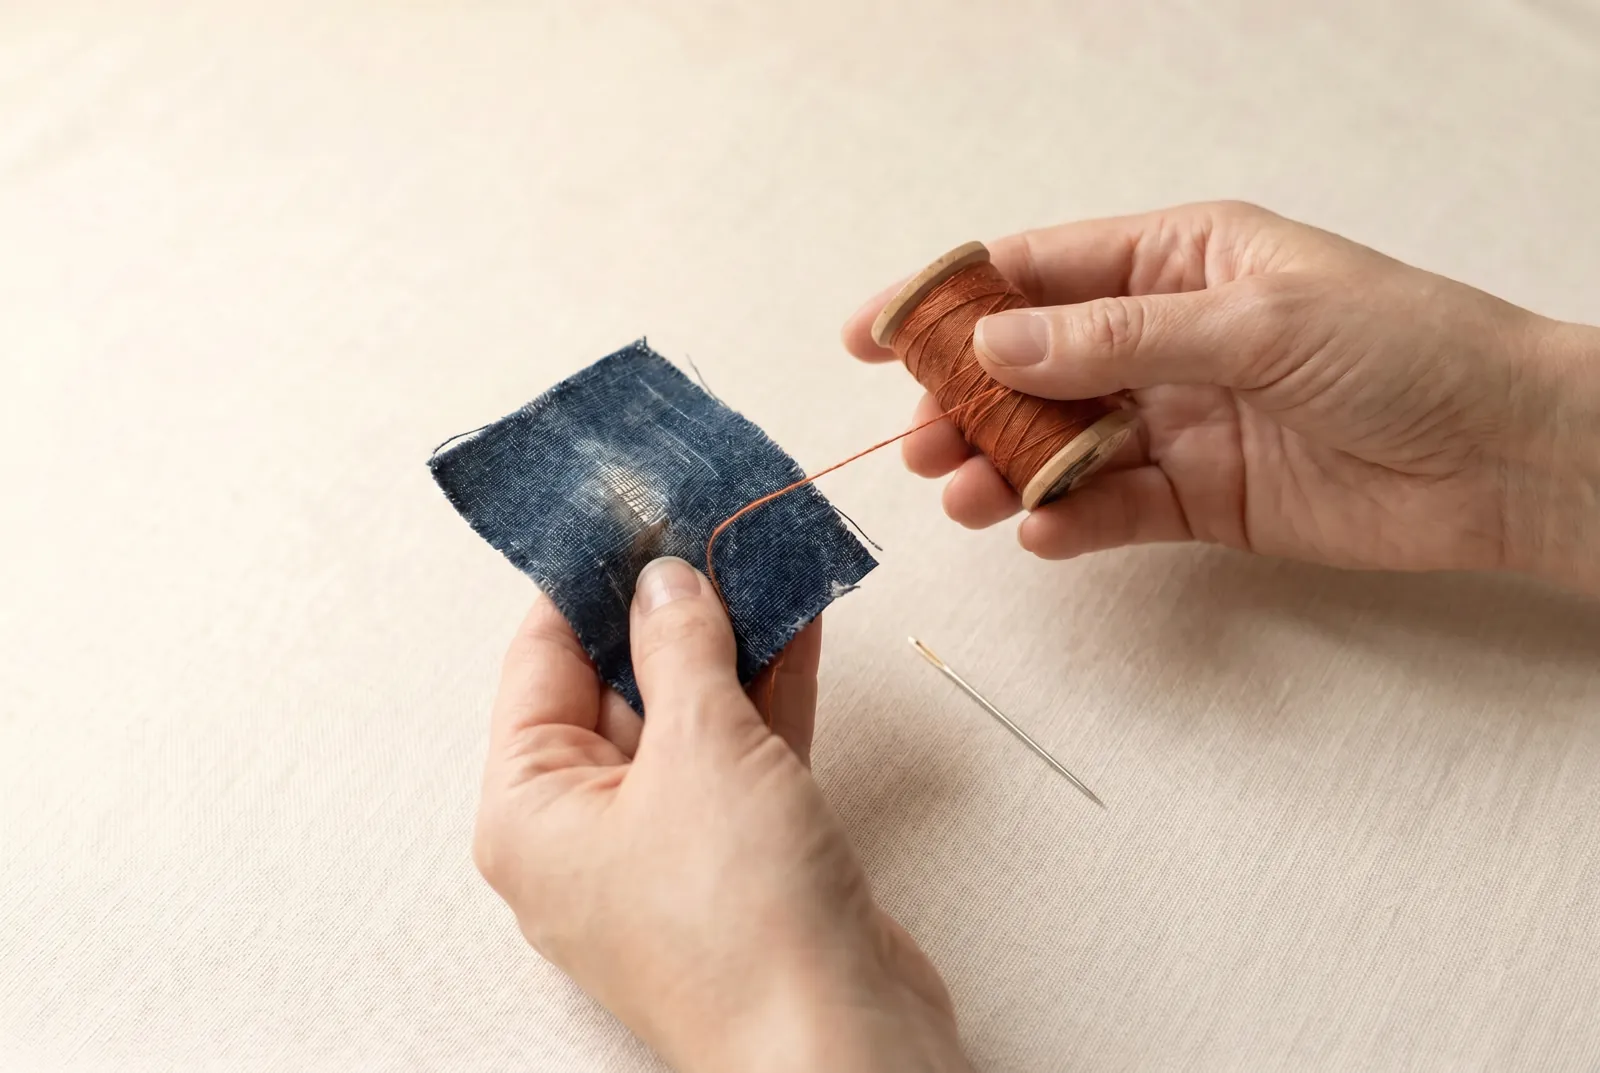
STEP 2/10Choose a darning thread that suits the cloth. For cotton use fine soft cotton; for wool, ravel a thread from a hem, an inside seam, or a scrap of the same goods, which matches it in color, thickness, and shrinkage; for silk use silk. The finer the thread and the smaller your stitches, the less the darn will show.
Step 3
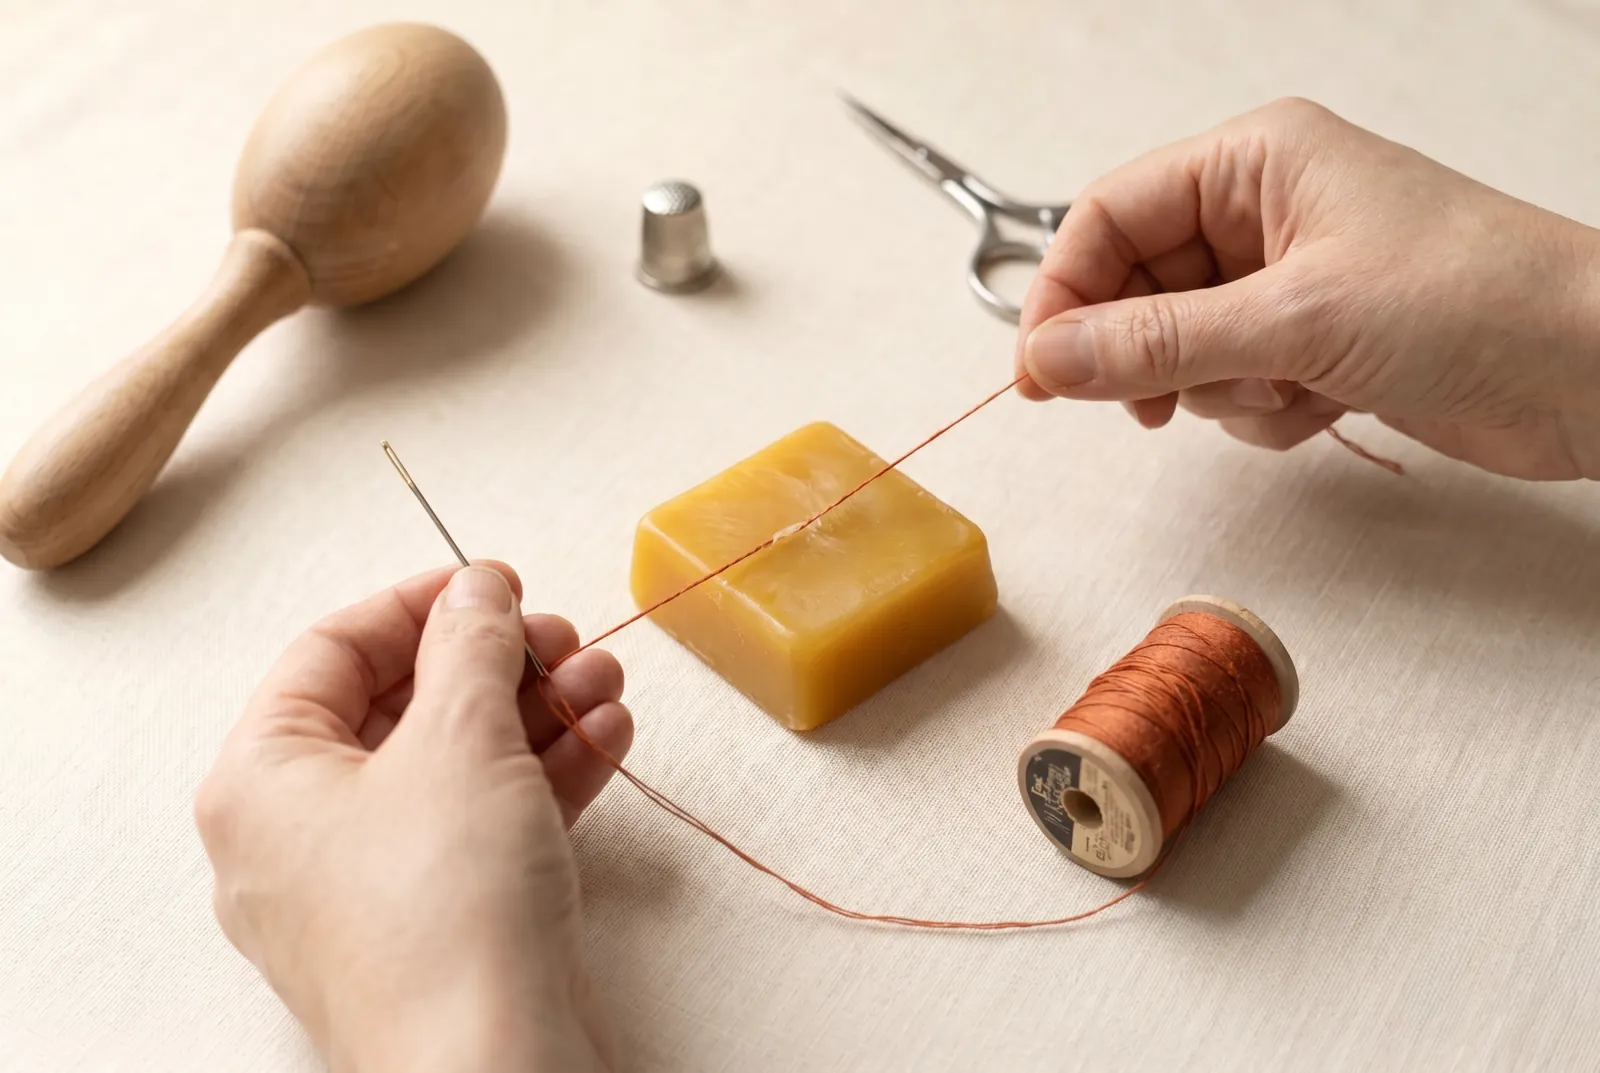
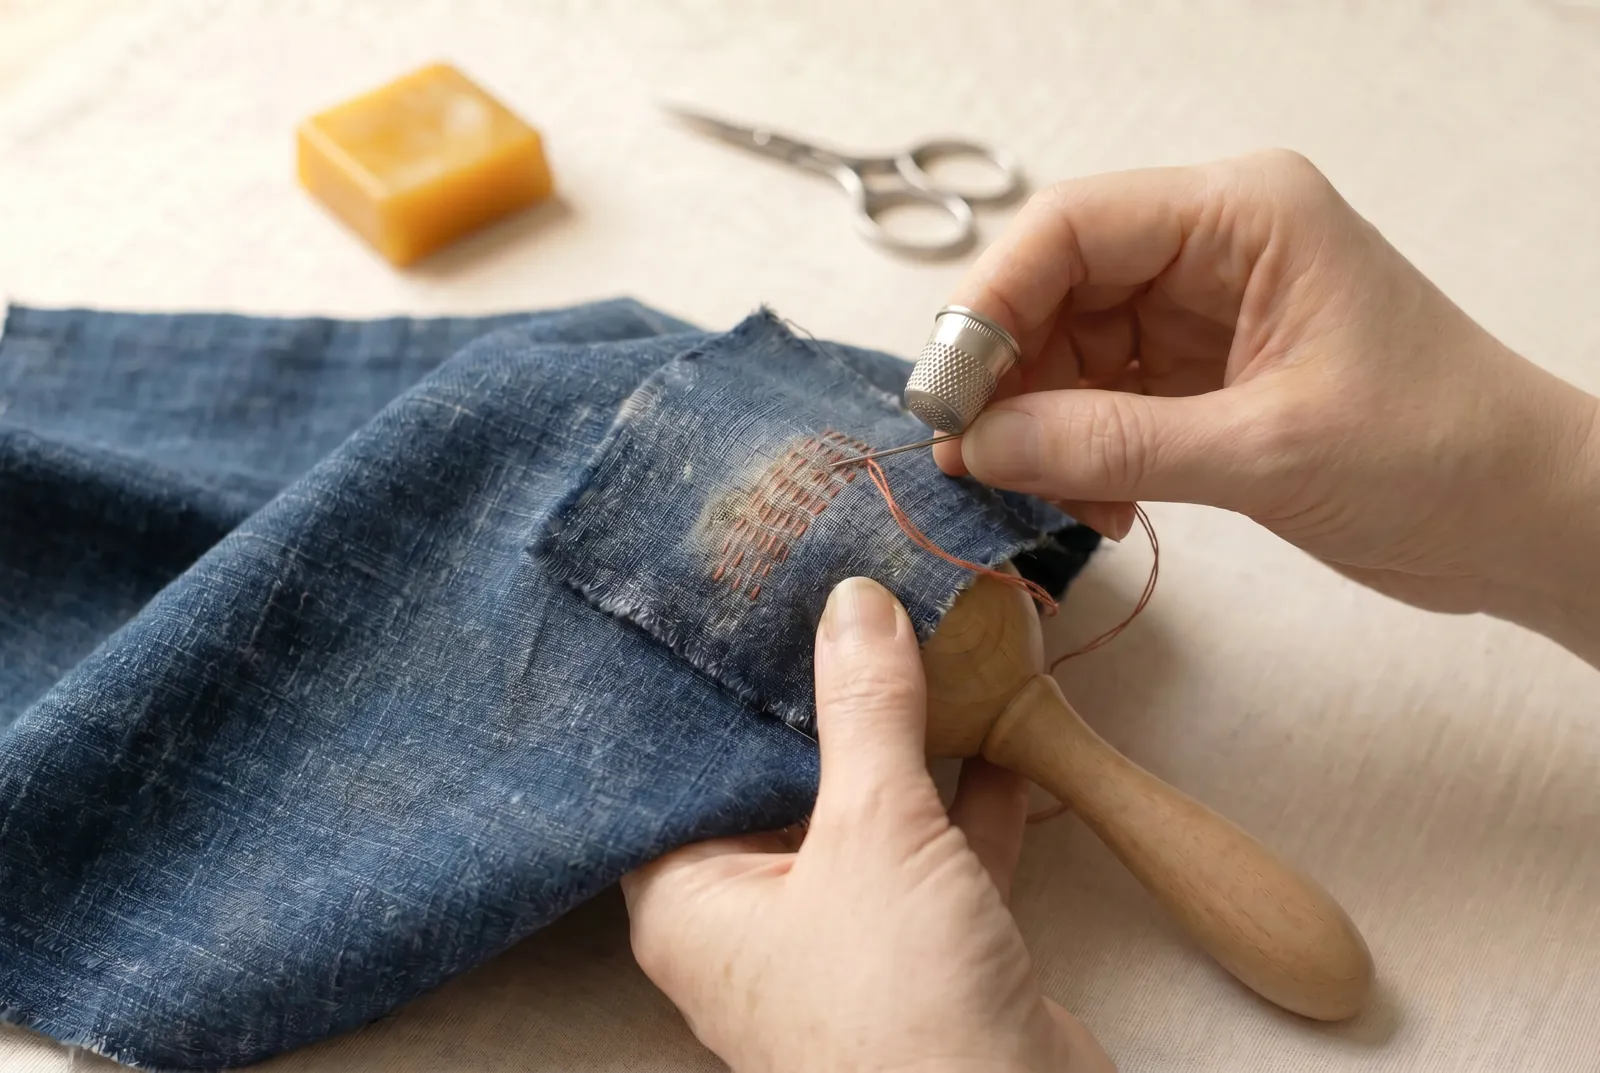
STEP 3/10Thread a darning needle, and because this thread must bear strain, draw the length across a cake of beeswax two or three times so it runs smooth and resists fraying and knotting.
Step 4
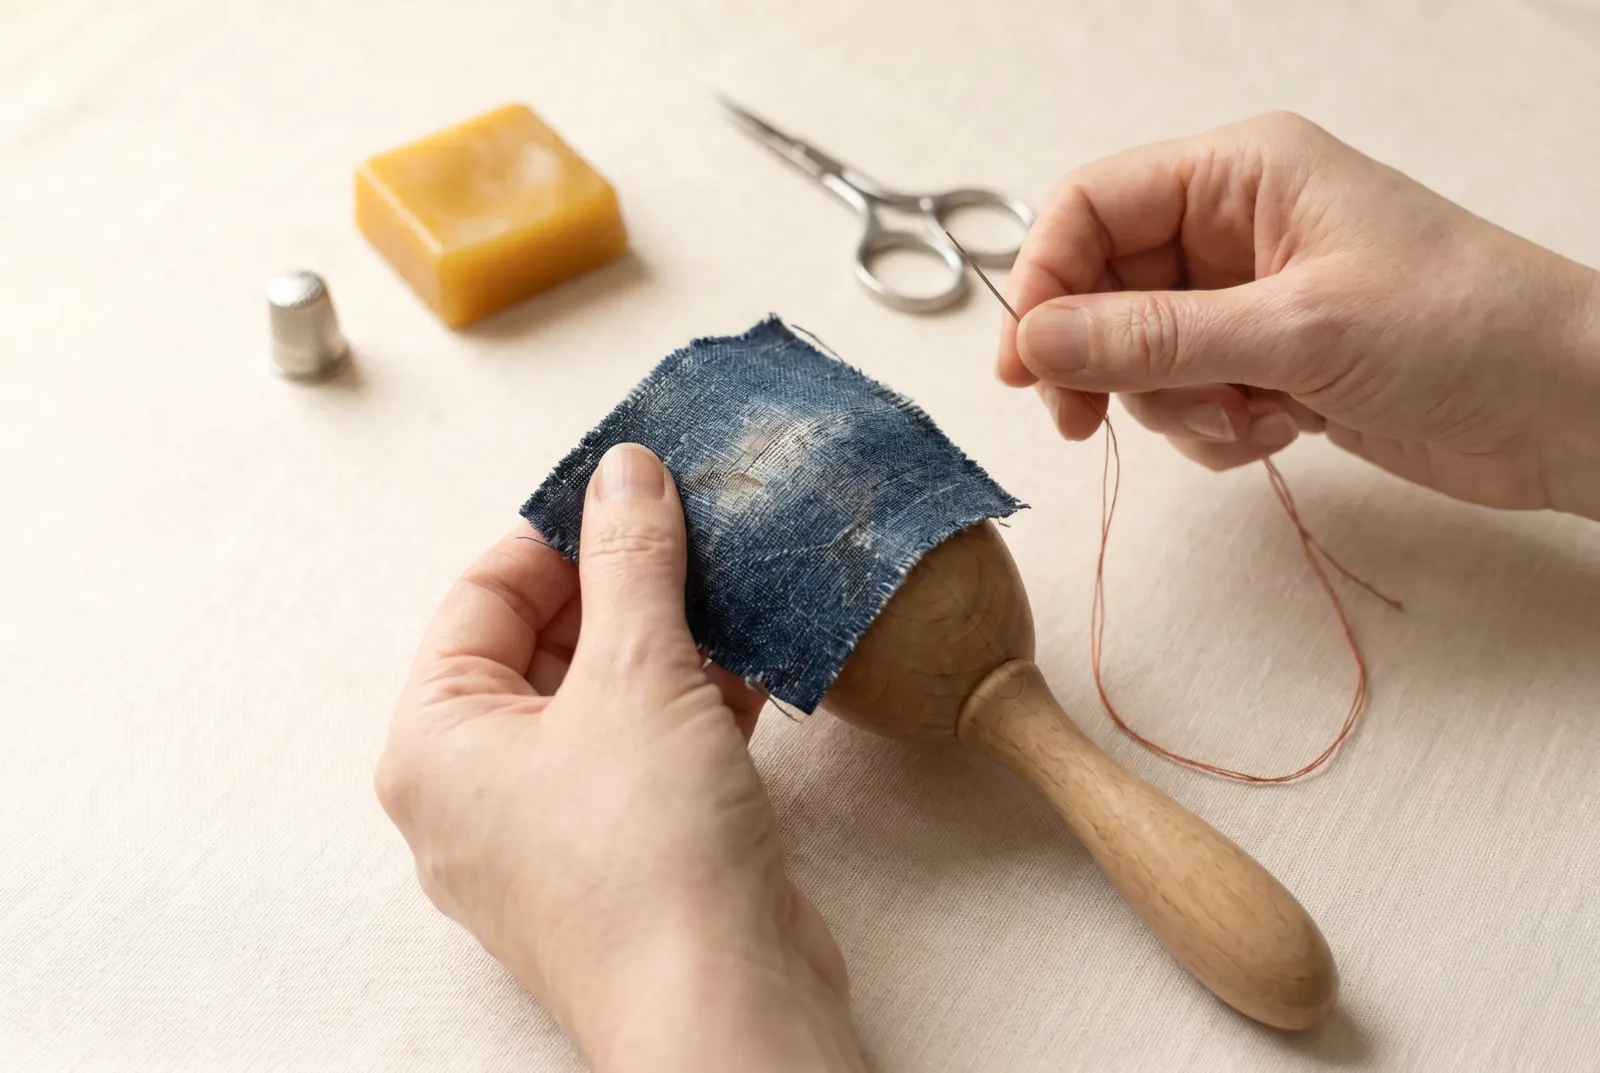
STEP 4/10Turn the garment wrong side out and slip a darning ball or egg under the thin patch so the worn cloth lies smooth and slightly domed. Work the darn on the wrong side.
Step 5
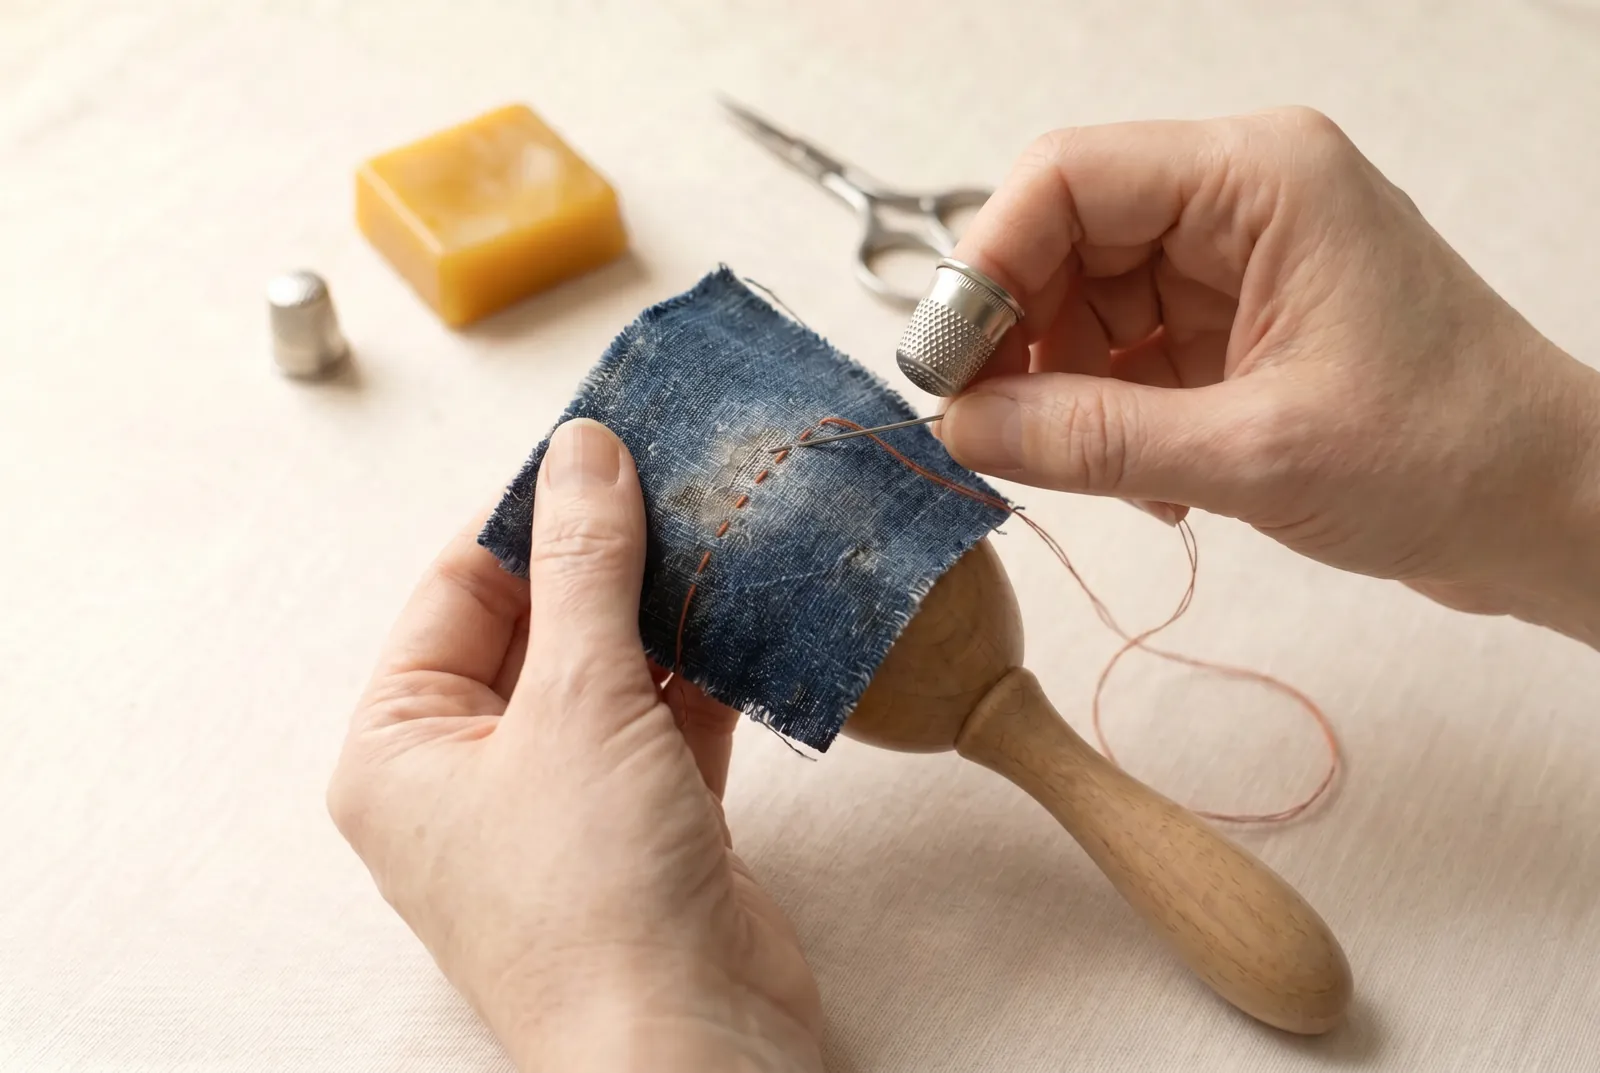
STEP 5/10Begin in sound cloth about 6 mm (1/4 in) to one side of the thin patch and work a row of small running stitches straight across it, carrying the row 6 mm (1/4 in) or more into the firm cloth on the far side. Follow the line of the weave.
Step 6
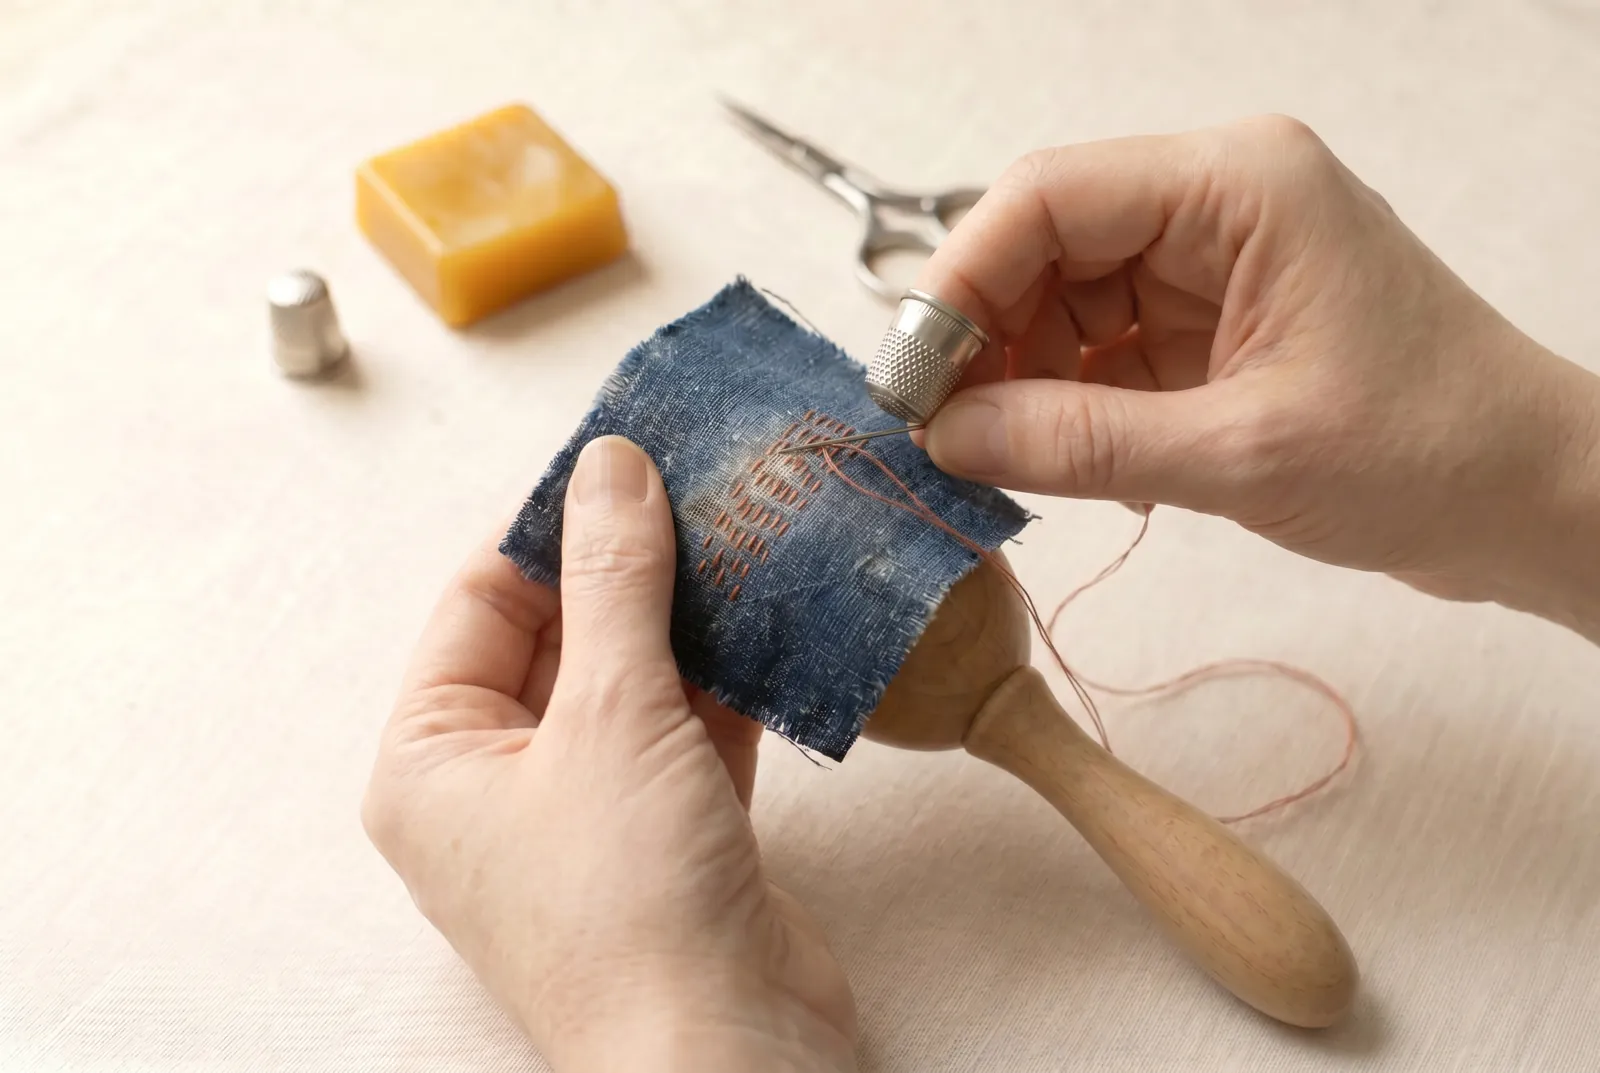
STEP 6/10Work row after row beside the first, set close, a few threads apart, until your stitches cover the whole thin patch and a margin of sound cloth all around it.
Step 7
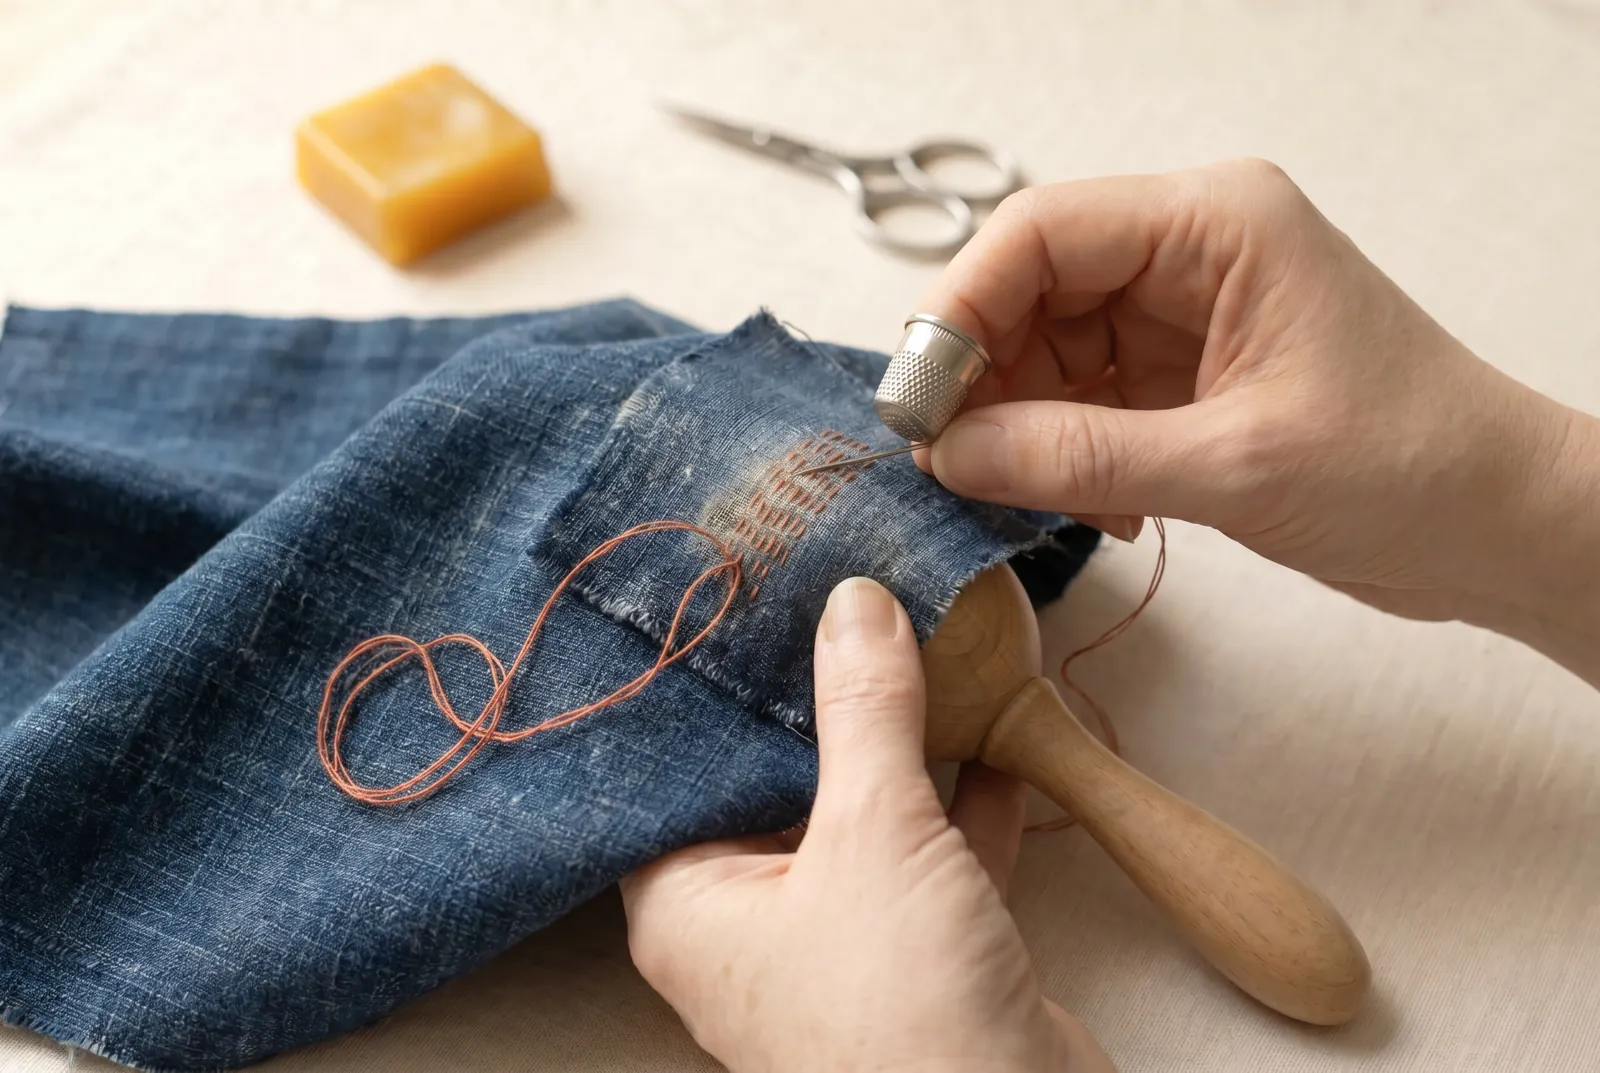
STEP 7/10Do not draw the stitches tight. Leave each row lying loose so the darn stays as supple as the cloth around it and the patch does not pucker.
Step 8
STEP 8/10Let the ends of your rows fall unevenly, some longer and some shorter, so the edge of the darn does not run along a single thread of the cloth. A darn that ends in a straight line makes a new line of weakness where it stops.
Step 9
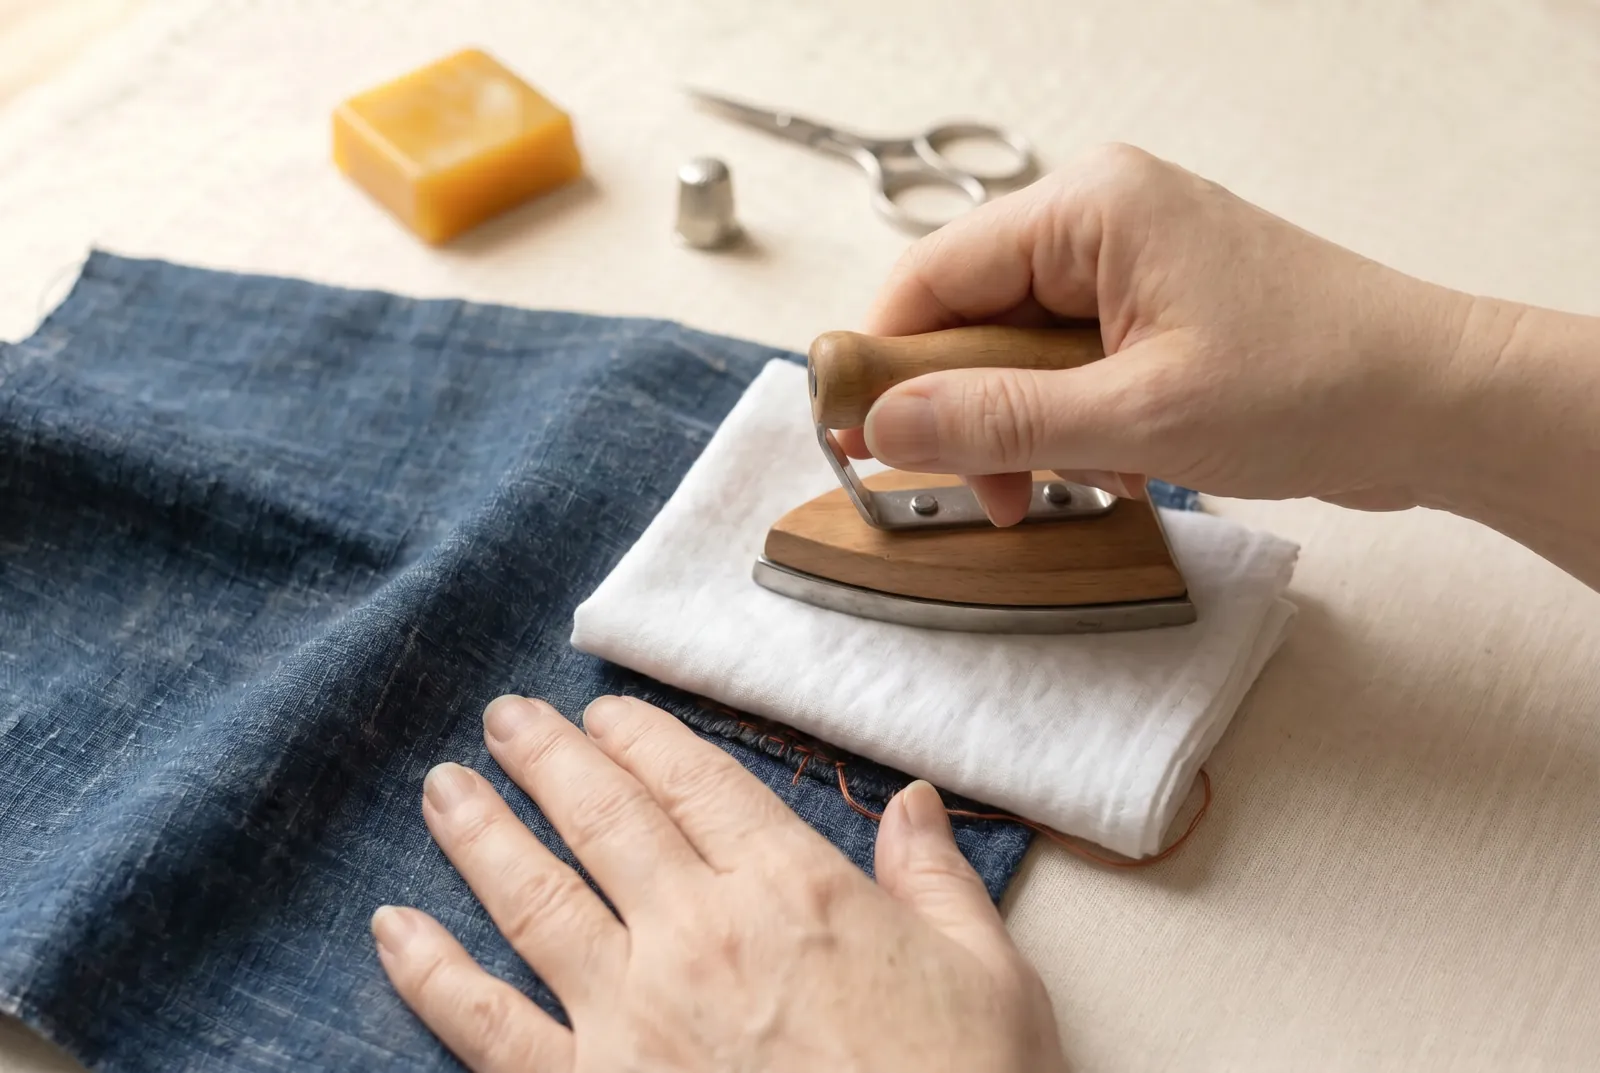
STEP 9/10Press the finished darn flat. Cotton and linen take a warm iron directly and may be pressed damp; press wool under a dampened cotton press cloth, setting the iron down and lifting it rather than sliding it; press silk dry, under a dry cloth, with a moderate iron.
Step 10
STEP 10/10To make the mend a feature, press the darn flat, then work a row of feather stitch down each side of the darn, or a small figure over and a little beyond it, so the stitches take hold of sound cloth. Work loosely, and on a paired spot such as a knee or elbow repeat the same figure on the matching side so the mend reads as intended.